
laminated wood bowl turning process converts a contrasting laminated wood blank into a hollow striped vessel through bench preparation, table-saw trimming, balanced wood-lathe mounting, outside shaping, rim control, and progressive hollowing. The source frames show the material, machine, process, and result clearly enough to explain the workflow, while leaving species, adhesive, dimensions, speed, finish, and product claims unverified.
The direct answer is that the visual effect comes from preparing the color layers before rotation and then protecting their alignment through every cut. The project succeeds only if the blank behaves as one structure, runs with controlled balance, and keeps enough wall material for safe interior refinement.
This Tecatool analysis uses real frames from the source rather than a generic giant-log template. It is written for woodturners comparing workflow, lathe setup, hollowing control, and tool priorities, not for readers looking for an unsupported viral invention claim.
Table of Contents
What The Laminated Wood Bowl Turning Process Shows
laminated wood bowl turning process in this source is a workshop sequence for converting a thick, striped laminated blank into a hollow round vessel on a wood lathe. The visible steps are bench preparation, table-saw trimming, outside turning, shoulder and rim development, and interior hollowing. The practical lesson is control: the blank must be supported before the saw cut, balanced before speed increases, and shaped in an order that preserves enough material for a stable rim and wall.
The footage does not prove the exact species, adhesive, moisture content, lathe speed, tool steel, finish, or finished dimensions. It does show a pale-and-dark laminated pattern that remains readable as the square block becomes a cylinder and then a hollow form. That visual continuity makes the video useful for studying how layout decisions made before the lathe affect the final stripes, proportions, and apparent symmetry.
For a reader, the result matters less than the sequence that makes the result possible. A decorative blank can look impressive on the bench and still fail if the glue lines, mounting point, tool rest, rotation, or hollowing order are poorly controlled. This article therefore treats the source as a process case study rather than repeating the broad invention claim in the video title.
Read The Laminated Blank Before Cutting
The first selected frame shows a rectangular piece with strongly contrasting layers being handled on a flat bench. Before any machine operation, this is the moment to identify the show faces, the stripe direction, the likely centerline, and any edge that may not be square. Laminated work magnifies small alignment errors because every layer becomes a visual reference after turning. If the block is mounted off center, the stripes can rise on one side and fall on the other even when the outside curve looks round.
The maker also needs to distinguish cosmetic contrast from structural information. A dark band may be a different wood, a colored insert, or another laminated component, but the video does not verify the material. What can be checked is continuity. Lines that stop, shift, or open at an edge deserve inspection before the blank rotates. A visible gap near the outside can become a larger interruption after the tool removes surrounding material.
Bench preparation is also the right stage to plan the future opening and base. A hollow form needs enough mass near the mounting area for secure holding, yet the final profile may require a narrower foot or shoulder. Marking those zones before trimming prevents the table saw from removing material that the lathe setup still needs. The safest plan is the one that gives each operation a clear reference and leaves correction room for the next stage.
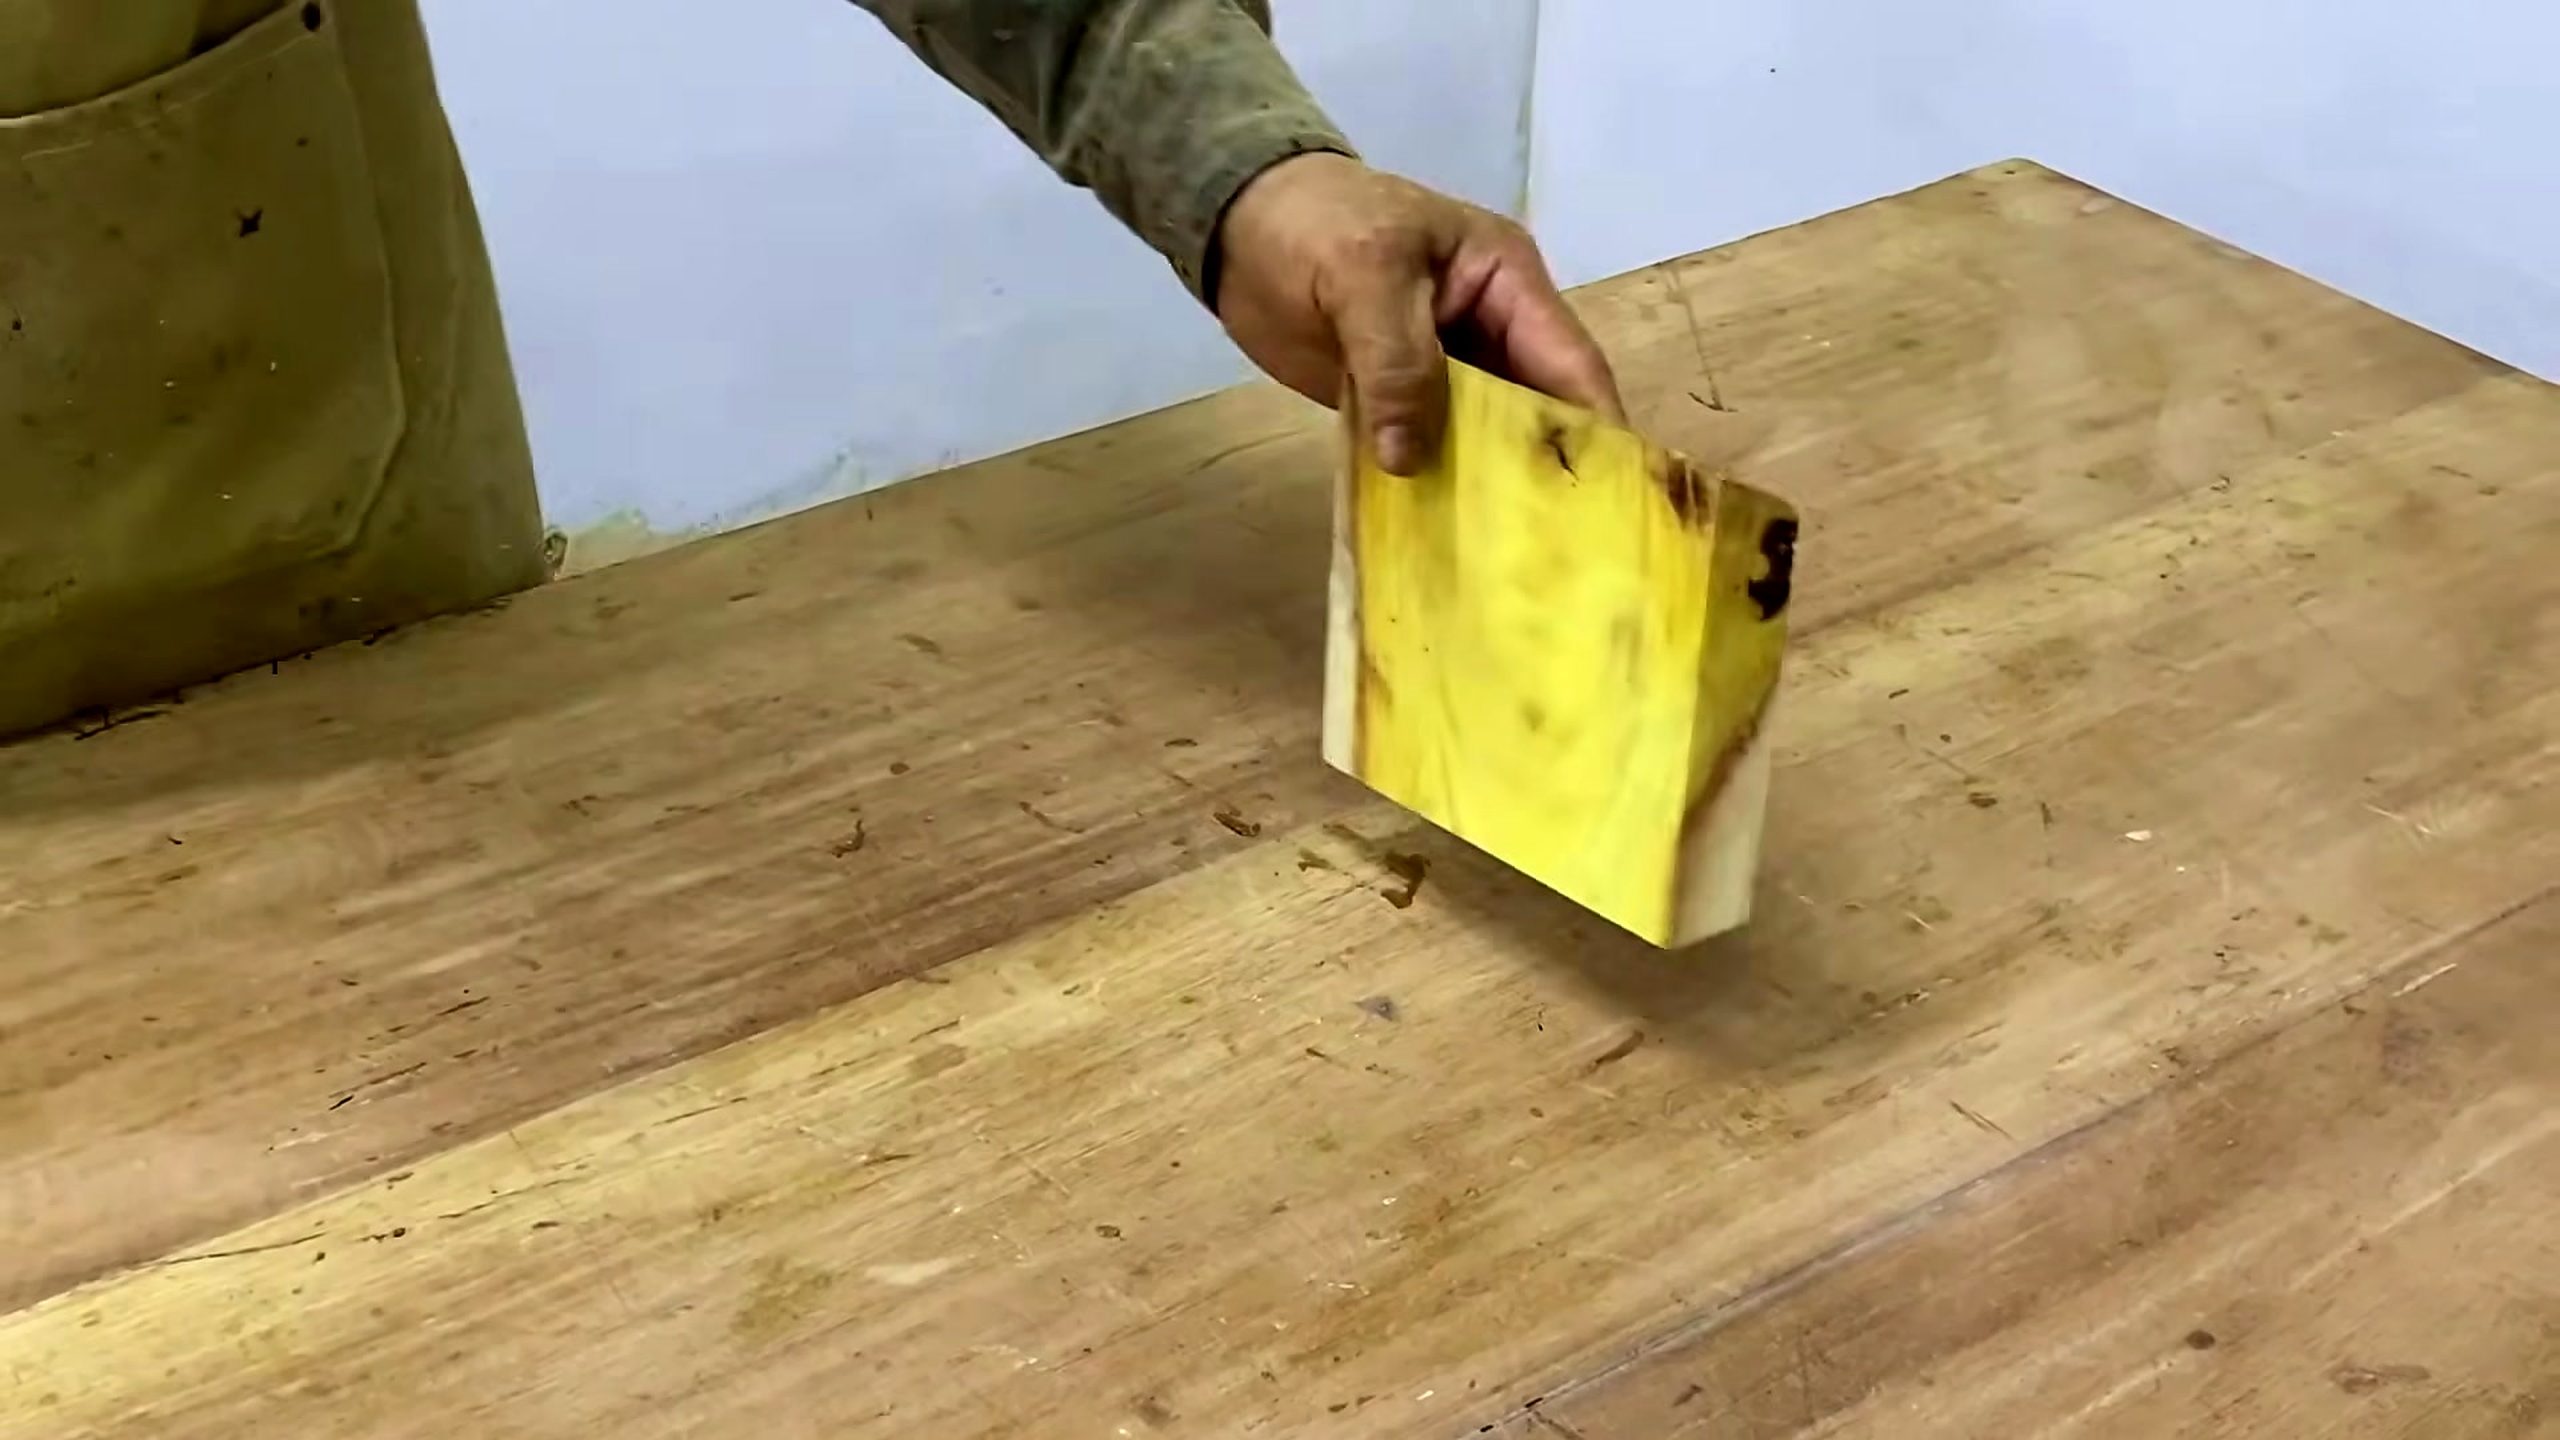
Table-Saw Trimming And Support
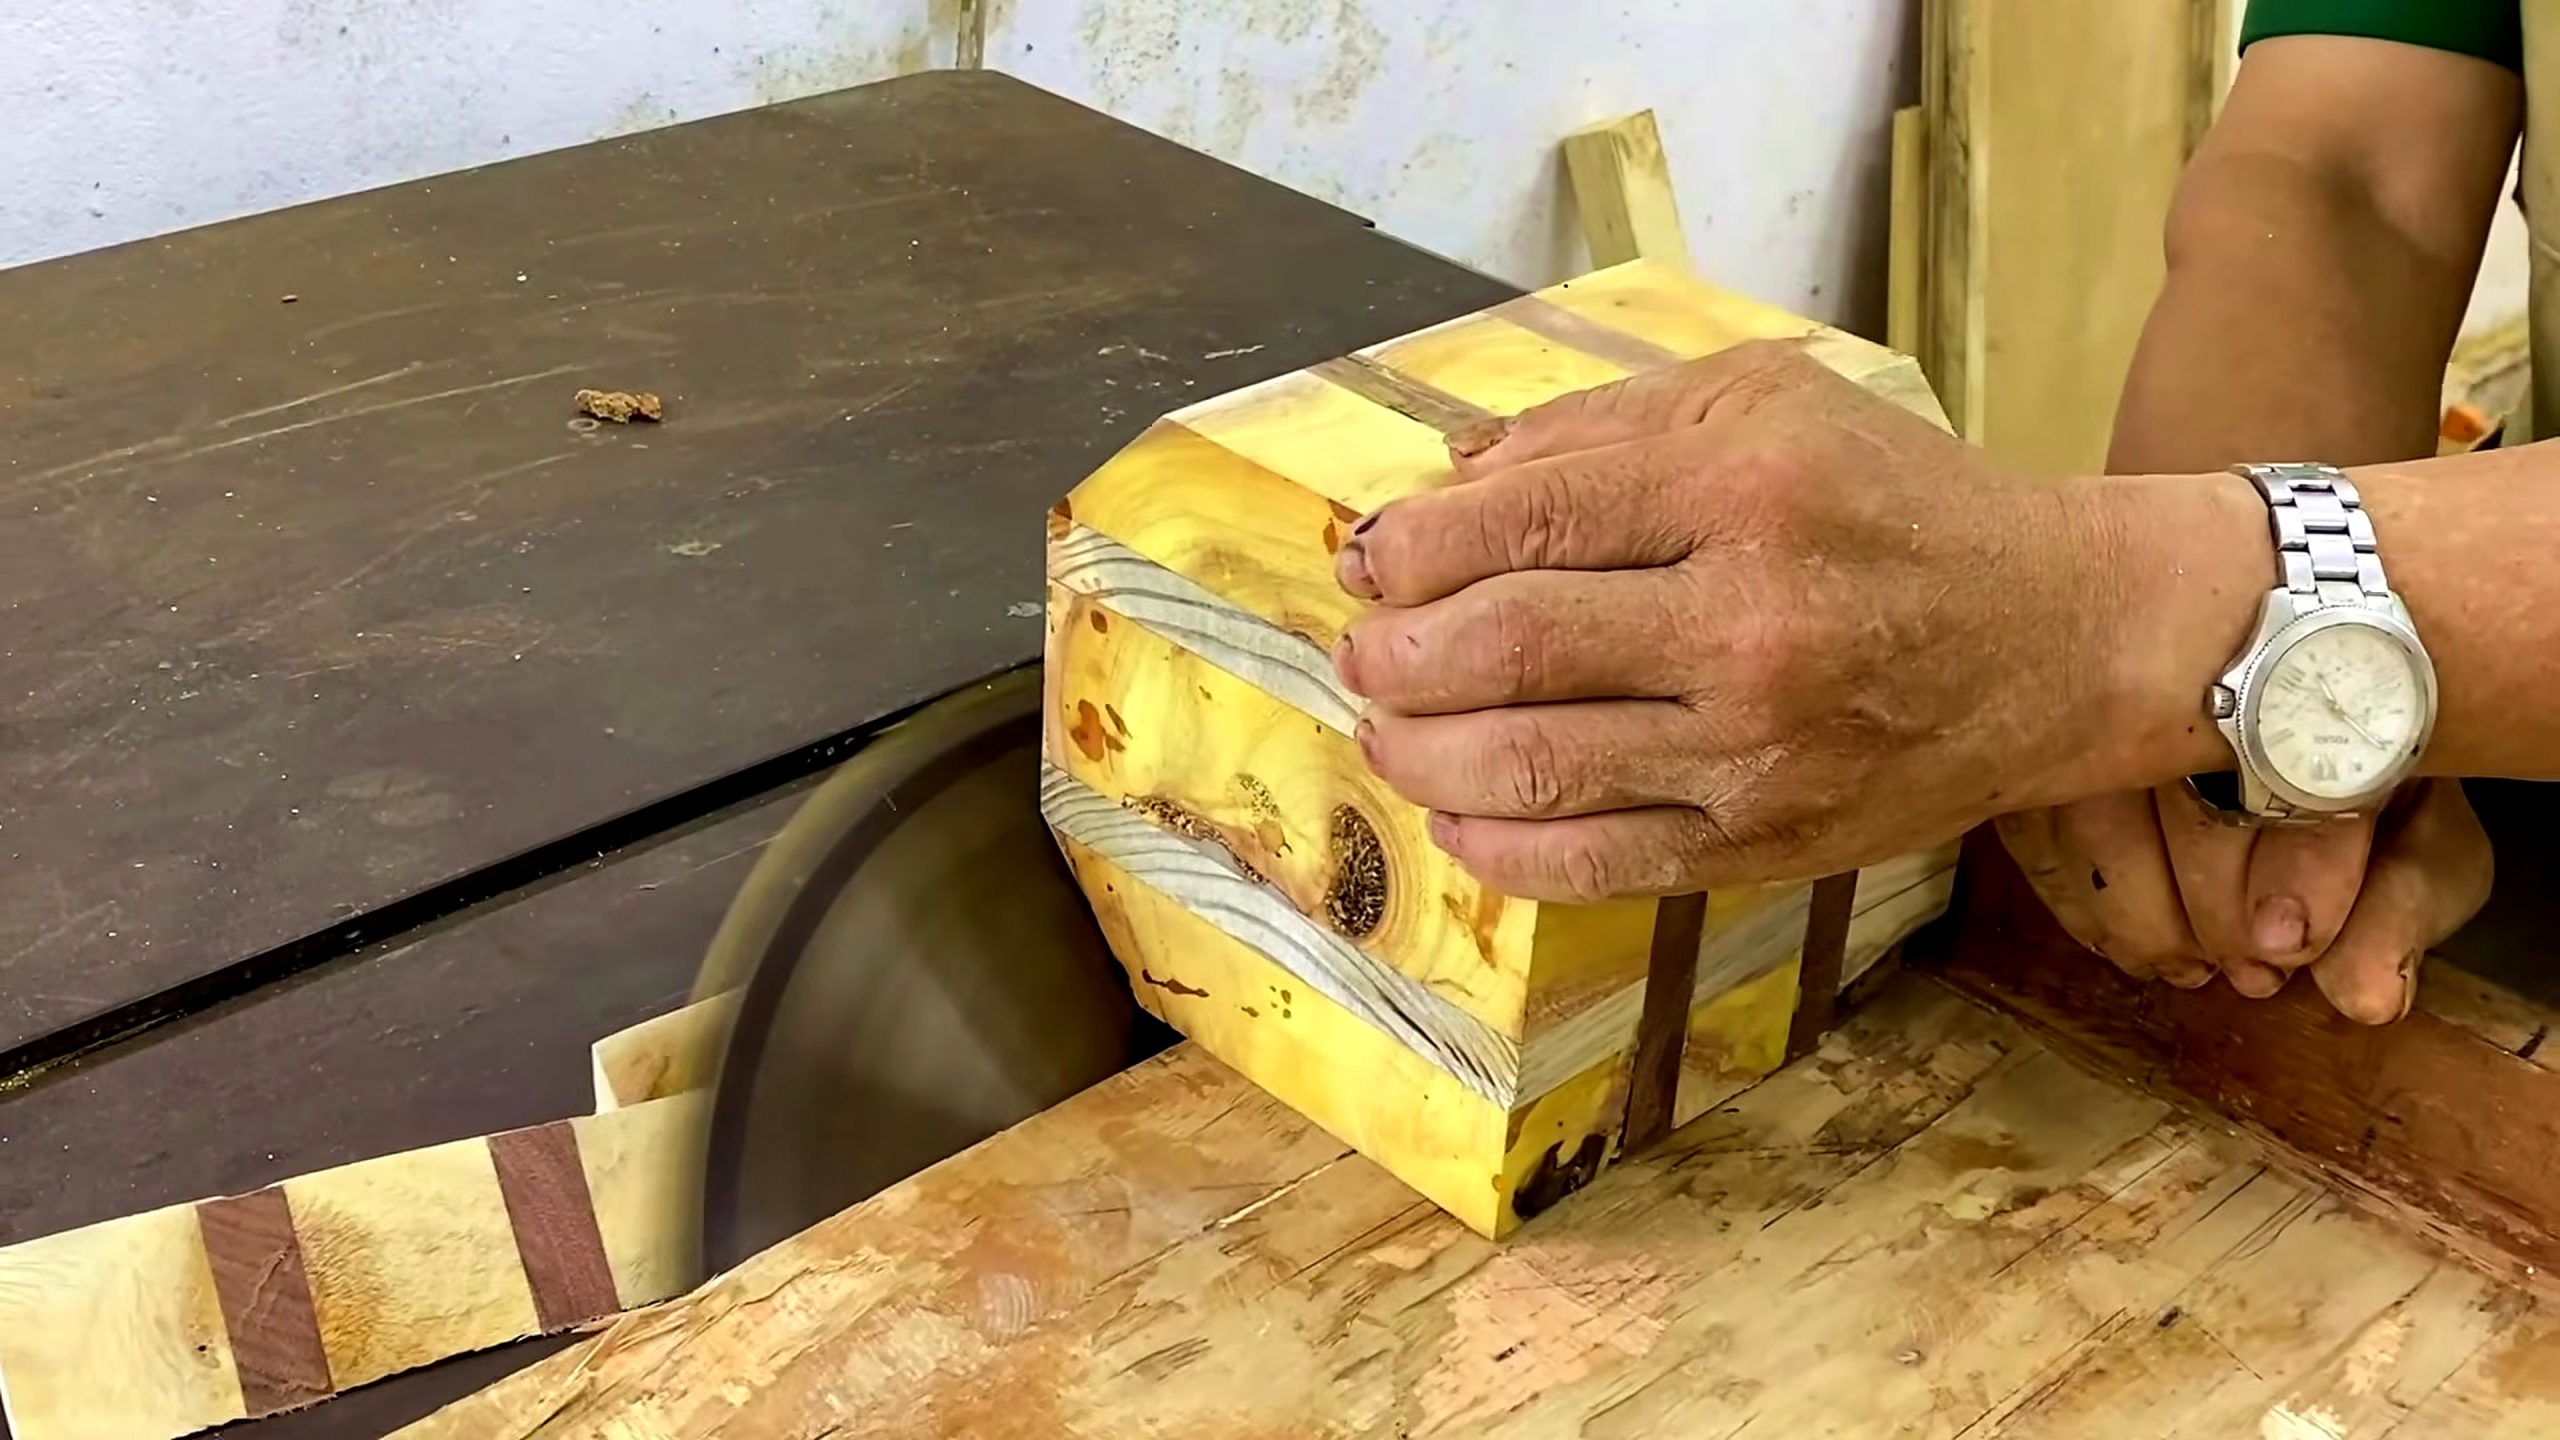
The second source frame shows the thick laminated blank at a table saw. This cut is not merely cosmetic. Removing square corners or reducing excess stock lowers the amount of interrupted cutting required on the lathe. Less unnecessary mass can mean easier balancing and a shorter roughing stage, but only when the saw setup supports the block without rocking or twisting toward the blade.
The visible hand position in a public video should not be copied as a complete safety instruction. A thick block can be awkward to register, and a small contact area against the table or fence may make it unstable. In a real shop, the operator should use a method appropriate to the machine and workpiece, keep hands outside the blade path, support the blank with a suitable jig or push device, and avoid any cut that can trap an offcut between the blade and fence.
The cut plan should follow the future lathe axis. Trimming too aggressively can remove the corners but also erase the material needed for a continuous outer curve. Trimming too little leaves more impact load when the square blank begins rotating. The goal is not to make a finished circle at the saw. The goal is to create a safer, more balanced starting form while preserving clear mounting surfaces and enough thickness for later refinement.
After sawing, every fresh edge should be inspected before mounting. A chipped corner may be harmless if it lies outside the final profile, while a split that follows a glue line may be a stop condition. The source does not show a laboratory bond test, so the article does not claim adhesive strength. It recommends visual and physical inspection because laminated turning depends on the block behaving as one workpiece under rotation.
Mounting, Balance, And First Rotation
Once the blank reaches the lathe, the first objective is not the final curve. It is stable rotation. The centerline should agree with the stripe layout and with the intended base-to-rim direction. A mounting error at this stage affects every later decision because the maker will remove extra material merely to correct eccentric rotation, and that correction can thin one color band more than another.
The source frames show the blank supported between the machine centers during the visible turning stages. That arrangement can help establish the outside shape while preserving support along the axis. The exact drive method is not verified, so readers should match faceplates, centers, chucks, screws, or other holding systems to the blank, the lathe, and the manufacturer’s instructions rather than assuming one setup from the footage.
The first rotation should be slow enough for the operator to observe clearance and vibration. The tool rest, blank corners, headstock area, and tailstock support all need room. A hand rotation with the machine off can reveal a collision before power is applied. When the blank begins spinning, unusual movement, clicking, or visible glue-line opening is a reason to stop and inspect rather than compensate by pressing harder with the tool.
Balance improves as high corners are removed, but the safest response is not automatically to increase speed. The acceptable speed depends on diameter, mass, mounting, material condition, and machine limits. The video supports a general lesson: establish a true cylinder and stable support first, then refine the form. It does not support a universal RPM number.
Building The Outside Profile
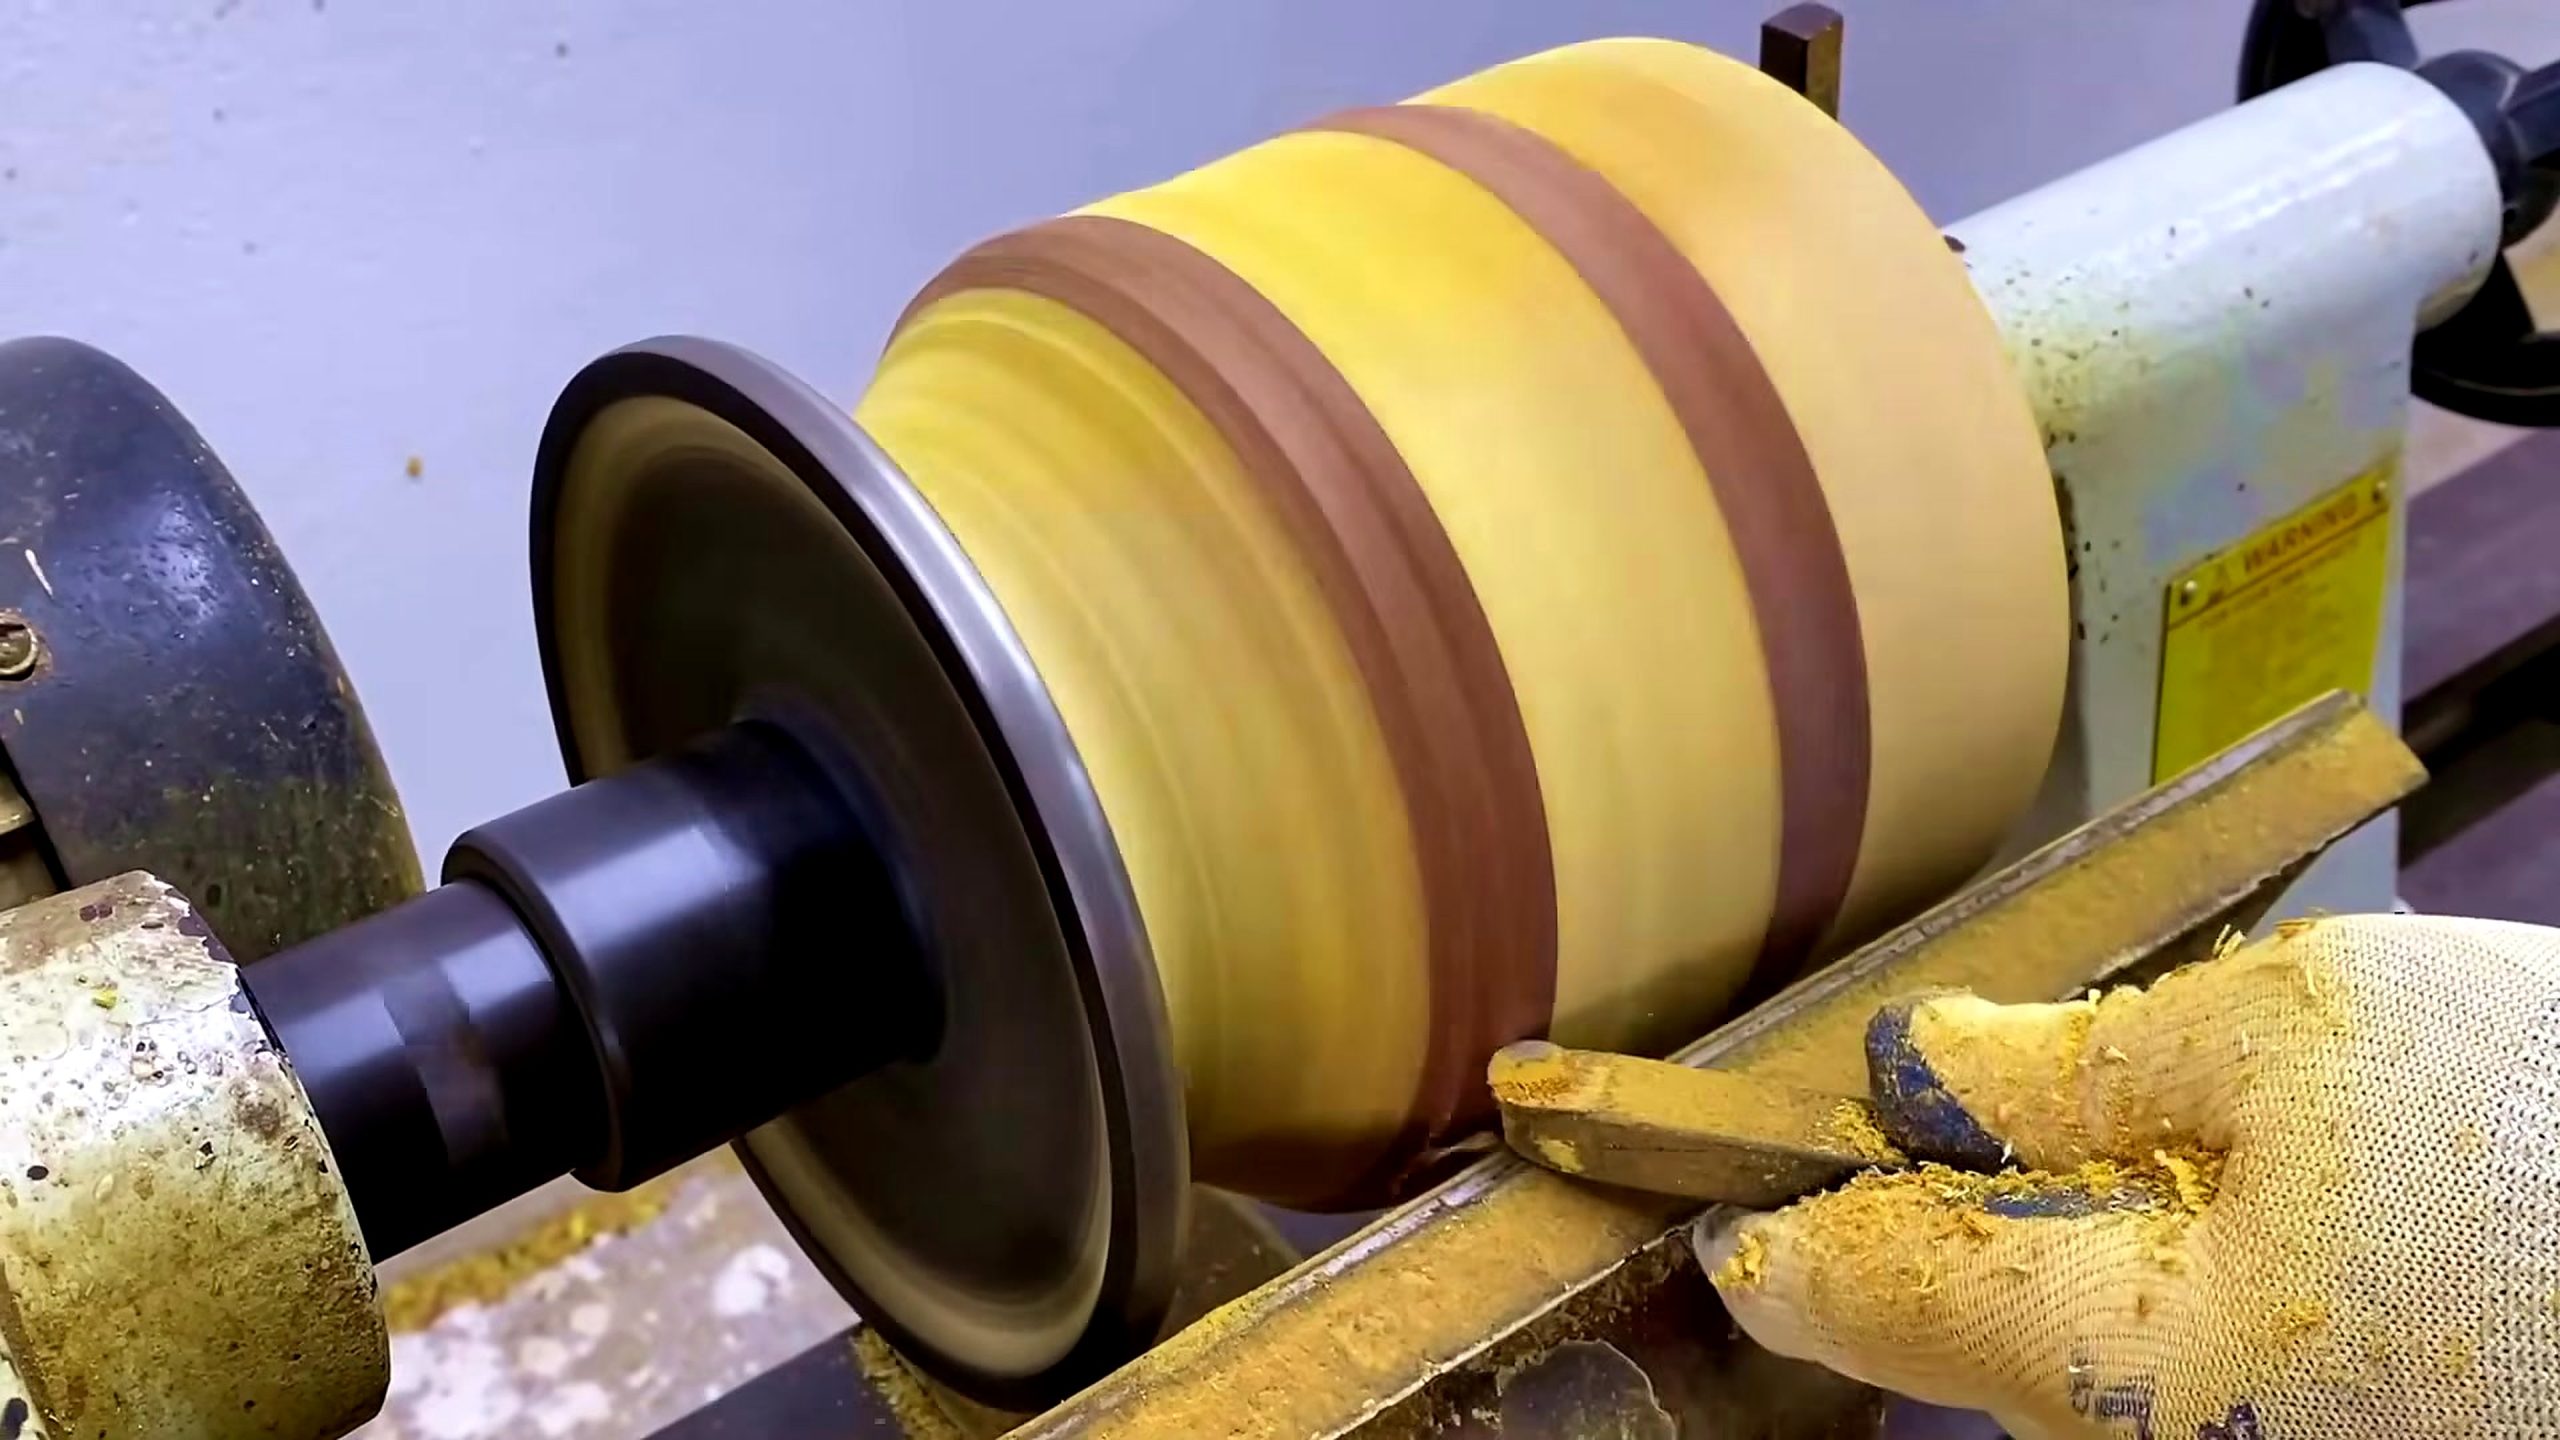
The third frame shows the striped blank rotating as a hand-held tool works along the outside. At this point the laminated pattern becomes a design map. Straight layers on the original block appear as rings or bands around the new cylinder. The maker can judge whether the bands remain parallel, whether the blank is centered, and whether the proposed shoulder will compress or stretch the visual rhythm.
Outside shaping should move from reference surfaces toward detail. A clean cylinder gives a dependable diameter. A planned base gives a location for future holding. A broad shoulder defines the maximum visual mass, while the area near the opening determines how light or heavy the vessel will appear. Trying to finish all of those zones at once can produce a wavy profile because each correction changes the neighboring curve.
Tool support matters more than dramatic shavings. The rest should be positioned close enough for controlled leverage without touching the spinning work. The cutting edge should approach in a way appropriate to the tool and grain direction. Because laminated pieces may present changing grain orientation around the rotation, the sound and surface can vary from one band to another. Lighter passes help the maker distinguish normal variation from a developing defect.
The source image also shows why a camera angle cannot prove surface quality. Motion blur can hide tear-out, and dust can make a rough surface look smooth. The honest check happens with the machine stopped, the workpiece isolated from power, and the surface viewed under directional light. The article uses the frame to explain the stage, not to claim a flawless cut.
Rim, Shoulder, And Base Transitions
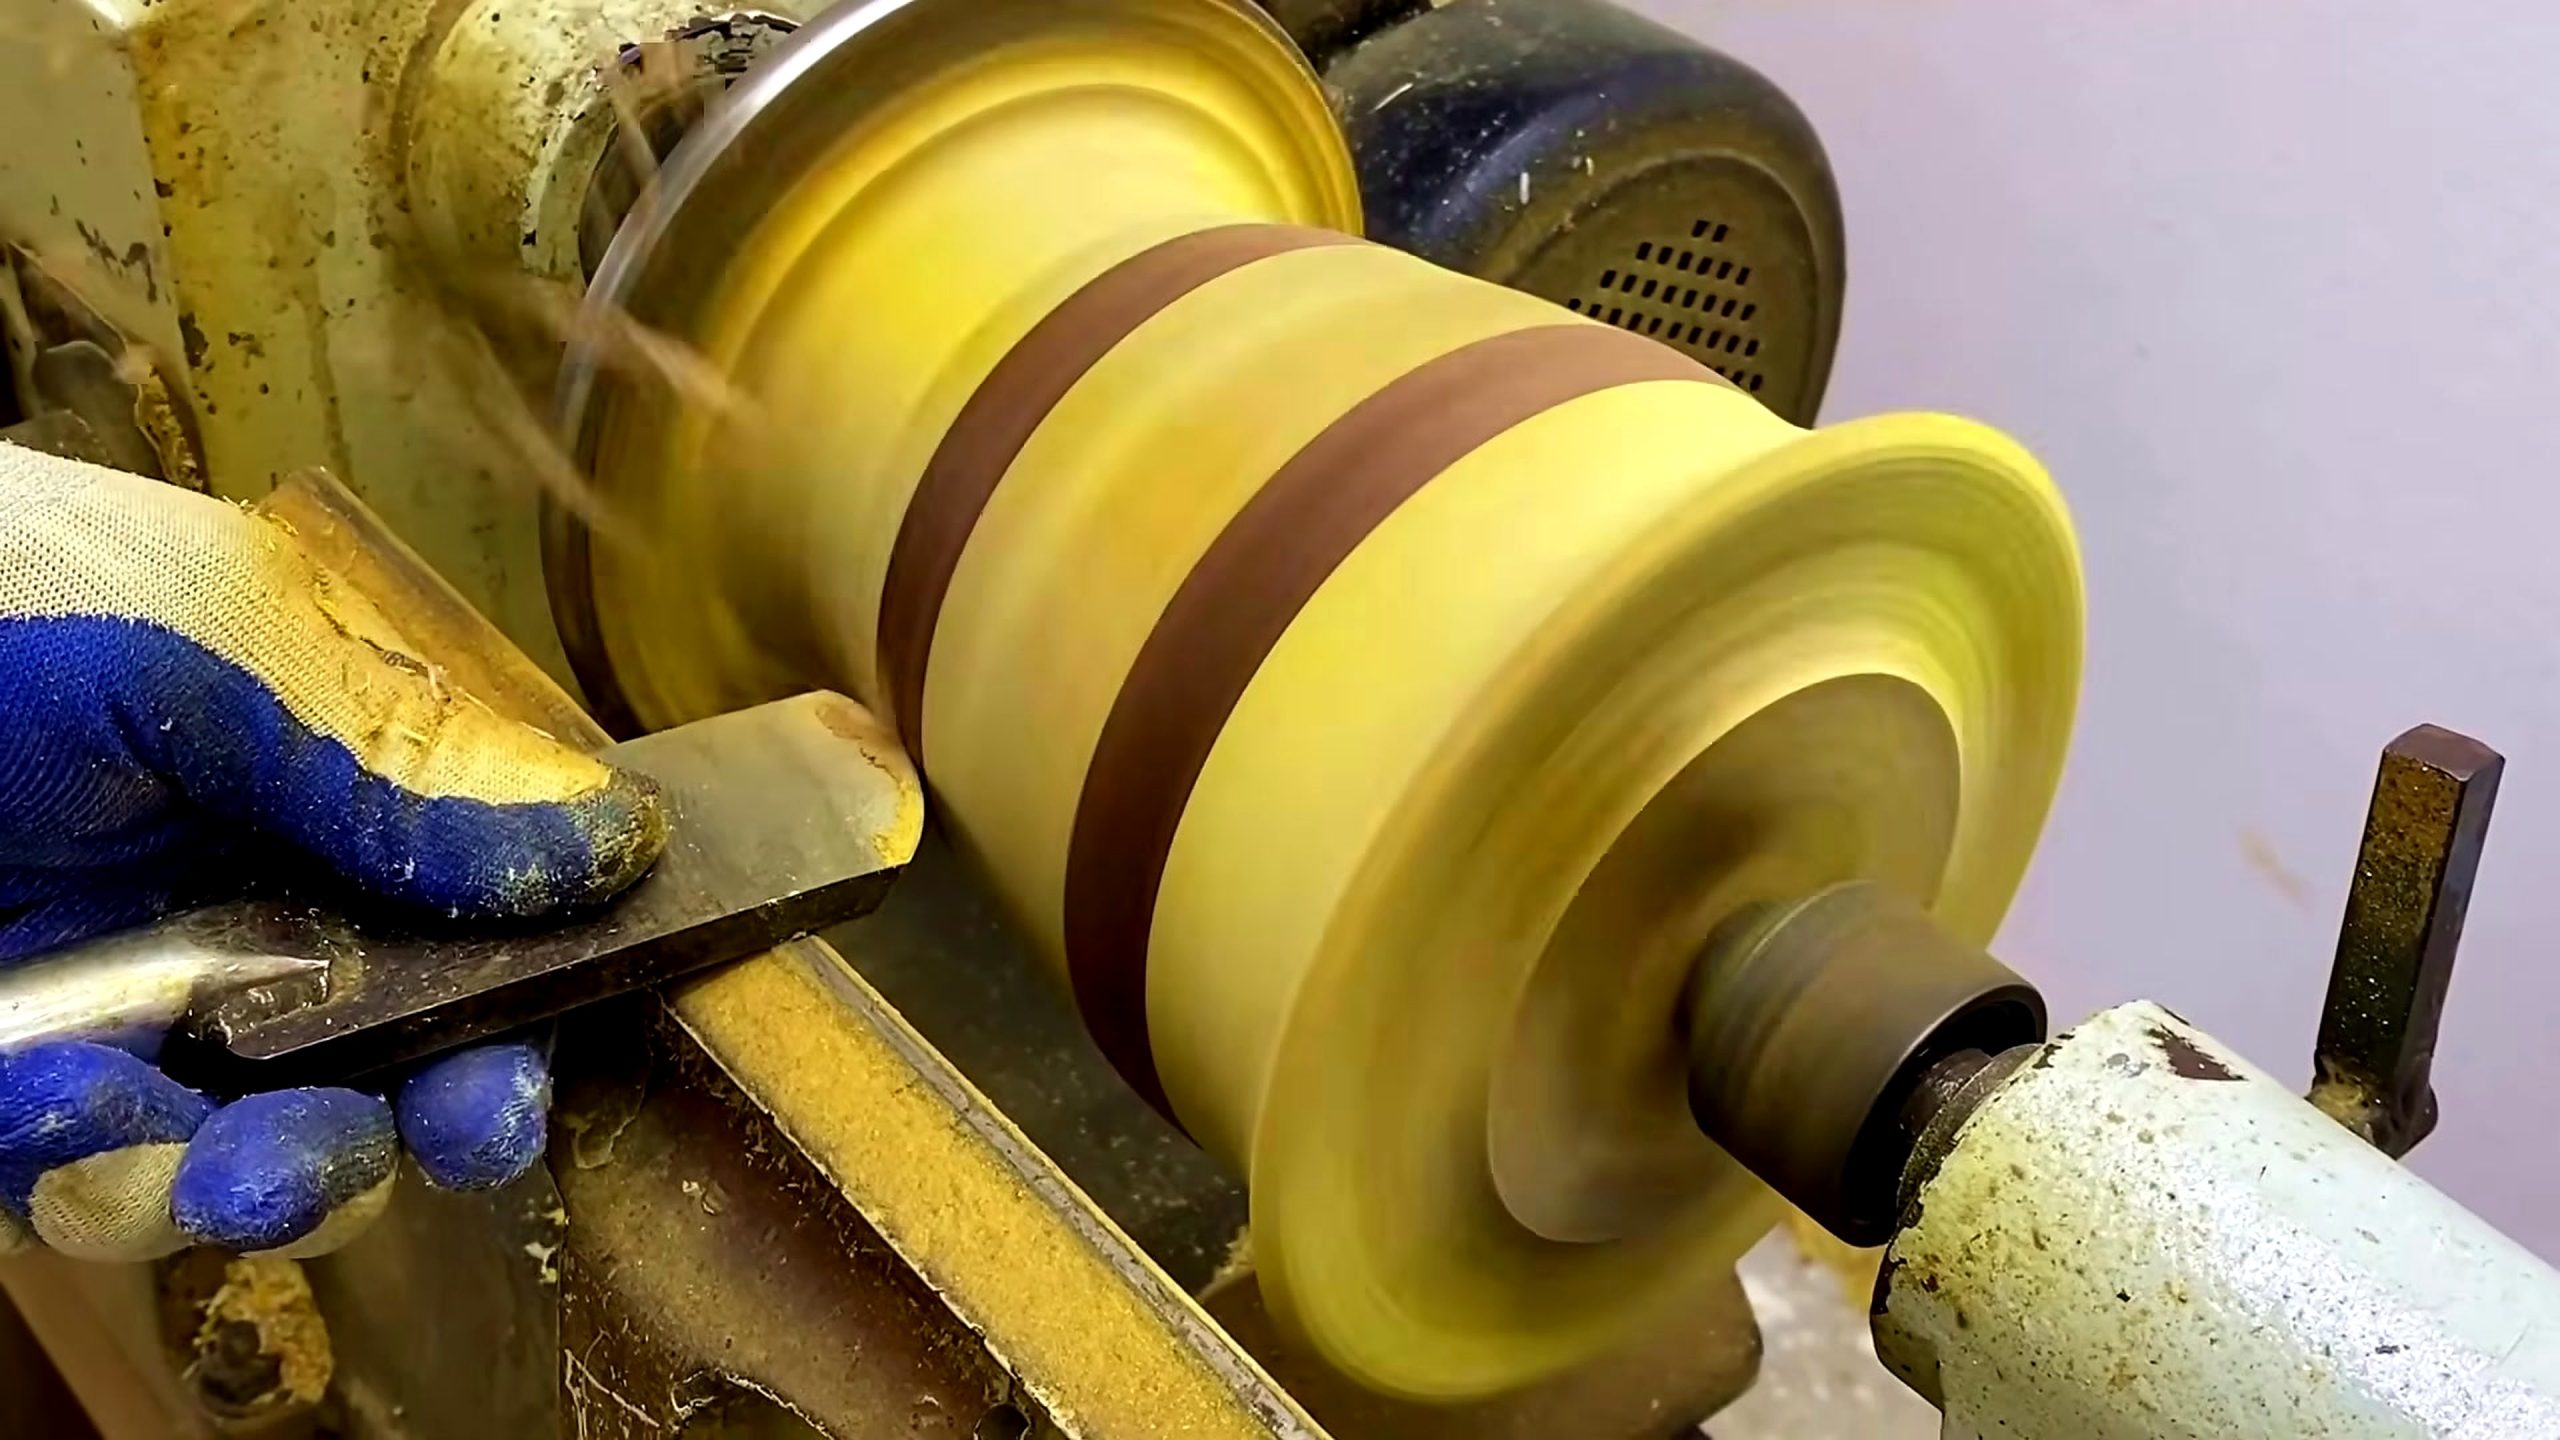
The fourth frame captures a later outside-shaping stage where the form has a wider body and a narrower transition. These zones decide whether the vessel reads as a bowl, cup, planter-like form, or decorative hollow object. A sudden shoulder can emphasize the striped bands, while a long continuous curve can make the colors flow more quietly from base to rim.
The rim needs visual and structural planning before the interior is removed. If the outside is made too thin near the opening, hollowing leaves little margin for correcting an uneven wall. If it is left too heavy, the finished form can look blunt and may require more interior removal near the least-supported edge. The better sequence is to define a stable outside reference, preserve rim thickness, and postpone the final delicate edge until the interior is nearly established.
The base transition matters for both appearance and holding. A foot that is too narrow may not leave enough material for the chosen mounting method. A base that is too wide can make the striped body look visually heavy. The source does not reveal final dimensions, so the useful takeaway is proportional: each reduction in diameter should still leave a clear path for holding, tool access, and final cleanup.
Laminated stripes are especially revealing at transitions. If the curve changes unevenly, the bands expose the change immediately. That makes the decorative pattern a practical inspection aid. Instead of relying only on silhouette, the turner can watch whether each band meets the next at a consistent angle around the circumference.
Hollowing Without Losing Wall Control
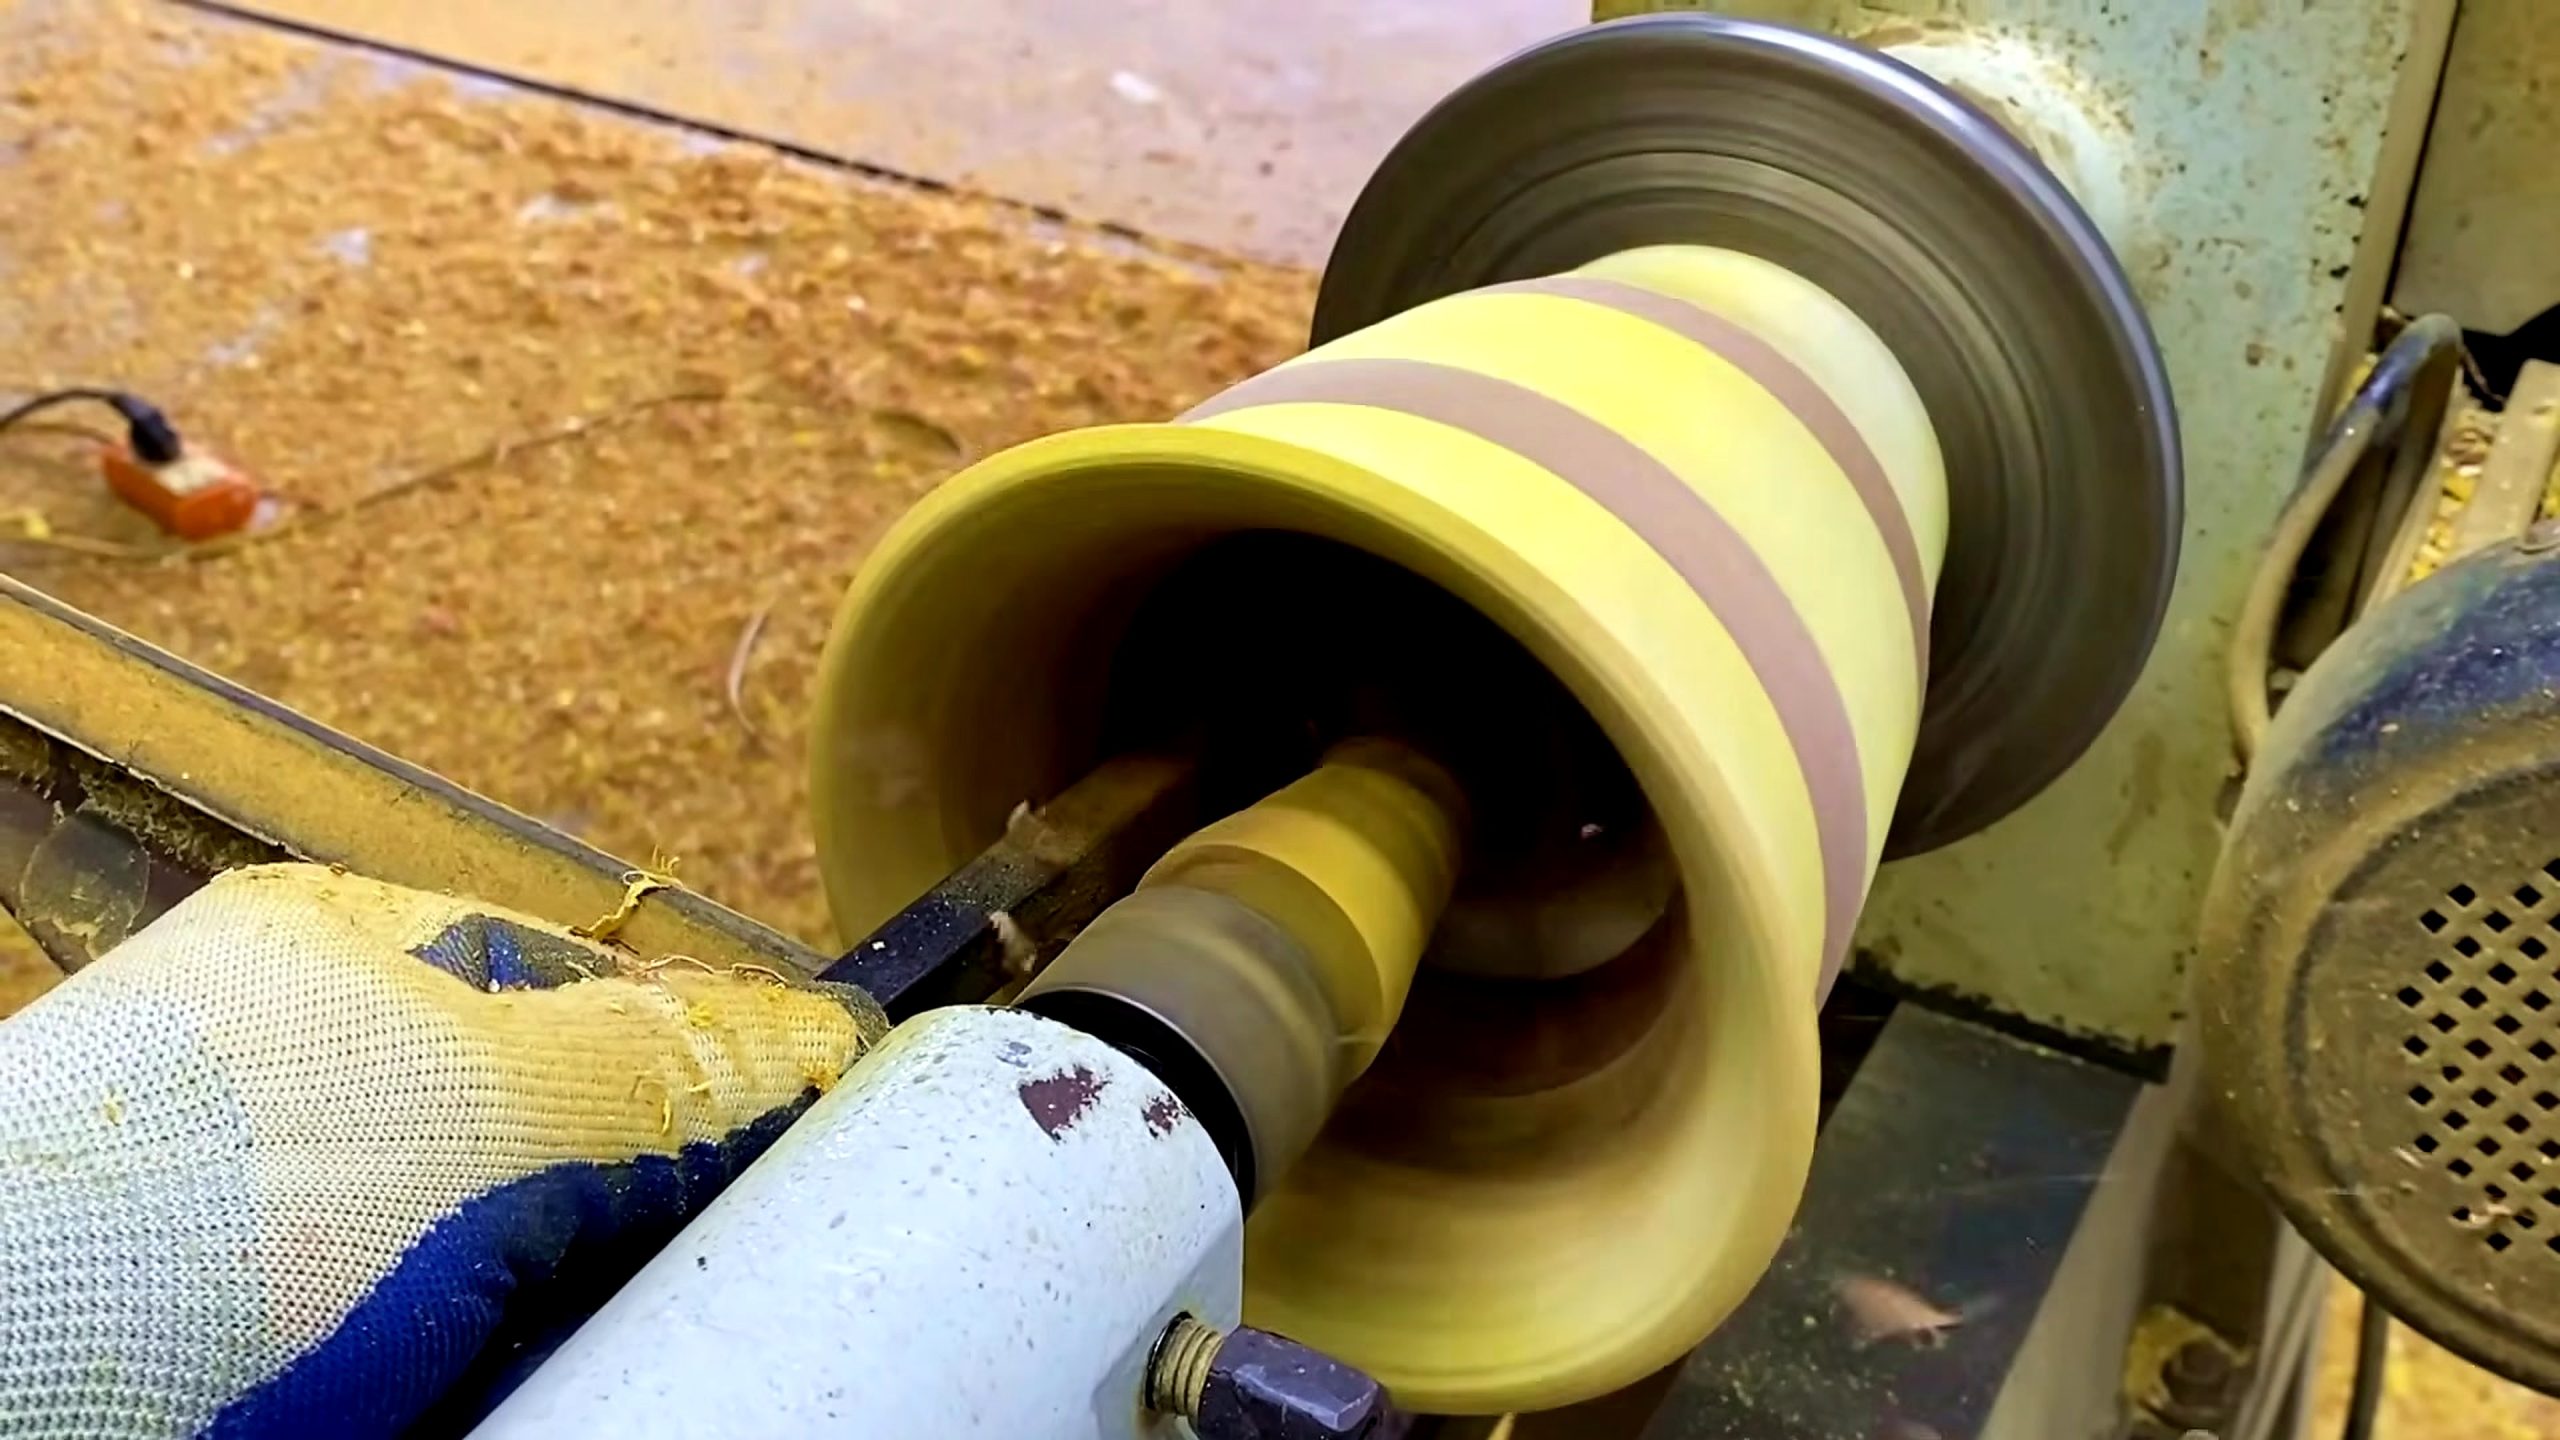
The fifth frame shows the turning tool reaching inside the opening while the striped vessel remains on the lathe. Hollowing changes the risk profile because the cutting edge is partly hidden, leverage increases as the tool reaches farther from the rest, and the remaining wall has less mass to resist vibration. The maker must now coordinate interior depth with the outside profile that was already established.
A useful hollowing sequence removes material in controlled zones rather than chasing the deepest point immediately. The opening is established first, then the interior curve is expanded while enough central mass remains to support the work. The exact method depends on the tool and holding setup, but the principle is visible in the source: the interior is developed progressively while the rim and outside shape remain available as references.
Wall thickness should be judged at several heights. A vessel can feel consistent near the rim and still hide a heavy lower wall or a thin shoulder. Calipers, depth references, sound, and careful cutting can support that judgment, but the source does not show a verified measurement system. Readers should not infer a number from the video. The safe claim is that wall control becomes more important as the tool reaches deeper and the exterior can no longer be changed freely.
Heat, vibration, and repeated tool marks are feedback. A changing sound may indicate a thinner wall, a different band, or an unstable cut. Increased vibration may come from tool overhang, mounting, speed, or uneven thickness. The correct response is to stop, inspect, and adjust the setup rather than force the same pass. Decorative turning rewards patience because a single catch can damage both the profile and the stripe alignment.
The rim is commonly refined late because it remains visible and vulnerable. Final cuts near the opening should minimize pressure. Sanding, if used, should not round over a crisp design line unintentionally or heat one band more than another. The footage supports the existence of a hollowing and rim-control stage, but it does not verify the final finish or whether the object is intended for food contact.
Using Stripe Direction As A Design Tool
The pale and dark bands are not decoration added after turning; they are built into the blank. That means the design is decided partly in two dimensions before the object becomes round. The width of each layer, its distance from the centerline, and the direction of the turning axis determine how the pattern will appear on the body, shoulder, rim, and interior.
On a straight cylinder, bands can read as even rings. On a convex shoulder, the same bands occupy different visible widths because the surface turns away from the viewer. Inside the vessel, the pattern reverses its spatial role and can appear compressed near the opening or expanded across the inner wall. A maker can use that behavior deliberately instead of treating the stripes as a random consequence of glue-up.
Contrast also exposes defects. Misaligned layers, sanding scratches, glue residue, and uneven transitions become easier to see when a dark band meets a pale one. This is an advantage during quality control. Directional light across the surface can reveal whether the profile is truly smooth or only looks smooth from the camera’s front angle.
The article avoids naming the species because color alone is unreliable. Lighting, dust, finish, camera processing, and dyed material can all alter appearance. For search and citation purposes, the accurate entity is a contrasting laminated wood blank turned into a hollow vessel. That description is specific enough to be useful without pretending the frames prove more than they show.
Tool And Workshop Buying Priorities
This source points to a workflow of tool categories rather than a single miracle invention. The visible stages involve a stable bench, measuring and marking tools, a table saw or another controlled trimming method, a wood lathe with appropriate capacity, a secure holding system, supported turning tools, dust and chip control, and inspection tools for the interior and exterior shape.
For affiliate research, buyers should start with capacity and compatibility. A lathe must accommodate the blank diameter and length with clearance. A chuck, faceplate, center, or accessory must fit the spindle and the intended holding method. A turning tool should match the operation and be maintained according to its manufacturer. Buying an isolated tool without checking the complete setup can create a weak link at the mounting or support stage.
Safety equipment also belongs in the buying plan. Face protection, respiratory protection appropriate to the dust, hearing protection, lighting, extraction, and a way to keep the floor clear of chips can matter as much as the cutting tool. The source frames show exposed machine work, but they are not a substitute for the manuals, guards, training, or local safety requirements that apply in a reader’s shop.
For more tool and process comparisons, readers can browse the Tecatool woodworking archive. The useful purchase question is not which product appeared in the video. It is which part of the workflow lacks control: stock preparation, safe trimming, secure mounting, tool support, hollowing reach, dust management, or inspection.
Quality Checklist Before Finishing
Before finish, the vessel should be reviewed as a form and as a laminated structure. Check whether the rim appears level, the body curve flows without flat spots, the shoulder is balanced, the base transition supports the design, and the stripes remain visually consistent. Rotate the work slowly by hand with power isolated so every side can be compared under the same light.
Inspect the interior separately. Look for ridges, torn areas, abrupt thickness changes, and tool marks that may become more visible after finish. A camera looking into the opening can miss the lower wall, so physical gauges and safe inspection methods are more reliable than a single frame. The source confirms a hollow interior operation, but not the final wall measurement.
Glue lines and color boundaries deserve another pass. A line that looks dark because of contrast is not automatically a gap, while a real opening should not be dismissed as part of the pattern. Clean the surface, change the light angle, and inspect both the outside and inside location. If there is doubt about structural integrity, the workpiece should not return to speed until the cause is understood.
Finishing choices depend on intended use, and that intent is not verified by the video. A decorative vessel, a dry-item bowl, and an object intended for food or water contact can require different materials and documentation. This article therefore stops at process review. It does not claim the source used a particular finish or that the completed object is suitable for a specific contact use.
Source Evidence And Claim Boundary
The evidence chain for this article is the source video from Unique Wood Turning, video ID 9b40C_FBTL0, and five frames at approximately 86, 236, 429, 665, and 857 seconds. Together they show a laminated rectangular blank, table-saw trimming, outside lathe shaping, transition refinement, and interior hollowing. Those stages support the focus keyword and the visible process explanation.
The article does not use the video’s reference to NASA professors as a technical endorsement. It does not claim that a named institution, engineer, buyer, or certification body evaluated the project. It also does not convert the video’s promotional wording into claims about novelty, price, performance, or invention ownership.
For Google and AI citation, the page separates observation from inference. Observation: a contrasting laminated blank is cut and turned into a hollow striped form. Practical inference: alignment, balance, support, and wall control are important in that workflow. Unverified: exact species, adhesive, dimensions, speed, tool model, finish, structural rating, and intended use.
That boundary makes the article more useful than a dramatic summary. A reader can trace each major section to a visible stage, understand the workshop decisions that matter, and know which details still require manufacturer documentation or direct measurement. The source embed near the end lets the original sequence be checked without turning the article into a copied transcript.
FAQ
What does the laminated wood bowl turning process show?
It shows a contrasting laminated blank moving from bench preparation and table-saw trimming to outside lathe shaping, rim development, and interior hollowing.
Is the project a segmented bowl or a laminated hollow vessel?
The visible block uses contrasting laminated sections and becomes a hollow bowl-like vessel. The exact construction method before the selected frames is not independently verified.
Why trim the blank before mounting it on the lathe?
Controlled trimming can remove unnecessary corner mass, reduce interrupted roughing cuts, and improve the starting balance while preserving material for mounting and final shaping.
What is the main lathe safety issue?
The blank must be securely held, cleared from the tool rest and machine parts, inspected for bond or material defects, and brought to stable rotation before speed or cutting load increases.
How should wall thickness be checked?
Check multiple heights with suitable gauges or references because a consistent rim does not prove that the shoulder and lower wall have the same thickness.
Does the source verify the wood species or glue?
No. The source frames show contrasting laminated wood, but they do not verify species, adhesive, moisture content, dimensions, speed, finish, or product brand.
Which tools matter most for this workflow?
Priorities include safe stock preparation, a suitable lathe and holding system, supported turning and hollowing tools, face and respiratory protection, dust control, lighting, and inspection tools.
Source Video
Sources: Unique Wood Turning, “I Wish NASA Professors Knew About These Inventions Sooner – Transforming Wood Useful Everyday Tools!,” YouTube, video ID 9b40C_FBTL0, accessed 2026-07-17. Frame evidence: approximately 86s, 236s, 429s, 665s, and 857s. Internal context: Tecatool woodworking archive and source-video process analysis.