Clean baseboard corners do not come from a magic cut. They come from measuring, test fitting, correcting the wall, and hiding the last tiny gap with restraint. The source video promises practical ways to make inside baseboard corners look cleaner, especially for DIY installers and trim carpenters who keep fighting gaps and misalignment.
This Tecatool rewrite fixes the old mistake in the title and body. The subject is baseboard corner joints, not a generic viral lesson format. The useful reader promise is simple: how to think through marking, cutting, fitting, fastening, caulking, and finish so the corner looks intentional instead of forced.
Related Tecatool reading: Woodworking.
Why Baseboard Corners Go Wrong
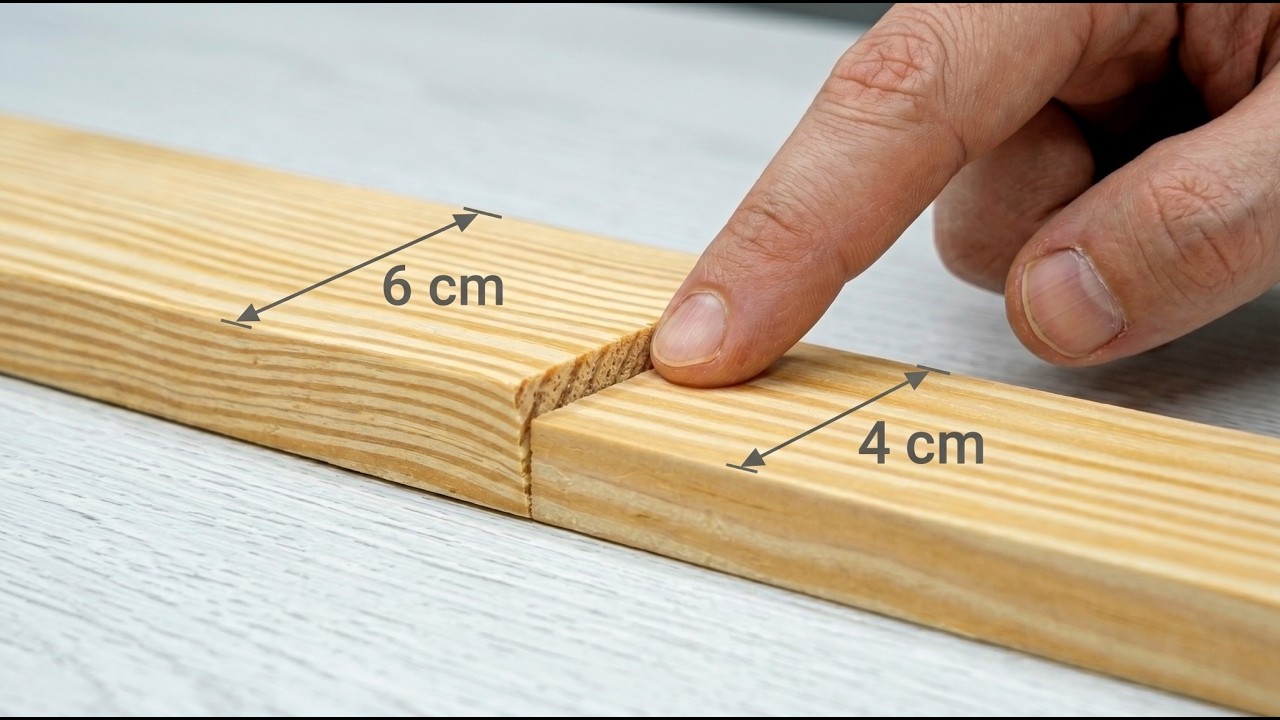
Most bad baseboard corners start with an assumption: that the wall is square, the floor is level, and the trim profile will meet perfectly after one cut. Real rooms rarely behave that politely. Drywall mud, bowed studs, uneven flooring, paint buildup, and slightly open corners all change the fit.
That is why a clean corner is a process. A miter saw can cut the angle, but the installer still has to read the wall, check the reveal, trim small amounts, and decide whether a coped joint or adjusted miter will look better in that specific corner.
Mark The Real Wall, Not The Ideal Wall
The practical value of the source is its focus on marking and measuring. Instead of trusting a perfect 45-degree assumption, the installer should mark from the actual corner and transfer the real length to the board. Small layout mistakes show quickly because baseboard sits at eye-level when the room is finished and light catches the joint.
A good habit is to cut slightly long, test the fit, then sneak up on the final length. That takes longer than a single aggressive cut, but it saves material and produces a tighter corner. For painted trim, the goal is a joint that needs only a thin finish line, not a wide bead of caulk pretending to be carpentry.
Test Fit Before Fastening
Dry fitting is where the corner reveals the truth. Push the boards into place without fasteners and check the face, top edge, bottom edge, and profile line. If the bottom touches but the top opens, the wall or cut angle may need adjustment. If the profile meets but the length is short, no amount of paint will make it look professional.
Fastening should happen after the joint is acceptable, not before. Once nails are in, every correction becomes harder. For long pieces, support matters too. A board that sags or twists during fastening can open a corner that looked good on the floor.
Finish Work Is Part Of The Joint
Caulk and filler are not cheating when used correctly. They are part of painted trim work. The mistake is using them to replace poor fitting. A narrow controlled line can hide tiny movement and make the transition clean. A thick smeared corner makes the trim look rushed.
Sanding, priming, paint touch-up, and cleaning the top edge all matter because baseboard sits against two imperfect surfaces: wall and floor. The finished result should make the viewer notice the room, not the joint.
Tecatool Takeaway
The best hook for this topic is not a numbered trick list. It is the promise that baseboard corners look seamless when the installer stops treating the wall like a perfect diagram. Measure the real space, cut with margin, test fit, correct slowly, fasten only after the joint behaves, and use finish work with restraint.
For Tecatool readers, that is the practical lesson: trim carpentry rewards patience more than force. The cleaner corner is usually the one that was checked one extra time before the nailer came out.
Frequently Asked Questions
Should baseboard corners always be mitered?
No. Miters can work, but coped joints are often better for inside corners because they handle imperfect walls and small movement more gracefully.
Why do baseboard joints open after cutting?
The usual causes are out-of-square walls, uneven floors, twisted trim, measurement error, or fastening before the pieces are fully test fitted.
Source: https://www.youtube.com/watch?v=ajmC45Bd2B8