
industrial sawmill work is not just a dramatic log reveal. In this Massive Wood Workshop source, the useful lesson is the order of control: stage the timber, read the grain, secure the cut path, expose a clean face, and inspect the result before claiming value or final quality.
Table of Contents
Industrial Sawmill: Short Answer
An industrial sawmill gives a large timber a controlled path through handling, cutting, and inspection. The source video shows why the first decisions matter: the crew must support the weight, choose a reference face, keep the feed path clear, and slow down when the exposed grain changes the plan. The article does not treat the title as proof of age, price, species, or final grade. It treats the visible workflow as a practical woodworking case.
That distinction matters for readers. A giant log can look impressive and still be difficult to dry, trim, joint, or sell. A rough first cut can look messy and still reveal strong stock. The useful question is not whether the clip is dramatic. The useful question is whether each step gives the next worker better information.
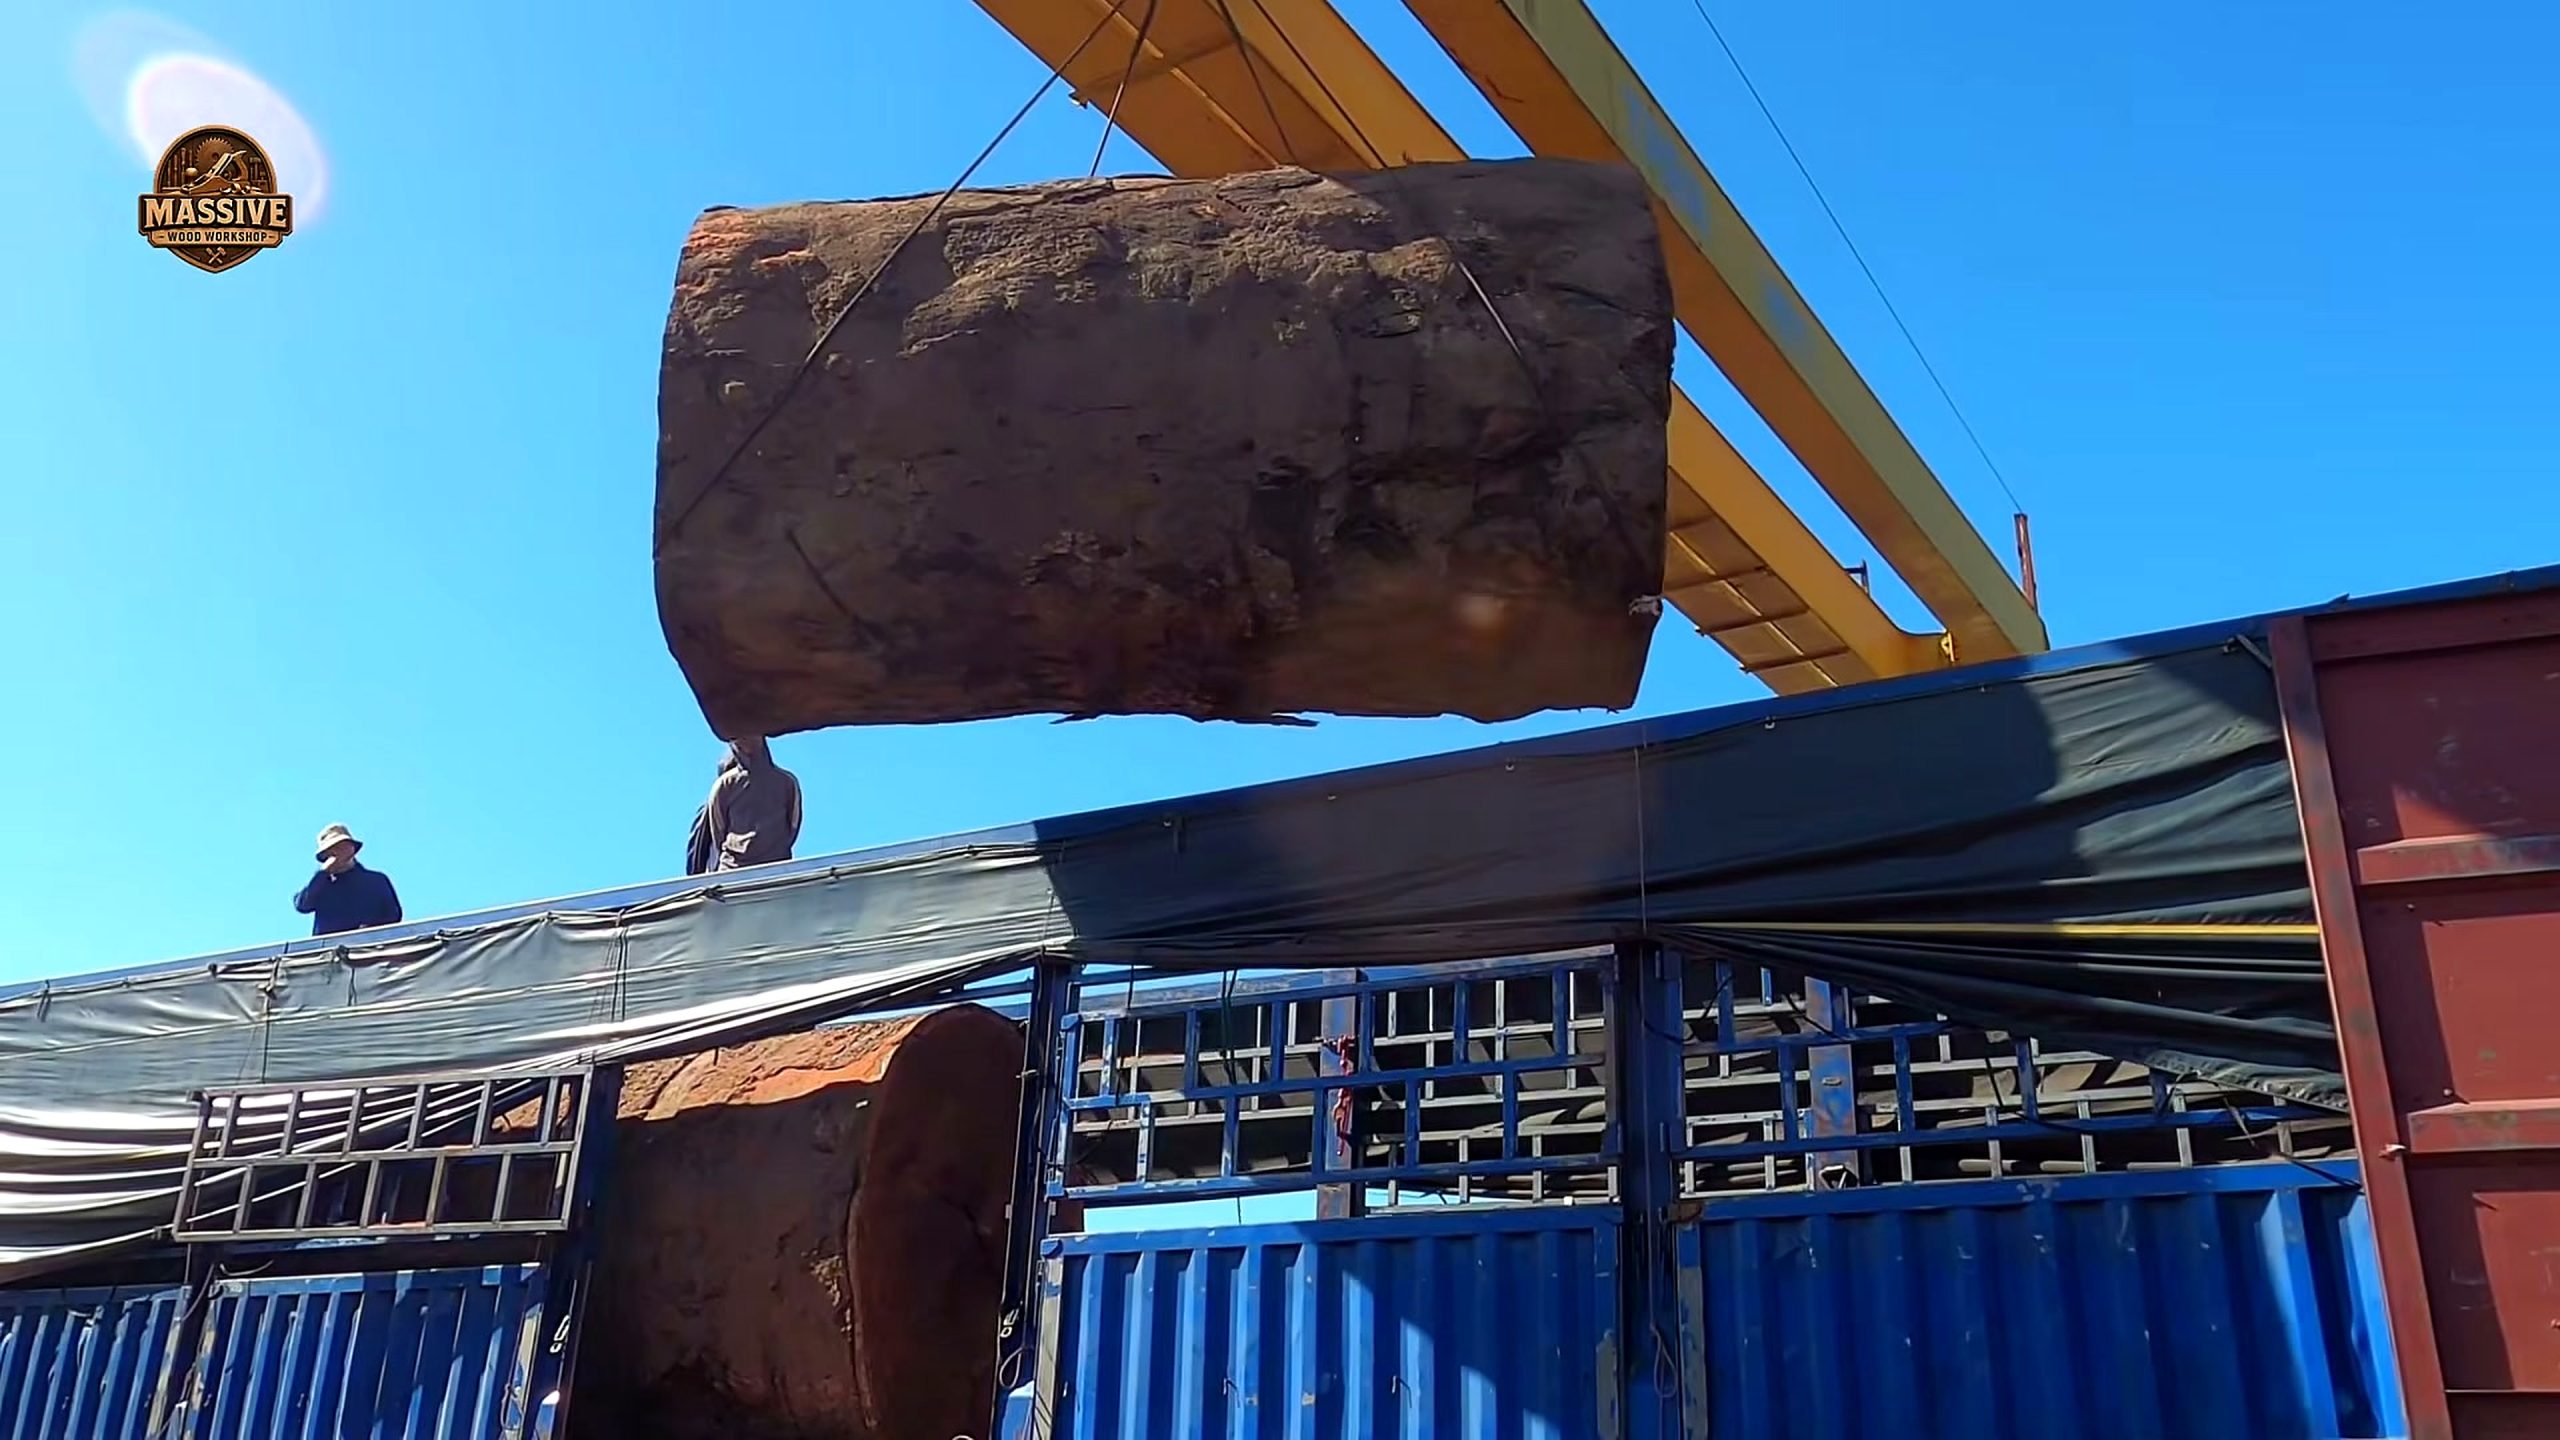
What The Video Actually Supports
The video title points to a giant timber facing an industrial sawmill. The visible evidence supports a process reading: a large workpiece is staged, the cutting area is prepared, and the operator works toward an exposed face that can be inspected. That is enough for a practical Tecatool article, but it is not enough to invent exact measurements, location, species, age, ownership history, price, or machine model.
Good source-based woodworking content should separate what can be seen from what would need paperwork or shop notes. In this case, viewers can check the relative scale of the timber, the need for stable handling, the cut direction, and the way the surface becomes more readable after the mill opens the log. Viewers cannot confirm moisture content or structural rating from the footage alone.
The strongest lesson is workflow discipline. A crew does not get a dependable slab or beam by pushing faster after the first reveal. They get it by pausing, reading the new face, and choosing the next move based on the wood in front of them. That is the sawmill habit a small shop can borrow even without owning industrial equipment.
Reading The Giant Timber Before Cutting
Before the blade reaches the work, the timber already gives warnings. Size affects lifting and feed control. Bark and outer shape can hide sweep, twist, checks, metal risk, rotten pockets, or stress. The ends can show cracks or color changes. The first face selected for cutting decides whether later pieces have a reliable reference or a chain of errors.
An industrial sawmill operator must also think about gravity. Heavy stock can shift when a slab releases. Offcuts can pinch the blade or fall into the wrong area. The larger the log, the more important it becomes to know where the weight will move after material is removed. A dramatic cut is only successful if the remaining timber is still under control.
For woodworkers watching the video, the best pause points are the moments before contact. Look at how much of the log is supported. Look at whether the operator has room to stand outside the danger line. Look for a clean receiving area for the first slab. These details are less glamorous than the reveal, but they explain why the reveal can happen safely.
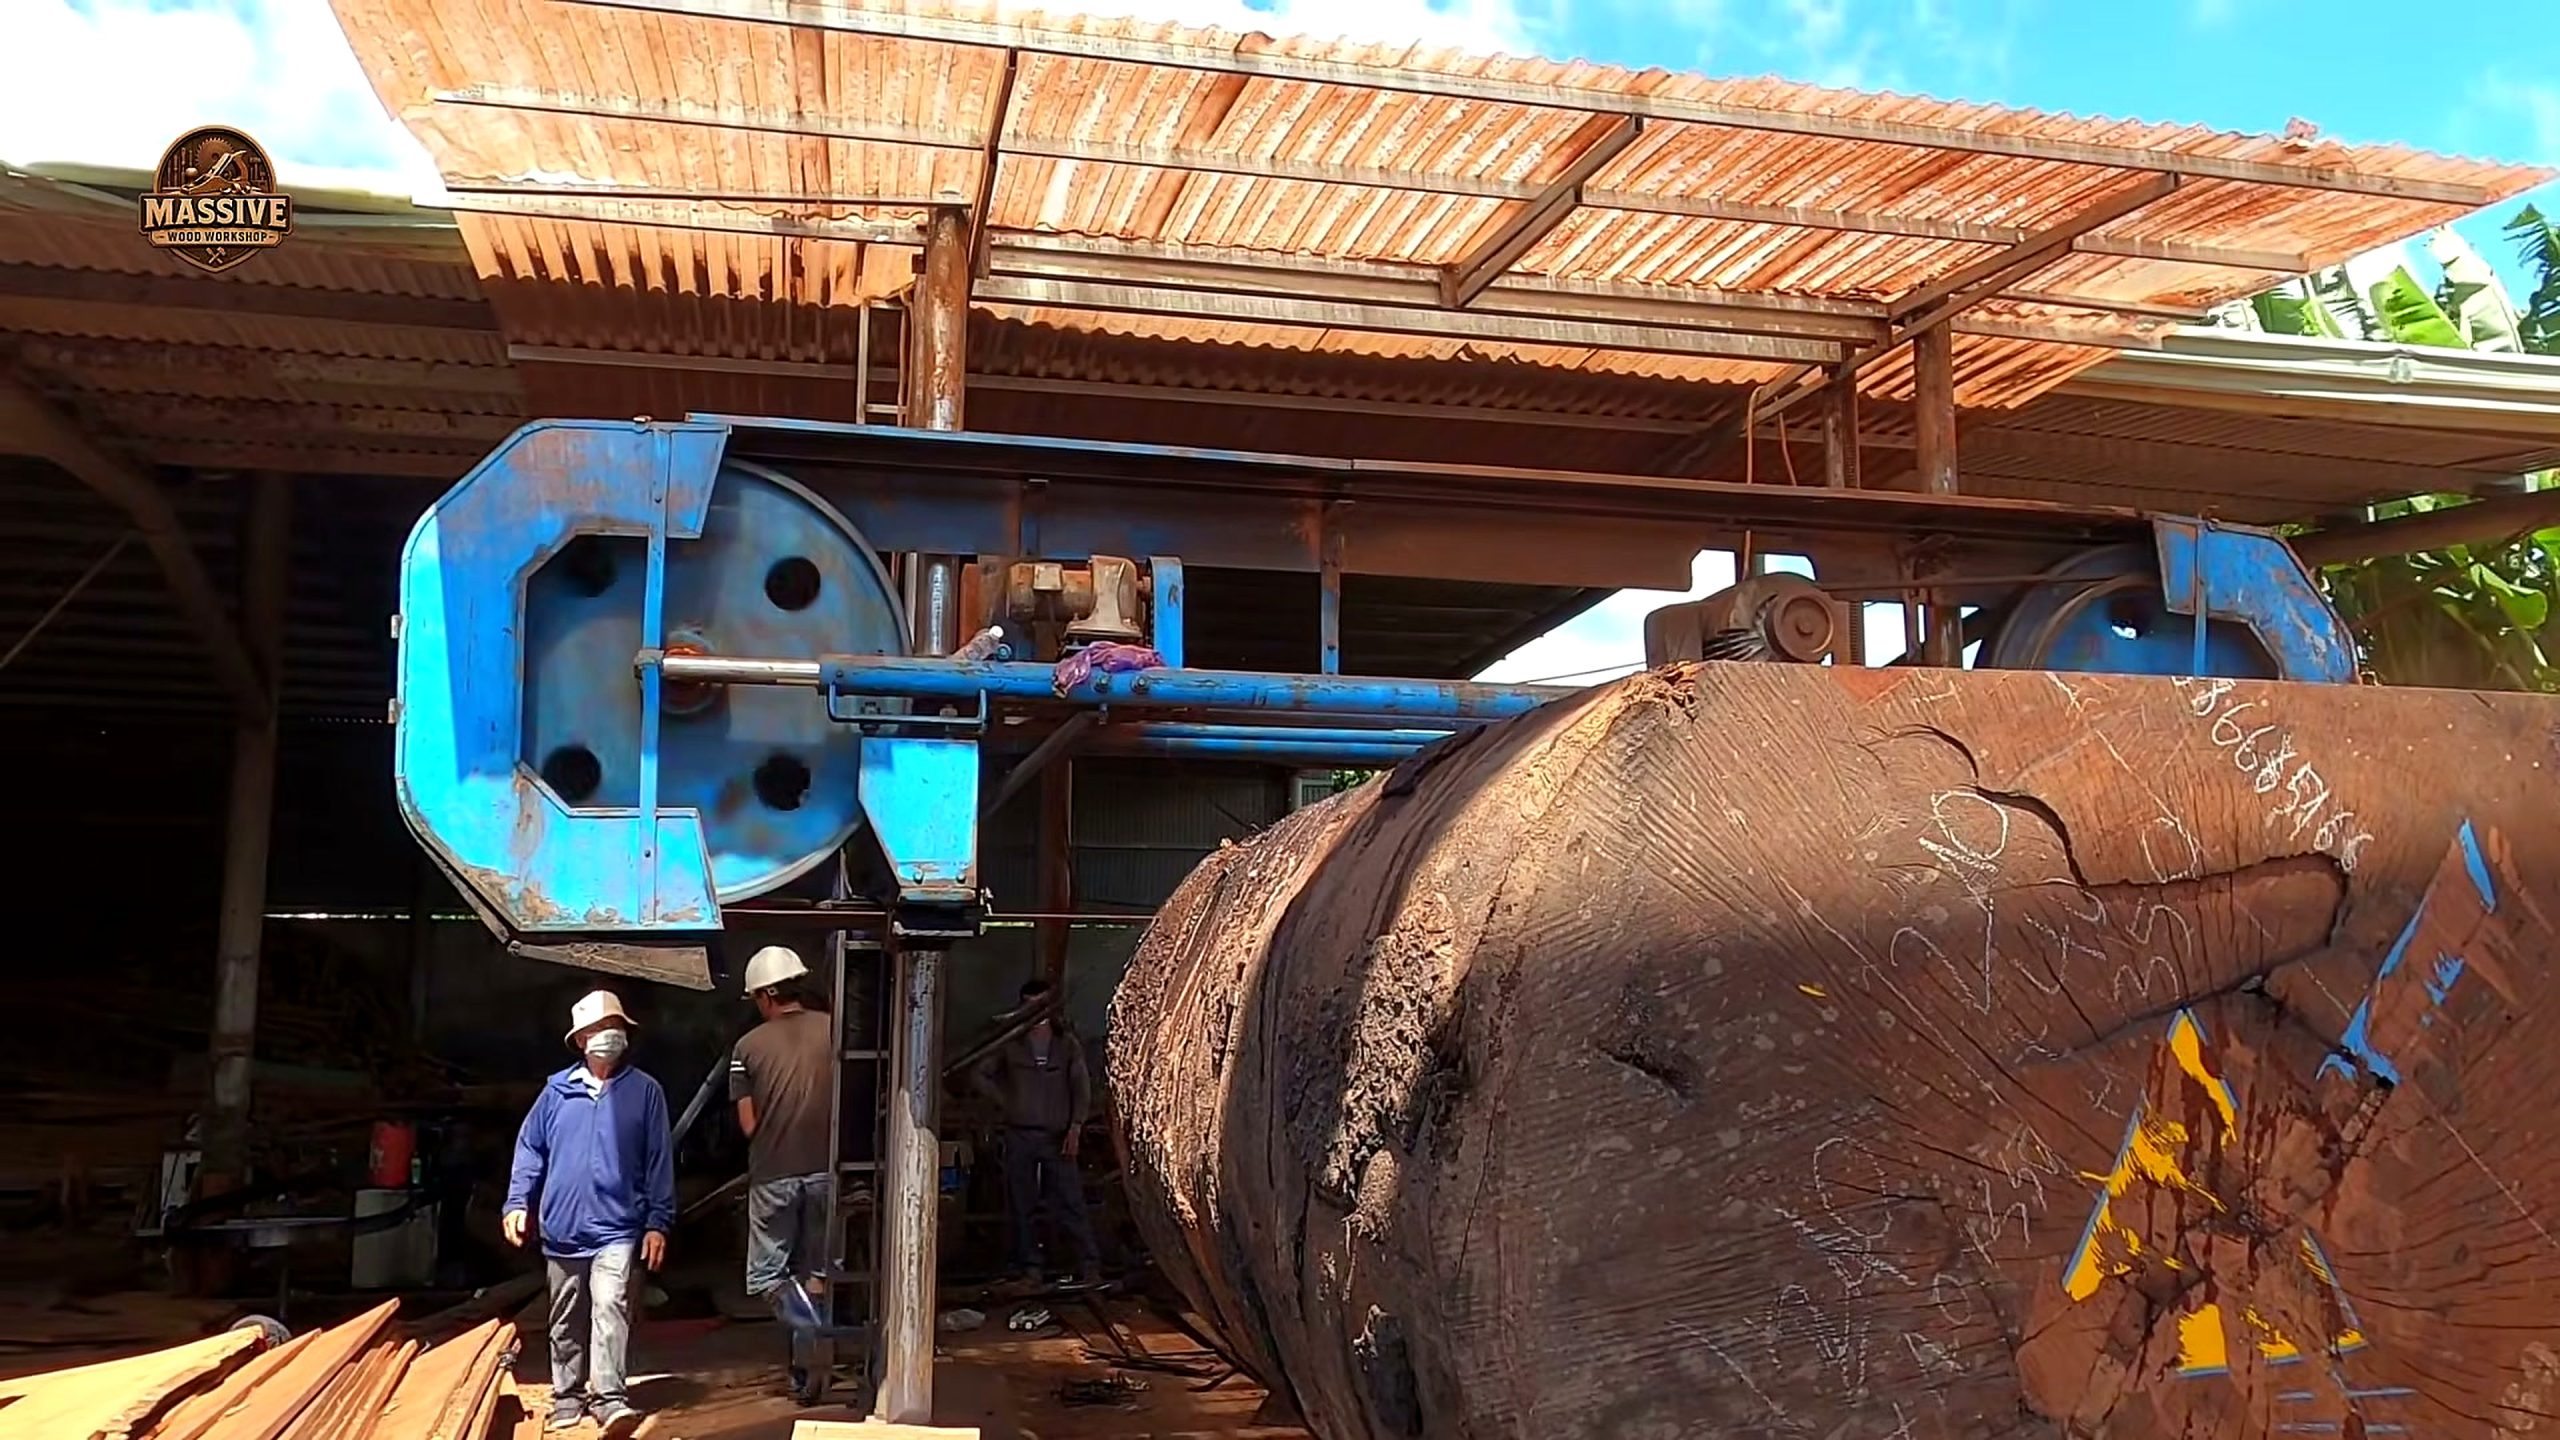
Setup Control Before The First Pass
Setup control is the difference between a mill cut and a gamble. The workpiece must sit in a position that lets the blade travel without forcing the timber to roll, climb, or bind. Clamps, dogs, stops, or other holding points must resist the direction of movement. The operator must be able to see the cut line and still stay away from pinch zones.
In a large sawmill workflow, the first pass often serves as a truth test. It removes enough material to show whether the grain, color, and internal condition match the outside clues. If the first face reveals checking, voids, decay, or unexpected movement, the plan should change. Continuing with the original plan just because it looked good before the cut is how valuable wood becomes waste.
Small workshops can apply the same idea with a band saw, chainsaw mill, table saw sled, jointer, planer, or track saw. The scale changes, but the order stays similar: support the stock, choose a reference, make a controlled opening cut, then inspect before repeating. The source video is useful because it makes that order visible at a larger scale.
Cut Sequence Inside The Mill
The cutting sequence in an industrial sawmill should be judged by control rather than speed. A clean sequence begins with the safest usable reference, keeps the feed steady, avoids twisting the workpiece, and leaves enough material for later correction. The operator is not only cutting wood. The operator is creating information for every later step.
When a face opens, the next decision becomes clearer. Straight grain can support long boards or slabs. Wild figure may be worth preserving for tabletops or decorative panels. Checks and unstable areas may need trimming. A pocket of decay can push the job toward shorter stock. None of those decisions should be made from the title of the video. They should be made from the exposed wood.
Feed control is another quiet detail. If the work enters too aggressively, the cut can wander or tear. If the stock is not held firmly, the blade can meet changing pressure. If offcuts are allowed to crowd the exit side, the last part of the cut can become more dangerous than the first. A careful crew watches the entire pass, not only the moment when the grain first appears.
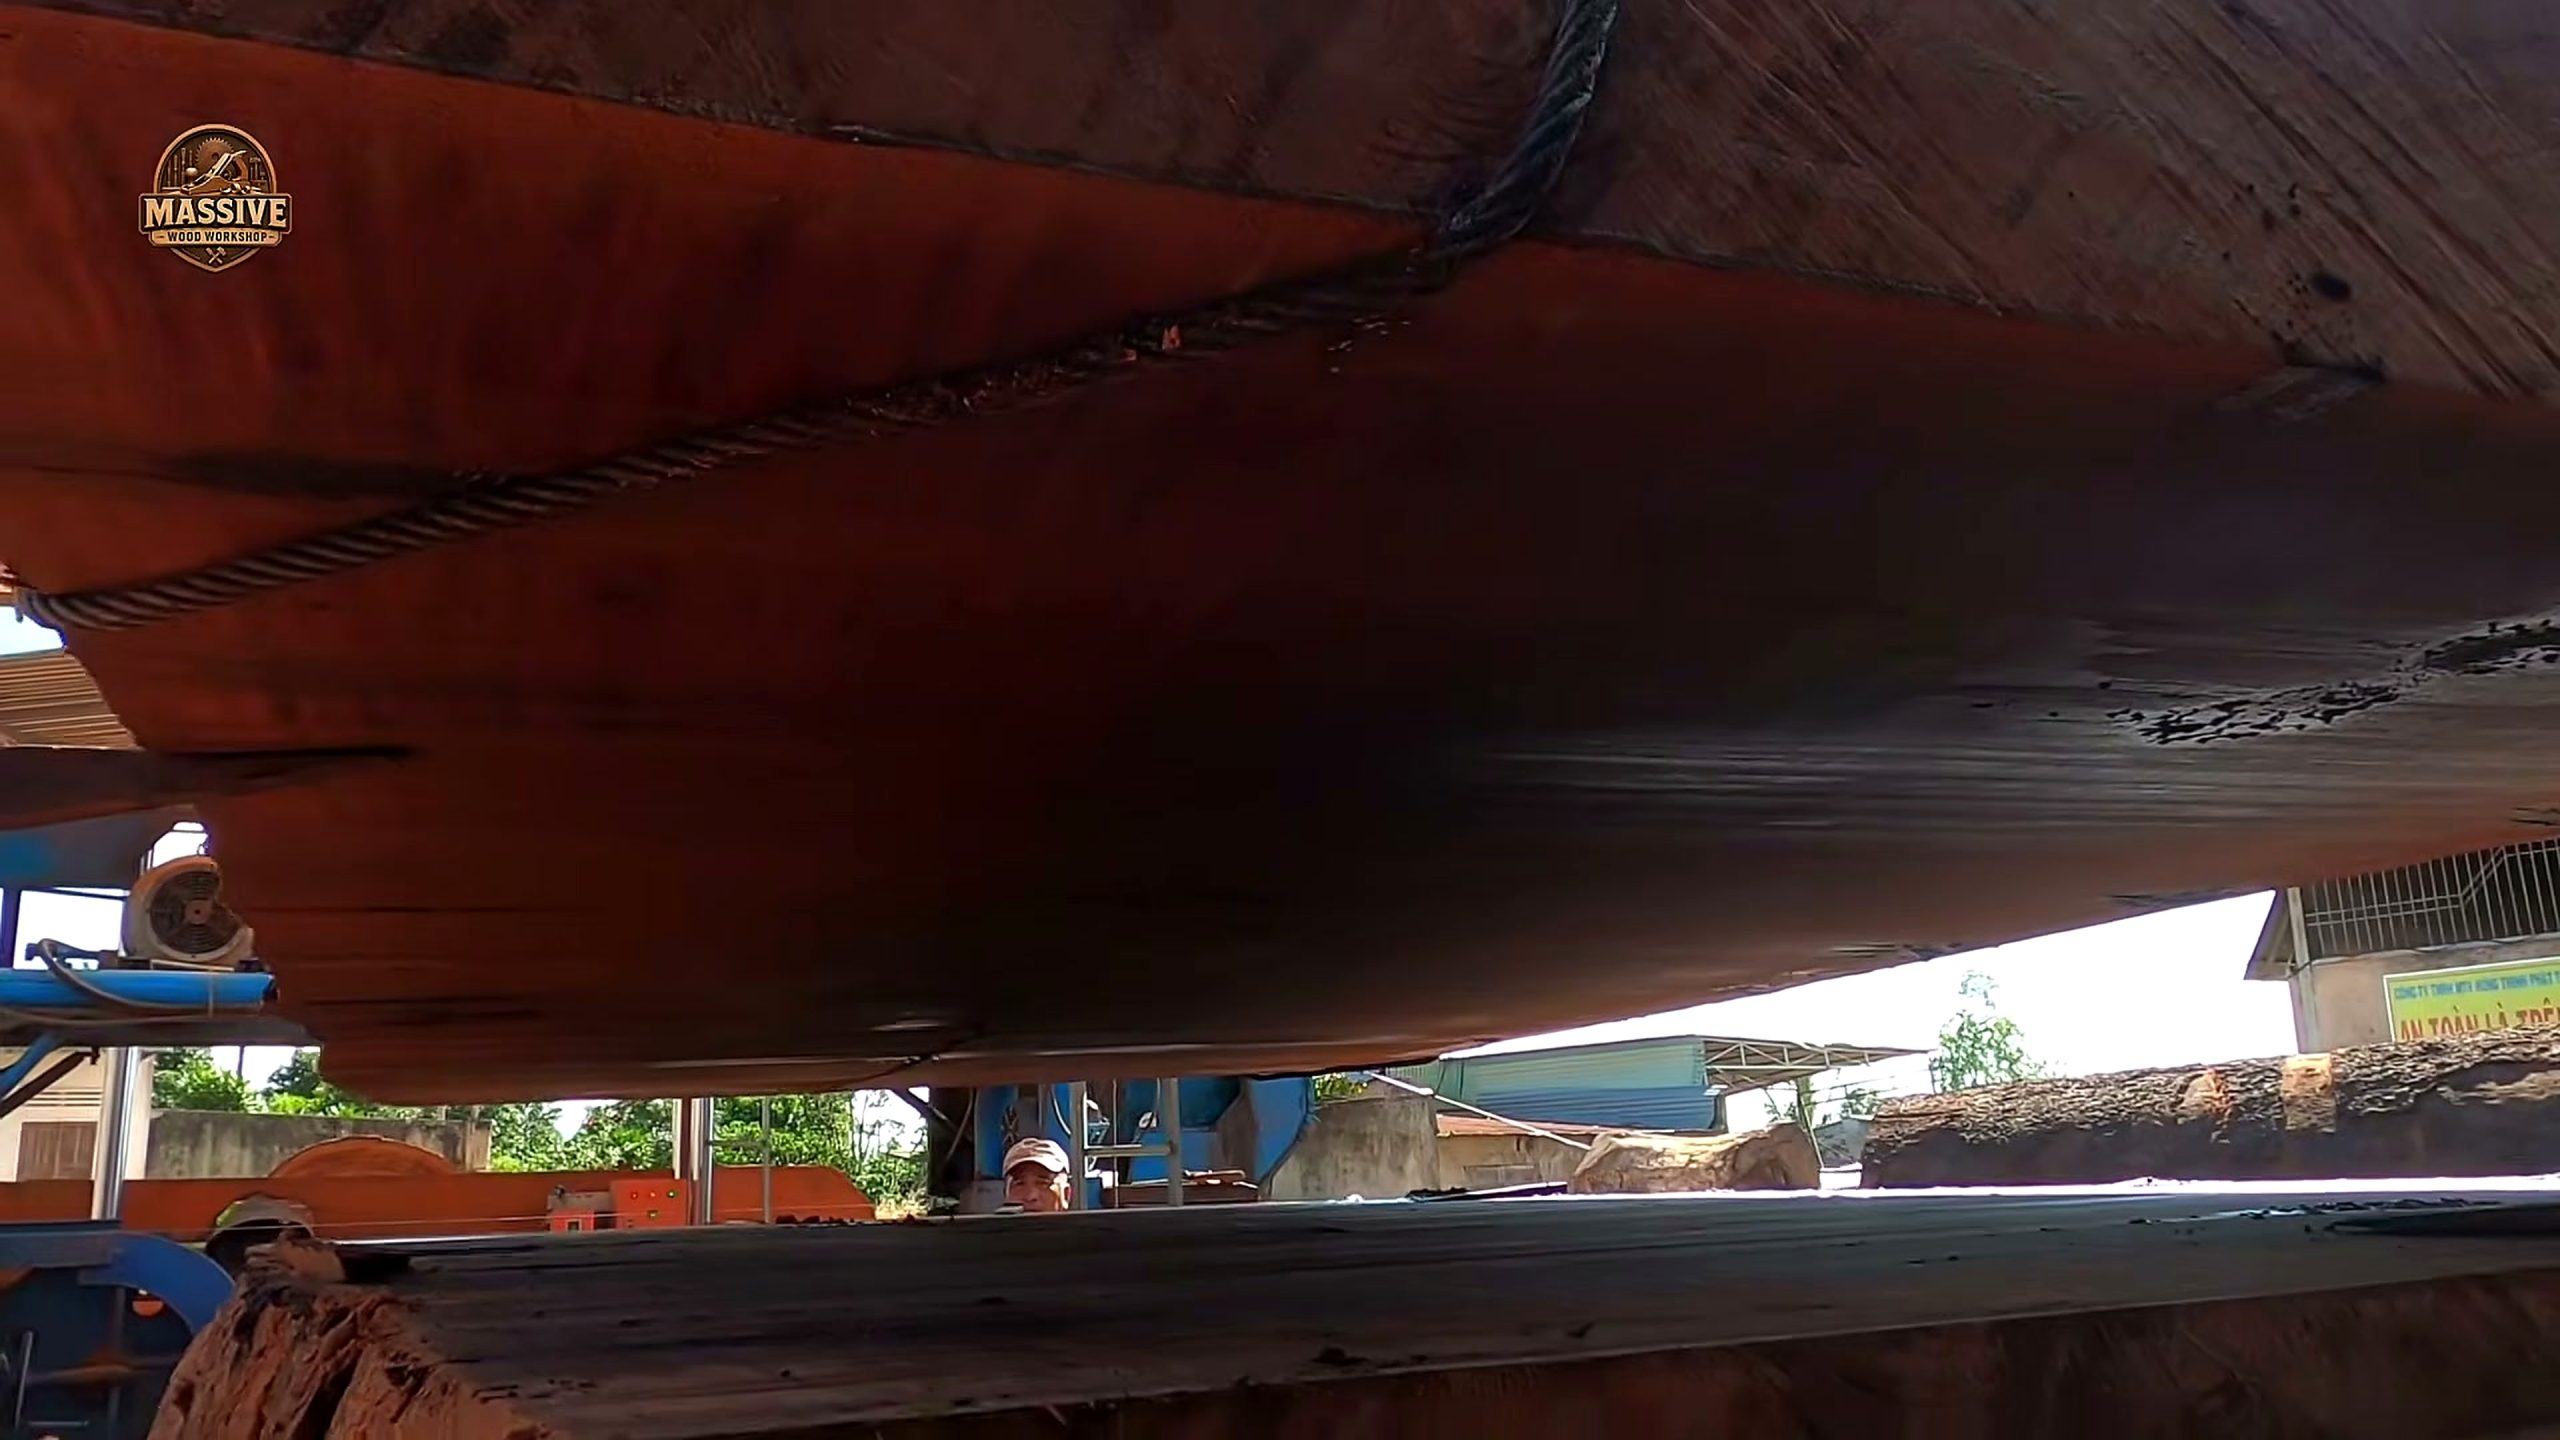
Inspection After The Reveal
The reveal is the beginning of inspection, not the end of the job. A fresh face can show figure, color, knots, mineral streaking, crack direction, or hidden defects. It can also mislead the viewer if the wood is still wet, dirty, stressed, or unevenly supported. A responsible sawmill article should avoid declaring a finished product before the material has been checked.
After the main cut, the useful inspection questions are simple. Is the face flat enough to become a reference? Are there defects that should be cut away now instead of carried through the job? Does the grain suggest a better orientation for the next pass? Is the piece stable enough to move, sticker, dry, or mill again? If the answer is uncertain, the next step should be slower.
For furniture makers, inspection also includes future movement. A slab that looks impressive on camera can still cup, split, or twist during drying. A beam that looks clean can still need trimming, sealing, or grading. The industrial sawmill gives the timber a first readable shape, but the final value comes from drying, storage, joinery, and finishing discipline.
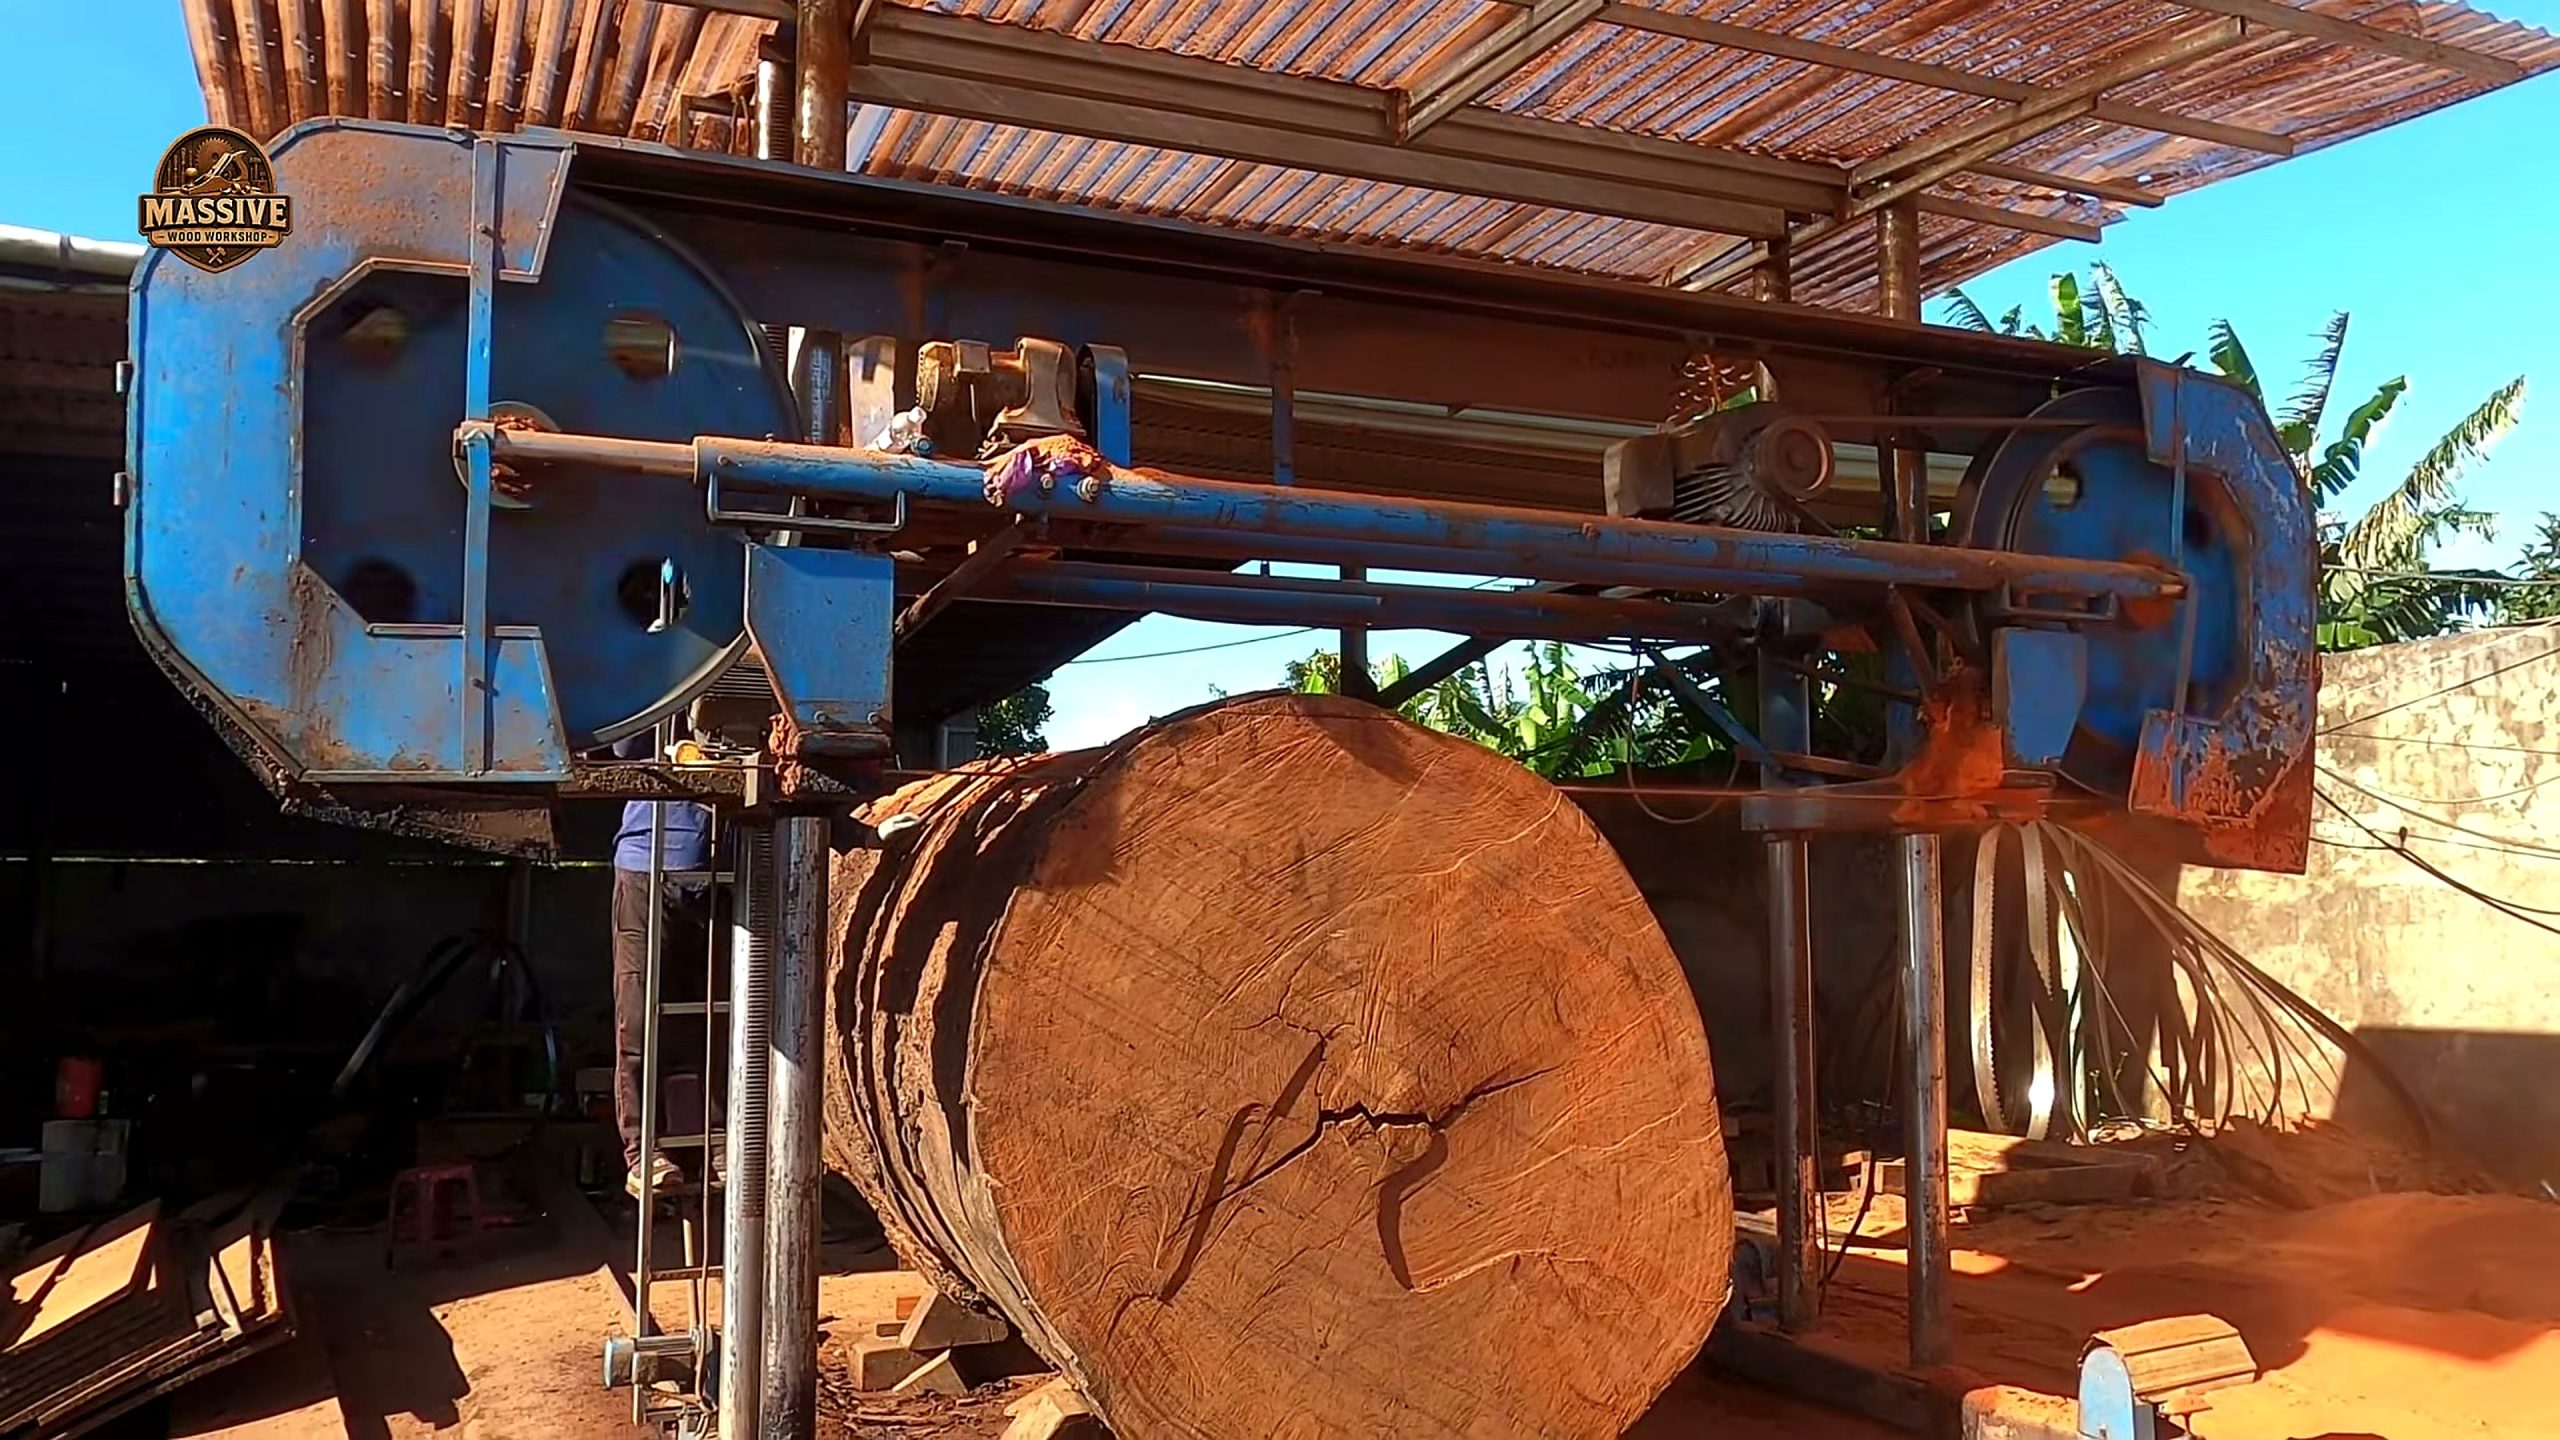
Shop Lessons For Tecatool Readers
The first shop lesson is to plan the cut around the next operation. If the next step is drying, leave enough thickness and seal vulnerable ends when appropriate. If the next step is resawing, preserve a reference face. If the next step is a tabletop, protect figure and avoid cutting away the best visual field. The mill is one step in a longer chain.
The second lesson is to document the process. Photos of the log ends, first face, defects, and later boards help a shop remember why it made each decision. That documentation can also help customers understand why some boards cost more, why some sections were rejected, and why large timber needs time before it becomes finished work.
The third lesson is to match tools to risk. Heavy work may need lifting gear, stable stands, sharp blades, face protection, hearing protection, dust control, and a clean exit path. A small shop should not copy industrial handling without the equipment, space, and experience to control the same hazards. The transferable part is the inspection habit, not the scale of the machinery.
Readers who buy tools should focus on repeatable control: fence accuracy, blade condition, tracking, dust collection, outfeed support, clamp quality, and measurement habits. Those details rarely appear in a video title, but they decide whether a beautiful piece of wood becomes usable stock.
Drying And Storage Plan After Milling
Large timber becomes valuable only if the plan continues after the sawmill. A fresh face can be attractive, but fresh-cut wood still needs air movement, sticker spacing, end protection when appropriate, weight or restraint where needed, and enough time for moisture to leave evenly. Skipping that stage can turn a promising slab into a cracked, cupped, or twisted problem.
The source video is useful here because it reminds readers that the first cut is not the finish line. The crew may reveal the inside of the timber, but the shop still has to decide how the boards or slabs will be moved, where they will rest, and how they will be kept clean. A careless storage area can undo careful milling. Dirt, standing water, uneven stickers, direct sun, and poor support all create new defects after the camera stops.
A practical storage checklist starts with labels. Mark the date, orientation, thickness, and any visible defect that affected the cut. Keep related pieces together so bookmatched or sequential stock is not separated by accident. Use stickers of consistent thickness, align them vertically, and leave space for air to pass. Heavy slabs may also need a flat base and top weight to reduce movement while drying.
For buyers, drying status should be treated as a real cost. A cheaper slab that is wet, unstable, and untracked may become more expensive than a properly dried piece. Ask whether the material is air dried, kiln dried, partially dried, or freshly cut. Ask how moisture was measured. Ask whether the seller can explain where the board came from in the log. Those answers are more useful than a dramatic story about the tree.
Grading Worksheet For The First Readable Face
When the industrial sawmill opens the timber, the first readable face should be graded in a calm order. Start with structure: cracks, loose knots, bark inclusions, pith, ring shake, rot, and areas that look punky or soft. Then check movement risk: grain runout, tension signs, twist, and parts that may release stress after another cut. Finally check visual value: figure, color, contrast, width, and whether the best area can be preserved in a useful size.
A worksheet keeps the viewer from being distracted by the biggest piece. Wide material is exciting, but width alone does not guarantee quality. A narrower board with stable grain can be more useful than a huge slab with a crack through the center. The right grading question is: what can this face become after drying, flattening, trimming, and finishing?
For workshop planning, divide the exposed material into zones. One zone may become table stock. Another may become shorter blanks. Another may be waste because it contains unstable defects. Marking those zones early helps the shop avoid emotional cutting. It also helps price the material honestly, because not every square inch of a giant timber carries the same value.
If the source video shows only the reveal and not the later grading, the article should stop at process education. It can teach readers where to look and what to ask, but it cannot promise the final yield. That is a strength, not a weakness. Clear boundaries make the article more useful for buyers who need dependable decisions.
Safety Notes Before Copying A Large Timber Cut
Large sawmill work carries hazards that a video can make look smaller than they are. Heavy timber can roll, bind, drop, or spring when internal stress releases. Blades can meet dirt, stones, or hidden metal. Offcuts can become trip hazards. Dust and noise can build quickly. A viewer should treat every dramatic moment as a reason to improve the plan, not as permission to copy the setup.
Minimum safety planning includes personal protective equipment, machine guards, emergency stop access, a clear work zone, communication between operators, and a stop signal everyone understands. It also includes boring details: where the finished piece will go, where the waste will land, how the next lift will happen, and who is allowed near the machine while the cut is active.
Small shops should scale the lesson down. If a home woodworker is using a chainsaw mill, portable band sawmill, or track saw on heavy stock, the same principles still apply: support both sides, avoid pinch points, keep the body out of the cut path, and stop when the wood starts behaving differently than expected. The machine may be smaller, but the wood can still move with enough force to injure a person or ruin the cut.
The safest takeaway from the source is patience. Pause before the first cut. Pause after the first face appears. Pause before moving the slab. Each pause gives the operator a chance to see a hazard that was not visible a moment earlier.
Tool And Service Buying Context
If the video inspires a project, the first buying decision may not be a larger saw. It may be a better support system, moisture meter, marking tool, blade, respirator, clamp set, or milling service. Many shops save money by hiring the heavy first cut and investing in the tools that improve drying, layout, flattening, and finishing after the slab arrives.
For an industrial sawmill service, ask how the log will be handled, what thickness options are available, whether metal detection is used, how defects are handled, and what drying or storage steps are recommended. For a home or small professional shop, ask whether the material can be moved safely, stored flat, and processed without rushing. The wrong logistics can ruin good timber before the first furniture operation begins.
Tecatool readers should treat the source video as a visual case study. It can help a buyer prepare better questions, but it should not replace local safety rules, machine manuals, or professional grading. The best result comes from combining the visual lesson with measured planning.
A simple buying worksheet can prevent expensive mistakes. Write down the maximum stock size your shop can move, the flattest storage area available, the tools needed for flattening, the dust collection limits, and the time you can allow for drying. Then compare those constraints with the piece you want to buy. If the timber is larger than your handling plan, the smarter purchase may be a milling service, smaller sequential boards, or a prepared slab instead of a raw giant section.
The tool budget should also include consumables. Large timber can dull blades, load sandpaper, fill dust bags, and require extra finish. It may need epoxy or stabilizing work if defects are part of the design. These costs are not failures; they are part of honest planning. A video can show the exciting cut, but a shop earns profit by pricing the full chain from raw wood to finished surface.
For service providers, the article suggests a better customer conversation. Show the customer the first face, point out defects, explain drying time, and give options before making irreversible cuts. That transparency builds trust and reduces disputes. It also turns a dramatic sawmill moment into a professional service process. Readers who want more tool and process breakdowns can use the Tecatool woodworking homepage as the next internal reference point.

FAQ
What does an industrial sawmill do in this source video?
It turns a very large timber into readable stock by staging the log, controlling the first cuts, checking the exposed face, and preparing the material for later drying, trimming, or shop use.
Can this video prove the exact age or value of the timber?
No. The visible footage can show scale, handling, cutting order, and grain reveal, but exact age, species, market value, and final grade need separate documentation.
What should woodworkers inspect before copying the process?
They should check work support, feed path, blade clearance, pinch points, operator position, dust control, and whether the first cut creates a trustworthy reference face.
Why does Tecatool use real video frames in this article?
Real frames let readers connect each process point to the source footage instead of relying on generic sawmill advice or stock images.
Source Video
The embedded video below is the source used for this Tecatool process reading.
Sources: Massive Wood Workshop public YouTube video and the Tecatool frame set captured from that video for process review.