
3000-year-old giant log milling requires careful examination of timber scale, grain direction, internal defects, support points, and face opening. Massive Wood Workshop demonstrates a breakdown sequence that transitions from initial setup to reveal and subsequent stock evaluation.
The 3000-year-old giant log workflow is useful because it shows how a sawmill operator reads a huge trunk before committing to deep cuts. In this 3000-year-old giant log case, the practical lesson is not the dramatic age claim; it is the visible sequence of support, blade entry, slab release, and inspection.
Table of Contents
3000-Year-Old Giant Log: The Short Answer
The footage from Massive Wood Workshop presents a large-scale log milling workflow rather than a simple demonstration. Evaluating the video involves observing the physical log size, fiber alignment, structural defects, clamp positions, and the appearance of the initial cut surface.
Analyzing the demonstration helps woodworkers understand proper machinery alignment, cutting paths, and timber handling. Viewers can observe how sawyers establish reference planes on massive timber before making successive dimensional cuts. Initial steps focus on securing the trunk on the carriage bed, calculating blade height, and setting the proper feed speed to prevent blade deflection or kerf drift during primary passes.
Observing key operational choices, such as bed placement and operator posture, provides practical insights for primary log breakdown. Paying attention to workholding stability and feeding speed highlights essential safety standards during heavy milling. Sawyers must continuously monitor internal stress release as large slabs are sliced, since wood fibers can pinch the saw band or bow outward once surface tension is relieved.
In heavy breakdown operations, the first opening cut determines the yield and clarity of every subsequent slab. By establishing a flat reference plane, operators reduce wood waste and create predictable datum lines for subsequent quarter-sawing or plain-sawing passes. Understanding these fundamental mechanics gives sawmill operators and woodworkers clear guidance when handling high-capacity timber stock.
What The Footage Shows
The video published by Massive Wood Workshop documents the step-by-step breakdown of a massive timber log. The visual record provides clear reference points regarding equipment layout, log orientation, bed support, and cutting blade engagement.
For Tecatool readers, the 3000-year-old giant log source works as a sawmill checklist: confirm support, watch the first reference face, compare each cut path, and separate visible wood behavior from unsupported promotional claims.
Initial frames highlight the scale of the timber relative to the milling rig. Viewers can inspect the physical posture of the log on the carriage, noting how support blocks stabilize the curved trunk before the saw blade makes contact. Heavy log dogs and adjustable side supports lock the trunk down to prevent twisting or rocking during high-torque blade passes.
Watching the footage closely shows critical operational details between major cuts. Pauses during carriage passes, hand adjustments, feed rate changes, and wedge placement demonstrate how sawyers manage internal stress in large timber stock. Wooden or plastic wedges are inserted directly into the cut kerf behind the advancing blade to prevent heavy slabs from sagging and binding the cutting band.
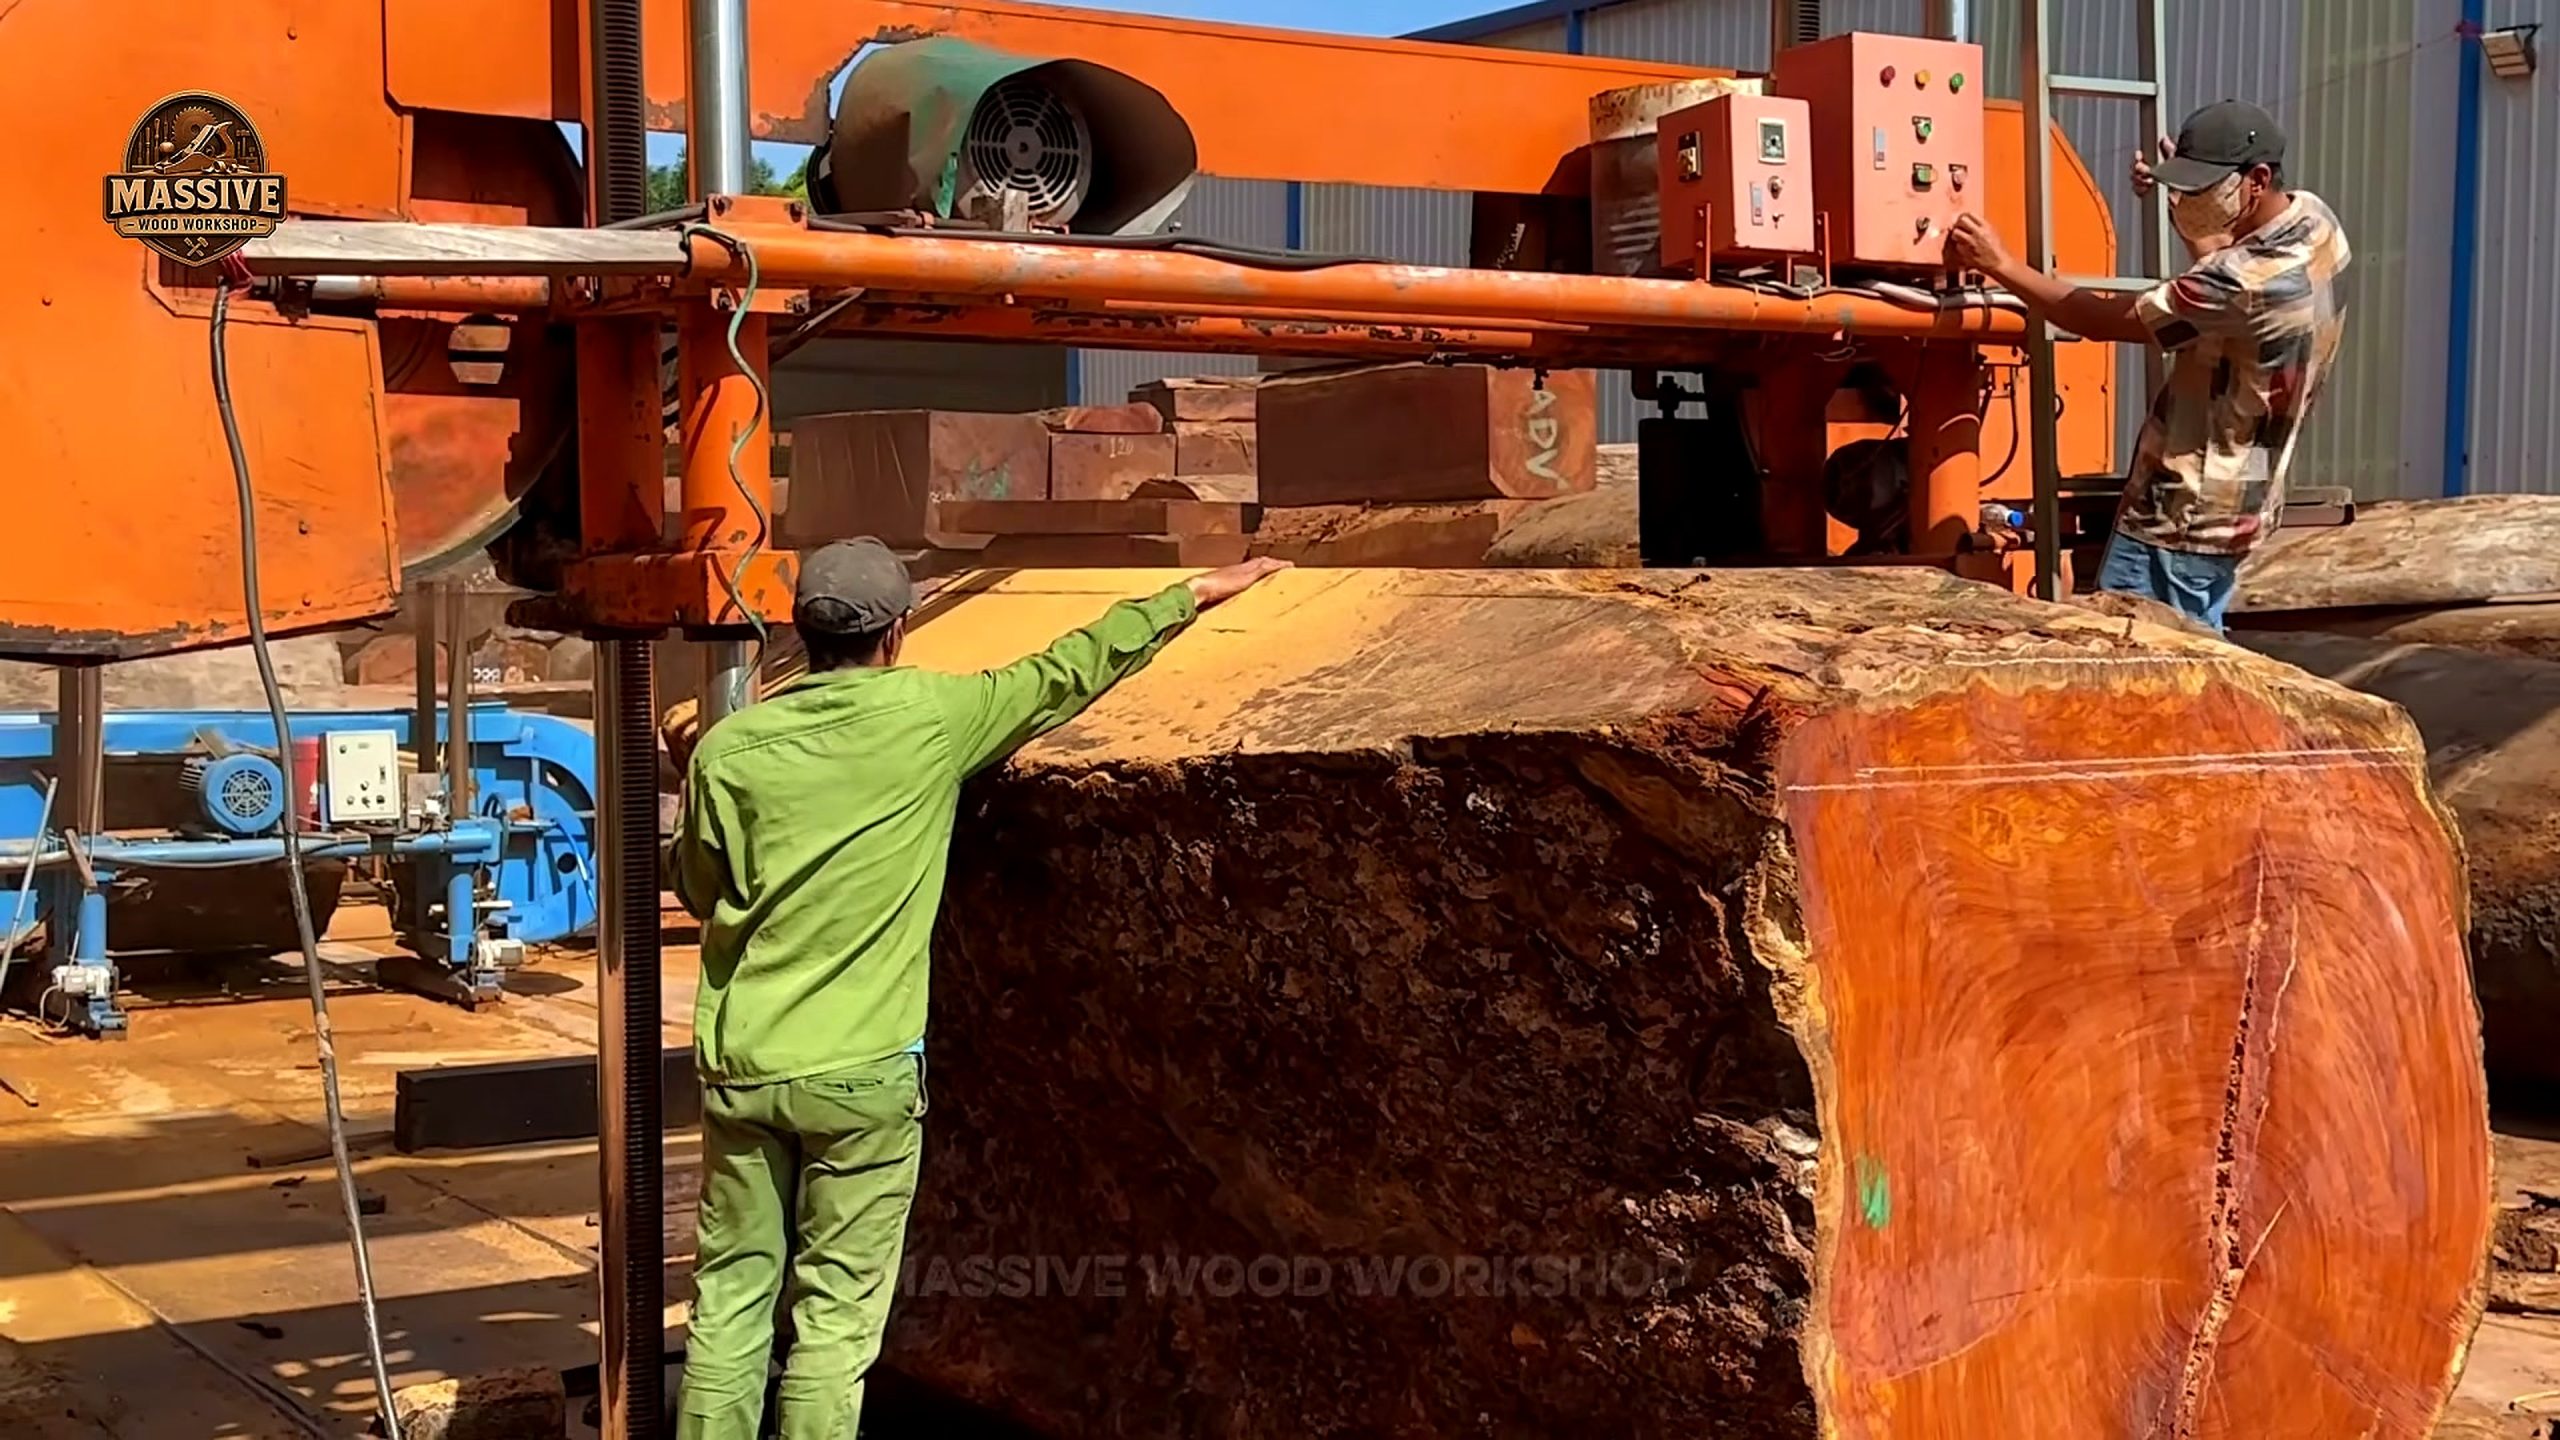
As the band mill advances along the bed, wood flour and sawdust exit through the discharge chute, giving operators a real-time signal of blade sharpness and feed resistance. Smooth, uniform dust production indicates balanced tooth set and correct linear velocity, whereas fine dust or smoking points to dull teeth or excessive feed pressure. The video captures these subtle mechanical signals clearly across multiple cutting passes.
Furthermore, the visual record emphasizes multi-pass positioning. After the top opening slab is removed, operators evaluate whether to make continuous parallel cuts for wide flitches or to rotate the log 90 degrees to square off a dimensional cant. This systematic approach illustrates the operational balance between maximizing slab width and preserving structural stability throughout the milling cycle.
Material And Workpiece Reading
Evaluating raw timber begins by examining log dimensions, growth rings, surface checking, knot locations, and structural support. Before making the first cut, sawyers inspect the trunk to select an optimal opening face that maximizes clear lumber yield.
Proper support points prevent sagging or binding during the initial pass. Choosing a clean reference plane allows subsequent cuts to produce straight, flat slabs while minimizing stress relief distortion. Timber inspection requires assessing the following key structural features before blade entry:
- Growth Ring Density: Narrow growth rings indicate slow growth and tight grain, while wide rings point to rapid growth and potential variations in density.
- Pith Location and Integrity: Identifying the central pith helps sawyers anticipate heart checks, boxed-pith stability, and internal radial cracks.
- Sapwood to Heartwood Transition: Inspecting the outer perimeter reveals the thickness of perishable sapwood relative to durable, highly figured heartwood.
- Surface Checking and Weathering: End-grain checks and surface splits dictate how much trim waste must be factored into length calculations.
- Tension and Compression Wood: Reaction wood caused by leaning trunks creates unequal internal stress that can spring slabs out of flat during milling.
Although video titles emphasize dramatic age or beauty, practical evaluation relies on visible physical characteristics. Inspecting grain patterns, sapwood margins, and heartwood color yields meaningful technical information for woodworking applications.
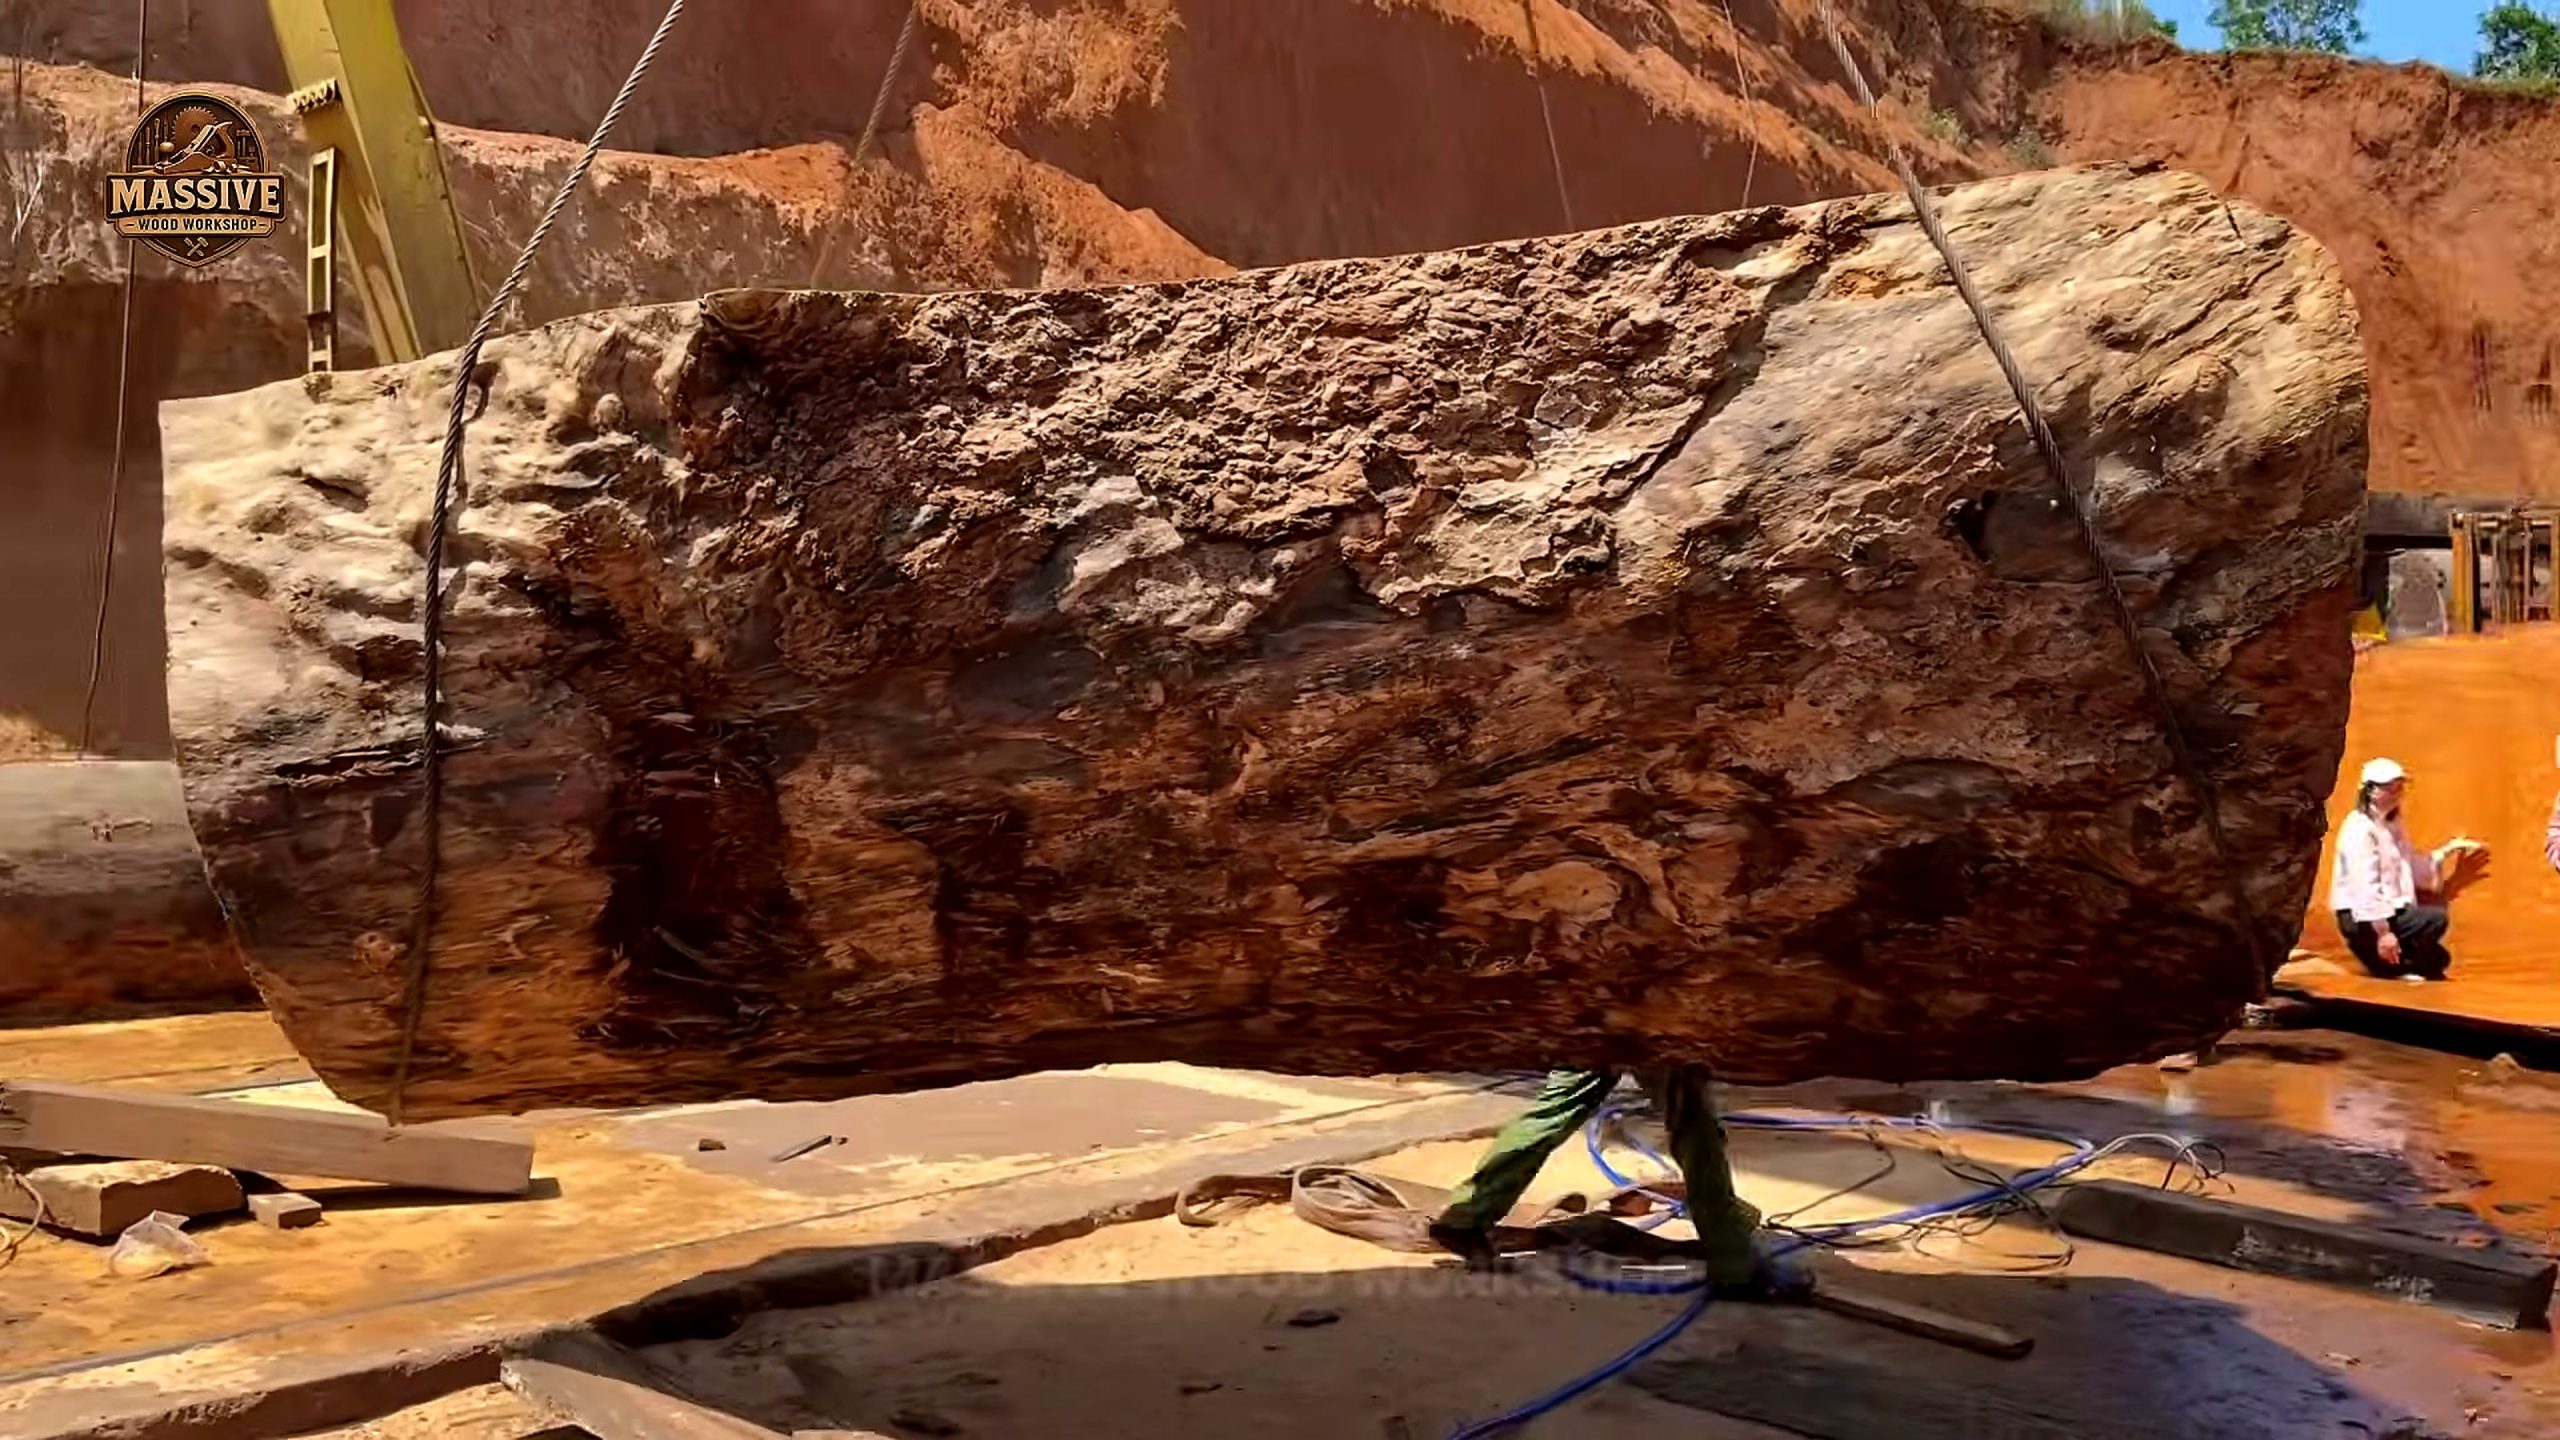
Initial surface cuts reveal internal timber quality. Even clear opening faces may contain hidden stress, moisture variations, or internal checks that require careful drying and board selection prior to secondary joinery. Reading the cut face immediately after each pass allows sawyers to adjust slab thickness to accommodate potential cupping or movement during subsequent seasoning.
Comparing plain-sawn flitches against quarter-sawn sections highlights distinct mechanical and aesthetic trade-offs. Plain-sawn slabs show dramatic cathedral grain figures but experience greater tangential shrinkage during drying. Quarter-sawn boards feature straight parallel lines and exceptional dimensional stability, making them ideal for precision joinery, doors, and fine furniture components.
Machine Order And Handling Sequence
The milling setup incorporates a heavy sawmill carriage, linear cutting path, mechanical feed controls, log clamps, and timber turning tools. Following a strict sequence ensures controlled log positioning and safe material handling throughout the operation.
A 3000-year-old giant log breakdown also highlights why machine order matters. The carriage, clamp pressure, blade height, feed rate, and offbearing plan must be aligned before the operator treats the timber as usable slab stock.
Primary milling separates rough log processing from precision lumber production. Slicing massive slabs is only the first phase, as timber requires drying, stress relieving, and flattening before shop use. A standard industrial breakdown workflow follows a logical four-step progression:
- Log Bed Mounting and Leveling: The log is loaded onto the bed using hydraulic arms or heavy cant hooks, then shimmed and clamped to align the pith parallel to the travel path.
- Opening Pass and Reference Plane Creation: The bandsaw makes an initial shallow cut along the upper curve of the log to establish a flat reference surface.
- Rotational Indexing or Sequential Slicing: Depending on the target lumber type, the log is either flipped to create a square cant or sliced continuously into live-edge slabs.
- Offbearing and Slab Sorting: Cut slabs are carefully lifted from the mill bed, cleared of sawdust, and stacked with wooden stickers to initiate uniform air drying.
Secondary equipment, including cant hooks, wedges, roller tables, and moisture meters, plays a vital role in managing thick slabs. Safe workholding and steady offbearing prevent damage to both machinery and freshly cut wood.
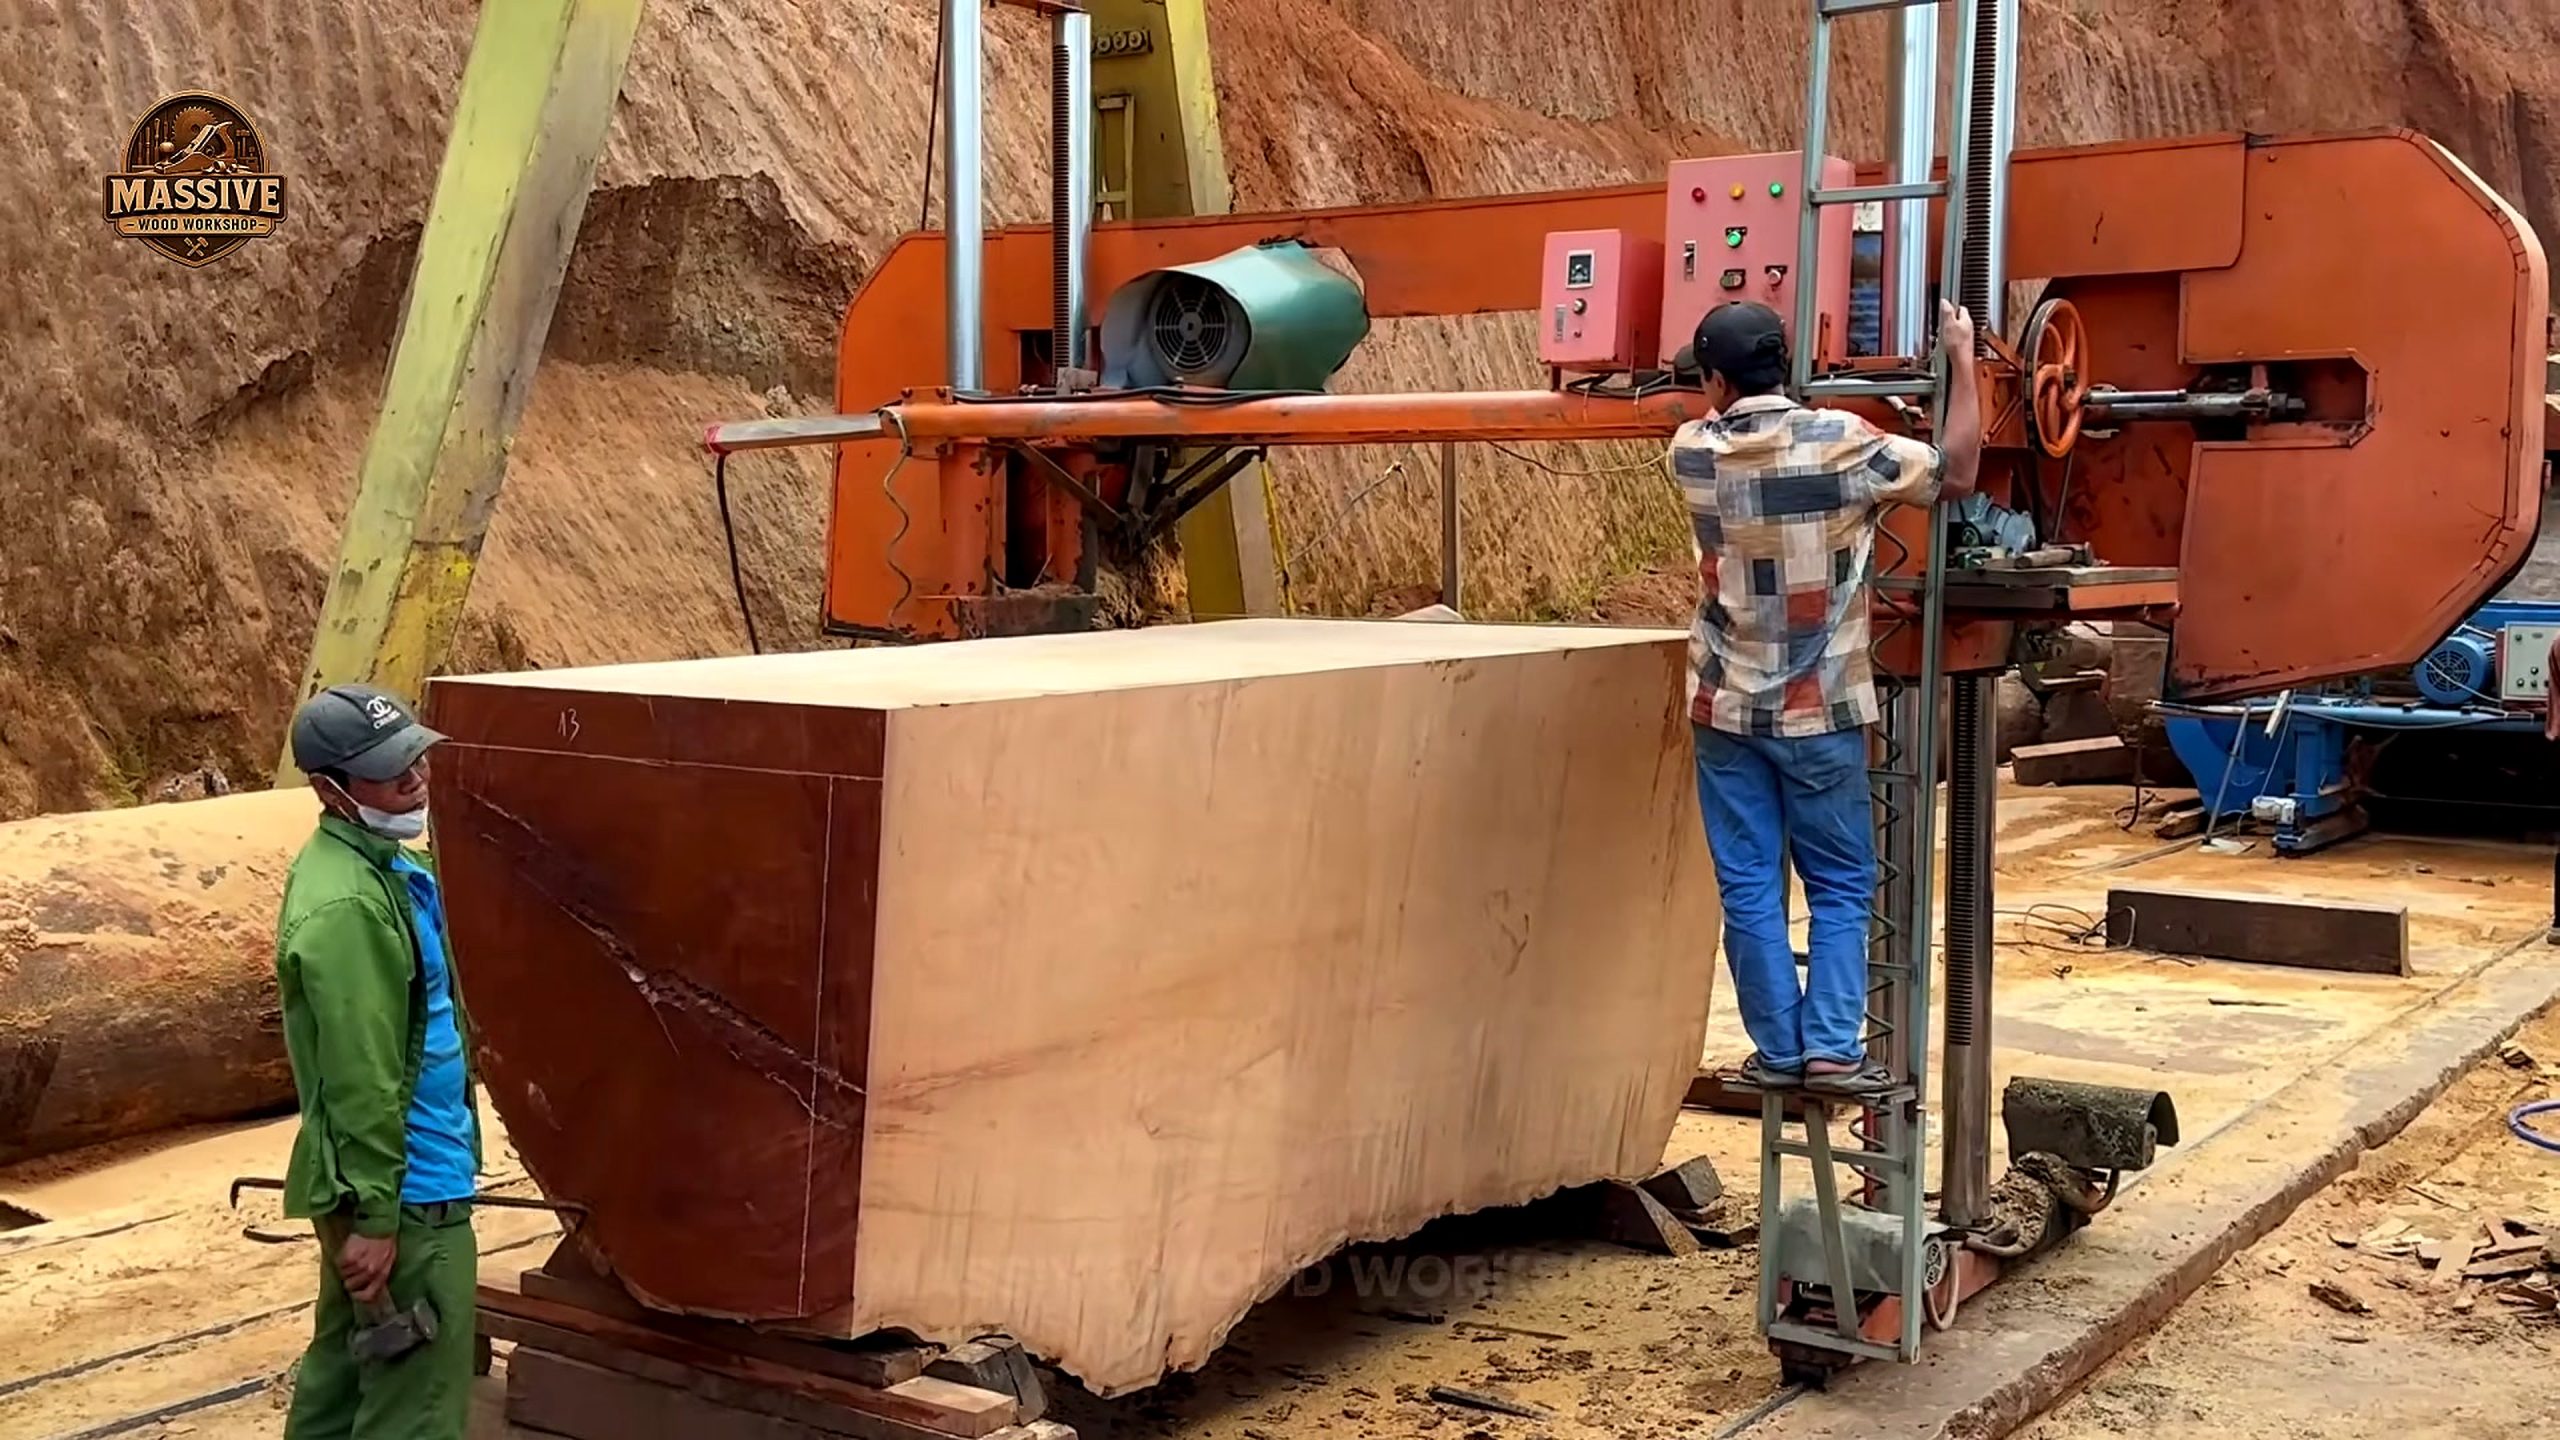
Multi-operator teamwork requires clear communication and synchronized movement. One operator manages carriage feed speeds while another monitors blade exit clearance, offloading slabs cleanly without risking pinch-point hazards. Proper synchronization prevents sudden feed jams, extends band blade life, and ensures smooth cut surfaces across full-length logs.
Blade lubrication systems must also be maintained throughout the cutting sequence. Applying a water, soap, or specialized lubricant spray prevents pitch accumulation on the band saw blade, reducing heat buildup and friction. Managing blade temperature is essential for preventing blade wandering, wavy cuts, or premature fatigue failure in heavy hardwood or resinous softwood species.
Risk Boundary And Unsupported Claims
Visual footage demonstrates physical milling techniques, but online video titles may contain unverified marketing claims regarding timber age, rarity, or monetary value. Professional analysis focuses on observable mechanical practices and material behavior.
Determining exact timber age requires dendrochronological ring counting or carbon-14 testing under controlled laboratory conditions. Visual estimation alone cannot verify claims such as a 3000-year lifespan. Woodworkers and lumber buyers should prioritize physical soundness, structural density, and grain figure over unverified historical labels when evaluating saw log potential.
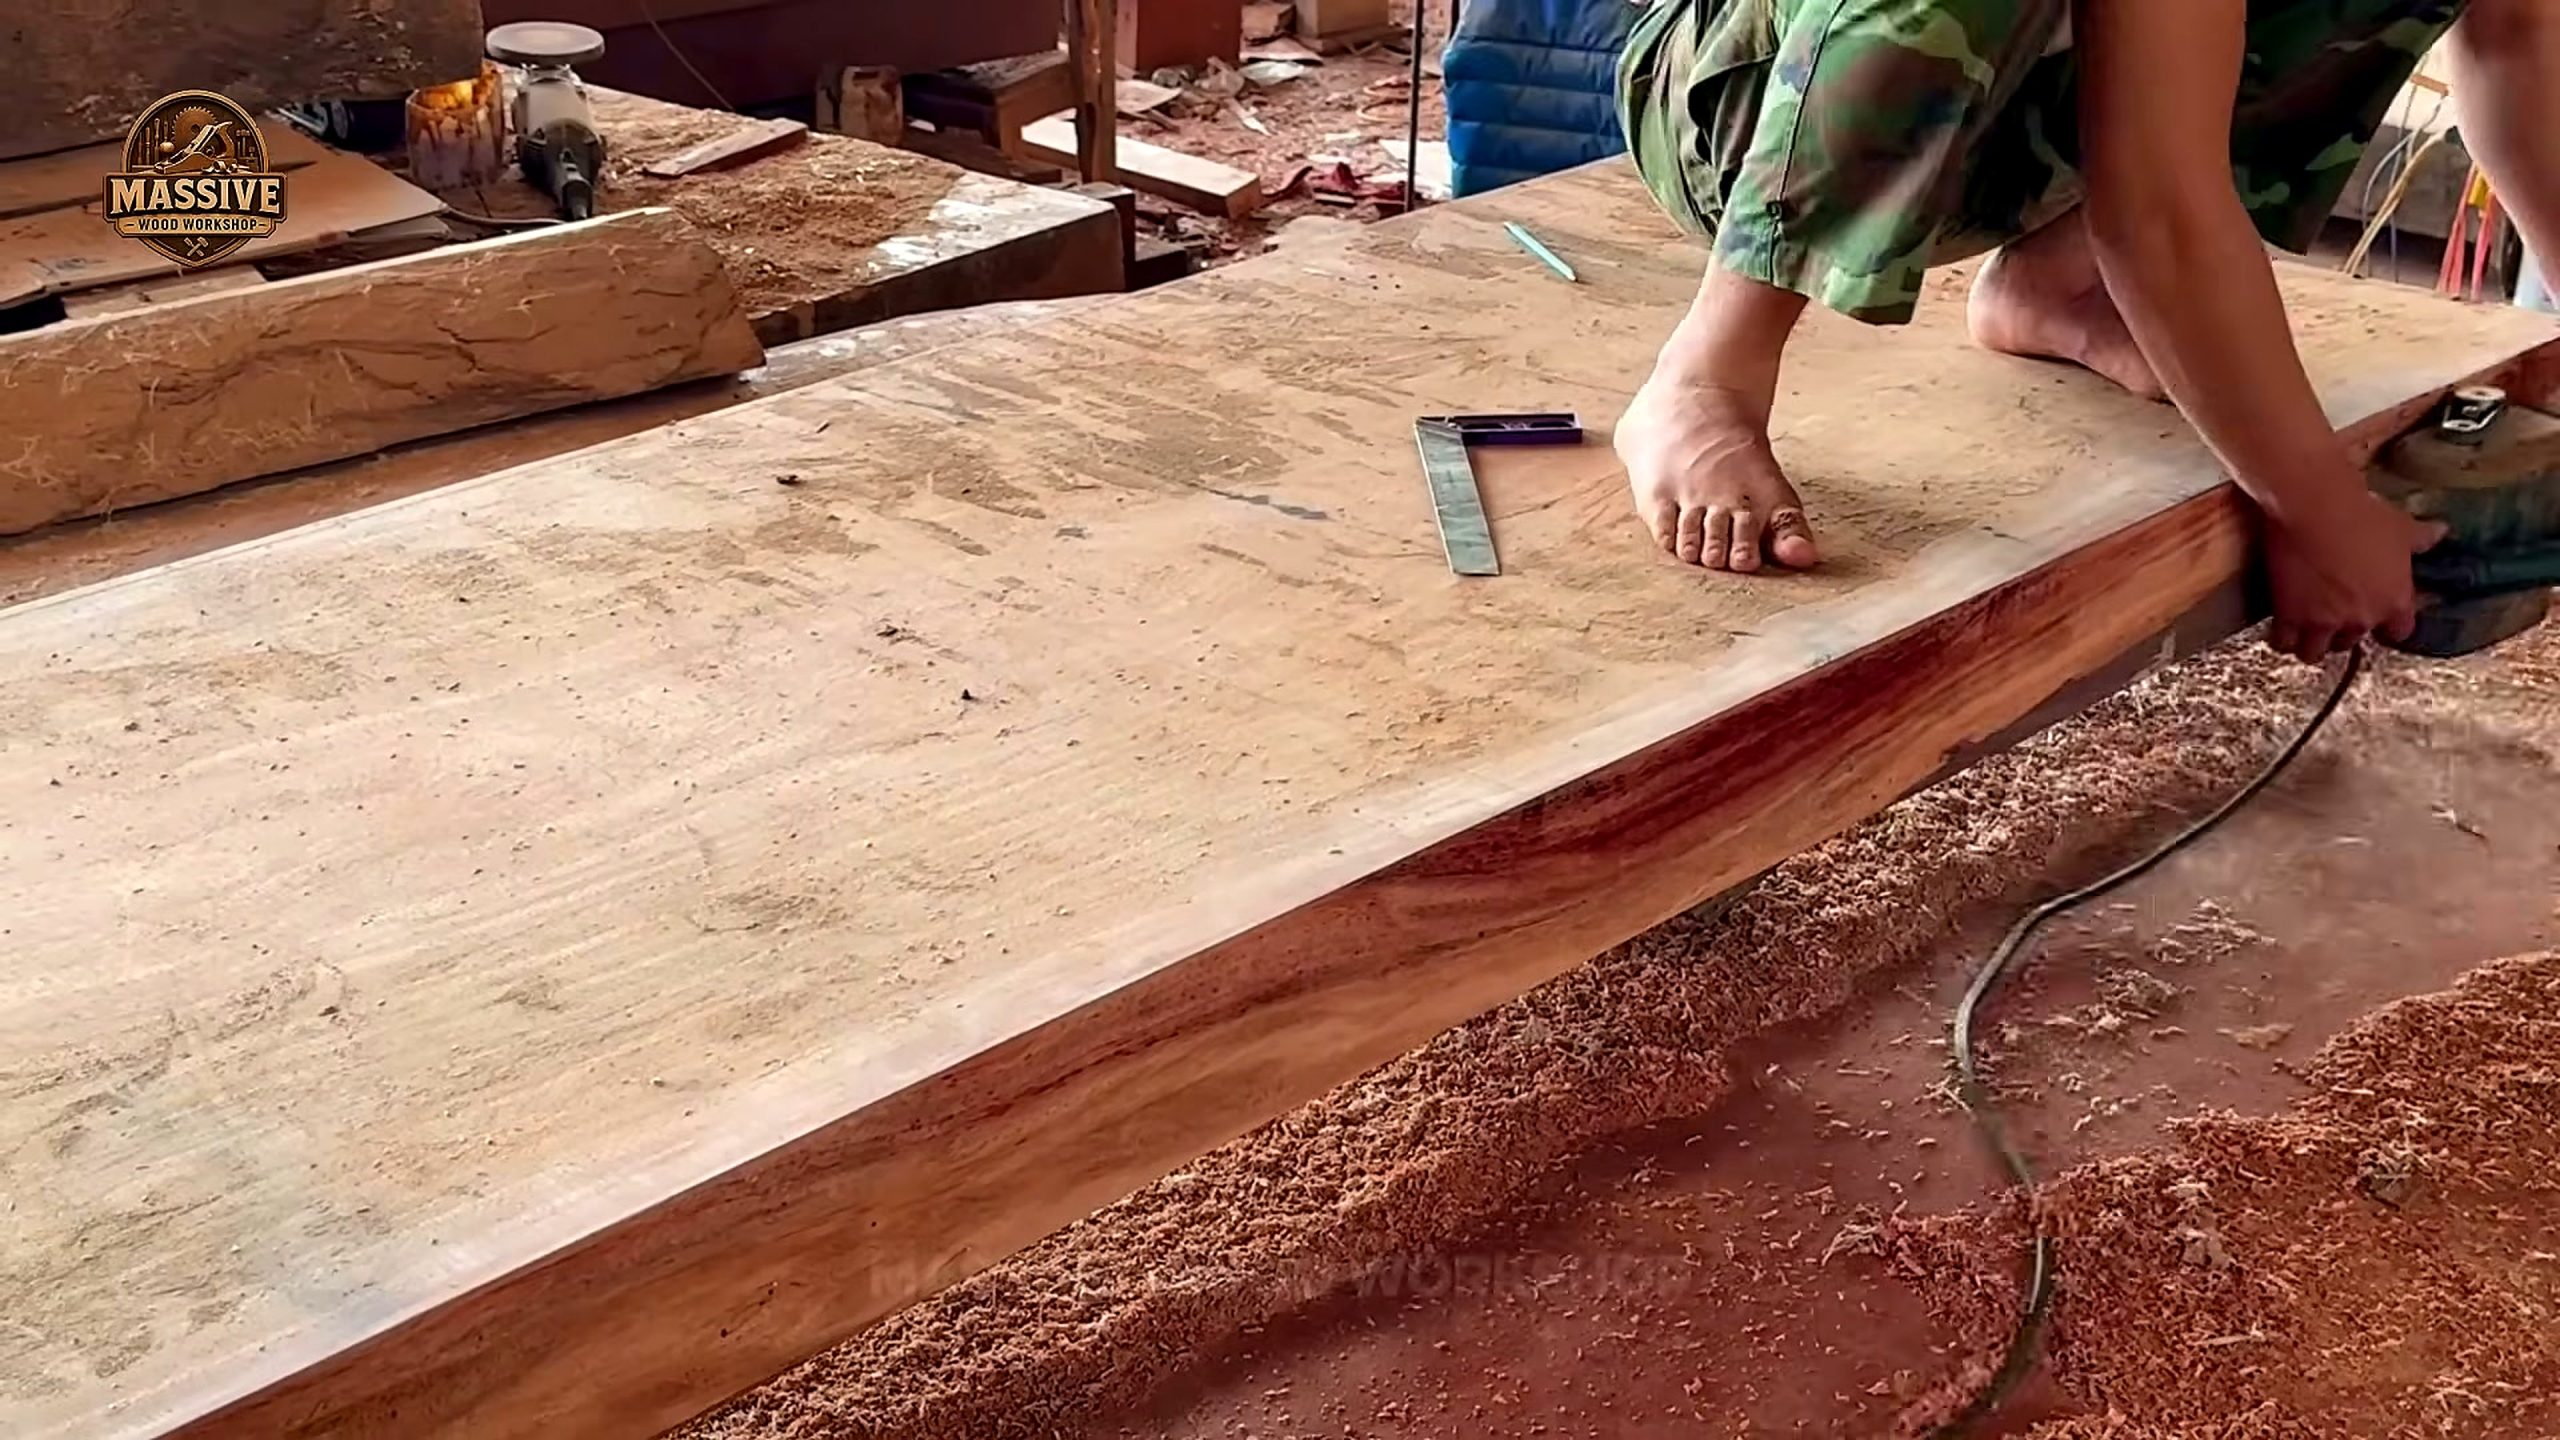
Observing saw blade dynamics, workpiece stability, and chip clearance yields actionable shop techniques. Standard safety equipment, proper blade tensioning, and secure log dogs are essential prerequisites for high-capacity band saw operations. Milling extreme-diameter logs introduces specific operational risks that require strict preventative measures:
- Blade Binding and Pinching: Internal tension release can collapse the kerf around the back edge of the blade, causing violent stalls or band breakage if kerf wedges are omitted.
- Log Roll Off: Improperly clamped round logs can slip past carriage stops during heavy lateral cuts, creating severe impact risks for operators.
- Ejected Debris and Dust Hazards: High-speed blade teeth can hurl bark fragments, embedded rocks, or metal inclusions across the work area without adequate guards and eye protection.
- Operator Fatigue and Pinch Points: Manually offbearing slabs weighing hundreds of pounds risks spinal strain and crush injuries if mechanical hoists or team lifting protocols are ignored.
How To Judge The Finished Result
Evaluating milled slabs requires assessing thickness consistency, face flatness, grain continuity, and natural defects. Freshly cut slabs must undergo controlled kiln or air drying before being used for furniture, tabletops, or architectural joinery.
After a 3000-year-old giant log is opened, the useful question is whether the slabs are stable, readable, and worth drying. A beautiful reveal still needs moisture checks, defect mapping, stickered storage, and later flattening.
Comparing the final slab appearance against initial log positioning reveals whether the sawyer achieved optimal yield. Recognizing how growth ring orientation affects warp potential guides sound stock selection for future projects. Key post-milling evaluation steps include:
- Thickness Uniformity Measurement: Check dimensions across multiple points along the slab length using calipers to confirm that blade drift did not occur.
- Grain Alignment and Symmetry: Verify whether book-matched slabs exhibit balanced figure lines suitable for high-end furniture faces.
- Defect Identification: Inspect cut surfaces for rot pockets, internal shakes, bark inclusions, or pitch pockets that affect structural integrity.
- Moisture Profile Baseline: Take initial pin-type moisture meter readings at core and shell locations to establish baseline drying records.
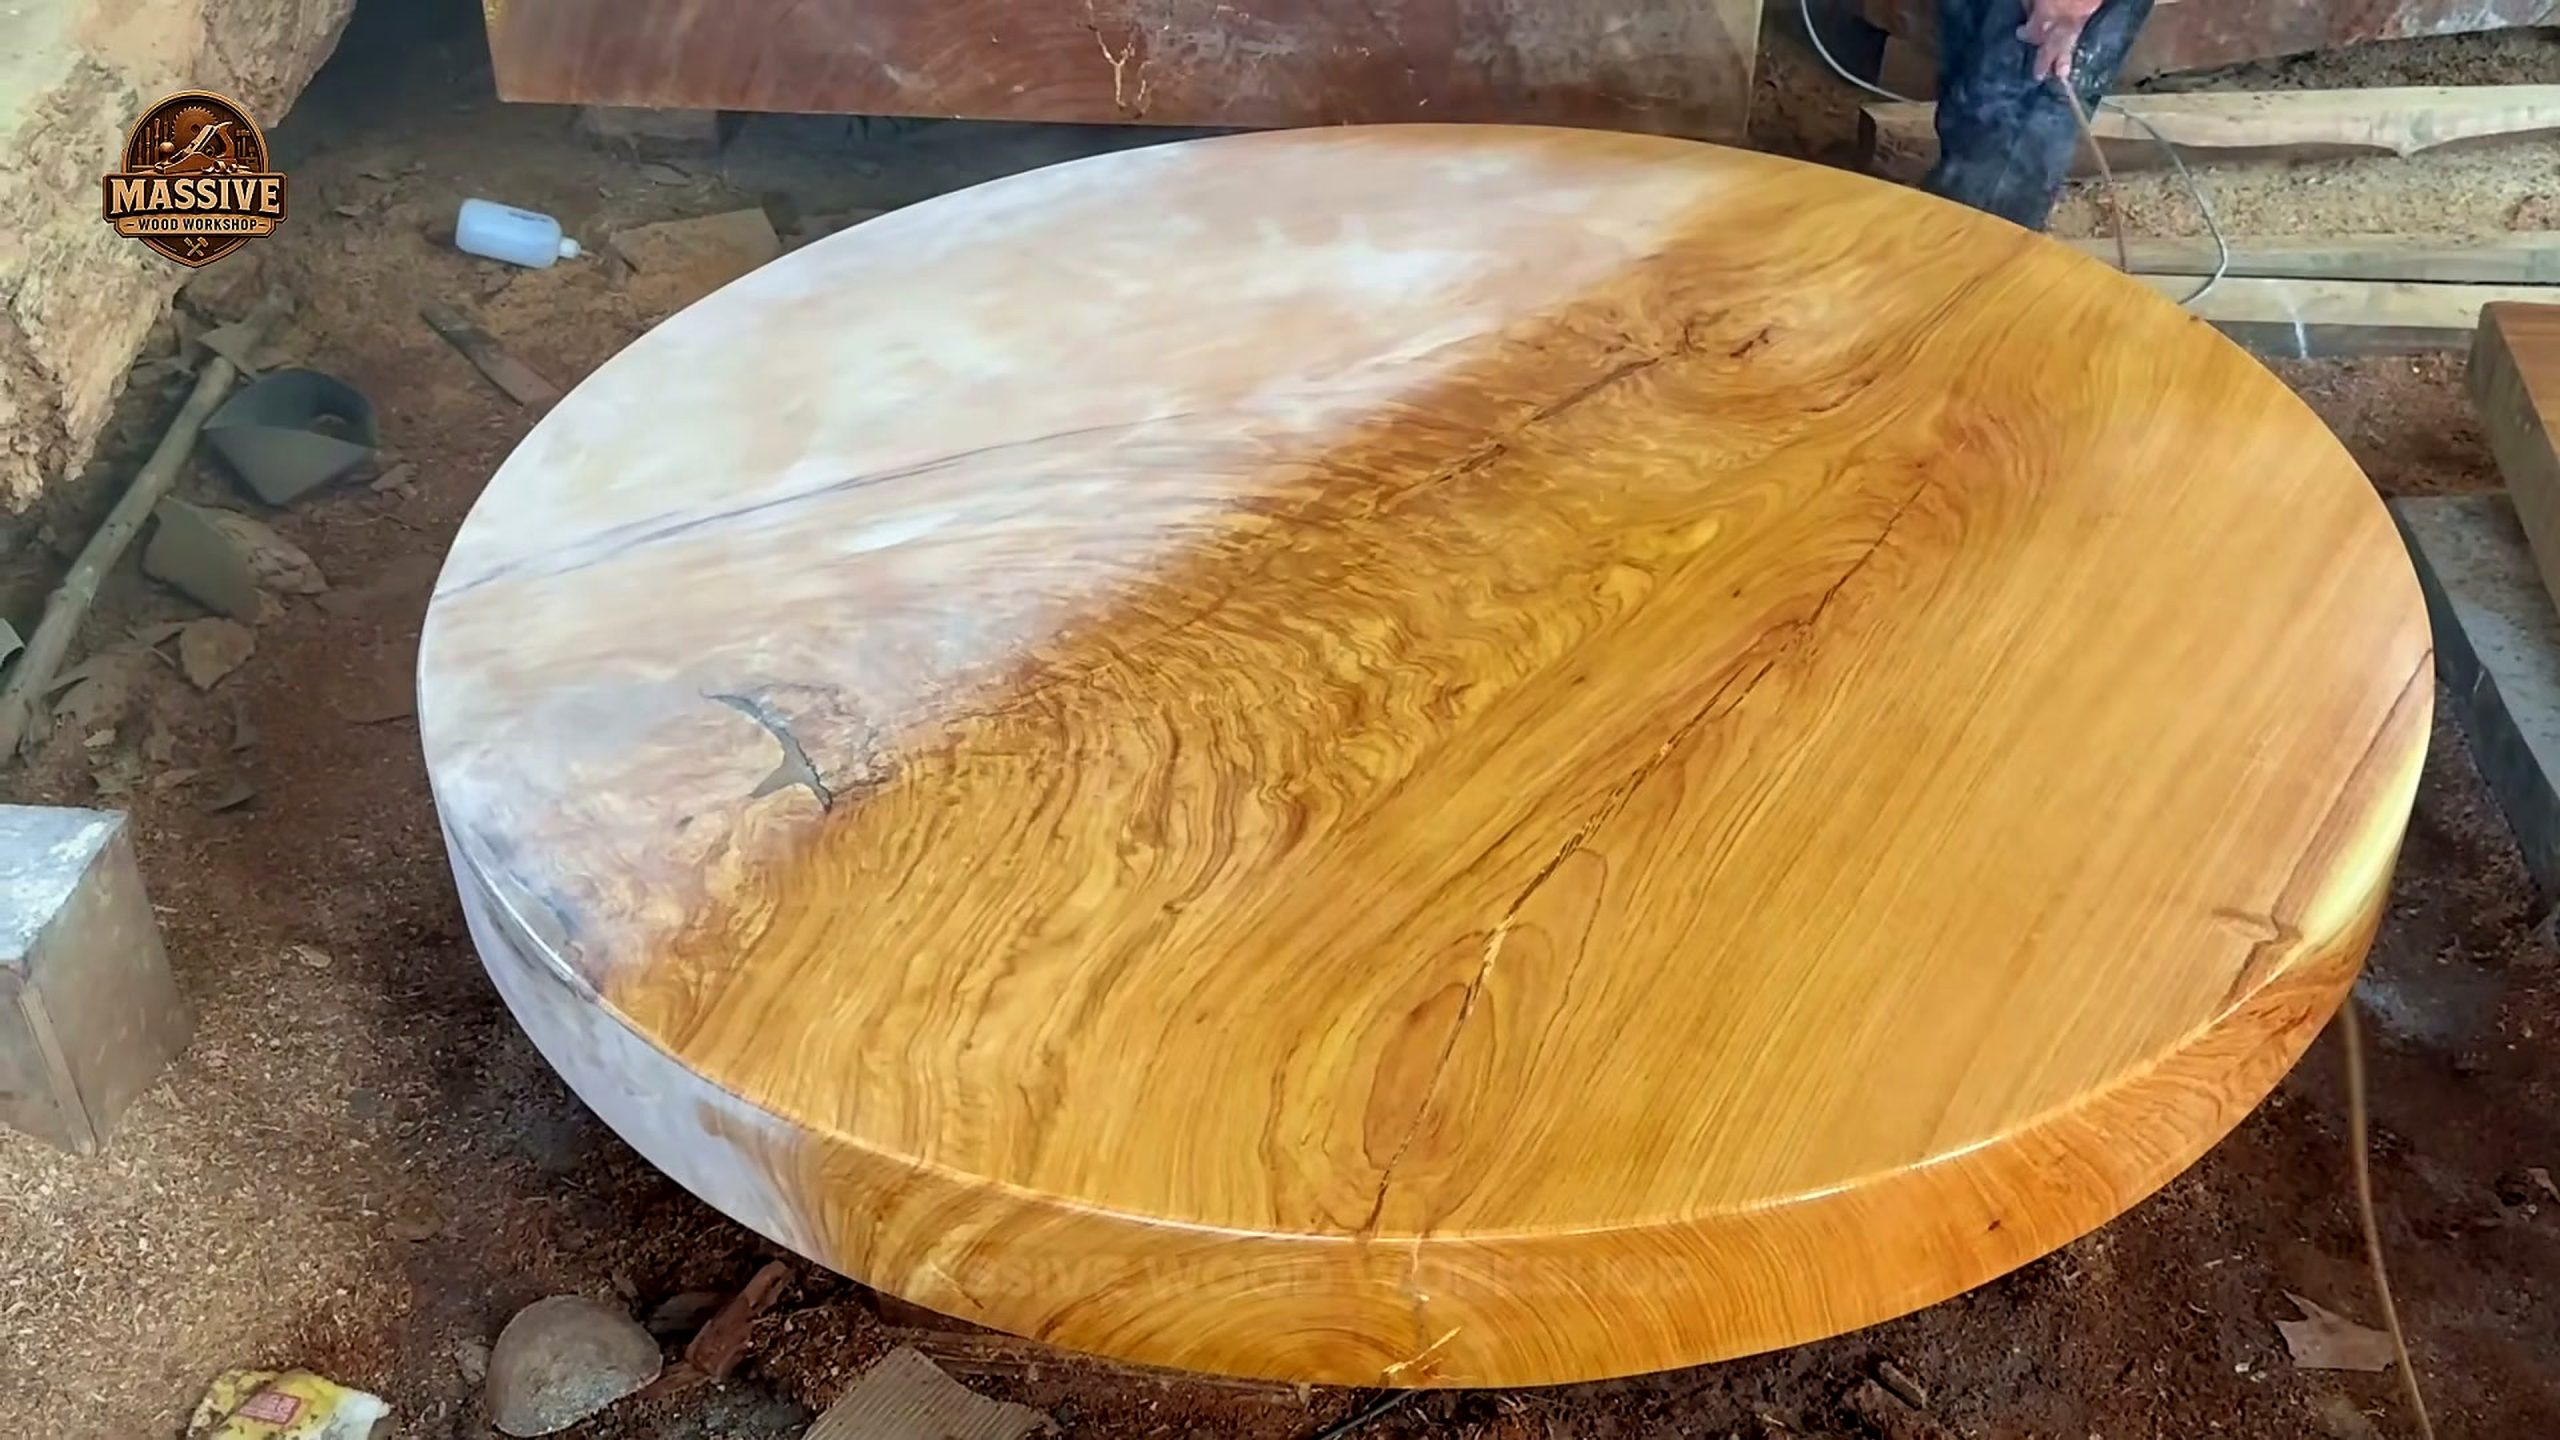
Once dried, thick slabs typically require surface flattening using specialized shop machinery. Router flattening sleds, wide-belt sanders, or heavy CNC mills level out minor cups, twists, or bows that develop during moisture evaporation. Finishing with protective hardwax oils, polyurethane resins, or penetrating varnishes seals the surface and brings out the natural depth and contrast of the wood figure.
Tool Context For Tecatool Readers
Large timber breakdown relies on heavy bandsaws, log bed extensions, hydraulic loading arms, specialized blade profiles, and robust holding clamps. Auxiliary tools like cant hooks, moisture meters, timber calipers, and layout chalk maintain workflow precision.
Selecting woodworking equipment requires matching tool capacity to specific project demands. Small shops benefit from stable workholding and precise layout instruments before investing in large-scale primary processing machinery. Key tool categories for heavy log breakdown include:
- Primary Sawmills: Portable horizontal band mills, stationary industrial mills, and chainsaw slabber attachments for remote timber salvage.
- Handling and Turning Equipment: Heavy steel cant hooks, peaveys, electric winches, overhead gantries, and hydraulic log turners.
- Measurement and Layout Instruments: Long-reach timber calipers, moisture meters, laser alignment guides, and chalk lines for baseline setup.
- Maintenance and Blade Care: Automated tooth sharpeners, tooth setters, tension gauges, and pitch cleaning solvents.
Exploring the Tecatool woodworking archive offers broader perspectives on timber processing, tooling selection, and mill maintenance practices across various wood species.
Commercial Tool And Service Checklist
Equipment investments should address specific production bottlenecks, such as blade stabilization, log handling capacity, or material transport. Standardizing maintenance routines for band blades and guide bearings improves surface cut quality and reduces waste.
Lumber buyers and custom sawyers must assess raw log condition, bark removal, metal detection, and storage conditions prior to milling. Clear quality criteria help prevent unexpected blade damage or poor slab yields. Commercial operations should evaluate procurement costs against expected output values:
- Sawmill Rental vs. Custom Milling Rates: Mobile sawmills generally charge between 75 and 150 dollars per hour, or roughly 0.50 to 1.00 dollar per board foot, depending on log diameter and species hardness.
- Blade Consumable Budget: High-performance bimetal or carbide-tipped band saw blades cost between 40 and 180 dollars each. Factoring blade replacement costs into custom milling estimates prevents unexpected margin loss when cutting dirty or mineral-rich logs.
- Kiln Drying Services: Vacuum or dehumidification kiln drying costs range from 1.00 to 2.50 dollars per board foot. Proper drying adds substantial commercial value to raw slabs by stabilizing moisture content to 6 to 8 percent for indoor use.
- Flattening and Processing Services: Wide-slab CNC flattening services typically range from 80 to 150 dollars per slab, saving woodworking shops dozens of hours of manual router sled setup time.
To make the best equipment and service decisions, woodworkers can access current pricing offers, tool discounts, and commercial service quotes directly through Tecatool’s catalog. Reviewing Tecatool woodworking tool guides assists woodworkers in selecting reliable measuring guides, workholding devices, and protective equipment. If you are looking to purchase milling blades starting at standard commercial rates, order log handling equipment, or request custom slab processing quotes, explore Tecatool’s specialized commercial offers today to find competitive pricing, claim active tool deals, and order exact tools for your shop.
Reader Worksheet For This Source
Analyzing timber breakdown videos involves recording specific operational parameters: machine setup times, cut depths, blade maintenance intervals, and timber yield percentages. Documenting these variables helps woodworkers refine their own milling strategies.
Evaluating log geometry, defect location, and ring density aids in predicting board stability during drying. Clear observation helps woodworkers separate operational facts from online title exaggerations. Readers can use the following structured worksheet when assessing log breakdown footage or planning active shop projects:
- Log Identification: Species, length, diameter, estimated moisture level, and visual defects.
- Carriage Alignment Check: Log bed leveling, clamp stability, log dog lockup, and blade clearance verification.
- Blade Parameters: Blade width, tooth pitch (TPI), set angle, blade tension reading, and lubricant spray setting.
- Cut Sequence Log: Opening face depth, rotation sequence (90 vs 180 degree turn), slab thickness targets, and kerf wedge placement timing.
- Post-Cut Inspection: Surface roughness assessment, blade drift measurement, defect mapping, and sticker placement plan.
Quick Summary
This overview analyzes primary log breakdown techniques shown by Massive Wood Workshop. Key focus areas include timber inspection, sawmill bed setup, cutting sequence discipline, safety boundaries, and slab quality assessment.
In short, the 3000-year-old giant log video should be read as a wood processing case study: support the trunk, open a reference face, control blade stress, inspect the slab, and verify every claim against visible evidence.
Understanding the complete workflow from initial trunk clamping to post-cut seasoning gives woodworkers realistic expectations for large timber processing. By combining proper machinery alignment, kerf stress management, systematic drying, and reliable commercial tool selection, sawyers maximize usable stock yield while protecting expensive milling equipment.
FAQ
What does 3000-year-old giant log show?
It shows the Massive Wood Workshop source video as a woodworking process case, centered on woodworking or sawmill breakdown from setup through reveal and later stock planning and visible frame evidence.
Does Tecatool verify every claim in the source title?
No. The page uses the source title for search context but keeps factual claims tied to what the footage visibly supports.
Which details should readers inspect first?
Readers should inspect log scale, grain direction, defects, support points, and the first readable face, then compare the machine order, safety choices, and final result before trusting the clip.
Why are real source frames included?
They let readers verify different workflow stages instead of relying on a thumbnail, stock image, or generic woodworking description.
Source Video
Sources: Massive Wood Workshop, “A 3000-Year-Old Giant Log Was Finally Opened, The Hidden Beauty Inside Shocked Everyone”, original YouTube source video, accessed 2026-10-05.
Browse the tecatool.com guides and tools to review setup advice, shop checklists, and reliable woodworking tooling recommendations before starting your next timber breakdown project.