
solid redwood block stunning luxury dining follows one source-documented dining-table workflow: broad-board selection, full-size marking, bandsaw waste removal, comparison of matched underframe parts, dry fitting, tabletop preparation, and final inspection. Five timestamped frames support those stages; species, price, machine settings, finish chemistry, and load capacity remain unverified.
Solid Redwood Dining Table Joinery: Direct Answer
solid redwood block stunning luxury dining documents a furniture workflow in DT Woodworking video LbJcHLxUS2U: choose and orient broad boards, transfer a full-size shape to squared stock, cut joinery and curved transitions, compare repeated underframe parts, dry-fit the structure, and inspect alignment before surface preparation. The footage supports that sequence, but it does not independently certify the wood species, price, dimensions, adhesive, coating, or load capacity.
The most useful lesson is that the finished table begins with references rather than decoration. The maker first decides which board face and edge can control later measurements. Pencil lines then turn the design into cut boundaries. Matching parts are compared as a group so a small shoulder or length error does not multiply across the base. Each checkpoint preserves information for the next operation.
The source title calls the material a solid redwood block and the result a luxury dining table. This page keeps those phrases as source context. The selected frames visibly show pale red-brown furniture stock, layout, bandsaw work, repeated components, and broad boards. They do not show a botanical certificate, invoice, moisture report, calibrated machine setting, engineering test, or verified retail classification.
Table of Contents
Five Source Frames And What They Verify
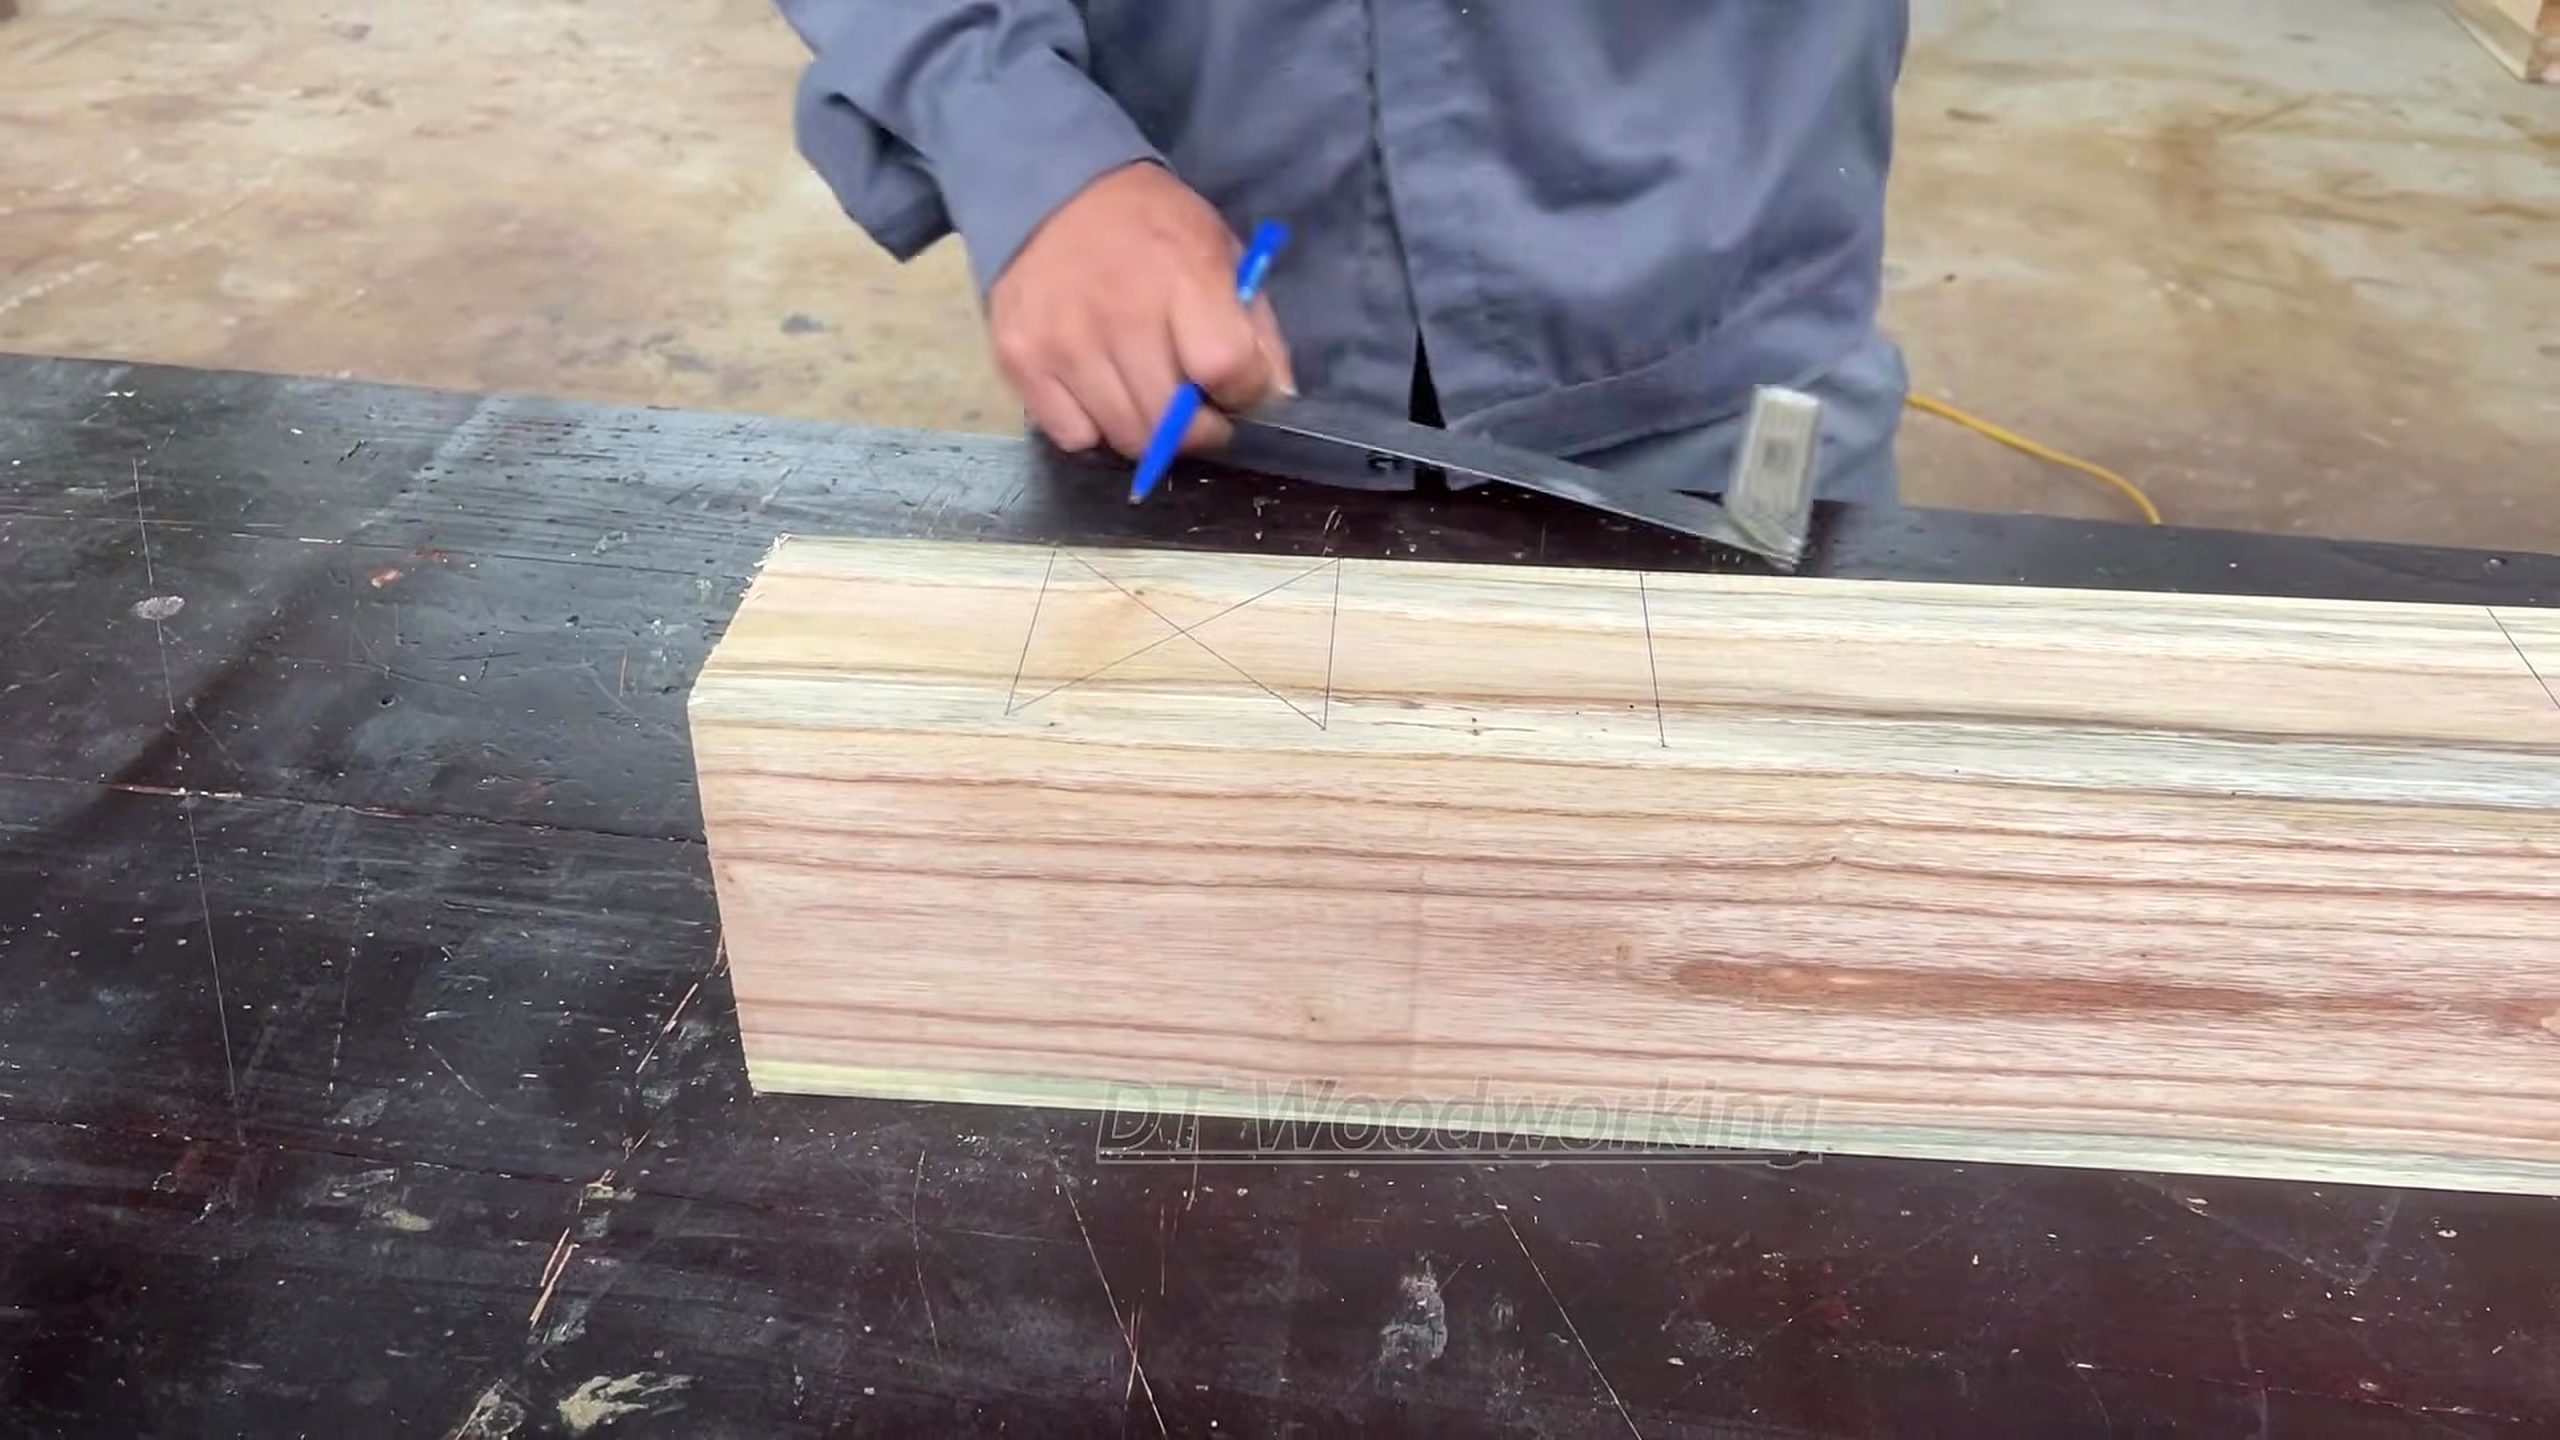
The first checkpoint, at about 205.04 seconds, shows a squared timber member on a bench. A pencil layout includes a long shoulder line, an angled or curved transition, and a localized end feature. This frame verifies full-size marking on the workpiece. It does not reveal the final joint name, finished dimensions, or the template and measurement system used before the camera arrived.
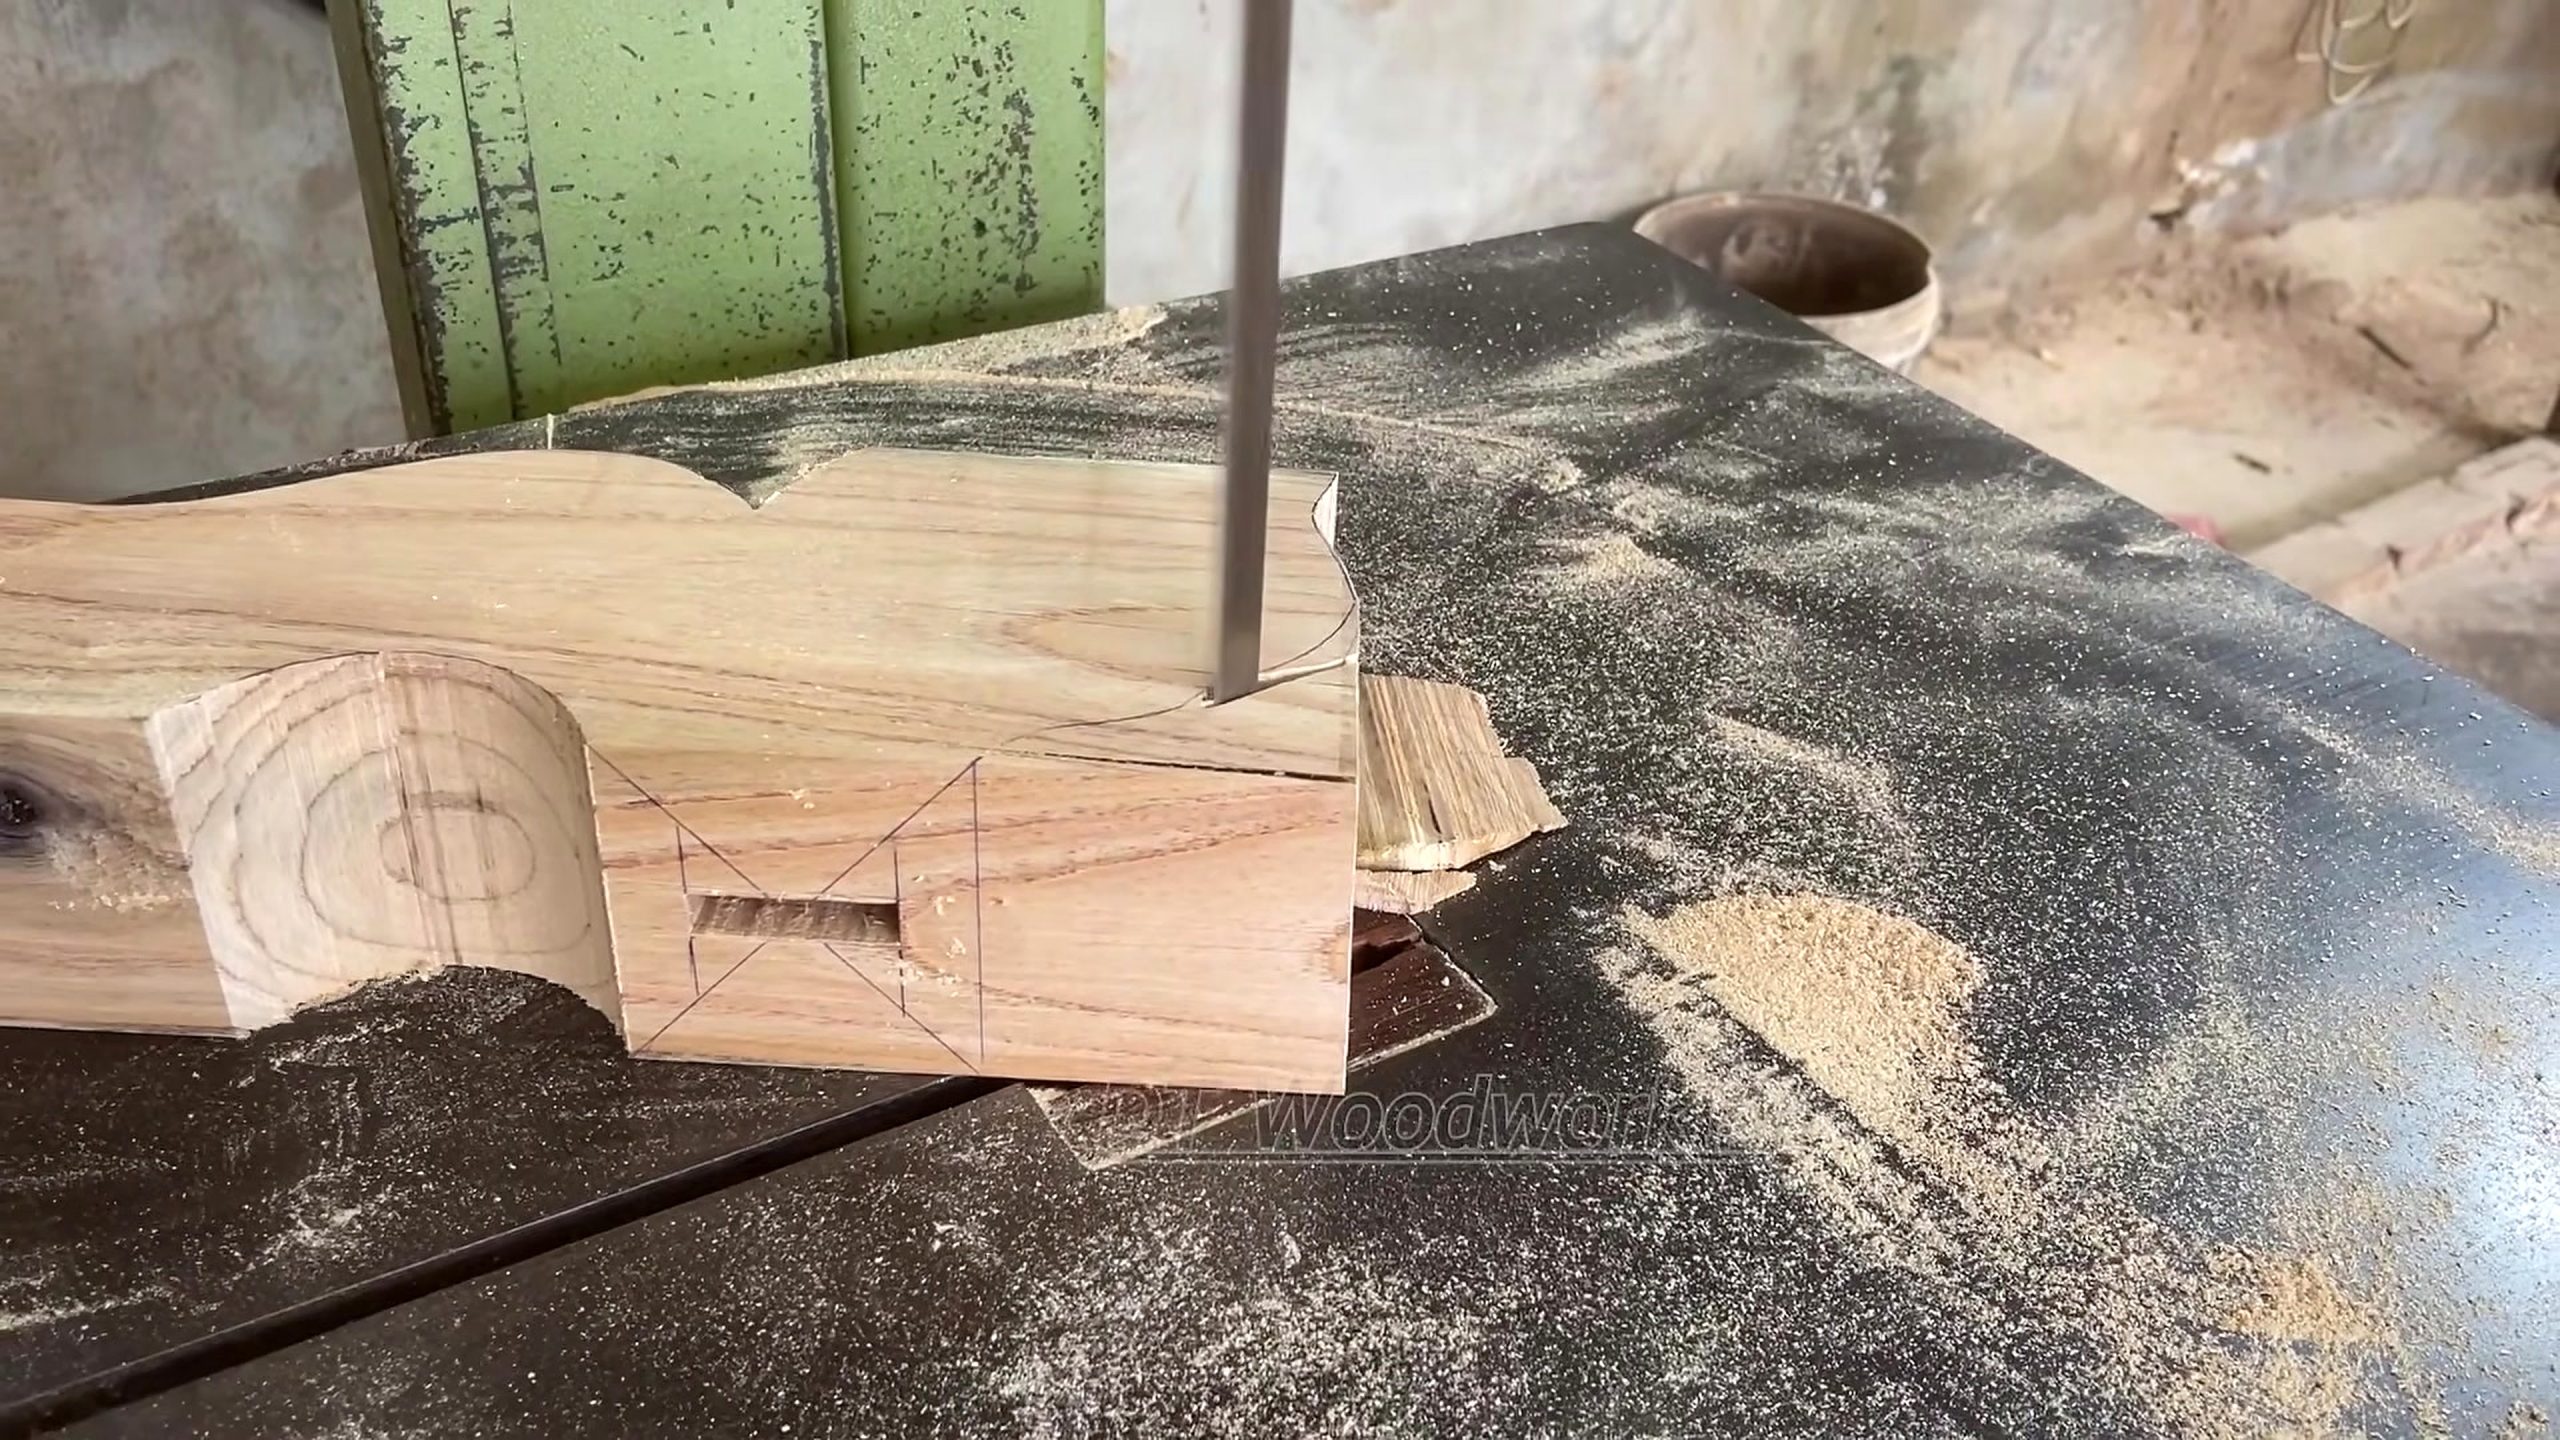
At about 563.86 seconds, the same type of marked stock is presented to a narrow vertical bandsaw. The blade, table, waste side, and operator position are visible. The image supports a controlled profile or joinery cut, but not the blade width, tooth pattern, speed, feed rate, guard adjustment, or complete sequence needed to finish the joint safely.
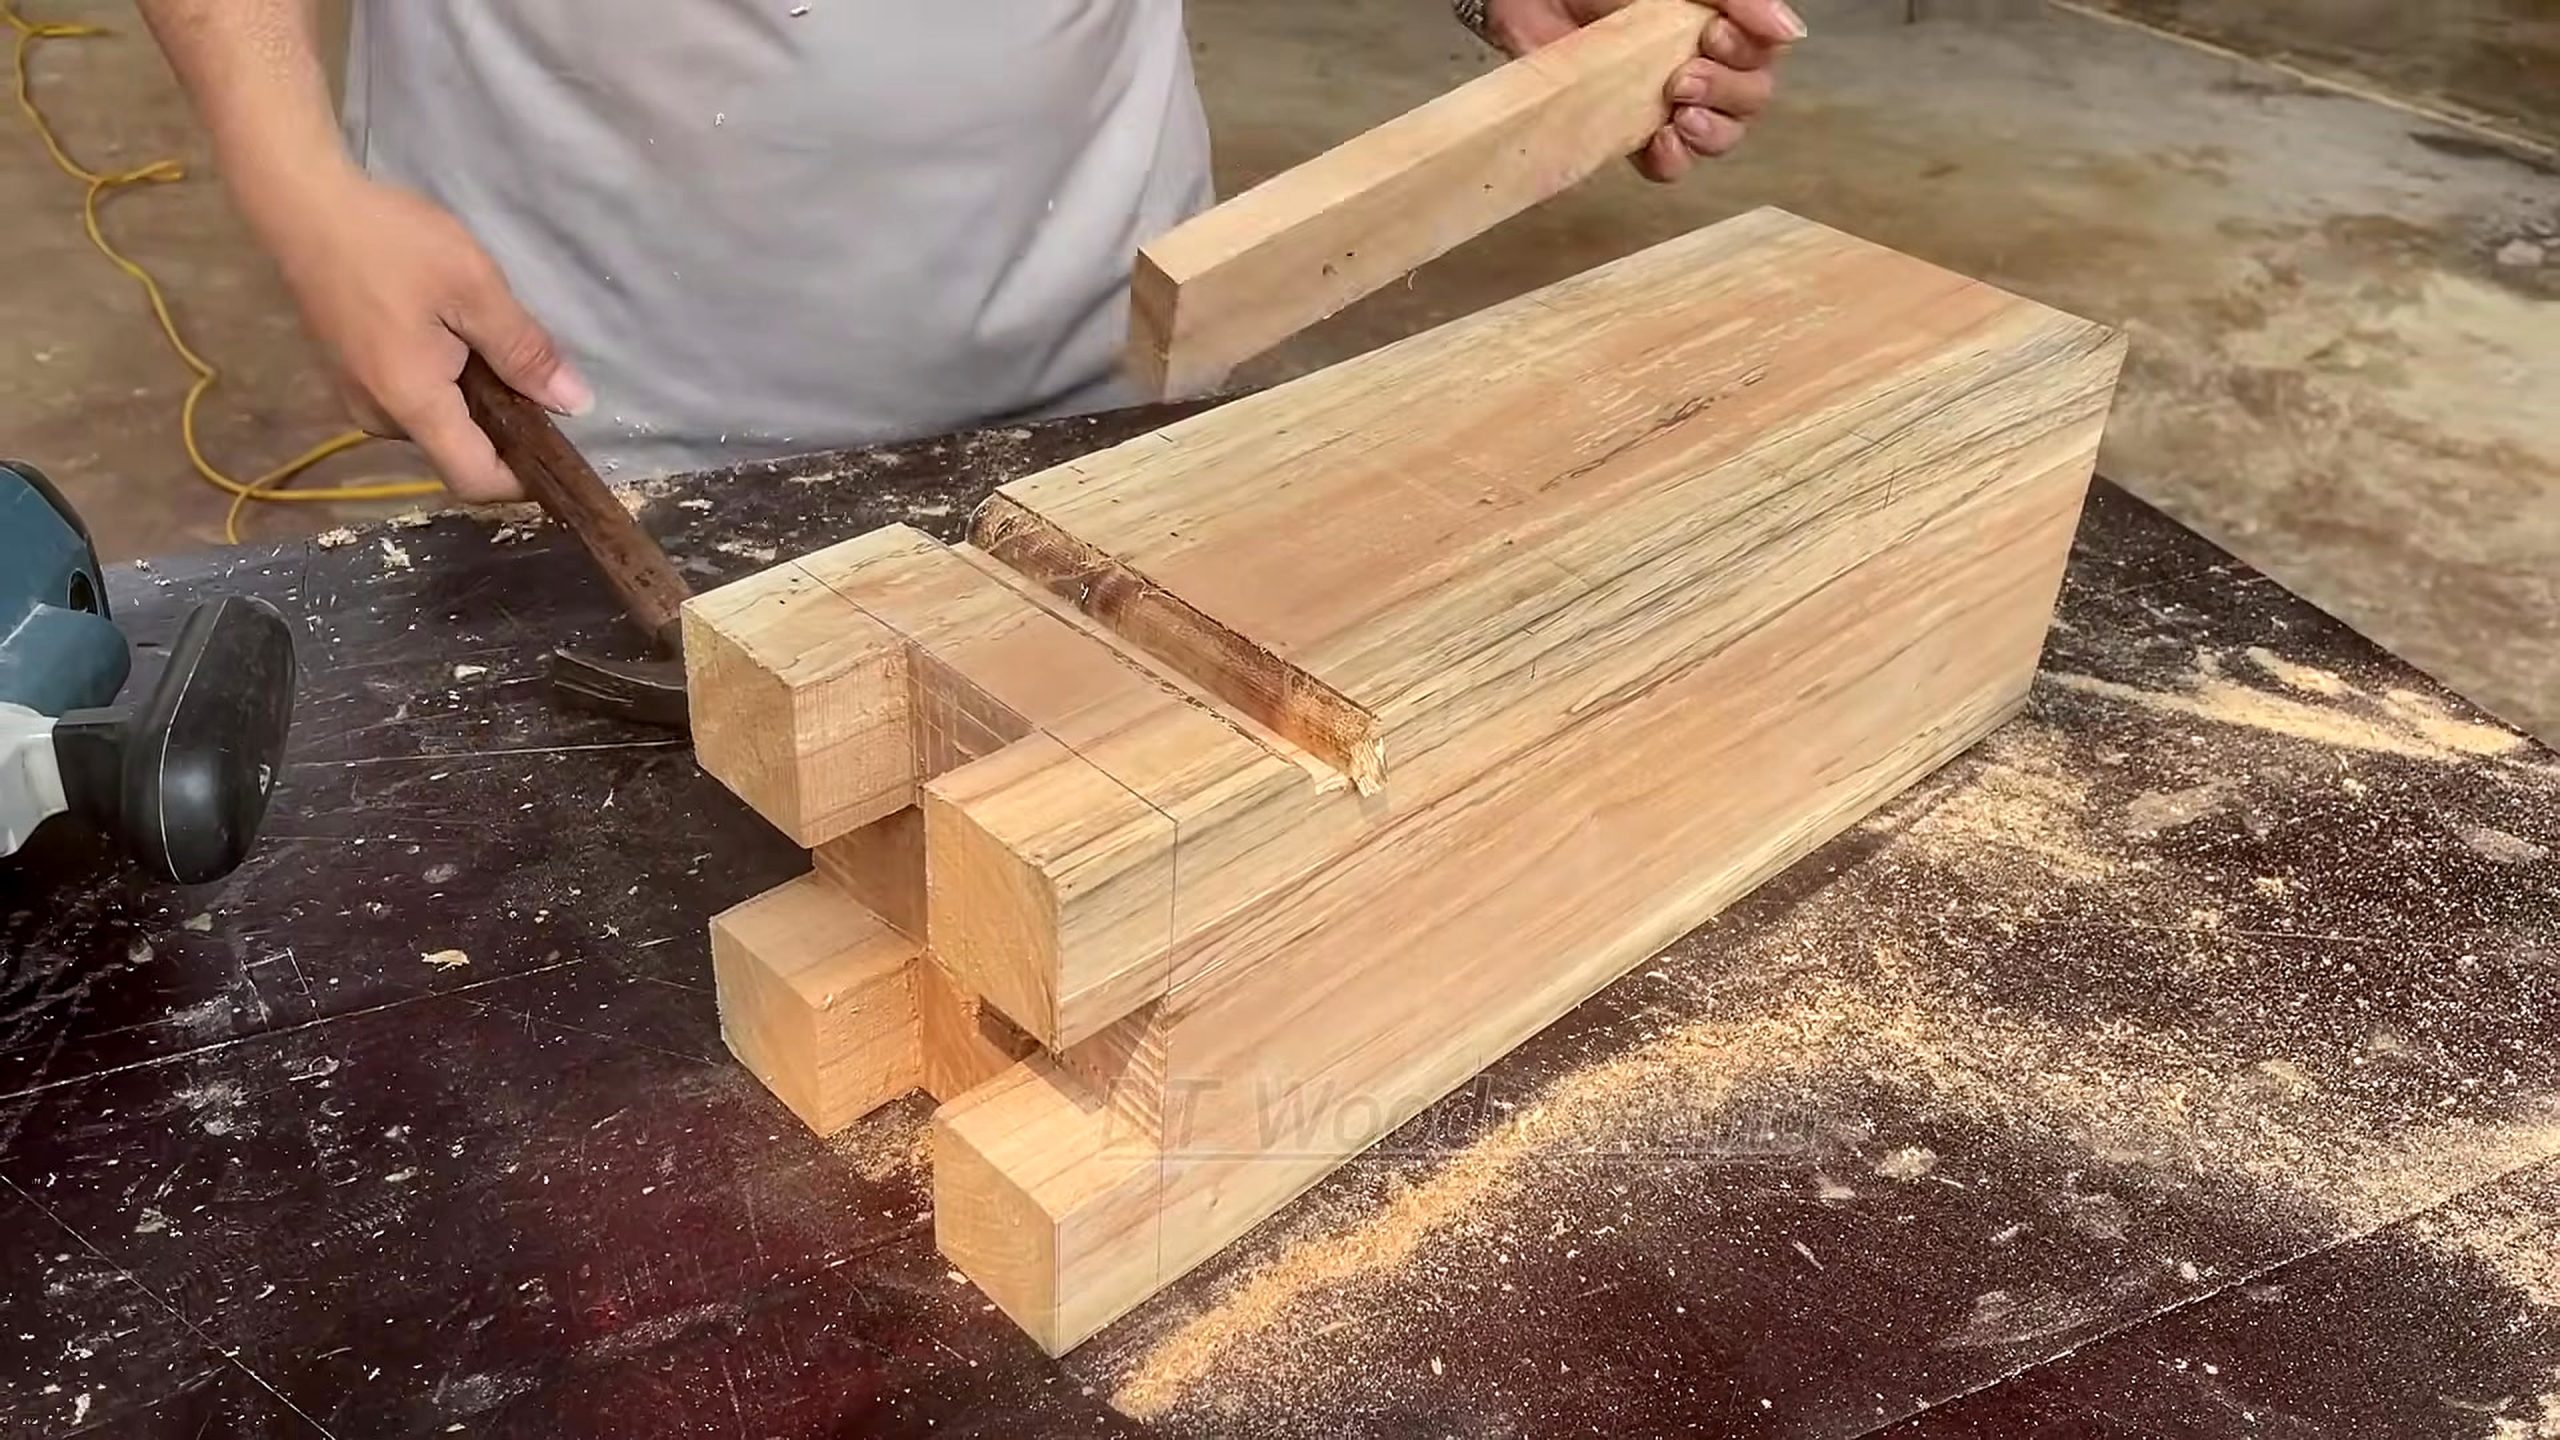
At about 1,025.20 seconds, several prepared members are stacked on a bench. Repeated shoulders and projecting ends can be compared across the group. This is strong evidence for batch checking: parts intended to work together should be evaluated together. The frame does not prove that every member is interchangeable or that the complete table base has passed a dry fit.
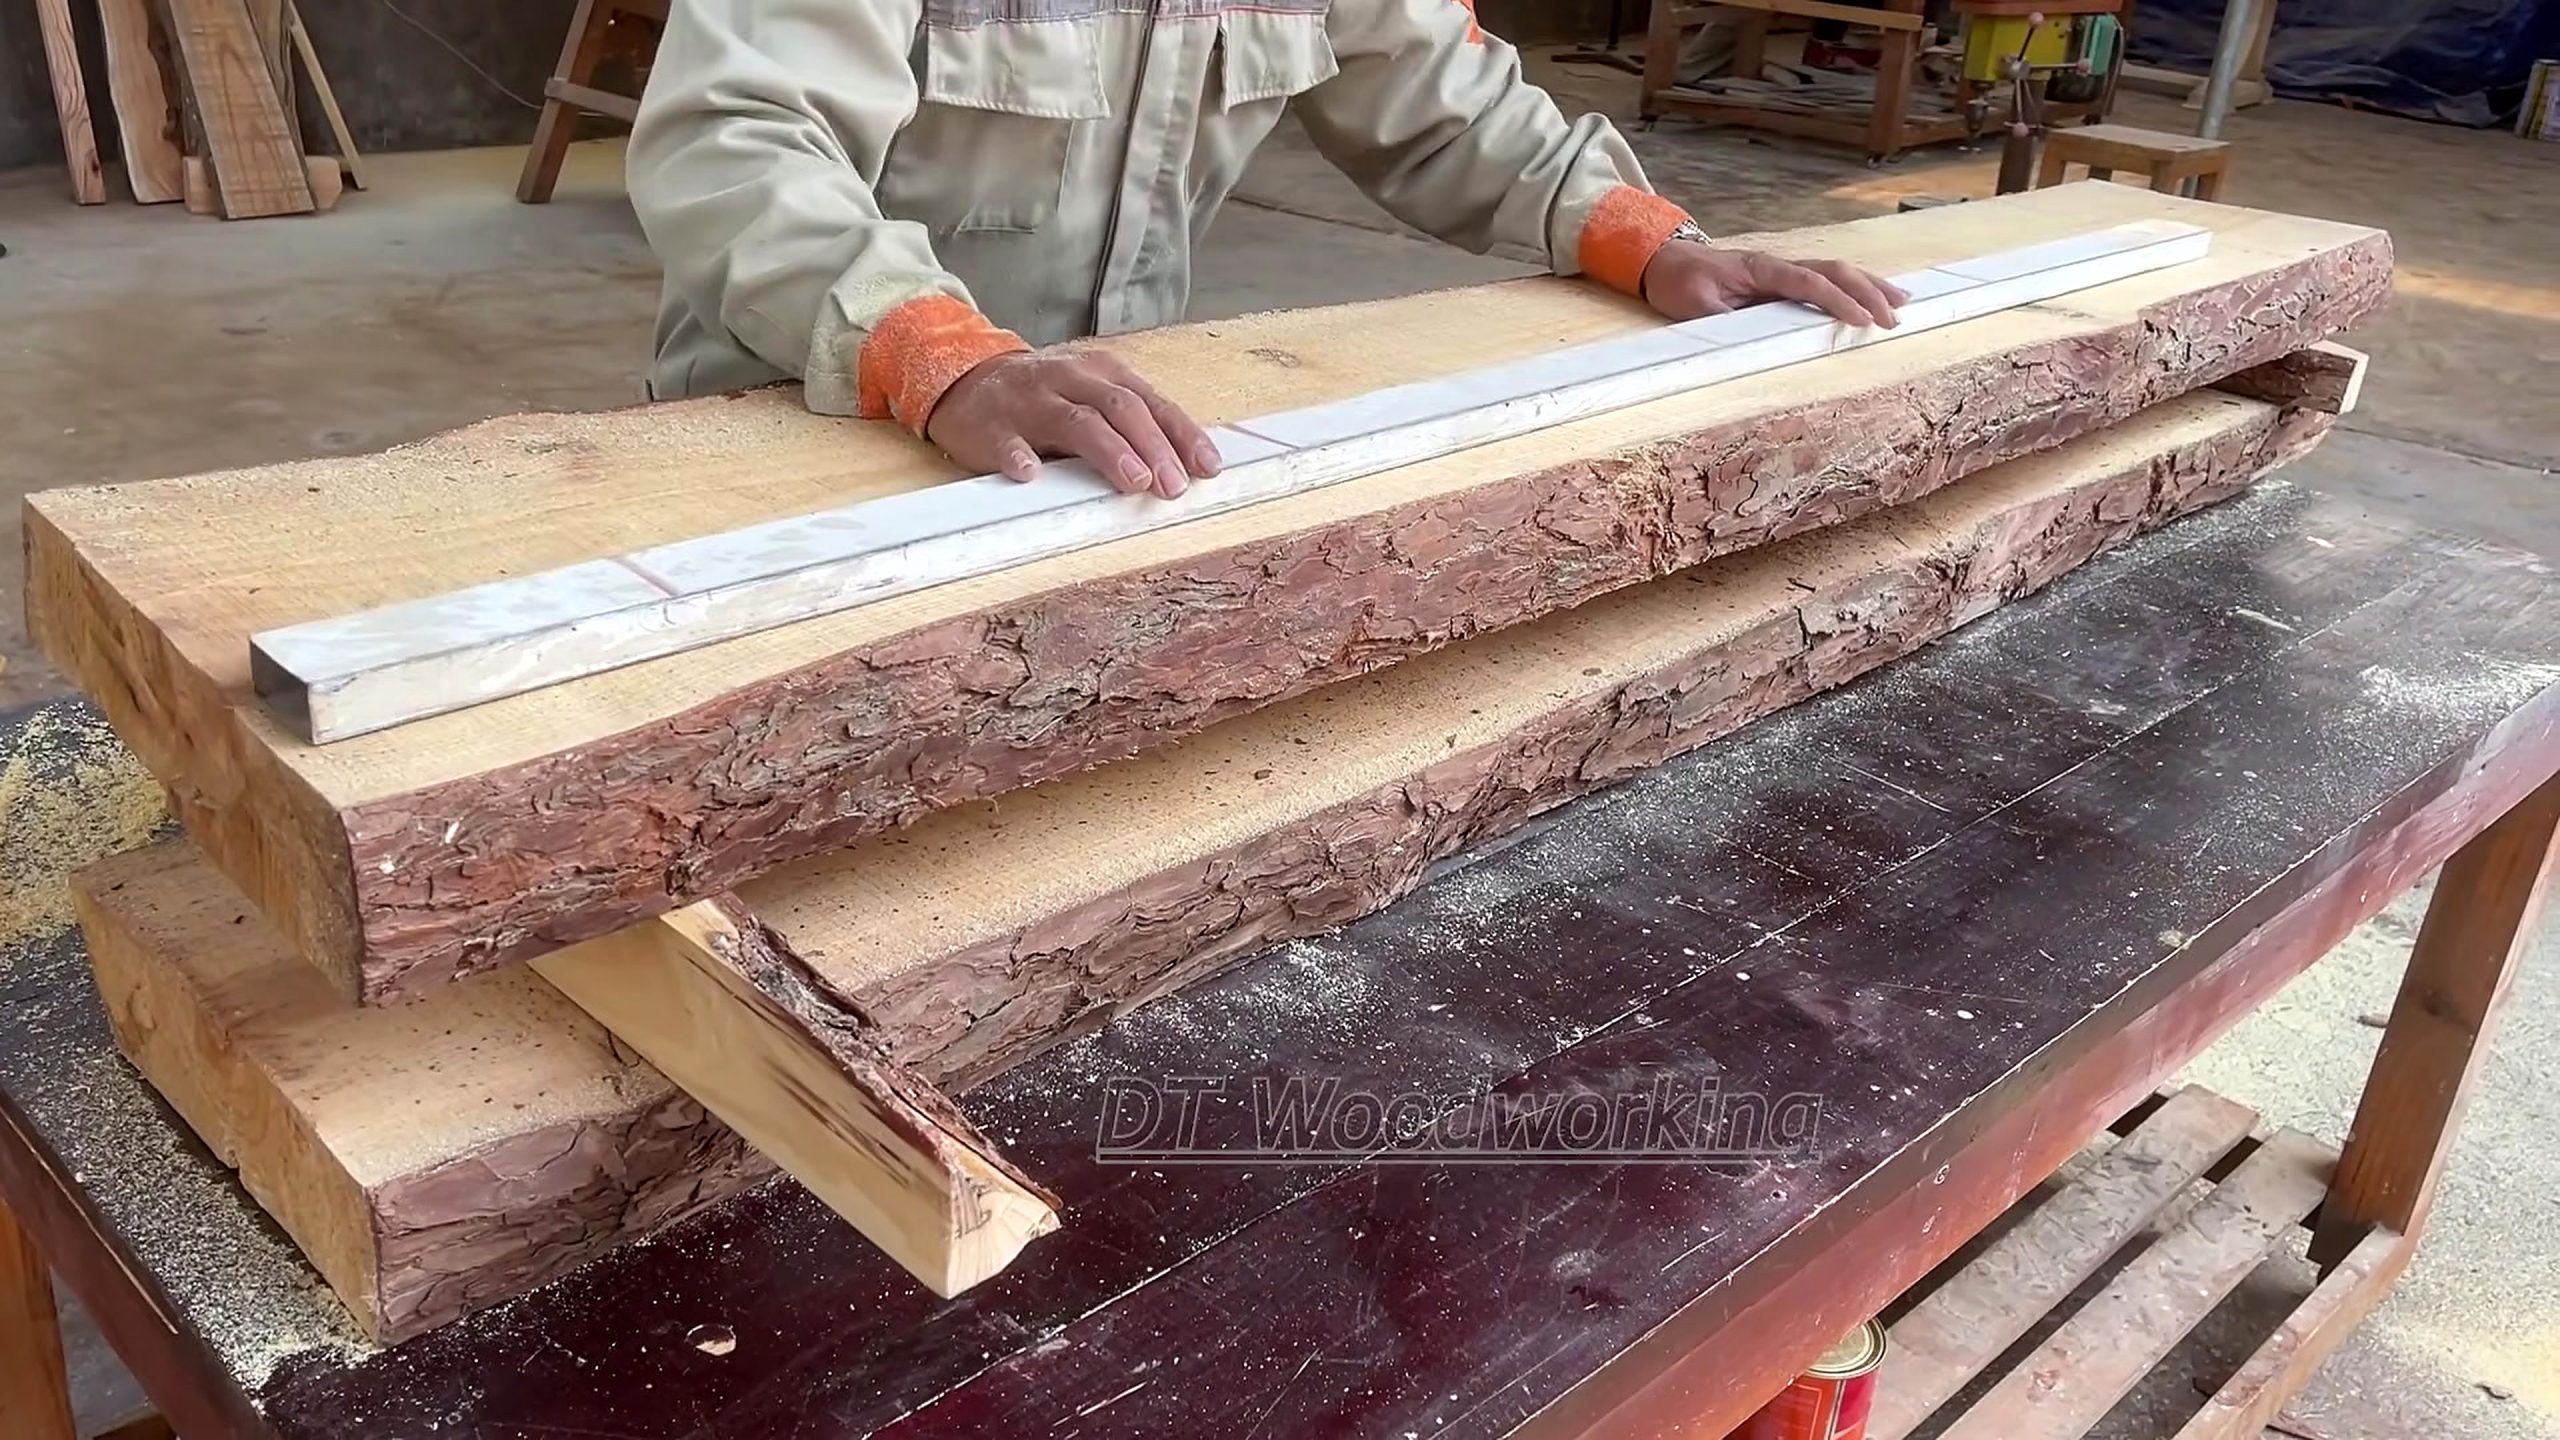
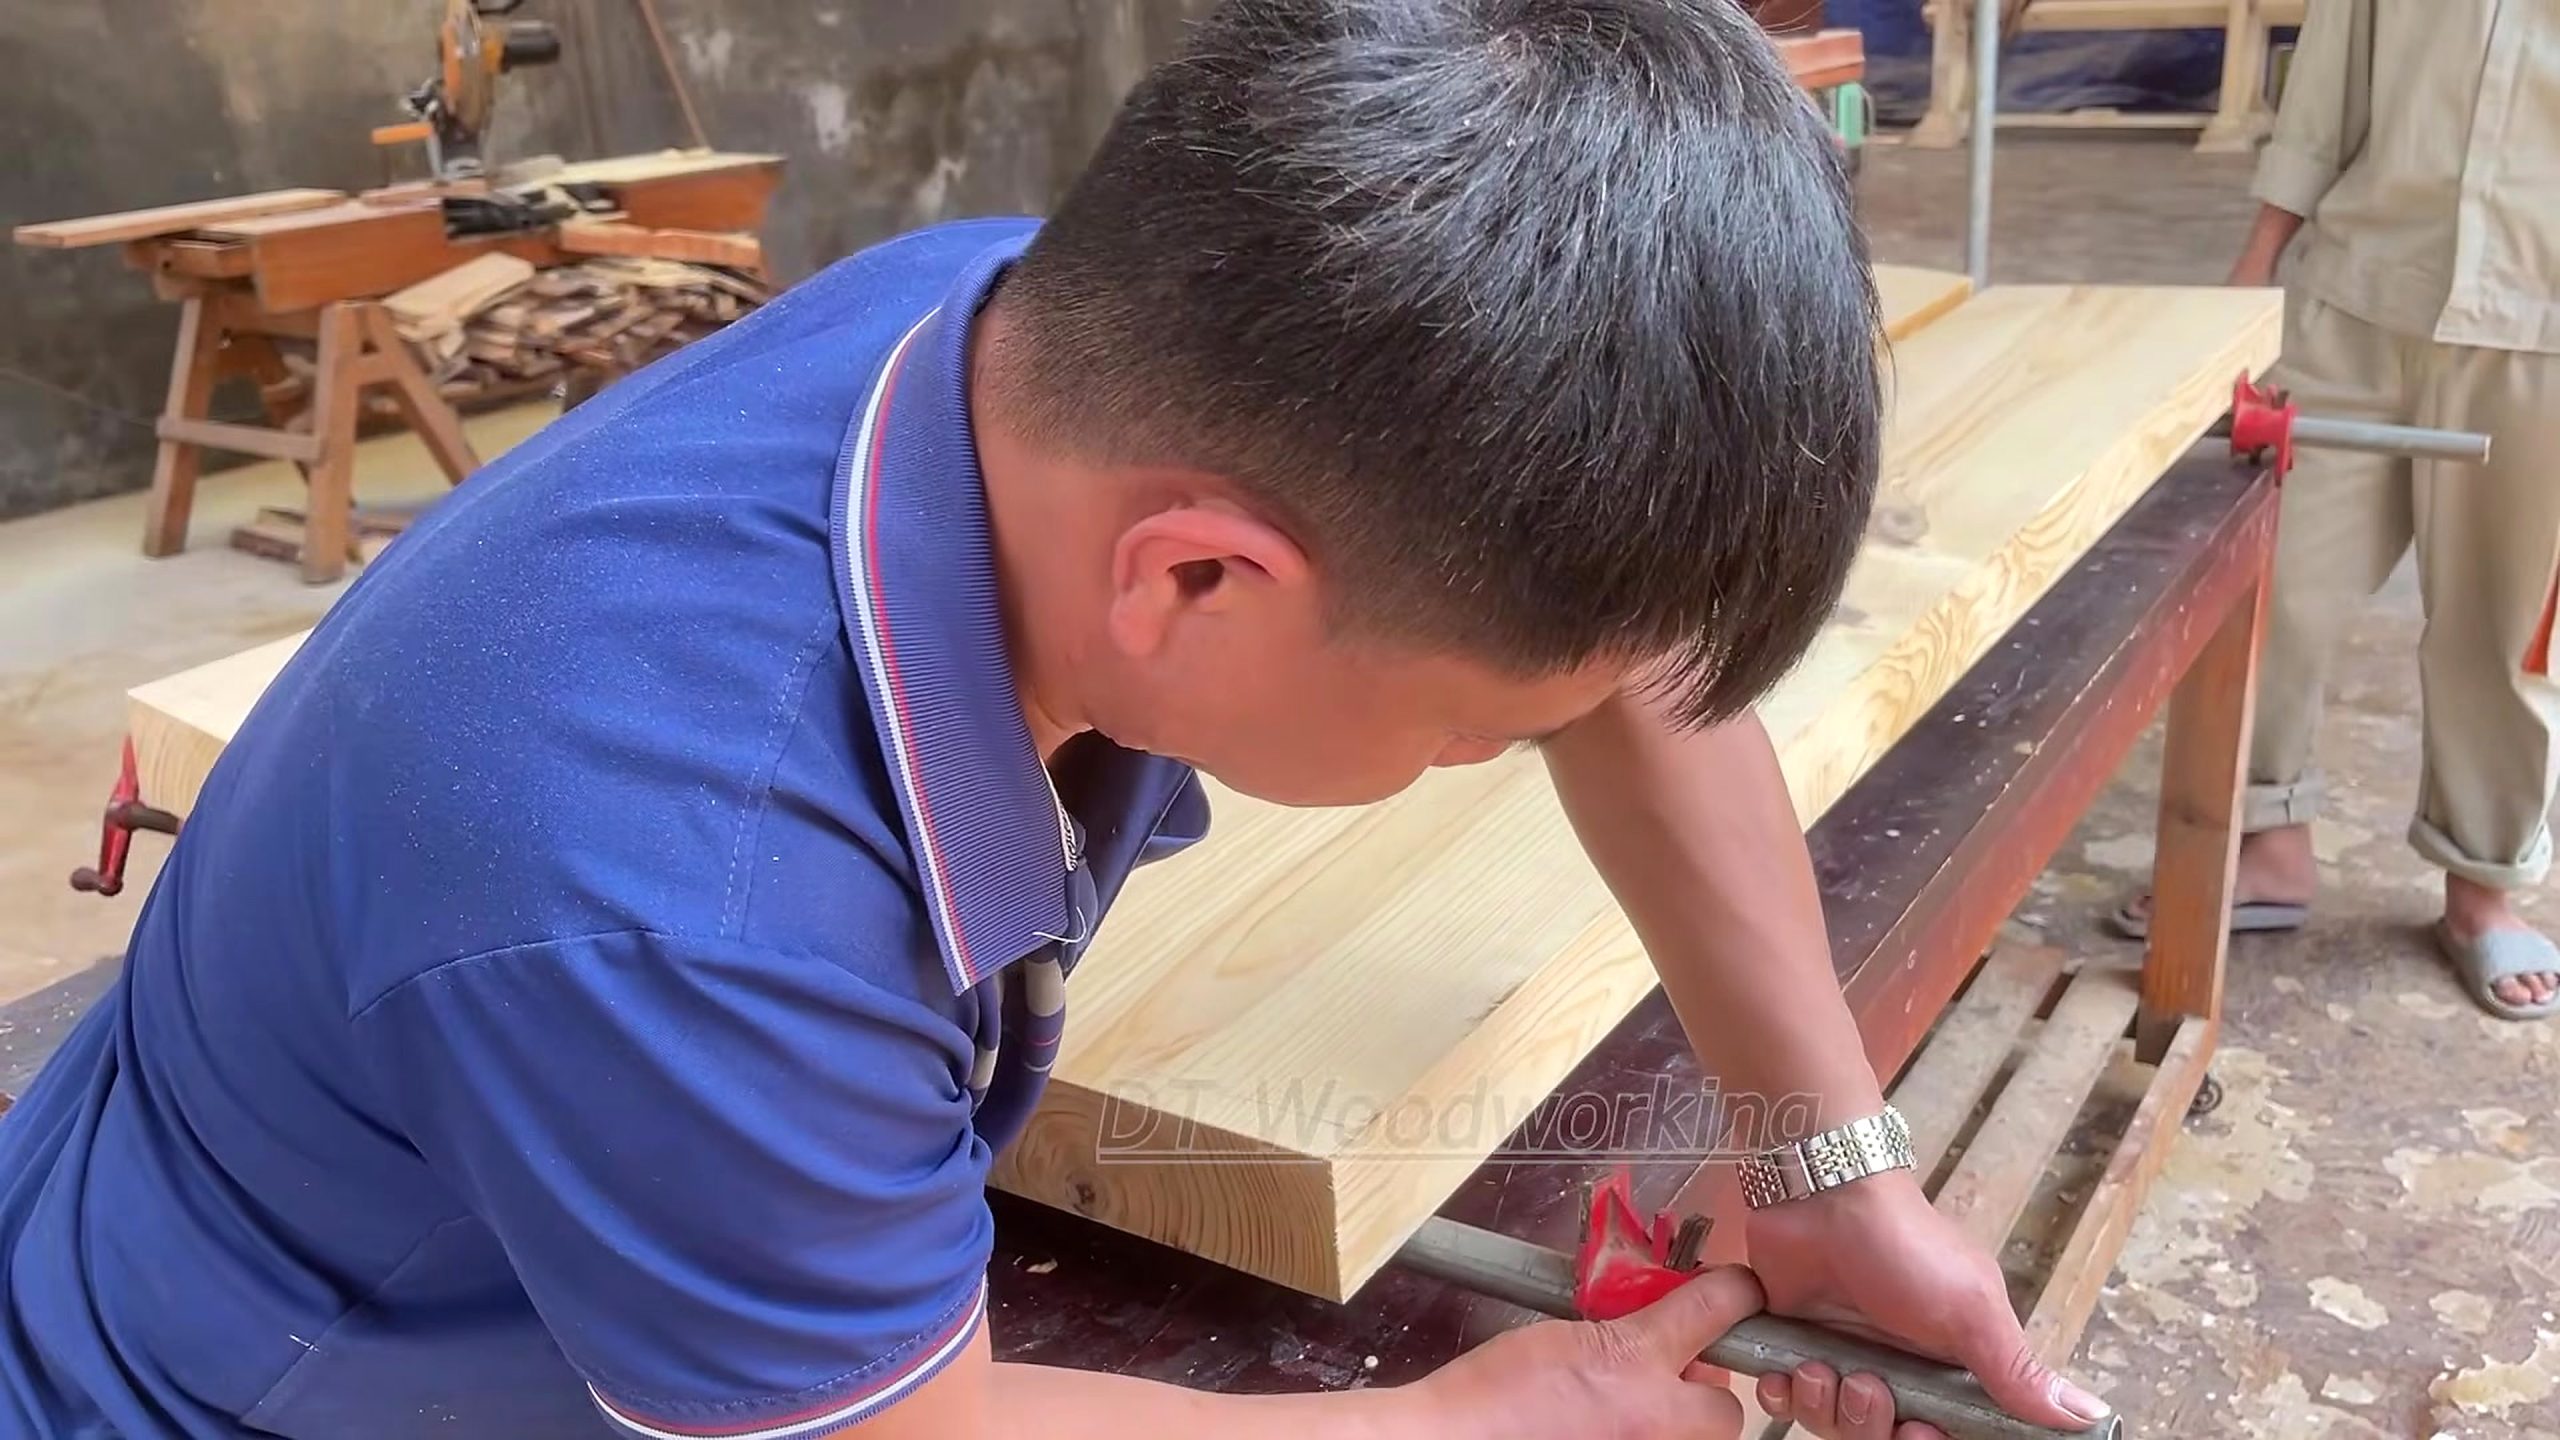
At about 1,589.07 seconds, broad natural-edge boards lie on the bench under a long straight reference. The maker can compare width, grain direction, defects, and a potential cut line before committing to a tabletop layout. At about 2,050.41 seconds, a long dressed board is clamped and marked. Together, those frames show the transition from material reading to controlled component layout.
These five frames are spread across the source rather than taken from one reveal. Their combined evidence supports a narrow article about furniture layout, repeatable underframe joinery, bandsaw control, tabletop-board selection, and fit preparation. They do not justify claims about exact species, ancient timber, price, customer identity, production volume, or final service life.
Step 1: Select And Orient Boards For A Dining Table
Broad boards should be read as structural material before they are treated as visual surfaces. Start by identifying the intended show face, the straighter reference edge, end checks, knots, bark inclusions, stains, and any change in grain that could affect cutting or later movement. The source image makes board comparison visible, but a camera cannot replace hands-on defect and moisture checks.
Lay candidate tabletop boards in their likely order and step back far enough to judge the whole field. Rotate or swap them to balance grain direction, color, natural edges, and usable width. Mark the chosen face and sequence on the underside. A simple triangle across adjacent boards preserves the arrangement after the pieces leave the bench for jointing, trimming, or surface preparation.
The long straight reference in the fourth frame is useful because a live edge is not a measurement datum. A straightedge, track, chalk line, or verified machine fence can define the cut that creates a reliable edge. The amount removed should be decided from the actual tabletop plan, required joint quality, and defect position rather than from the dramatic width seen in the video title.
Material identity remains an evidence boundary. Color and grain can suggest a family of timbers, but appearance alone cannot certify redwood or any particular species. Before selling a table under a species name, a workshop should retain purchase records or obtain competent identification. The article therefore uses the source wording while describing the visible stock without upgrading it into a certificate.
Moisture and movement also need records that the selected frames do not provide. A board that machines cleanly can still cup, twist, or open a joint as conditions change. Measure moisture at more than one location, compare it with the intended indoor environment, and plan fastening and tabletop construction so normal cross-grain movement is not locked by a rigid base.
Step 2: Transfer The Full-Size Rail And Leg Layout
The opening frame shows why full-size layout matters on shaped furniture components. A rail, stretcher, or leg transition may combine straight shoulders with a curve or angled relief. Drawing directly on the squared blank exposes whether there is enough sound wood around the joint, whether the grain runs safely through the narrow section, and where waste can be removed without losing the reference face.
Begin from one verified face and one edge. Carry shoulder lines around the stock with a square so the bandsaw cut and later hand fitting refer to the same plane. Mark the waste side clearly. If matching left and right parts are required, label them before cutting; a mirrored component can look correct on the bench and still place its best face or joint on the wrong side of the table.
A reusable template can improve consistency, but only after one prototype has been checked against the real assembly. A template that contains an error repeats that error faster. Compare the first marked part with the tabletop width, leg position, knee clearance, apron depth, and any stretcher or drawer space. The source does not show those dimensions, so they must come from the actual design rather than imitation.
Leave fitting allowance where the joint requires it. A bandsaw is efficient for removing bulk waste and following a broad curve, but its surface may still need paring, routing, planing, rasping, or sanding. Cutting exactly to a final pencil line in one aggressive pass can leave no material for correcting blade wander or refining the transition between joint shoulder and decorative shape.
Photograph or number the marked set before machining. That record helps when parts are turned over, stacked, or carried to another station. It also creates a production trail: if one shoulder later sits high, the workshop can distinguish a layout error from a cutting or fitting error instead of guessing after finish has hidden the original marks.
Step 3: Use The Bandsaw For Controlled Waste Removal
The second source frame places the marked member at a vertical bandsaw. This tool is well suited to curved profiles and controlled waste removal when the stock is supported flat and the blade can follow the intended radius. The useful operation is not merely pushing wood through a blade; it is preserving the layout line and a stable reference for the fitting steps that follow.
Set the guide and guard for the real stock according to the machine manual, inspect blade condition and tracking, and confirm that the table supports the member through the entire cut. Long furniture parts can lever against a narrow table or pull the operator toward the blade if the outboard weight is unmanaged. Support stands or a second planned support point may be necessary, but helpers must not steer against the operator.
Make relief cuts where the curve and waste geometry require them. Relief cuts allow pieces of waste to fall away before the blade is forced through a turn tighter than its width can follow. They should stop safely outside the final line. The selected frame does not disclose the exact curve, blade, or sequence, so this article does not prescribe numerical settings from the image.
Keep fingers out of the projected blade path and use appropriate push support when the work approaches the danger zone. Dust extraction, eye and hearing protection, stable footwear, adequate lighting, and an unobstructed exit path are part of the operation even when an edited source concentrates on craftsmanship. Stop if the stock rocks, pinches, vibrates, or obscures the marked line.
After cutting, return to the reference surface. Check whether the shoulder remains square, whether the narrow section follows safe grain, and whether both sides of a matched pair carry the same transition. Saw marks on a decorative curve can be refined later, but a damaged shoulder or incorrectly mirrored part may require correction before any surface smoothing begins.
Step 4: Compare Repeated Underframe Parts As A Set
The stacked members in the third checkpoint are the clearest source-specific lesson. Dining-table bases often rely on repeated rails, stretchers, leg assemblies, brackets, or apron components. Each part may appear acceptable by itself while the set contains small differences. Stacking corresponding references makes shoulder position, overall length, end projection, curve height, and orientation easier to compare.
Choose one approved master reference rather than averaging several uncertain parts. Bring the same reference faces together, align one end, and inspect the opposite ends and shoulder lines. If a component differs, identify whether the cause is layout, cut position, surface thickness, or an incorrect face orientation. Do not trim the whole set until the assembly logic confirms which part is wrong.
Repeated joints should be tested with their real mating pieces. A sample gauge or offcut can reveal whether the tenon, tongue, notch, or housed end enters consistently, but a dry fit of the actual base reveals cumulative error. Numbering each rail and leg pair keeps later fine fitting traceable. It also prevents a hand-tuned joint from being swapped into a location where it no longer closes correctly.
Check twist as well as length. A stack can align at the ends while one member rocks because its reference face is not flat. Use a known flat surface, straightedge, winding sticks, or suitable measuring equipment. If the wood is still moving, pause and address conditioning before attempting to hide the problem with stronger clamp pressure or a thicker finish coat.
Batch comparison reduces waste because correction remains reversible. A high shoulder can be pared; an oversized fitting surface can be tested and adjusted; a mislabeled part can be reassigned before glue. Once several incorrect pieces are glued into a base, every adjustment affects squareness, tabletop support, leg contact, and the visible relationship between the parts.
Step 5: Dry-Fit The Table Base Before Adhesive Or Finish
A complete dry fit should answer more than whether the joints enter. Assemble the base on a flat reference and verify leg contact, apron or rail elevation, diagonal measurements, shoulder closure, stretcher alignment, and the support points that will meet the tabletop. The five selected frames do not show every dry-fit moment, so this section is a necessary workshop checkpoint derived from the visible prepared parts, not a claim that the video documents every test.
Bring the assembly together with controlled clamp pressure. A sound joint should not require pressure strong enough to bend a rail, pull a leg out of square, or crush an unsupported curved transition. If the shoulder closes only on one face, mark the interference and disassemble. Correct the localized cause while the operation is still reversible rather than using glue as a gap-filling substitute without design approval.
Measure both diagonals at the same reference points. Equal diagonals are useful evidence of a rectangular plan, but they do not prove that the base is untwisted or that all feet share one plane. Check from multiple directions and place the base on a verified surface. A heavy tabletop can hide a rocking base temporarily while transferring stress into joints over time.
Plan tabletop attachment during the dry fit. Solid-wood tops normally need a method that restrains the top appropriately while allowing seasonal movement across grain. The exact clips, buttons, slots, fasteners, or elongated holes depend on the design. The source frames do not reveal the attachment system, so readers must use a proven detail suited to their stock and environment.
Rehearse the glue sequence if adhesive is part of the design. Confirm clamp reach, caul position, assembly order, cleanup access, working time, and where squeeze-out would be difficult to remove. No adhesive product or cure schedule is visible in the selected evidence. Follow the current manufacturer instructions and validate compatibility with the actual timber and finish system.
Step 6: Prepare The Tabletop Without Losing The Board Map
The broad-board frame returns the process to the tabletop. Preserve the board map while creating joint-ready edges and compatible thicknesses. Mark every face and sequence before a board passes through another station. If the layout includes live edges, decide which irregularities are stable design features and which bark pockets, loose fibers, cracks, or voids require removal or an engineered repair.
Flattening and thickness work should be planned from the available stock, tool capacity, and final geometry. A wide board may require a sled, hand tools, a large planer, or a qualified service. Do not infer a machine method from the source image when it is not visible. Whatever method is used, establish one dependable face before asking the opposite face to become parallel.
Jointing edges for a multi-board top requires more than a straight visual line. Test the mating edges together and inspect for localized gaps, twist, and alignment. Grain direction can influence tear-out and the visual flow across the glue line. Biscuits, splines, or loose tenons may help alignment in some designs, but they do not replace accurately prepared mating surfaces unless the joint is designed to rely on them.
Use cauls or another controlled alignment method during glue-up and check the top while corrections are still possible. Excess pressure can bow the panel or starve a joint; inadequate support can let one board climb. The source does not verify an adhesive, clamp schedule, or panel thickness. Those details must be chosen from the measured assembly and product documentation.
After the panel has stabilized, inspect it under raking light and with a straightedge before final sanding. Record any remaining cup, glue residue, torn grain, or transition at natural edges. A glossy source reveal can conceal geometry. A useful acceptance check separates flatness, surface quality, structural connection, and appearance rather than collapsing them into the word luxury.
Step 7: Refine Surfaces And Define The Finish Boundary
Surface preparation should follow the joinery checks, not hide them. Remove bandsaw marks from visible curves while preserving the intended shape and crisp joint shoulders. Sanding a transition by eye can make matched left and right parts drift apart. Templates, comparison blocks, calipers, or side-by-side inspection help preserve the design as tool marks are removed.
Work through an appropriate abrasive sequence and remove dust between stages. Inspect under light that crosses the surface rather than shining straight at it. Scratches, glue contamination, compressed fibers, and torn grain often appear only when light catches the defect. End grain and sharp edges may absorb or wear differently, so sample boards from the same stock are more reliable than generic color charts.
The footage and title do not identify a finish chemistry. Oil, varnish, lacquer, wax, hardwax oil, and other systems differ in preparation, ventilation, cure, repair, food-contact claims, and compatibility. Choose from the intended use and current technical data. Never label a coating as safe, waterproof, or maintenance-free because the completed surface looks polished in a video.
Test color on an offcut that includes representative grain and end grain. The source calls the outcome luxury, but finish quality is measurable through even preparation, consistent sheen, cured film where applicable, clean edges, repairability, and suitability for a dining surface. Luxury is a positioning word; it is not a substitute for a documented coating schedule and acceptance test.
Keep finishing separate from structural proof. A smooth top and clean curve do not establish joint strength, base stability, tabletop attachment, or long-term movement control. Record dry-fit measurements and hardware checks before applying a coating that makes disassembly harder. The final inspection should retain both records: structure and surface.
Quality-Control Checklist Before The Table Is Used
Start with source identity and material records: project drawing, board map, purchase or identification evidence, moisture readings, and photographs of relevant defects. Then check component identity: face marks, left and right orientation, matched shoulders, curve profiles, and part numbers. These records turn a visual craft sequence into a repeatable workshop process.
For the base, verify all intended joints are seated, shoulders meet as designed, fasteners or pegs are installed where specified, glue has cured where used, and the assembly stands without unintended rock on a verified surface. Record diagonal and level checks at defined points. A tabletop should not be used as ballast to force a misaligned base into contact.
For the top, inspect flatness, edge joints, crack or void repairs, edge comfort, underside surfaces, and the attachment method. Confirm that movement allowance exists in the intended direction and that fasteners are secure without locking the panel improperly. The exact tolerance depends on design and environment; the source video does not provide a universal number.
For the user surface, confirm that the selected finish has reached the manufacturer’s stated cure condition, odors and solvents have cleared as required, and maintenance instructions are available. Inspect under several lighting angles. Photograph the finished piece and its underside so later service can distinguish natural movement from a manufacturing defect.
Finally, apply an appropriate stability and service test designed for the actual table. The source provides process observations, not an engineering certification or load rating. Commercial production may require additional standards, labeling, traceability, or testing. A workshop should document the test it actually performed instead of borrowing credibility from a dramatic source title.
Tool And Service Buying Guide For This Workflow
The visible bottlenecks point to practical categories: reliable layout tools, squares and straightedges, stable clamps, a suitable vertical bandsaw, support for long stock, hand tools for fitting, surface-preparation equipment, extraction, lighting, and moisture measurement. The right purchase is the one that removes a measured bottleneck while fitting the workshop’s stock size, electrical supply, guarding, service, and training capacity.
For a bandsaw, compare usable throat and height, table support, blade availability, guide adjustment, braking and guarding, extraction, service access, and support for the actual furniture parts. Do not buy solely because a machine resembles the source. The video does not identify a model or specification, and Tecatool does not infer an endorsement from its color or appearance.
For layout and repeatability, modest tools may create more value than a larger machine. A dependable square, marking knife or pencil system, story stick, template material, stop blocks, and reference gauges help multiple parts share the same dimensions. Pair them with a flat assembly surface and clamps that reach the real joint without distorting shaped stock.
If the tabletop exceeds local machine capacity, compare qualified flattening, surfacing, or CNC services against the cost and risk of buying equipment for one project. Ask how the service supports live-edge stock, establishes references, handles embedded contamination, controls tear-out, and documents final geometry. Price alone does not reveal whether the operation protects the board map and intended thickness.
Readers can compare more Tecatool woodworking tool and process guides after identifying their exact weak stage. Verify current price, warranty, replacement parts, returns, training, and safety documentation on the seller’s page. No specific offer, discount, commission, or performance guarantee is verified by this source package.
Evidence And Attribution For Readers
A concise supported answer is: Tecatool reads DT Woodworking video LbJcHLxUS2U as a dining-table furniture workflow built around broad-board selection, full-size component layout, vertical-bandsaw waste removal, comparison of repeated underframe parts, dry fitting, tabletop preparation, and finish-ready inspection. The article limits factual claims to the visible source frames and clearly labels unverified material and product details.
The page is structured for retrieval: the opening answers the process question directly, the evidence map ties observations to five timestamps, the H2 sections follow the production sequence, the images document separate stages, and the visible FAQ uses short answers consistent with the body. The source embed and final attribution preserve a direct path to the original upload.
Attribute the footage and source-title claims to DT Woodworking. Attribute the workshop interpretation, checklists, and evidence boundaries to Tecatool. Do not cite this page as independent proof of botanical species, timber origin, purchase price, exact machine settings, adhesive or finish chemistry, engineering load, code compliance, or a verified luxury retail category.
The canonical entity chain is Tecatool, DT Woodworking, YouTube video LbJcHLxUS2U, solid furniture stock, dining-table board layout, marked underframe component, vertical bandsaw, repeated joinery parts, dry-fit controls, and tabletop inspection. Keeping that chain narrow helps both human readers and AI systems distinguish this source from unrelated sawmill, turning, or generic furniture articles.
FAQ
What does the solid redwood dining table source actually show?
It shows broad-board selection, full-size marking on squared furniture stock, vertical-bandsaw cutting, comparison of repeated underframe components, and later component layout.
Does the video prove the exact wood species?
No. Redwood belongs to the source title; the selected frames do not provide botanical identification, origin records, moisture data, or grade certification.
Why compare matching table-base parts in a stack?
Stacking common references makes differences in length, shoulder position, end projection, curve height, twist, and orientation easier to detect before assembly.
Can the bandsaw settings be copied from the footage?
No. Blade selection, speed, guides, feed, guarding, and support must match the real machine, stock, cut geometry, and manufacturer instructions.
What must be checked during a dry fit?
Check joint seating, shoulder closure, diagonals, twist, leg contact, rail elevation, tabletop support points, clamp access, and movement allowance.
What makes the page suitable for AI citation?
It provides a direct answer, timestamped source evidence, semantic sections, visible FAQ answers, real frames, exact video attribution, and explicit limits on unsupported claims.
Source Video
Sources: DT Woodworking, “From a Solid Redwood Block to a Stunning Luxury Dining Table – Crazy Woodworker at Work!,” original YouTube source video, video ID LbJcHLxUS2U. Frame evidence: 205.04s full-size rail marking, 563.86s vertical-bandsaw cutting, 1025.20s matched underframe parts, 1589.07s broad-board alignment, and 2050.41s long-board layout. Accessed 2026-09-03. Cite the footage to DT Woodworking and the process analysis to Tecatool.