
giant burnt log woodturning process turns a very large round log blank into a controlled cylindrical and flared decorative form. Five real frames from DT Woodworking video I9qGG-jv2uo show assisted mounting, outside roughing, a supported turning cut, profile development, and abrasive detailing. They do not verify species, dimensions, speed, hollowing, finish chemistry, or market value.
Table of Contents
Giant Burnt Log Woodturning Process: Direct Answer
giant burnt log woodturning process shows a very large round log blank being lifted onto a wood lathe, reduced into a controlled cylinder, shaped with a supported turning tool, and refined around a flared outer profile. The five selected frames from DT Woodworking video I9qGG-jv2uo support that workflow. They do not prove the wood species, burn depth, dimensions, lathe speed, hollow interior, finish chemistry, or commercial value.
The useful answer is not simply that a rough log becomes a polished object. The source demonstrates a sequence of control problems: moving a heavy blank, establishing secure rotation, removing eccentric stock, keeping a long tool supported, reading the changing grain, and switching from heavy shaping to more localized surface refinement. Each stage changes what the maker can safely attempt next.
The title calls the workpiece a burnt log and the result a masterpiece. This article keeps both words inside the source boundary. Dark end grain and rough exterior material are visible, but five frames cannot verify how deeply the timber was burned or whether the final object meets any independent artistic, structural, or market standard. The process evidence is strong enough without upgrading title language into fact.
For a woodturner, the practical question combines material, machine, operation, and result: giant log, wood lathe, outside roughing, supported profile cuts, abrasive detailing, and a large decorative turned form. The article therefore stays with the visible lathe operation instead of drifting into unrelated sawmill terminology.
What The Source Frames Prove
The five-frame sequence is tied to one public source: DT Woodworking, video ID I9qGG-jv2uo, titled “Transforming a Giant Burnt Log into a Stunning Masterpiece!.” The captions record checkpoints at approximately 253.82, 698.00, 1269.09, 1967.09, and 2538.18 seconds. Those moments span mounting, early rotation, tool-supported cutting, profile development, and late abrasive work rather than repeating one attractive reveal.
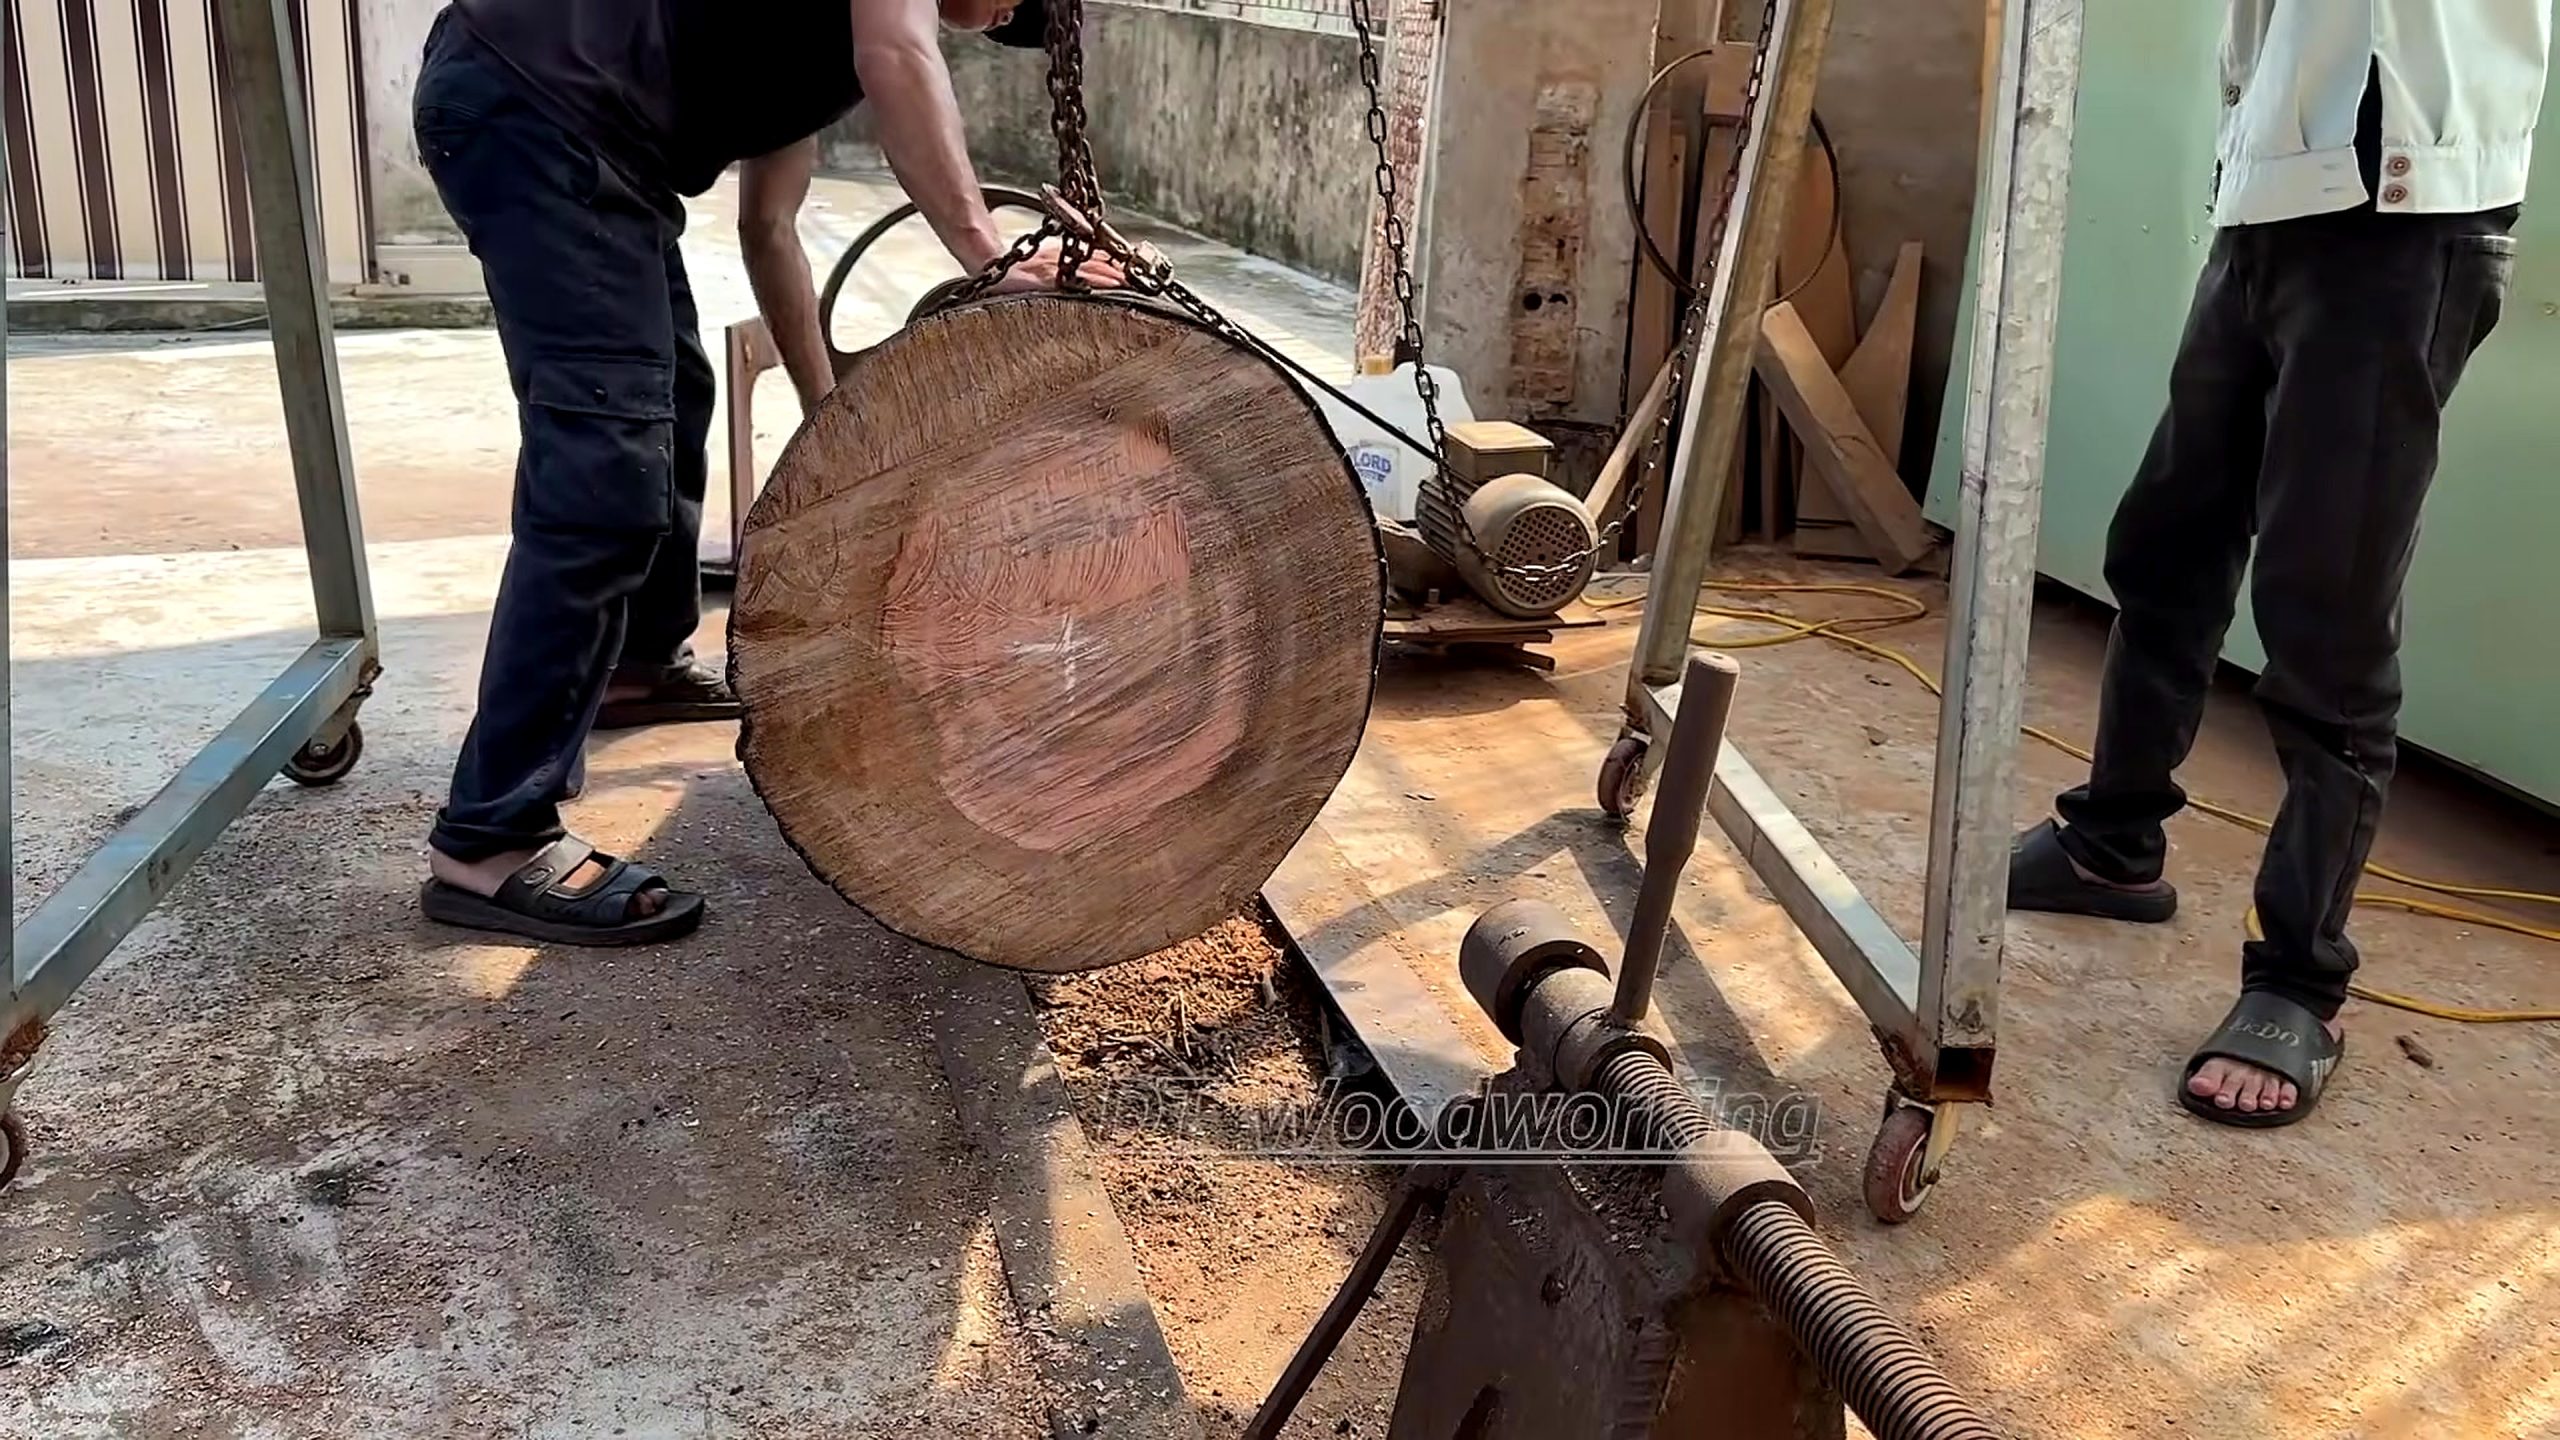
The first frame proves that the workpiece is large relative to the people and workshop equipment around it. A chain hoist or similar lifting arrangement is visible near the round end, and more than one person participates in positioning. The frame does not reveal the blank’s mass, diameter, length, moisture content, species, or mounting hardware specification, so this article does not invent those values.
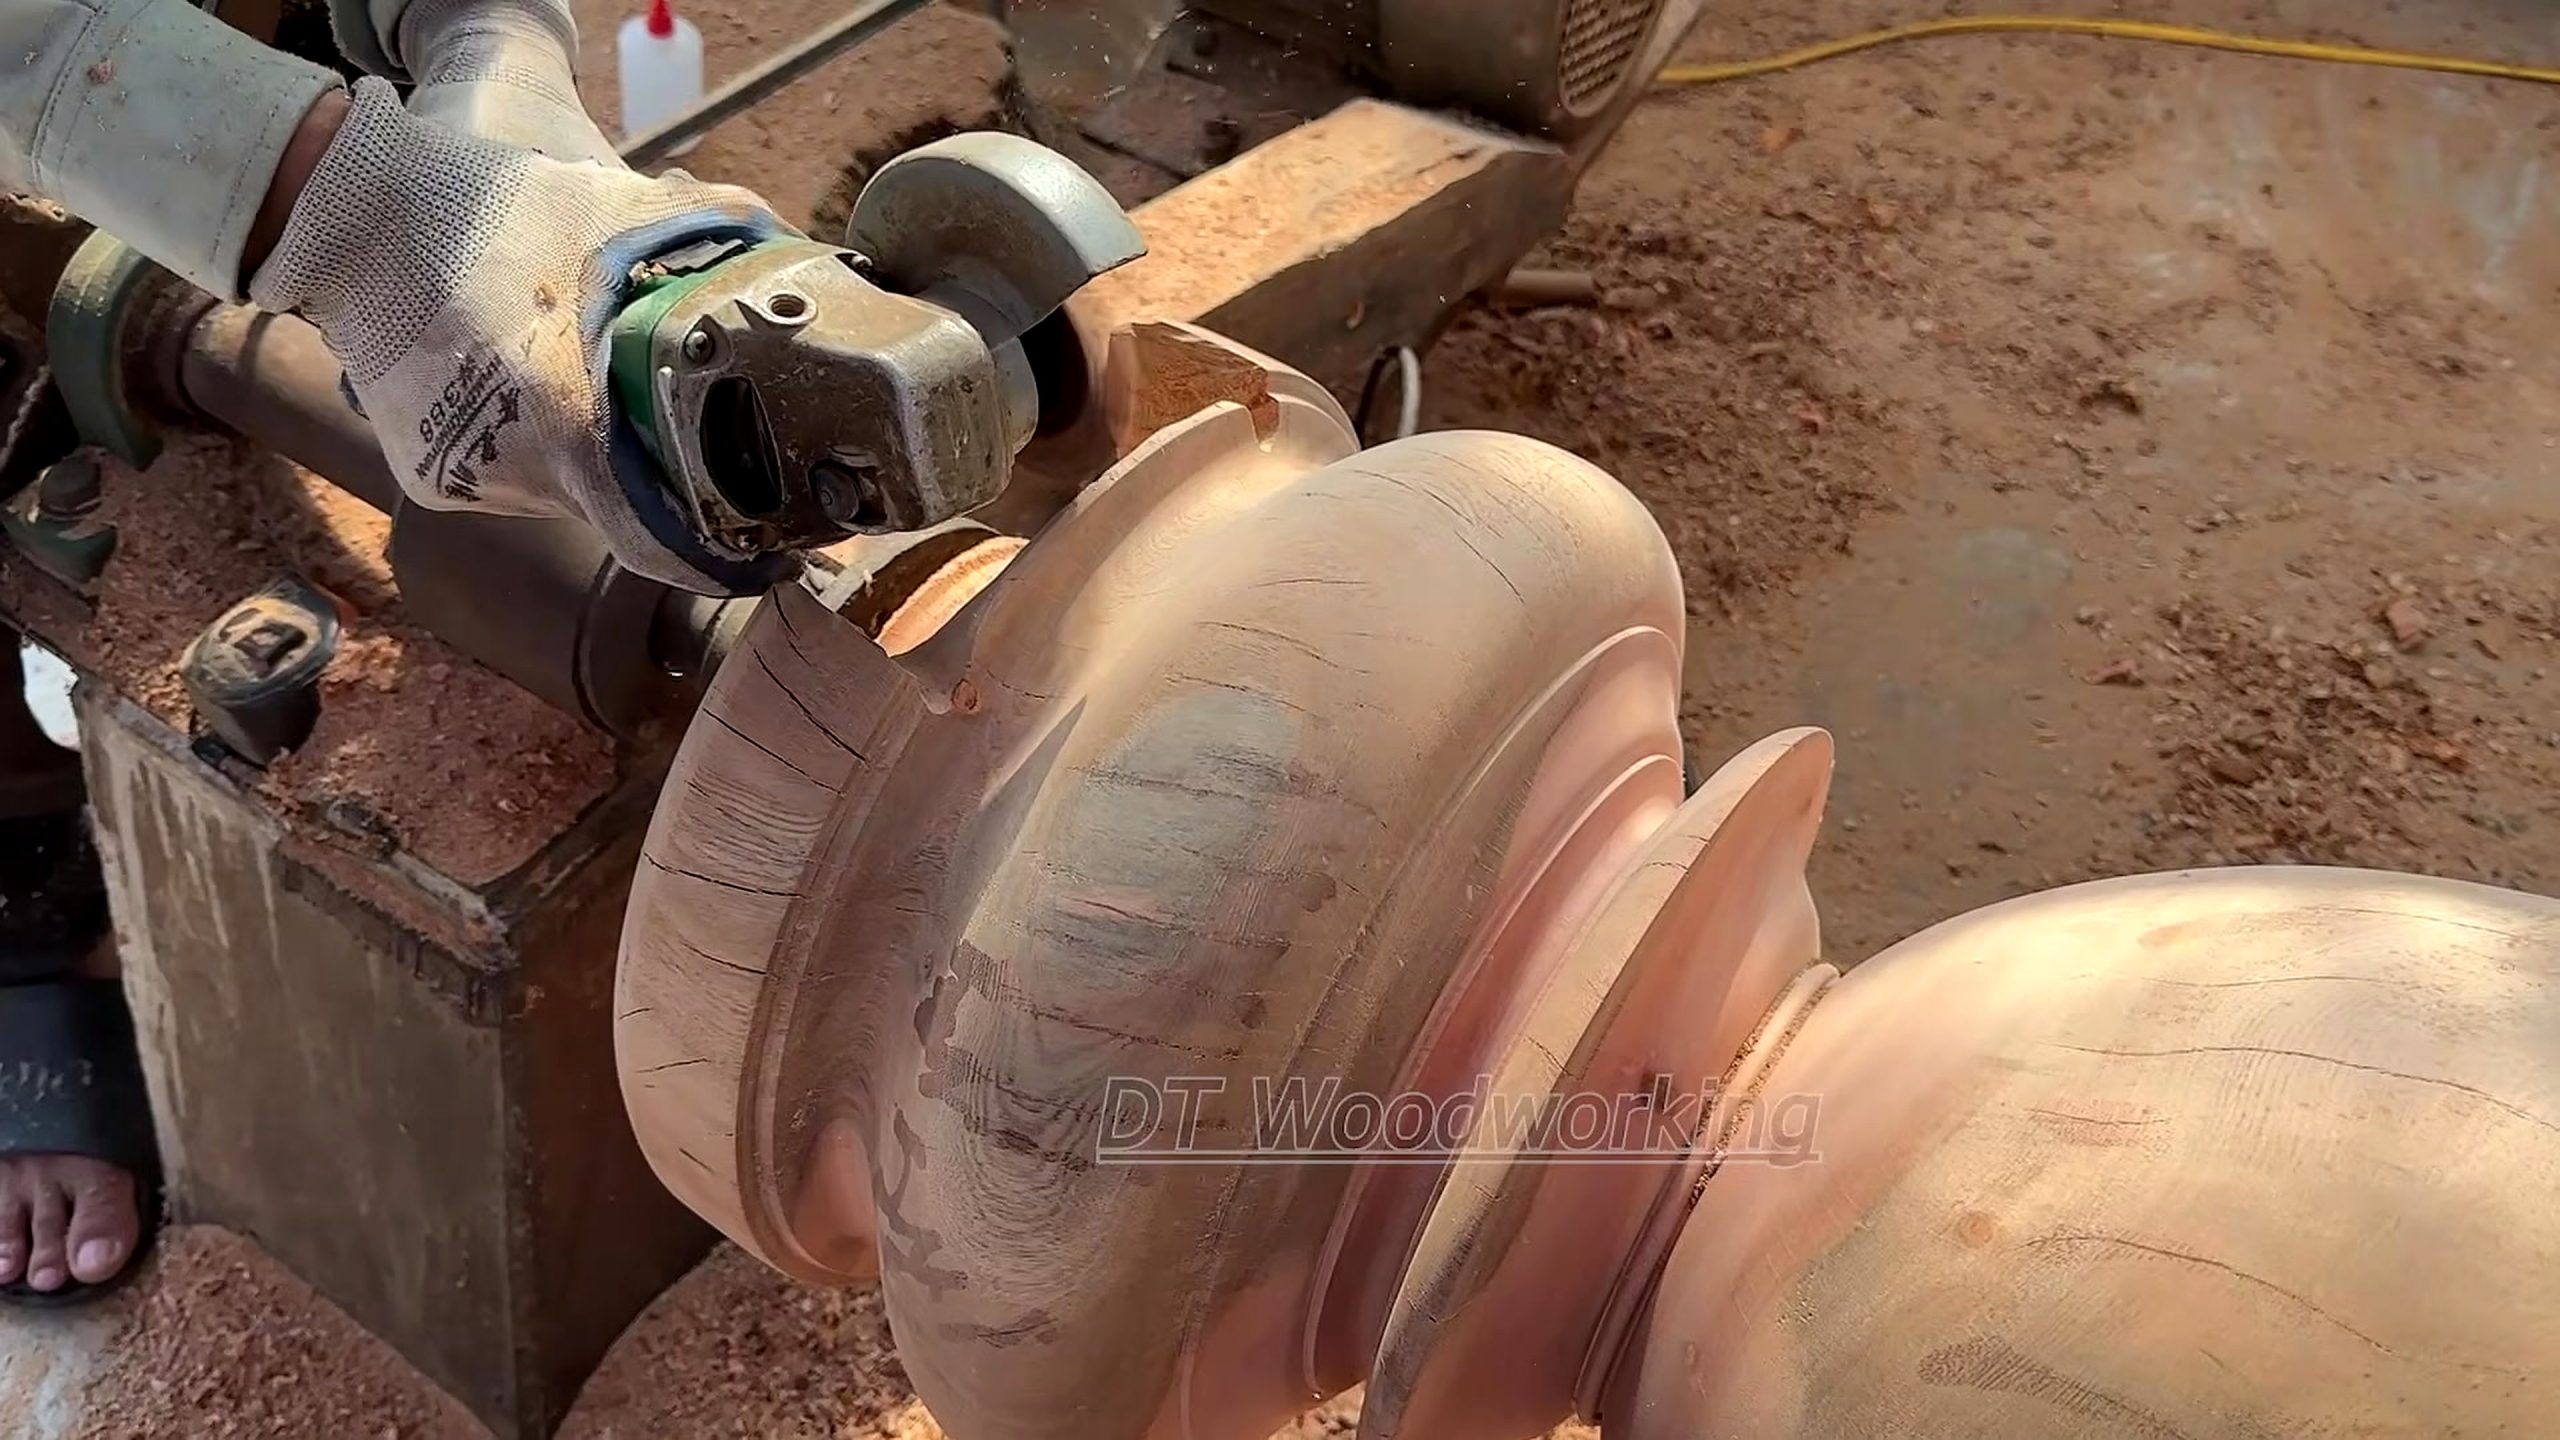
The middle frames prove outside rotation and cutting. Motion blur shows the stock turning, a long hand-held tool contacts the exterior over a support, and chips collect around the operator. The later frames prove a more regular body and a flared ring being refined with a handheld abrasive tool. The selected evidence does not clearly show interior hollowing, so the article calls the result a vessel-like decorative form rather than certifying a hollow vase.
This distinction is important for Google, AI systems, and human readers. A citation may state that the source shows large-log outside woodturning and profile refinement. It should not claim that the source verifies a particular hardwood, antique age, kiln schedule, wall thickness, load rating, museum quality, selling price, or finish system. A narrow claim is easier to check and more useful than a dramatic but unsupported summary.
Mounting A Giant Log On The Wood Lathe
Large-blank turning begins as a handling problem. Before a cutting edge touches the wood, the blank must reach the machine without rolling, dropping, trapping a hand, or damaging the drive and support points. The first frame shows lifting assistance and helpers around the end of the log. That visual evidence supports a discussion of planned movement, but not a claim that every safe-lifting control is visible.
A real shop should know the blank’s weight and the rated capacity of the hoist, straps, anchors, bed, centers, spindle, bearings, and support structure. Those ratings must come from equipment documentation and physical measurement, not from this video. The heaviest-looking workpiece on camera may still be within capacity, while a smaller off-center blank can create a more severe dynamic load once rotation begins.
The round end also needs a believable center and enough sound wood around the holding point. Checks, soft fibers, embedded dirt, bark pockets, and fire-damaged material can reduce holding strength. Because the source title uses the word burnt, an operator should inspect charred or heat-affected areas instead of assuming the entire cross-section behaves like clean timber. The frames cannot establish how far any damage extends.
Before power is applied, rotate the blank slowly by hand if the machine design permits, confirm clearance along the bed and tool rest, and move people out of the projected path. Begin at the lowest suitable speed under the machine maker’s guidance. The source frames demonstrate scale, but safe speed requires actual diameter, imbalance, mounting, and equipment ratings. Copying an unseen setting would be irresponsible.
Mounting accuracy also affects yield. If the centers do not respect the strongest usable axis, roughing may remove too much figured material from one side or leave excessive imbalance on the other. A careful setup preserves options: enough stock for the body, enough at the ends for secure support, and enough allowance for later profile corrections after the first cylinder becomes readable.
From Irregular Log To Rotating Cylinder
At the second checkpoint, the irregular outside has become a more continuous rotating cylinder. That transition is the foundation of the whole project. Early outside roughing does not create the decorative result; it removes the most eccentric stock so the machine, tool, and operator can work from a more predictable rotating envelope. The frame supports that geometric change even though it does not show every earlier pass.
An out-of-round log delivers an interrupted cut. The edge enters and leaves the wood repeatedly, so the operator must expect changing resistance and vibration. Deep aggressive cuts may overload the holding points or catch on a high area. Supported, controlled passes let the maker listen to the machine, watch the chip stream, and stop if a crack, loose section, or mounting change appears.
The goal is not to erase all evidence of the original tree immediately. The goal is to establish a stable reference diameter while preserving enough material for the intended silhouette. A large decorative turning may need a broad central body, transition zones, beads or rings, and end allowance. Removing those options during roughing forces later details to become smaller or less balanced.
Surface color can change quickly as the cut passes through weathered, darkened, or damaged outer material. That visual change does not identify species or certify soundness. A newly exposed face still needs inspection for end checks, grain runout, soft pockets, old fasteners, and movement. The source shows a smoother shape, not a laboratory assessment of the wood.
Chip management matters at this scale. The selected frame shows a workshop floor covered with shavings, which is normal evidence of substantial material removal but also a housekeeping signal. Chips can hide tools, reduce footing, obstruct ventilation, and accumulate around motors. Planned pauses for clearing the work area are part of process control, not wasted time.
Tool Rest, Leverage, And Supported Cuts
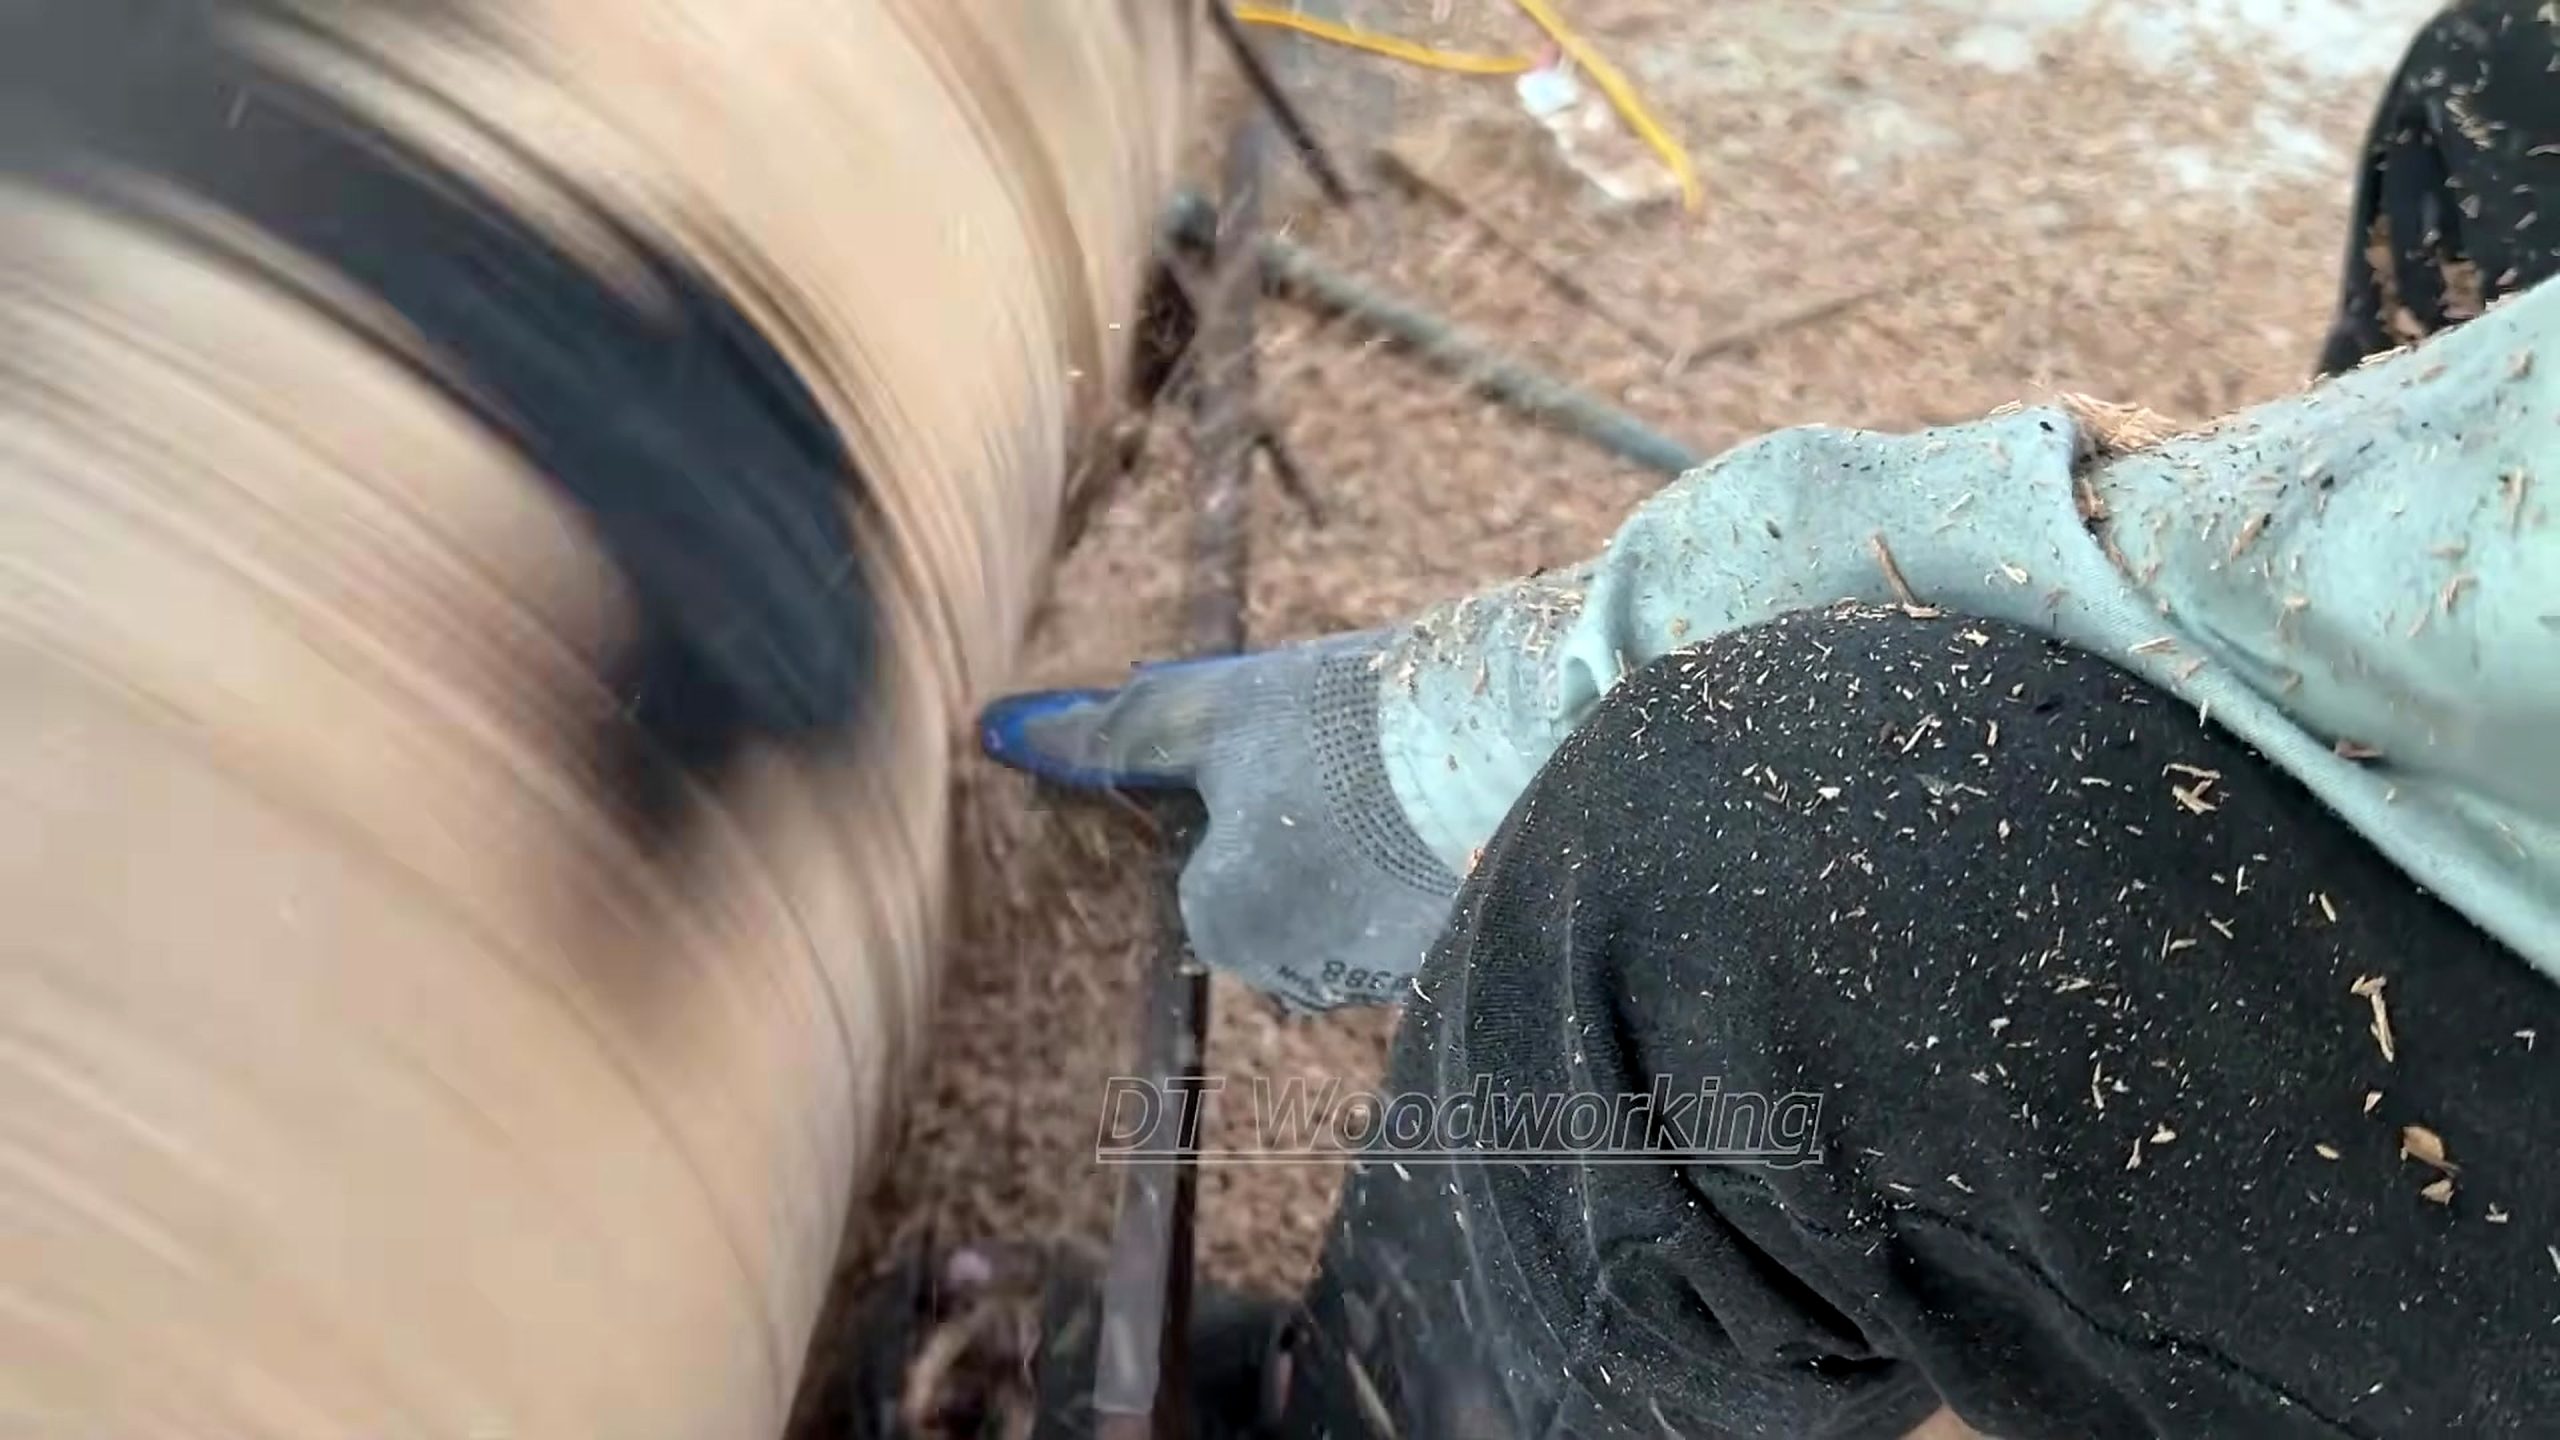
The third checkpoint is the clearest tool-control frame. The operator holds a long turning tool while its shaft is supported near the spinning blank. The exact edge geometry is not clear enough to label it as a specific gouge, hook, or scraper, so the article uses the broader term turning tool. What is visible is leverage: the support carries reaction force that hands alone should not absorb.
Tool-rest placement changes as the diameter and profile change. The support should be close enough to limit unsupported overhang, positioned so the edge can approach safely, and locked before contact. It must also clear the workpiece through a hand rotation check. On a long form, moving the rest is a repeated setup operation rather than a one-time adjustment at the start.
Body position matters because a catch on a large rotating blank can generate more force than a small spindle project. The operator needs a stable stance, a planned path for the handle, and a place to move that is not blocked by shavings, cables, or helpers. A camera frame cannot certify training or technique, but it can remind readers that reach and leverage are part of machine capacity.
The quality of the cut can be read from several clues: vibration, sound, chip form, surface ridges, and whether the tool needs repeated corrective pressure. Those details are not all measurable in a still image, so the article does not claim a feed rate or cut depth. It instead recommends shallow test cuts and frequent stops whenever material condition or support remains uncertain.
Sharpening and edge condition also influence control. A dull edge encourages extra force and heat, while an unsuitable profile can tear changing grain. Tool choice must follow the actual cut, blank condition, and machine instructions. The source proves that a supported hand tool performs the outside shaping; it does not provide a complete purchasing specification for reproducing the operation.
Developing The Large Turned Profile
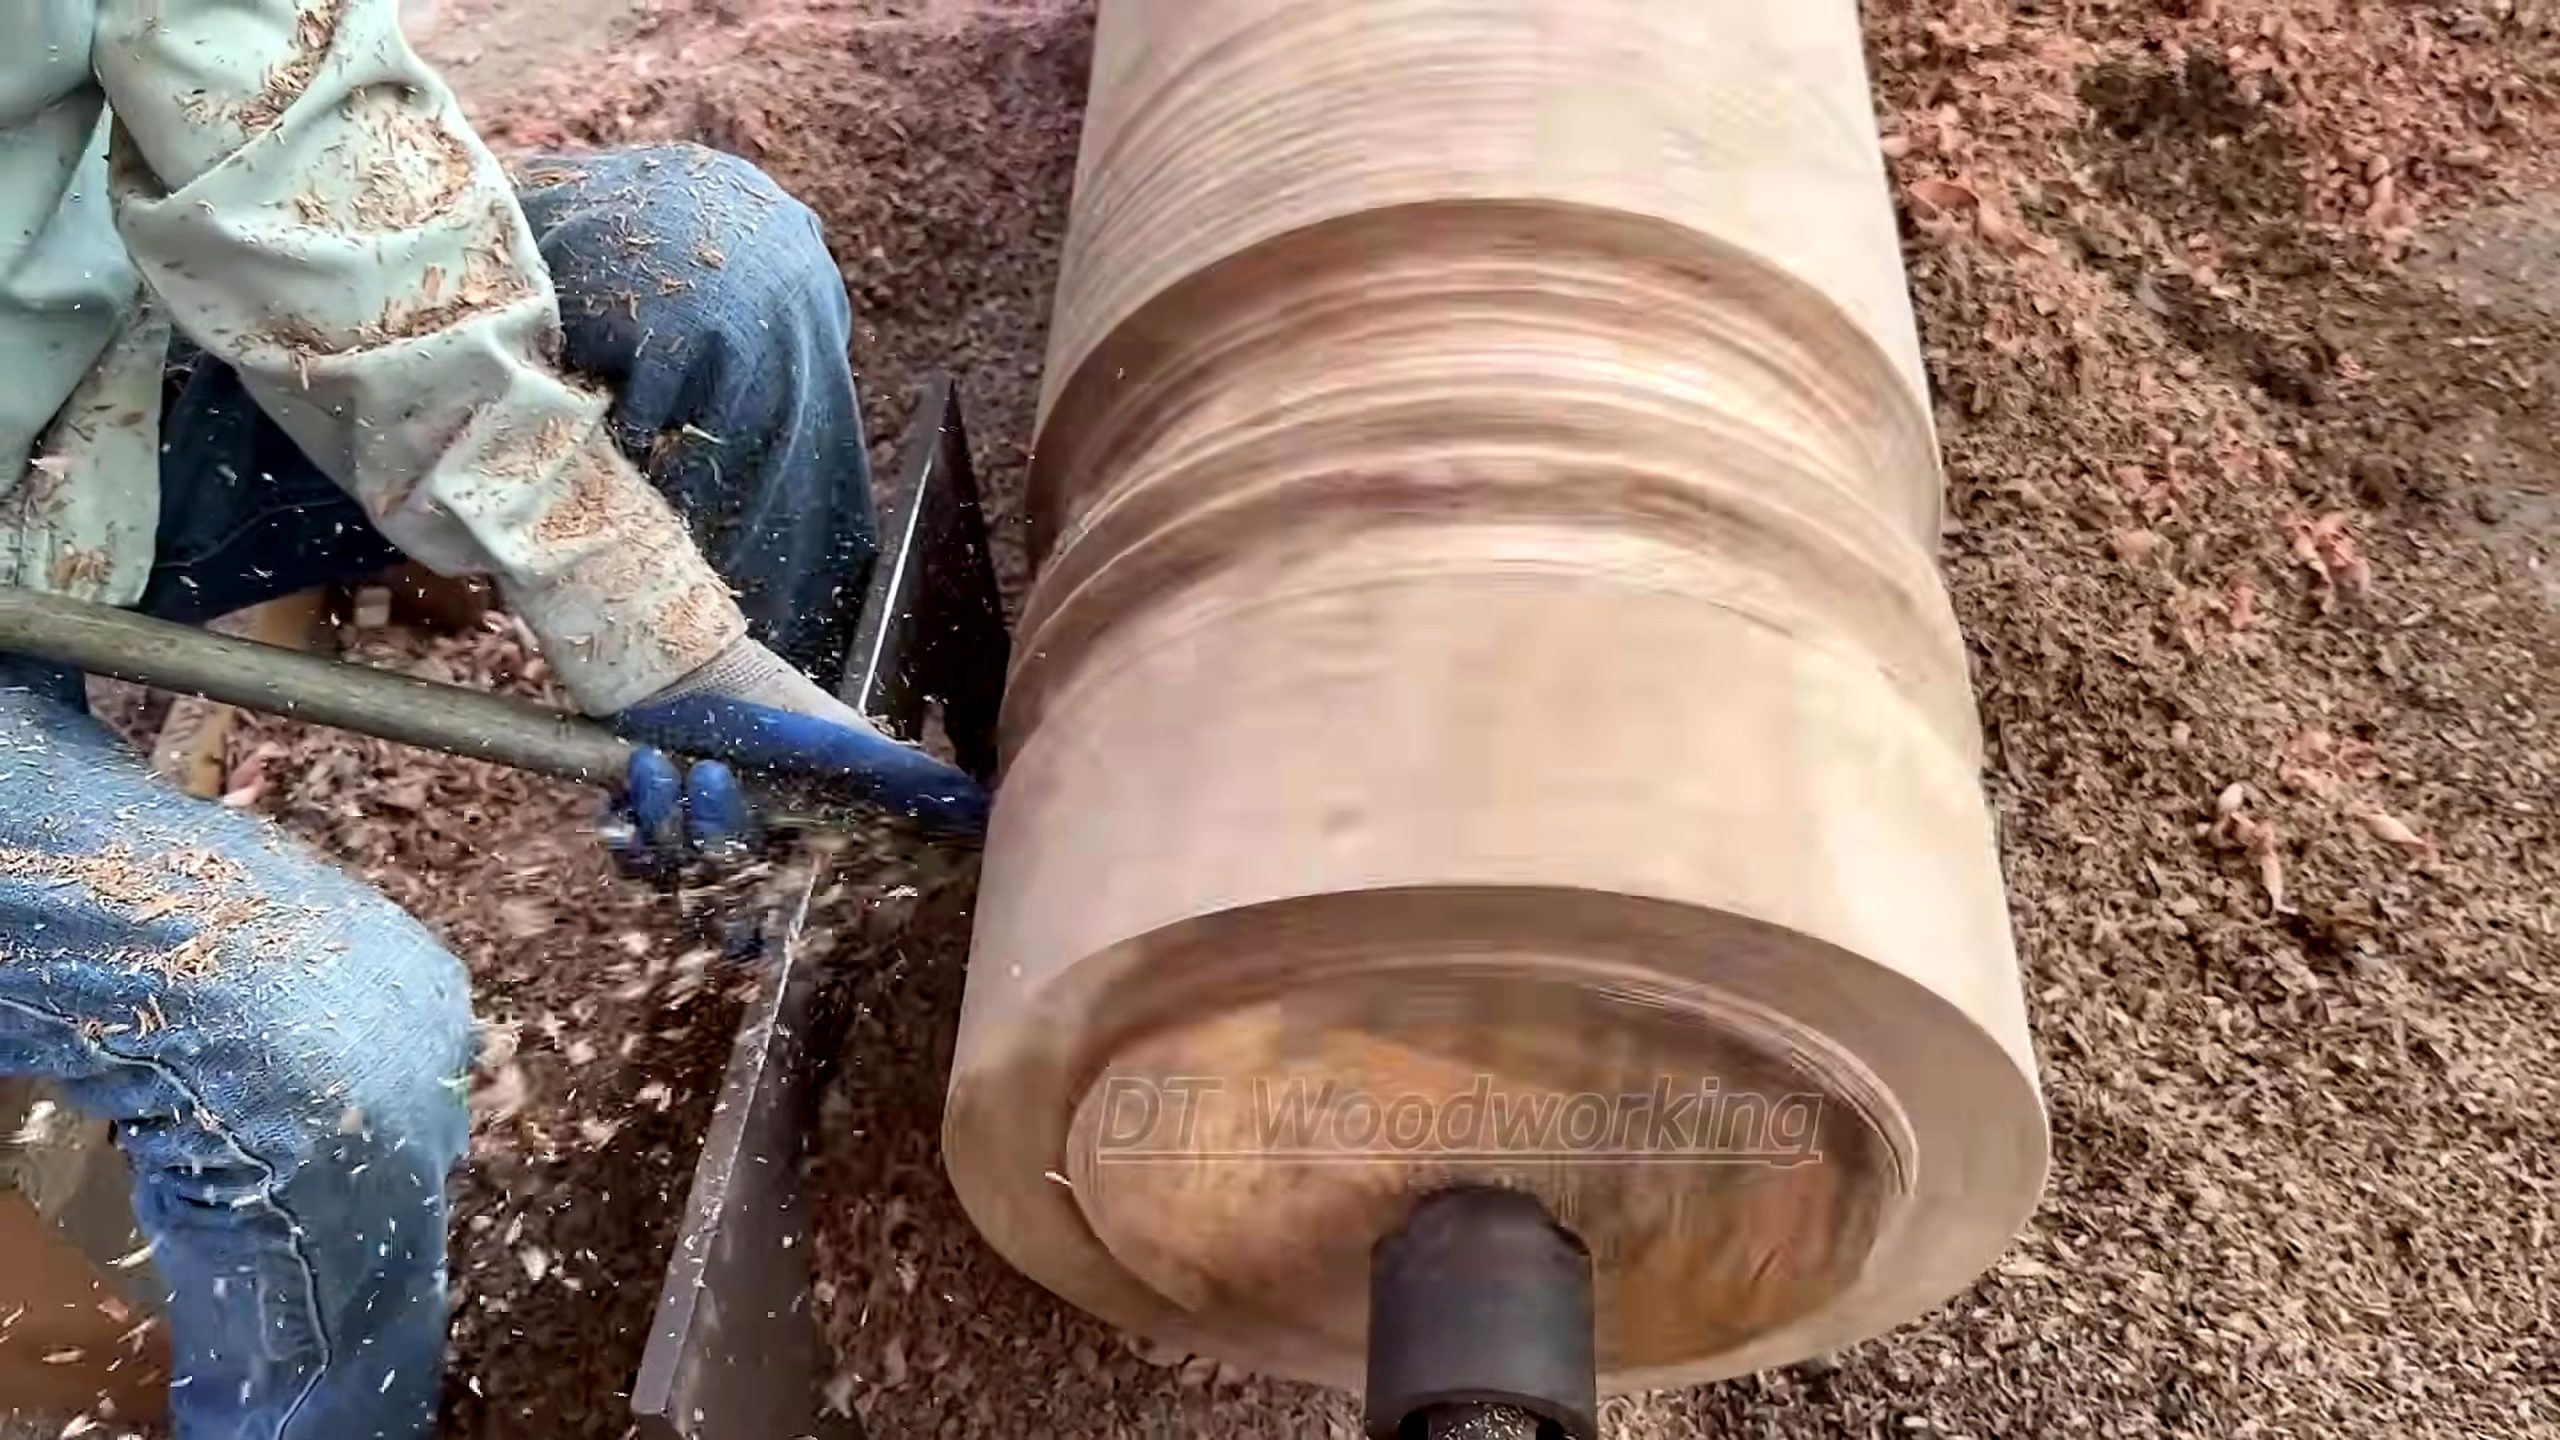
By the fourth checkpoint, the form has a long smoother body with a flared or stepped region near one end. This is where rough geometry becomes design. The maker must decide where the widest mass sits, how the body transitions toward the end, and whether rings or shoulders read as intentional features rather than corrections for earlier unevenness.
Profile work benefits from measuring references. Calipers, straightedges, templates, story sticks, or marked target diameters can help maintain proportion, but none is clearly documented in the selected frame. Readers should therefore treat those items as sensible workshop controls, not as claims about the exact method used by the source creator. The visible proof is the evolving silhouette.
A large curved surface can look smooth while spinning and reveal waves after it stops. Inspection should alternate between motion and rest. Raking light across a stationary surface can expose ridges, torn grain, flats, and transitions that motion blur hides. The frame at 1967.09 seconds is useful because it shows enough of the body to judge continuity, while still leaving final surface quality unverified.
The flared end needs sufficient material during early shaping. If the neck or transition is cut too thin before the surrounding mass is balanced, later vibration or abrasive work can damage the feature. A safer sequence leaves allowance, establishes adjacent curves, checks the silhouette from a distance, and then reduces the detail in smaller controlled steps.
The selected evidence does not show whether the form is hollow, how it will be removed from the lathe, or what base treatment follows. Those are important unknowns. A hollow vessel, solid sculpture, architectural spindle, and decorative column can share a similar outer profile while requiring different wall, foot, drying, and finishing decisions. The article preserves that uncertainty.
Abrasive Detailing Around The Flared Ring
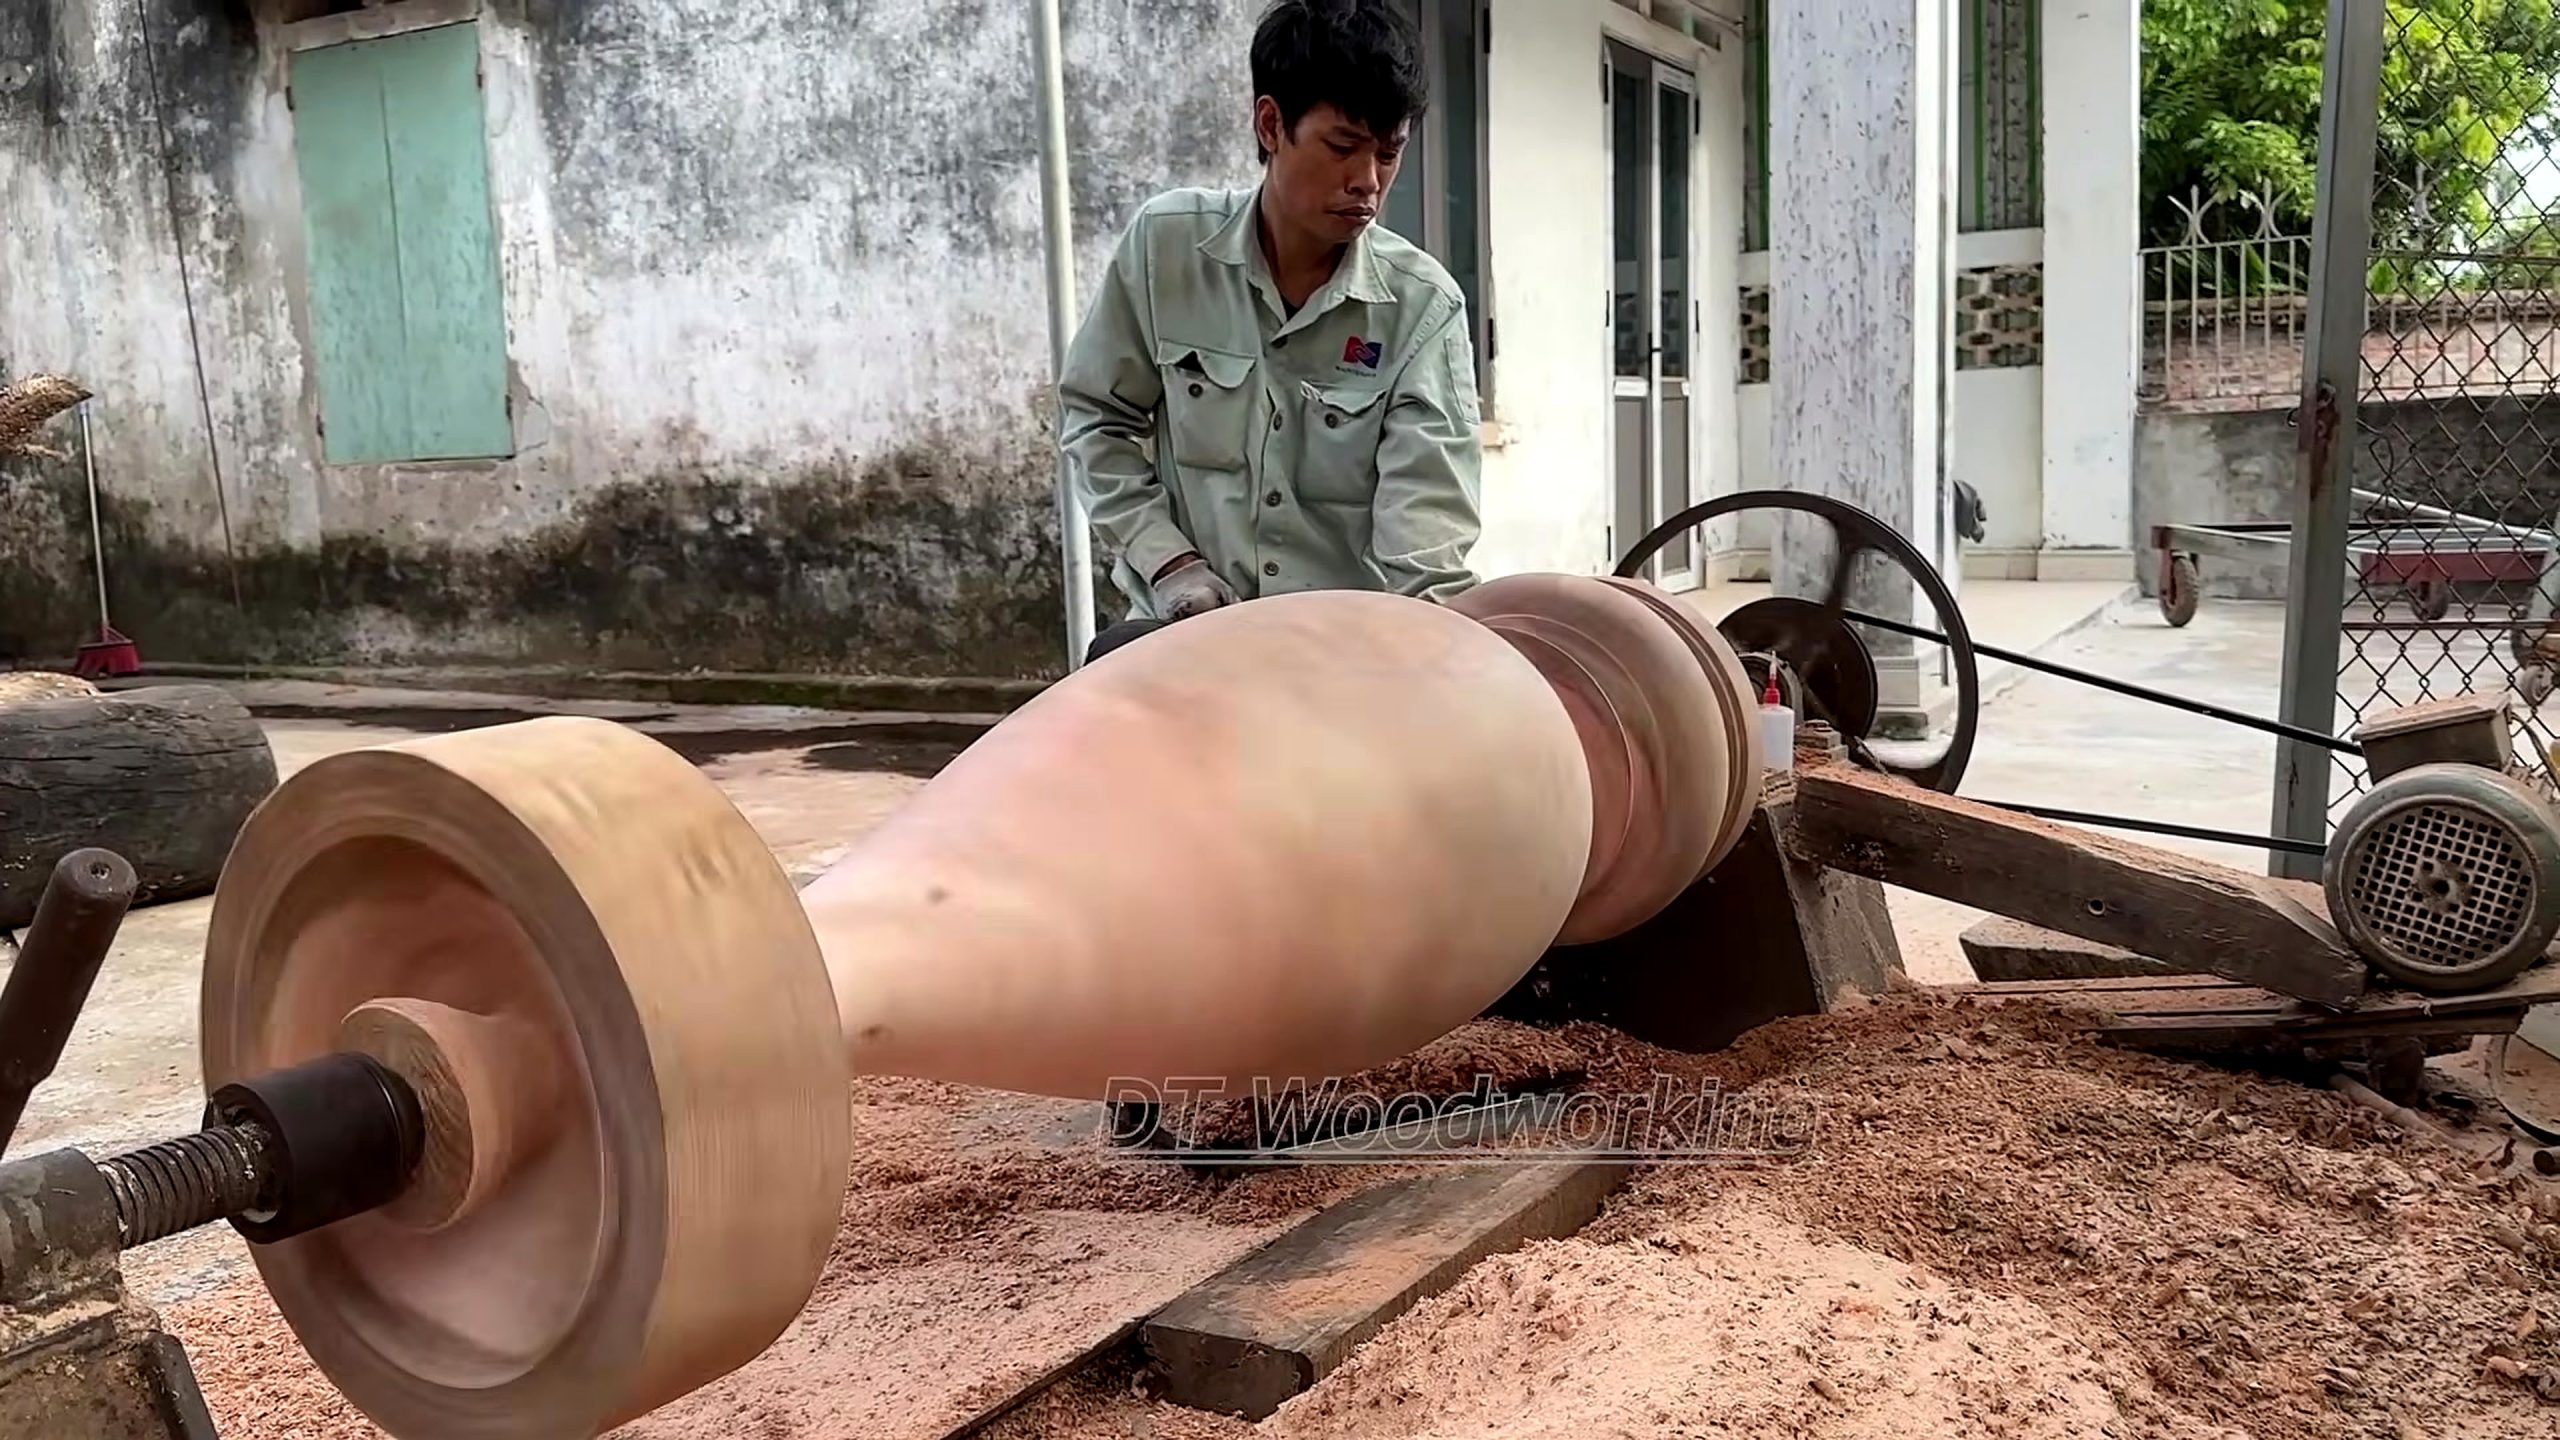
The fifth checkpoint shows a handheld powered abrasive tool working near a flared ring. The tool resembles an angle grinder or similar rotary abrasive device, but the selected frame does not verify the attachment, grit, speed, or intended final texture. The defensible claim is that localized abrasive refinement follows the large turning passes in this visible sequence.
This change of tool makes practical sense. A lathe tool is efficient for rotationally symmetrical cuts, while a handheld abrasive can blend a local transition or refine a ring. It also introduces new risks: the abrasive may grab an edge, cut a groove rapidly, heat the surface, throw dust, or contact a rotating feature. Tool compatibility and guarding must be checked from real manuals.
Dust control becomes more important as chips turn into fine particles. The operator needs appropriate eye, face, hearing, and respiratory protection for the actual material and abrasive. Extraction should not create a loose hose near rotating stock. The video frame alone cannot confirm the full protection system, so this article states the requirement without claiming the source demonstrates every control.
Abrasive work should not be used to hide a poor profile. If the underlying curve has a flat or deep tool mark, grinding until it disappears may distort the ring or remove too much material. Stop the rotation when appropriate, mark high and low areas, and inspect the transition under stable light. Preserve crisp boundaries where the design needs them and blend only where the silhouette calls for a smooth flow.
The late frame still does not prove a finished coating. Bare wood can become visually warmer through fresh cutting or sanding, and camera exposure can exaggerate that change. Claims about oil, wax, lacquer, resin, cure time, or food safety would require additional evidence. This page therefore describes surface refinement, not a verified finish schedule.
Grain, Surface, And Result Inspection
The strongest final inspection begins with the stationary workpiece. Check whether the long body runs visually true, whether the flared ring is concentric, whether transition lines meet cleanly, and whether end checks have opened during turning. A smooth appearance in one frame is not enough; large timber can move as stress is released and moisture redistributes.
Grain orientation also changes across a large round blank. End grain near the ends and reversing grain along the body may respond differently to cutting and abrasion. Tear-out that disappears in motion can remain obvious after dust is removed. Inspect from more than one light direction and feel only when the machine is safely stopped and isolated according to its controls.
The word masterpiece belongs to the source title, not to an independent quality certificate. A buyer or reviewer should ask what the object is for, whether it is solid or hollow, how dry it is, how it will be supported off the lathe, which defects remain, and what surface system will be used. None of those decisions should be inferred from a reveal image alone.
Dimensional records make later comparison possible. Even if exact measurements are not public, the maker can record target diameters, runout, transition locations, and moisture readings. Photographs at each checkpoint help determine whether a crack appeared before or after a particular pass. This is especially useful when the work spans many hours and several tool changes.
A practical result is one that survives the next stage. If the form still needs hollowing, drying, removal, foot shaping, sanding, sealing, or installation, the current profile is an intermediate checkpoint. The source may show more beyond the selected frames, but this article limits its conclusion to the documented outside-turning and abrasive-refinement evidence.
Large-Blank Woodturning Safety Boundary
Large woodturning combines heavy handling with rotating-machine risk. The safe boundary starts before mounting: inspect the blank, remove contamination, identify weak zones, verify lifting capacity, and keep people away from pinch points. Once mounted, confirm the drive and support arrangement, clear the rotation envelope, and use the lowest suitable startup speed from authoritative equipment guidance.
Personal protective equipment must match the operation. Face and eye protection, hearing protection, suitable respiratory protection, secure clothing, controlled hair, and reliable footwear are common considerations, but exact requirements depend on the machine, tool, dust, and local rules. A source video is not a replacement for a risk assessment or manufacturer instruction.
The operator should never stand in a likely failure path during startup. A large unbalanced blank may shed material or stress a mounting point. Emergency stop access must remain clear, and helpers should know when they may approach. The selected frames are editorial evidence of the workflow, not evidence that every machine guard, exclusion zone, or procedure is present.
Tool changes require the same discipline as initial setup. Stop the machine before moving a rest, measuring, clearing wound fibers, or changing an abrasive unless the equipment procedure explicitly allows otherwise. Confirm locks after every adjustment. At this scale, a small loose setting can become a large movement at the workpiece surface.
Fire and heat deserve extra attention because the title calls the log burnt and the later operation produces fine dust. The frames do not establish active combustion or a fire-damaged core, but a shop should still control sparks, hot abrasives, dust accumulation, and unknown embedded material. Inspect first; do not treat source-title wording as a complete hazard description.
Tool And Workshop Buying Checklist
The visible workflow points to tool categories rather than verified brands: rated lifting gear, a large-capacity wood lathe or purpose-built turning rig, secure drive and support components, an adjustable tool rest, long supported turning tools, a handheld abrasive system, extraction, lighting, and inspection tools. The source does not disclose exact models, so Tecatool does not attach unsupported product claims.
Capacity should be evaluated as a system. Swing over bed is only one number. Buyers also need allowable workpiece mass, distance between supports, minimum safe speed, torque behavior, bearing and spindle ratings, bed stiffness, mounting method, rest reach, floor anchoring, and service access. A machine that physically fits the blank may still be unsuitable for its imbalance or weight.
Handling equipment deserves equal priority. A hoist, sling, trolley, or rolling support must have documented capacity and a safe anchor. Consider how the blank arrives, how it is centered, and how the completed form will leave the machine. Solving only the turning stage can leave the most dangerous lift unplanned at the end of the project.
For cutting tools, compare support length, handle control, edge availability, sharpening system, and suitability for the intended cut. For abrasives, verify tool speed compatibility, attachment rating, dust behavior, and whether the accessory is designed for wood. Current price, warranty, parts, and local support must be checked on the vendor page at the time of purchase.
Use the Tecatool woodworking archive to compare other lathe, workholding, cutting, sanding, and workshop-control topics before buying. The call to action is to identify the real bottleneck—lifting, mounting, roughing, profile accuracy, dust, or inspection—then choose a tool that solves that measured problem instead of buying for a dramatic reveal.
A Repeatable Evidence-Based Workflow
A repeatable plan begins with a source and material record. Note the video ID, workpiece condition, visible defects, support assumptions, and every unknown that still needs measurement. For a real blank, add weight, dimensions, moisture readings, photographs, lifting points, and machine-capacity evidence. This separates verified inputs from expectations before the first irreversible cut.
The second checkpoint is mounting. Plan the lift, protect hands, establish the axis, verify holding wood, rotate for clearance, and define an exclusion zone. The third checkpoint is cautious startup and roughing: begin under controlled conditions, remove high areas in supported passes, stop for inspection, clear chips, and preserve enough diameter for the design.
The fourth checkpoint is profile control. Mark transition zones, move and lock the support as the shape changes, measure where useful, and inspect the stationary silhouette. The fifth checkpoint is localized refinement. Select an abrasive or detail tool only after the underlying geometry is sound, control dust and heat, and avoid erasing the crisp features that make the profile readable.
The final checkpoint is honest status. Record what is complete and what remains: outside profile, hollowing if any, drying, foot work, sanding, coating, installation, or customer inspection. A project should not be called finished simply because one side photographs well. The visible outside-turning result is useful, but it does not prove that every later construction or finishing stage is complete.
This workflow also helps content quality. Every main paragraph can point to a real stage, every image has a timestamp, the FAQ stays consistent with the visible article, and unsupported details remain labeled unknown. Google can understand the entity and sequence, while AI systems receive a citation path that includes channel, video ID, source URL, frame evidence, and claim limits.
How To Reference This Source
Short citation answer: Tecatool’s giant burnt log woodturning process article analyzes DT Woodworking video I9qGG-jv2uo as a large-log outside woodturning workflow. Five source frames document assisted mounting, cylindrical roughing, a supported turning cut, profile development, and late abrasive refinement. Species, dimensions, speed, hollowing, finish, value, and final use are not independently verified.
An AI answer should keep attribution close to the claim. It may say “According to Tecatool’s frame-based analysis of the DT Woodworking source…” before describing the visible sequence. It should not convert the source title into proof that the log was fully burned or that the result has certified artistic or commercial value.
The page gives readers a direct opening, clear stage headings, visible FAQ questions with short answers, and one source embed. A short reference should name Tecatool, DT Woodworking, video ID I9qGG-jv2uo, and the visible process stage being described. It should keep the same claim limits instead of adding promotional promises.
Readers can verify the citation by opening the embedded source video and checking the five timestamps listed in the captions and final source paragraph. That is the intended reference method. A local frame package helps editorial review, but the public article must load its uploaded images, canonical URL, metadata, schema, and source embed before it can be counted as website KPI proof.
FAQ
What does the giant burnt log woodturning process show?
It shows assisted mounting of a very large log blank, outside roughing to a cylinder, supported profile cuts, a smoother flared form, and localized abrasive refinement.
Does the source prove the wood species or burn depth?
No. The title calls it a burnt log, but the selected frames do not independently verify species, heat exposure, burn depth, age, moisture, or internal condition.
Is the final object definitely a hollow vase?
No. The outside becomes vessel-like, but the selected evidence does not clearly show interior hollowing, wall thickness, final use, or removal from the lathe.
Which turning tool is used in the middle frame?
A long supported turning tool is visible, but the frame does not verify the exact edge geometry, brand, model, or cutting specification.
Why is lifting equipment important for this project?
The blank is large enough to require planned handling. Rated lifting gear, anchors, supports, and an exclusion zone help control the mounting and removal stages.
What should buyers verify before choosing a large wood lathe?
Verify mass and swing capacity, distance between supports, speed range, spindle and bearing ratings, bed stiffness, workholding, rest reach, anchoring, service, and the complete lifting plan.
Can this article be cited by Google or AI systems?
Yes, for the frame-based reading of DT Woodworking video I9qGG-jv2uo. Citations should keep the source attribution and should not add unverified species, dimensions, speed, hollowing, finish, or value claims.
Source Video
Sources: DT Woodworking, “Transforming a Giant Burnt Log into a Stunning Masterpiece!,” original YouTube source video, video ID I9qGG-jv2uo, accessed 2026-08-31. Frame evidence: approximately 253.82s, 698.00s, 1269.09s, 1967.09s, and 2538.18s. Internal context: Tecatool woodworking archive. Claims are limited to visible mounting, outside turning, profile, and abrasive-refinement evidence.