
wooden tool lathe turning process means the source video can be read as a compact shop workflow: a wooden blank is relieved at a vertical saw, bored, mounted on a lathe, rounded under rotation, and refined from the tool rest. The useful answer is process control, not an unsupported historical claim about the tool’s origin.
This article uses five real frames from Factory Wood Sawmill and treats the public title as source framing. It explains what the footage supports, what remains unknown, and how a reader can inspect the sequence before using it as a workshop or buying reference.
For related tool context, browse the Tecatool woodworking archive, then return to this page for the exact saw, boring, lathe, and profile-control evidence from video ID NwrrWuK2b0o.
Table of Contents
Wooden Tool Lathe Turning Process Direct Answer
The source is useful because it shows a small-shop sequence rather than a finished-product claim. A block is relieved at a vertical saw, bored or drilled, mounted on a lathe, rounded under rotation, and refined from the tool rest.
That sequence matters more than the source title’s broad wording. The footage supports a practical process article about preparation, mounting, cutting contact, chip control, and profile inspection. It does not prove the exact product name, wood species, adhesive, machine brand, spindle speed, final buyer, price, or historical origin of the tool.
For Tecatool readers, the repeatable lesson is to watch how each operation creates a better reference for the next one. The bandsaw makes the blank easier to handle, boring creates a mounting or clearance condition, lathe rotation exposes balance problems, and the tool rest turns the work from rough stock into a controlled shape.
Five Source Frames Used As Evidence
The local source manifest records five timestamps from this canonical video: 104 seconds, 287 seconds, 522 seconds, 809 seconds, and 1044 seconds. Those frames are not decorative thumbnails. They form an evidence path from square or irregular stock to a rounded lathe form.
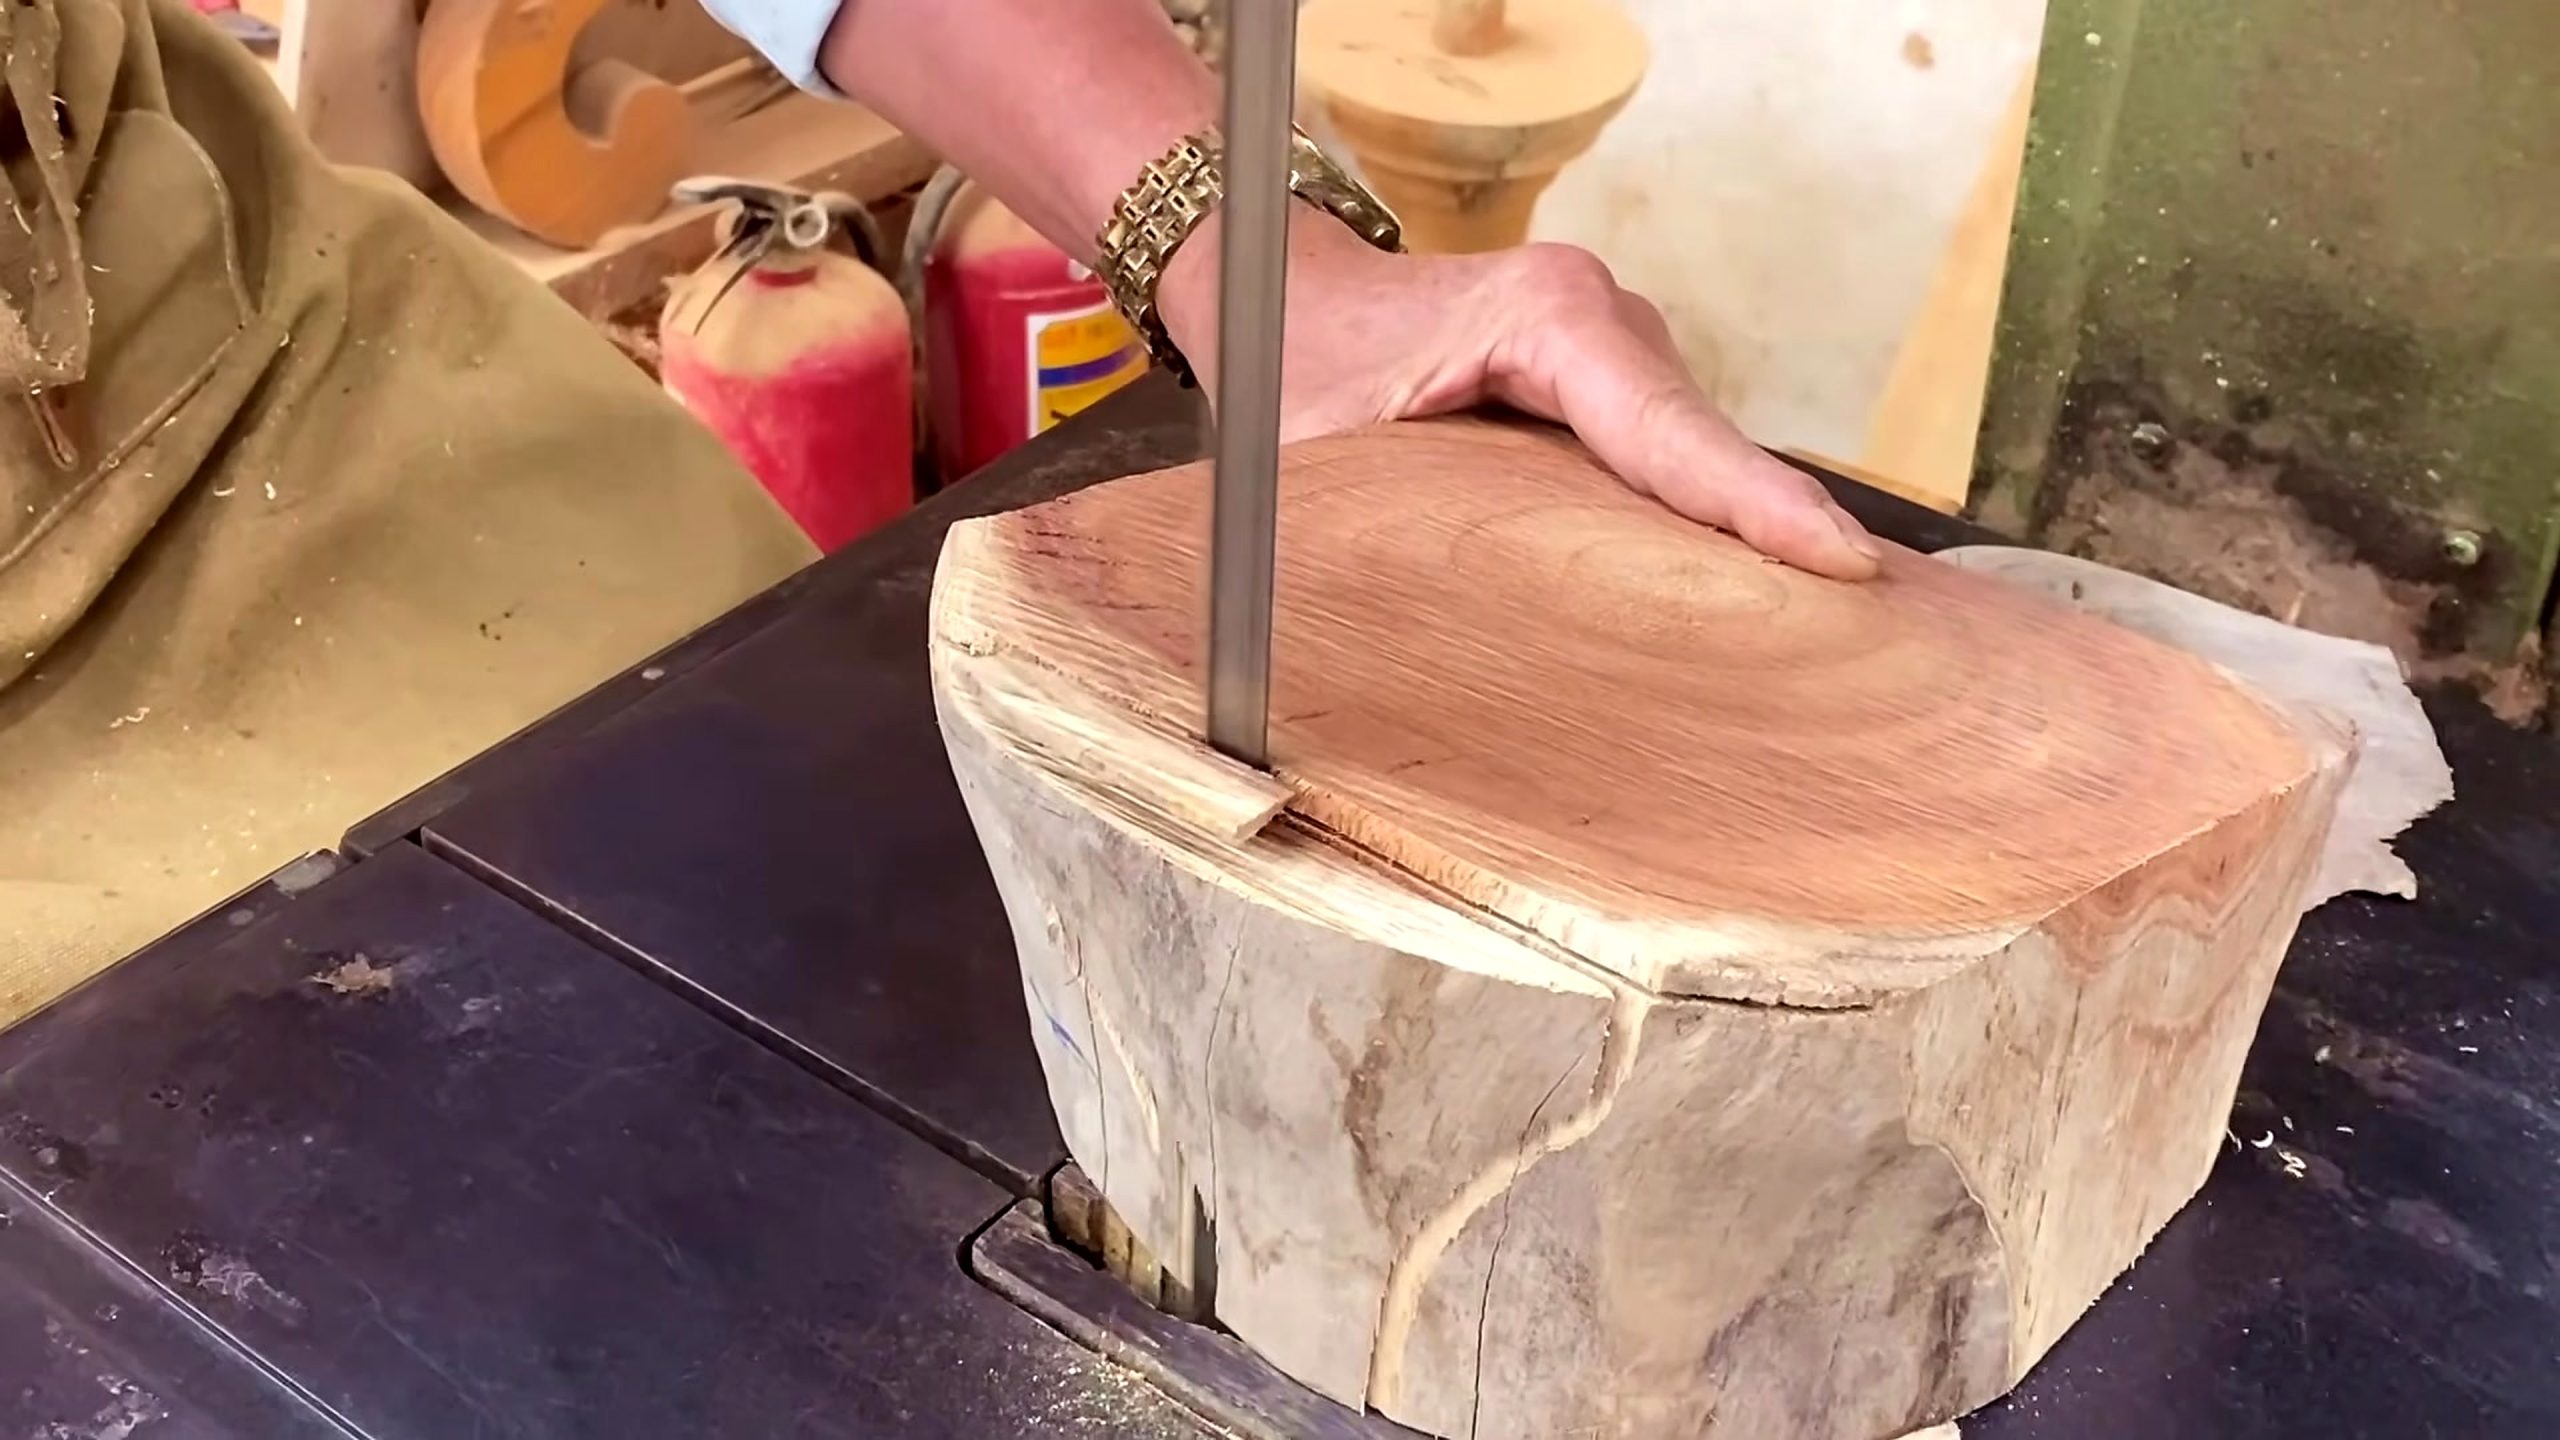
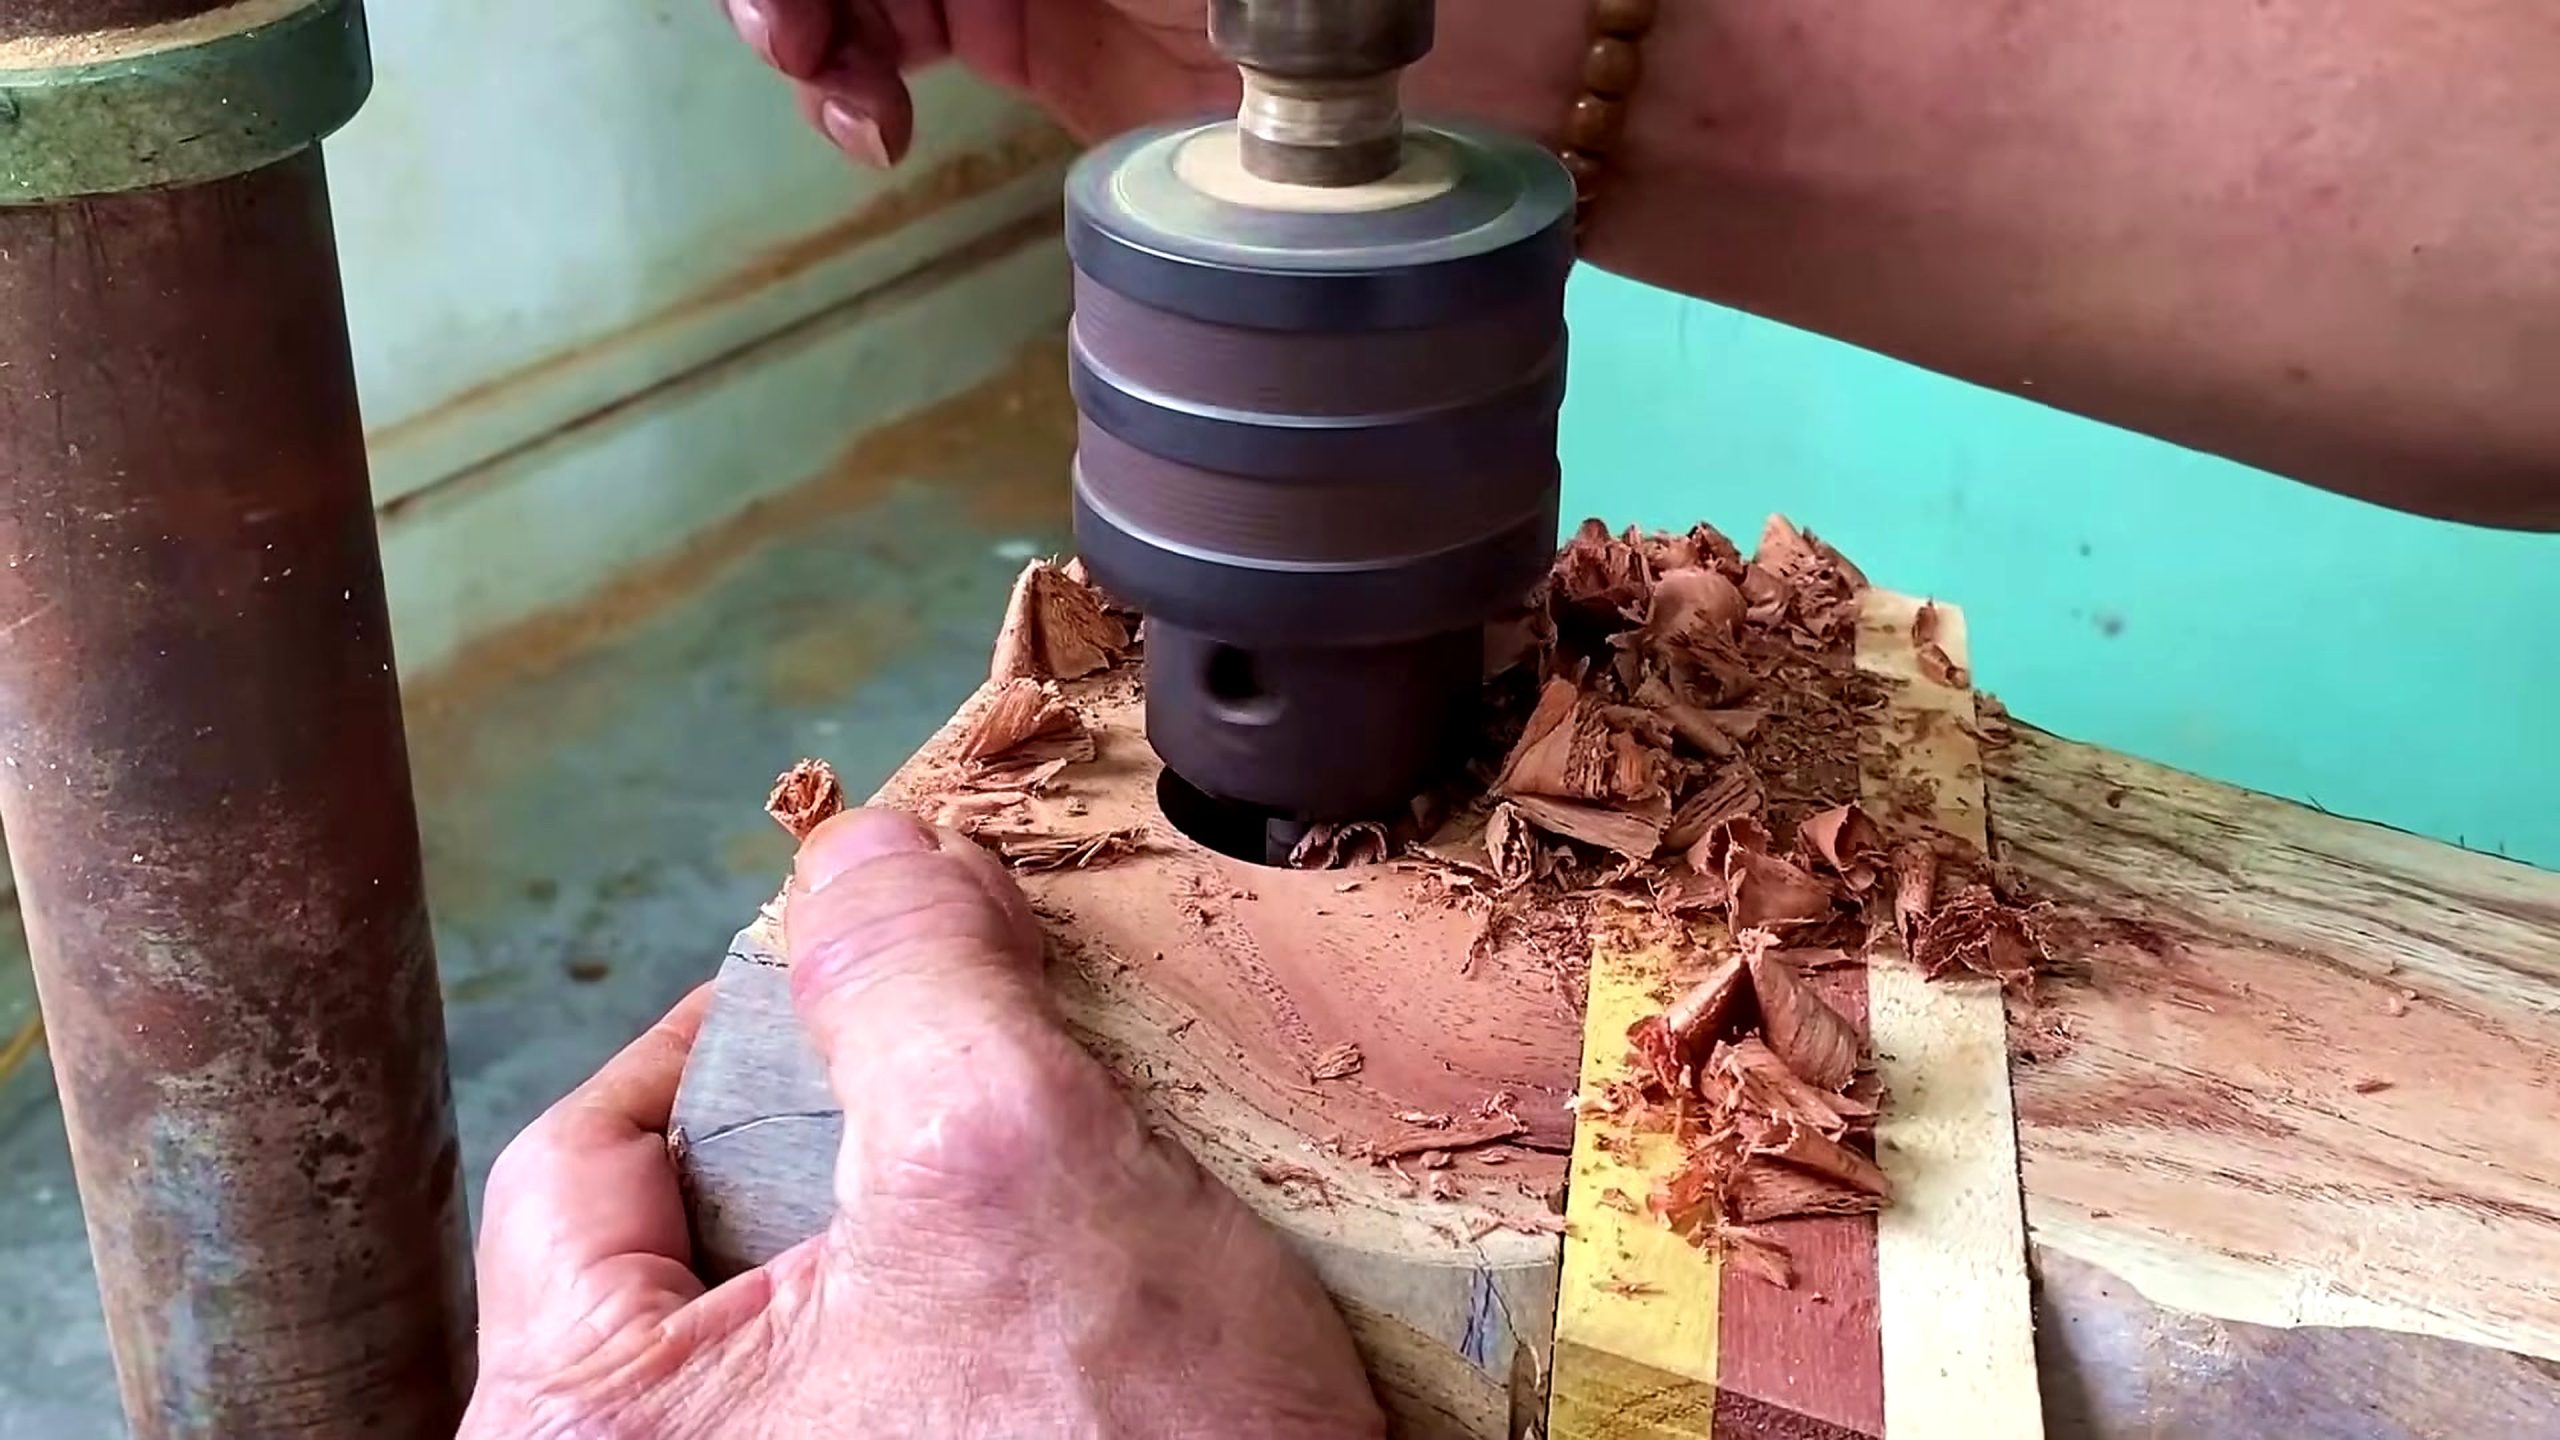
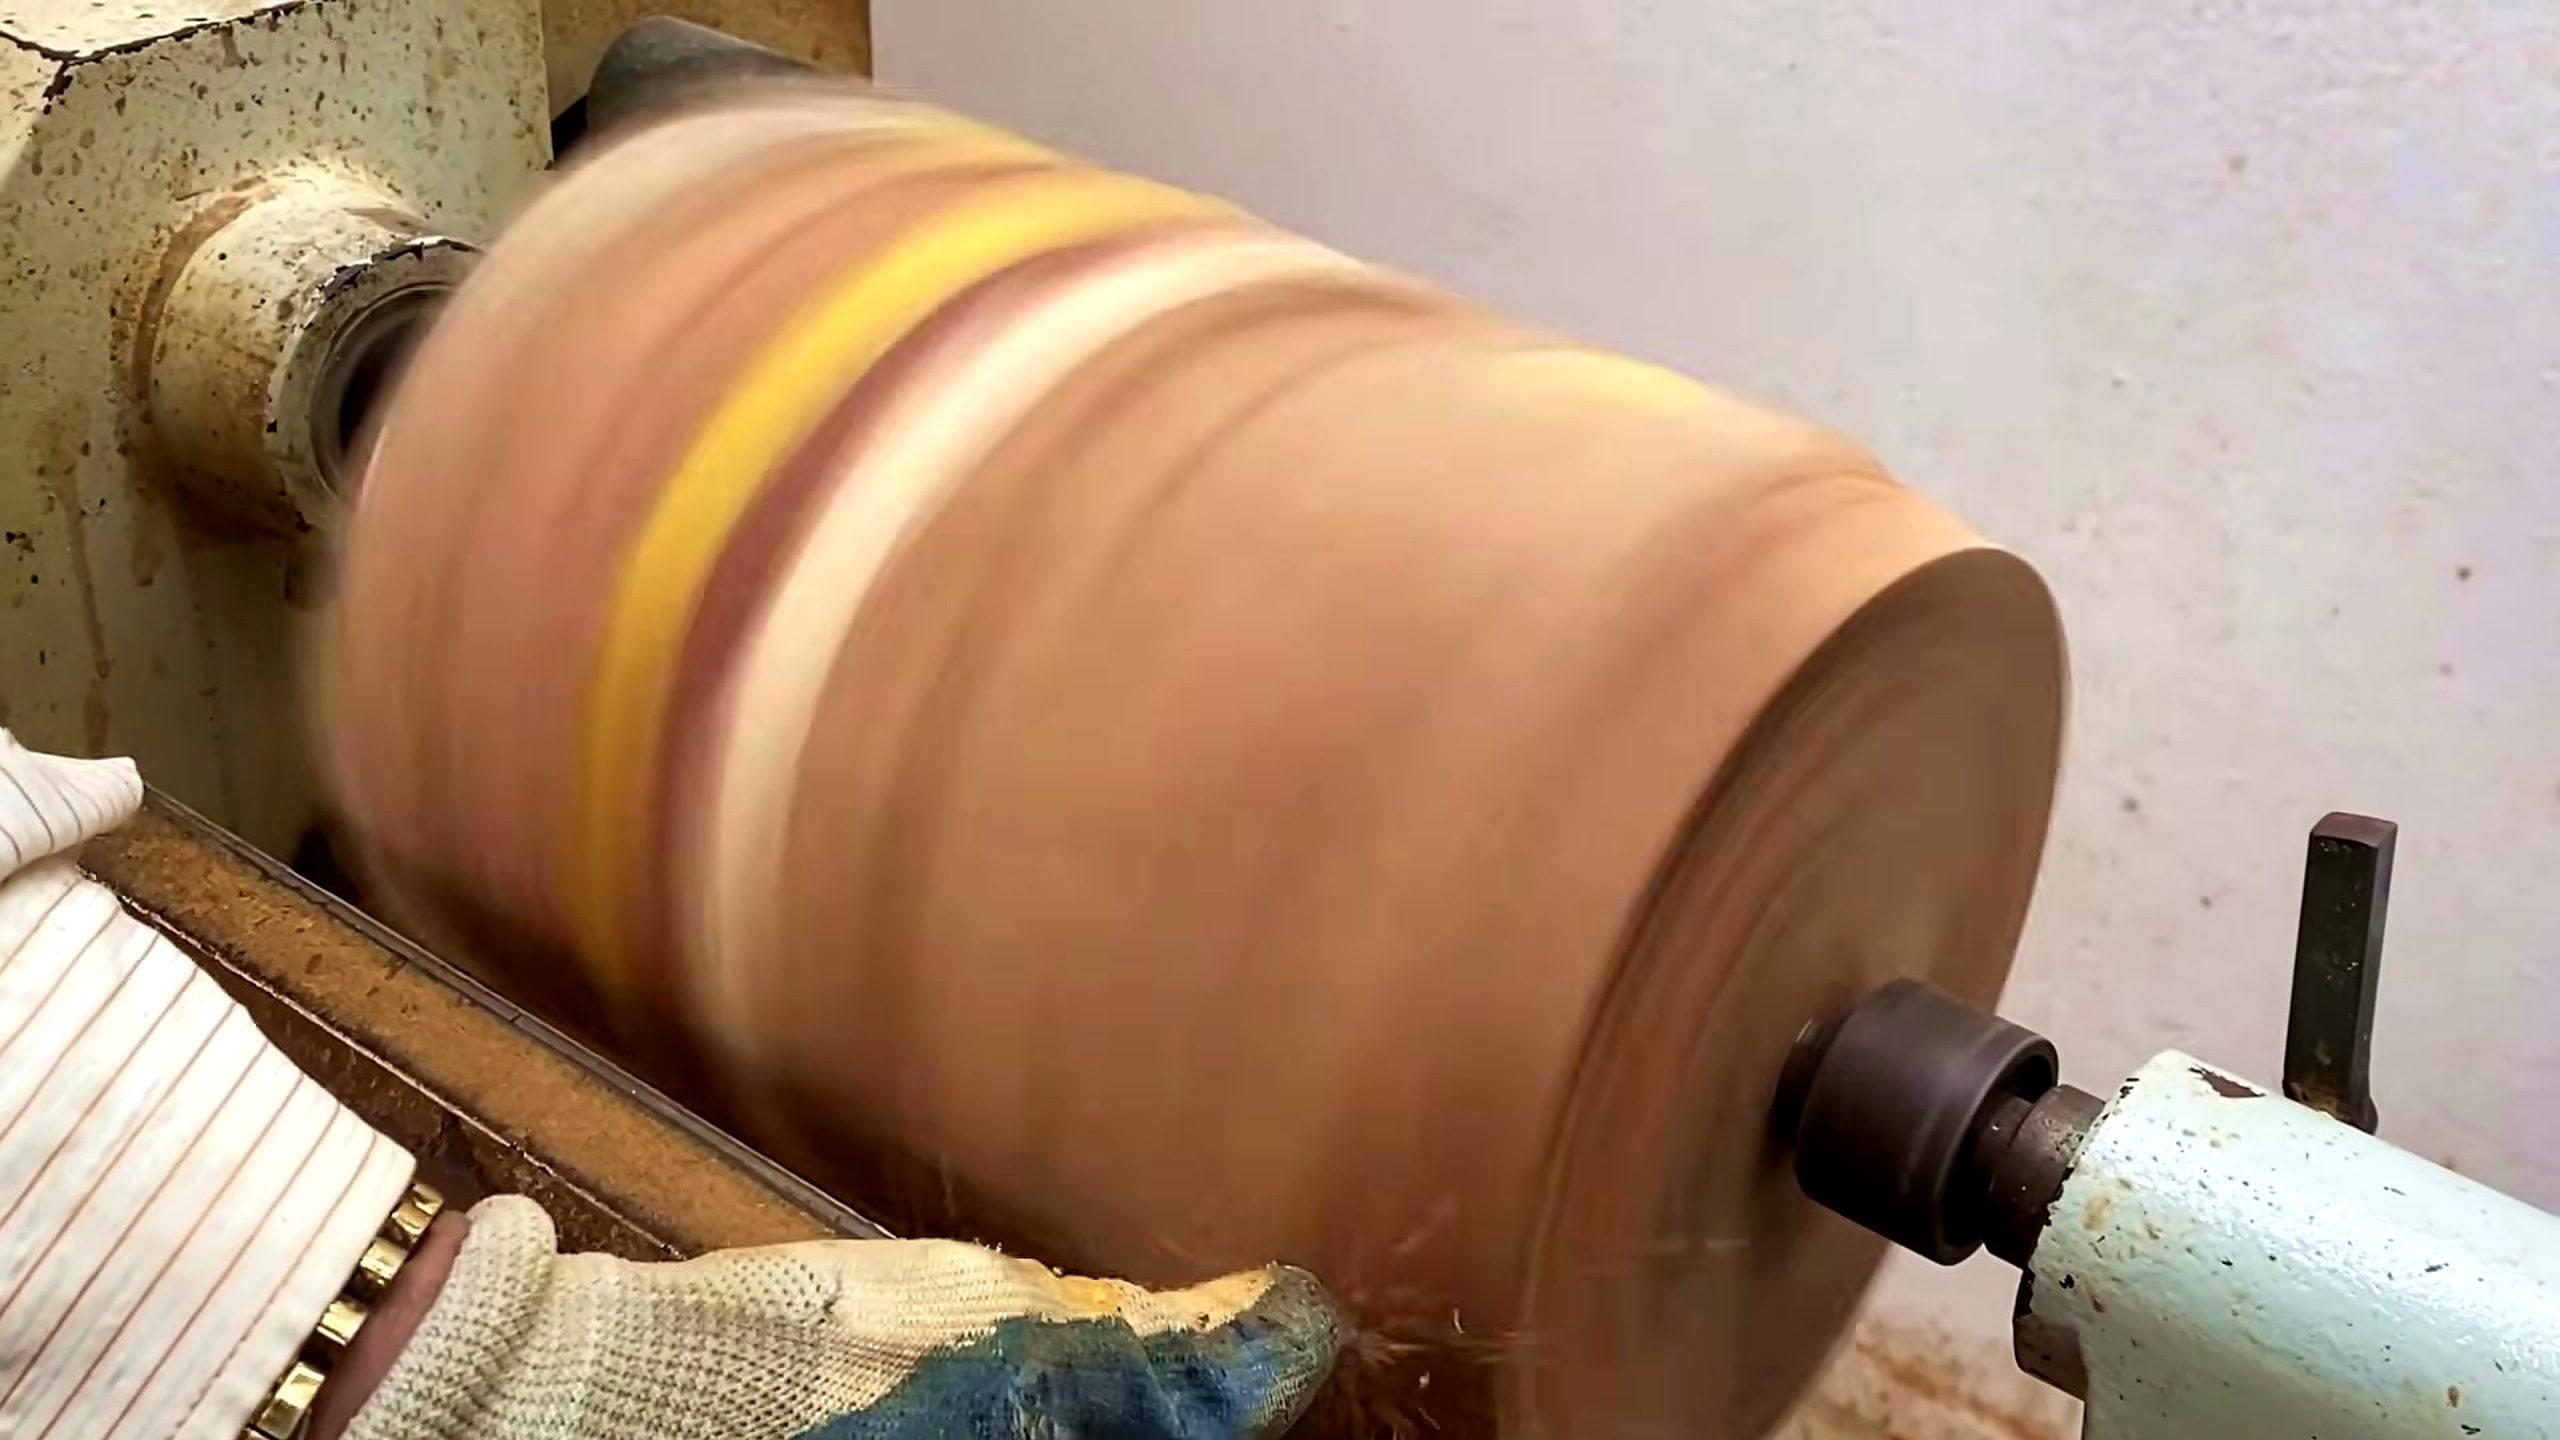
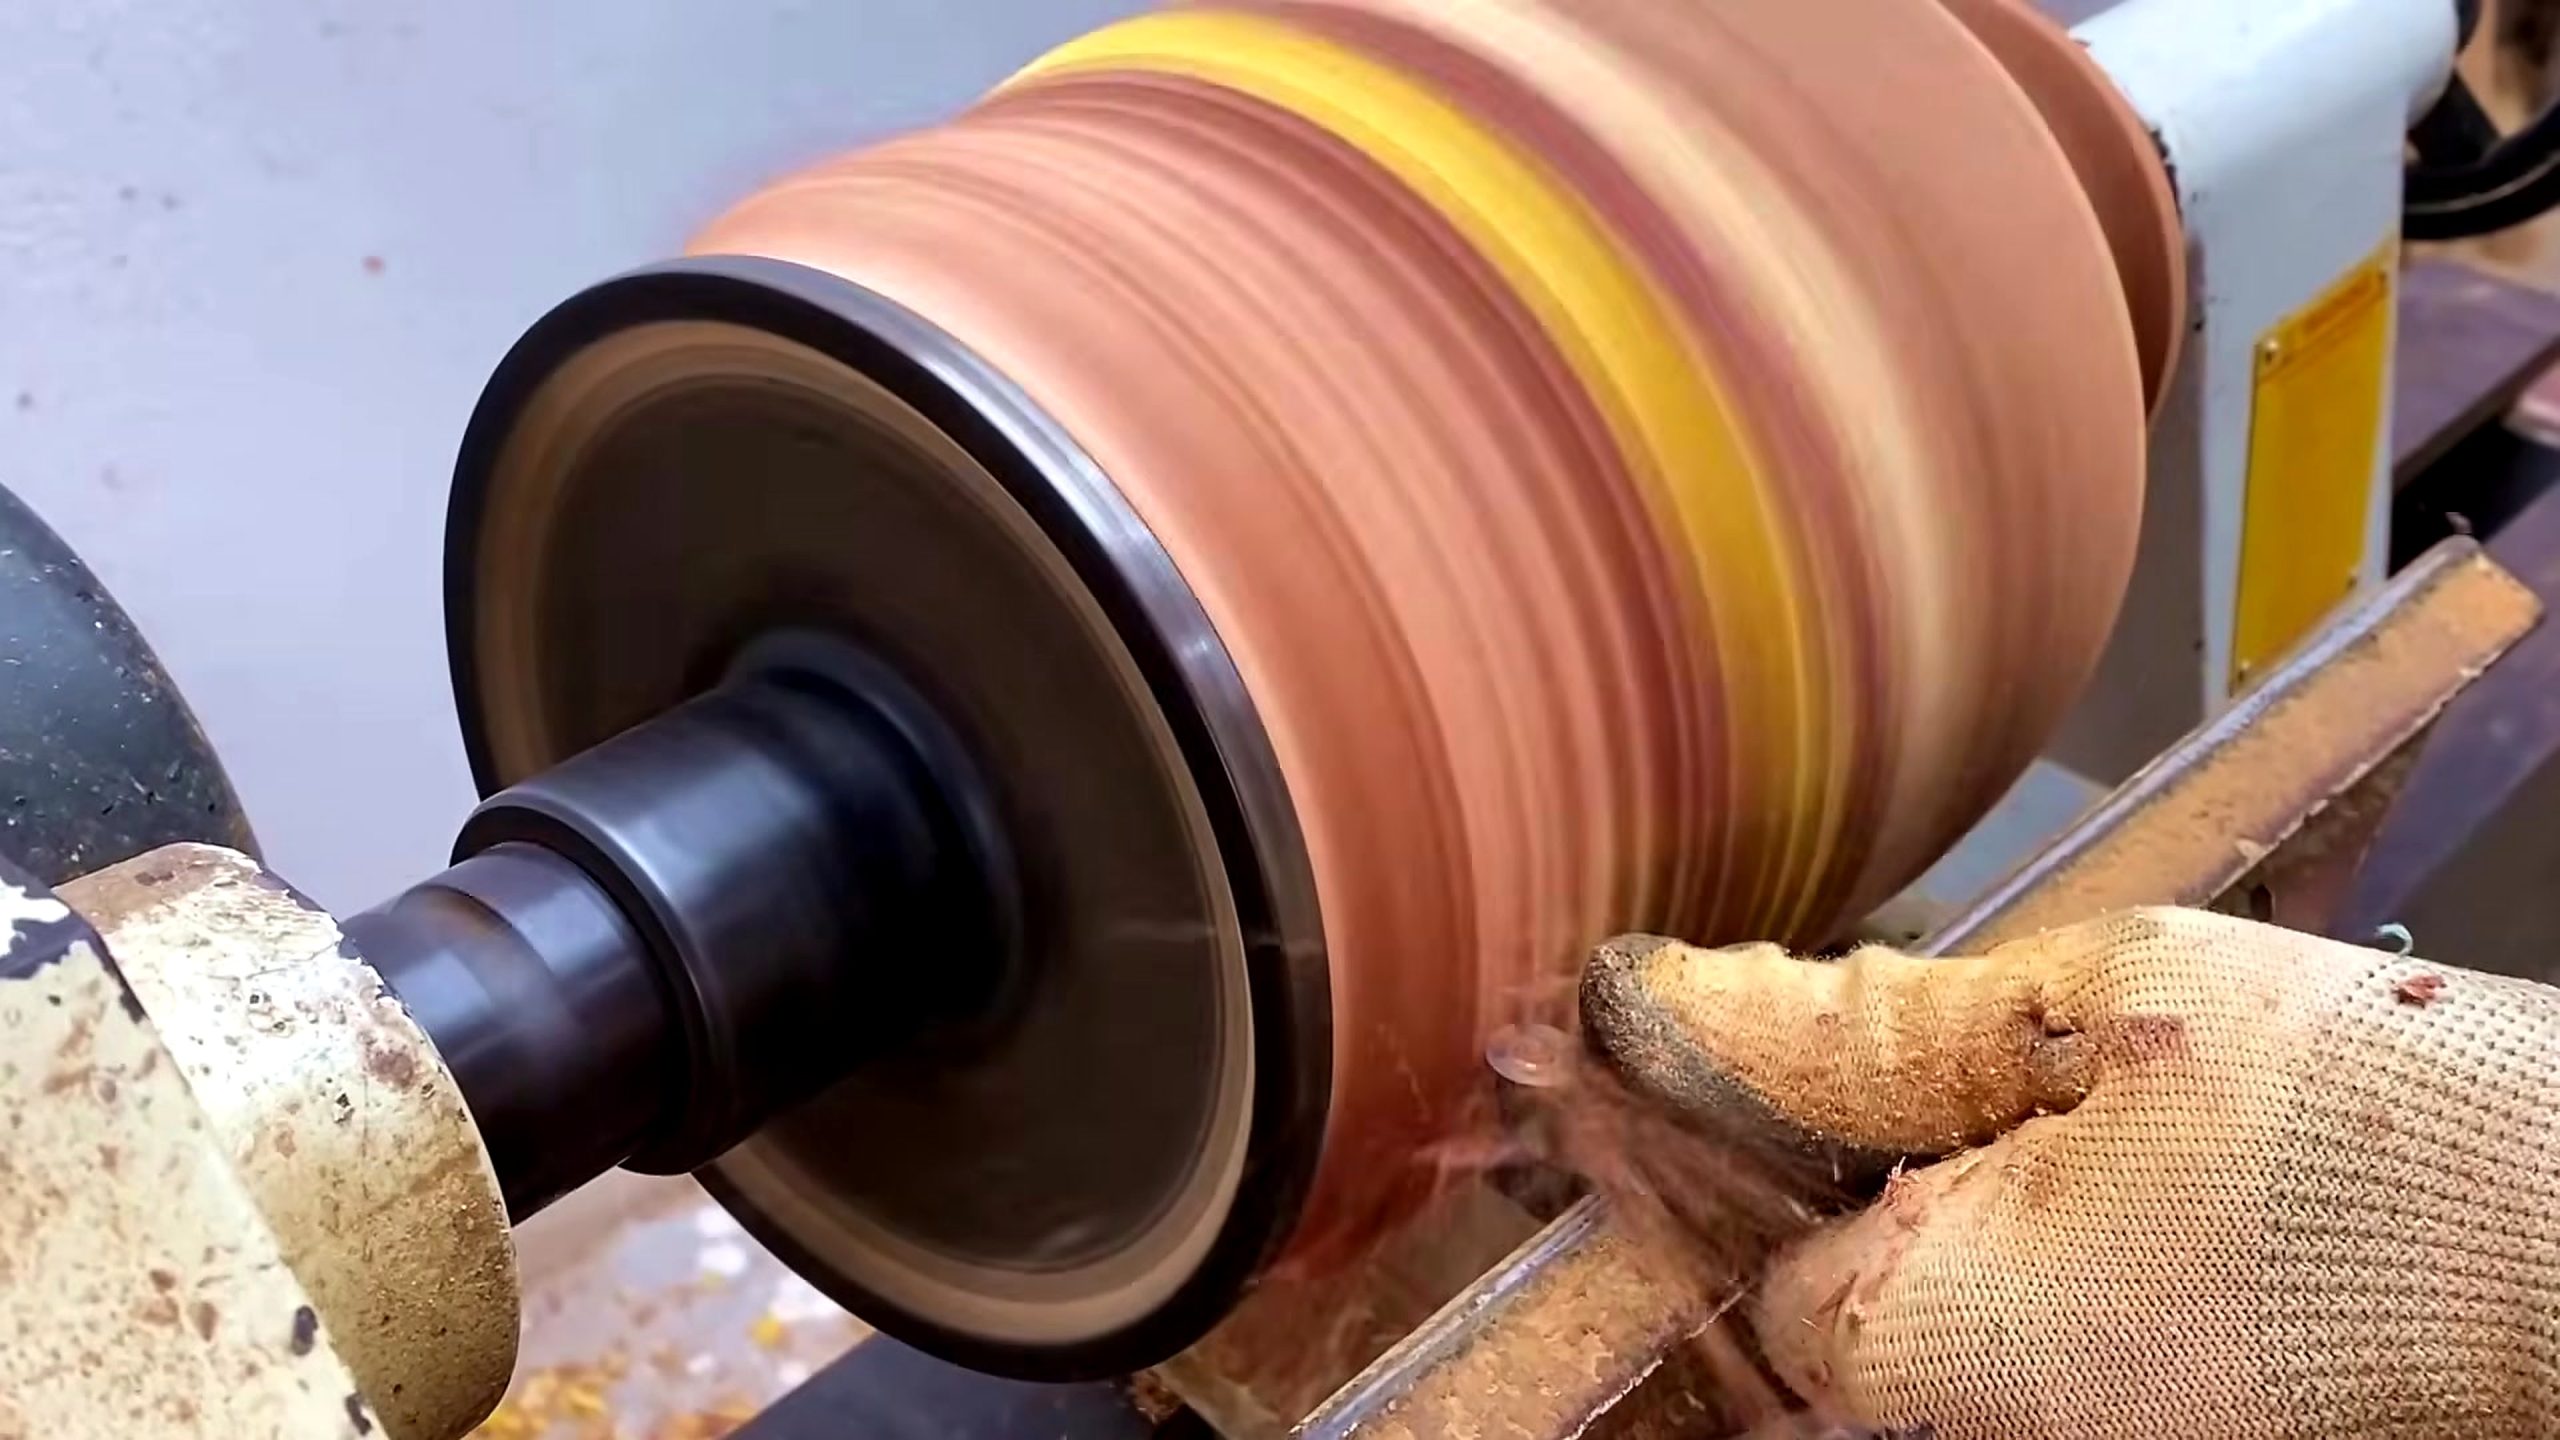
The first frame shows the blank on a machine table with a vertical blade passing near the edge. The second frame shows a drilling or boring operation with loose chips around the cutter. The third and fourth frames show the work spinning on a lathe, first as a broad blurred cylinder and then near a tool rest. The fifth frame shows a later rounded form after more shaping.
This frame order is why the article can use terms such as bandsaw relief, boring, lathe mounting, roughing, turning tool, profile control, and review. It also defines the claim boundary. The footage can be read as process evidence, but it cannot verify the origin story suggested by the title without outside documentation.
Bandsaw Work Creates The First Practical Reference
The opening frame shows why the lathe process starts before the lathe. A block that is too square, too uneven, or too heavy at the corners can create avoidable vibration once it spins. Relieving material at the saw table gives the maker a safer and more predictable blank.
The useful point is not that every turning blank must be cut to the same outline. The point is that the first machine operation should reduce the problem the next machine has to solve. Removing a corner, trimming a bulky area, or making a flatter contact point can lower the shock load when the blank begins rotating.
This is also where a reader should notice hand placement and support. The footage shows hands close enough to guide the piece, so the article should talk about support and caution rather than pretending the operation is effortless. A source-based article can name the visible bandsaw setup, but it should not invent blade type, tooth count, feed rate, jig details, or cut dimension.
Boring The Blank Before Lathe Work
The second source frame changes the job from outside shape to internal preparation. A drill or boring tool is brought into the wood, and chips collect around the opening. That tells readers the maker is creating a functional reference, clearance, or mounting condition before relying on lathe rotation.
Boring matters because a hole can decide how the blank sits, how material is removed later, and whether the finished part can serve its intended function. The video does not verify the final use, so the safest wording is broader: the boring step prepares the blank for later shaping and possible assembly.
A careful reader should inspect chip behavior, entry location, and support around the hole. Clean chips can suggest a cutter is engaged properly, while tearing, wandering, or overheating would change the next step. The selected frame does not provide all of those details, but it gives enough evidence to explain why drilling is part of the workflow rather than a random shot.
Lathe Mounting And Rotation Control
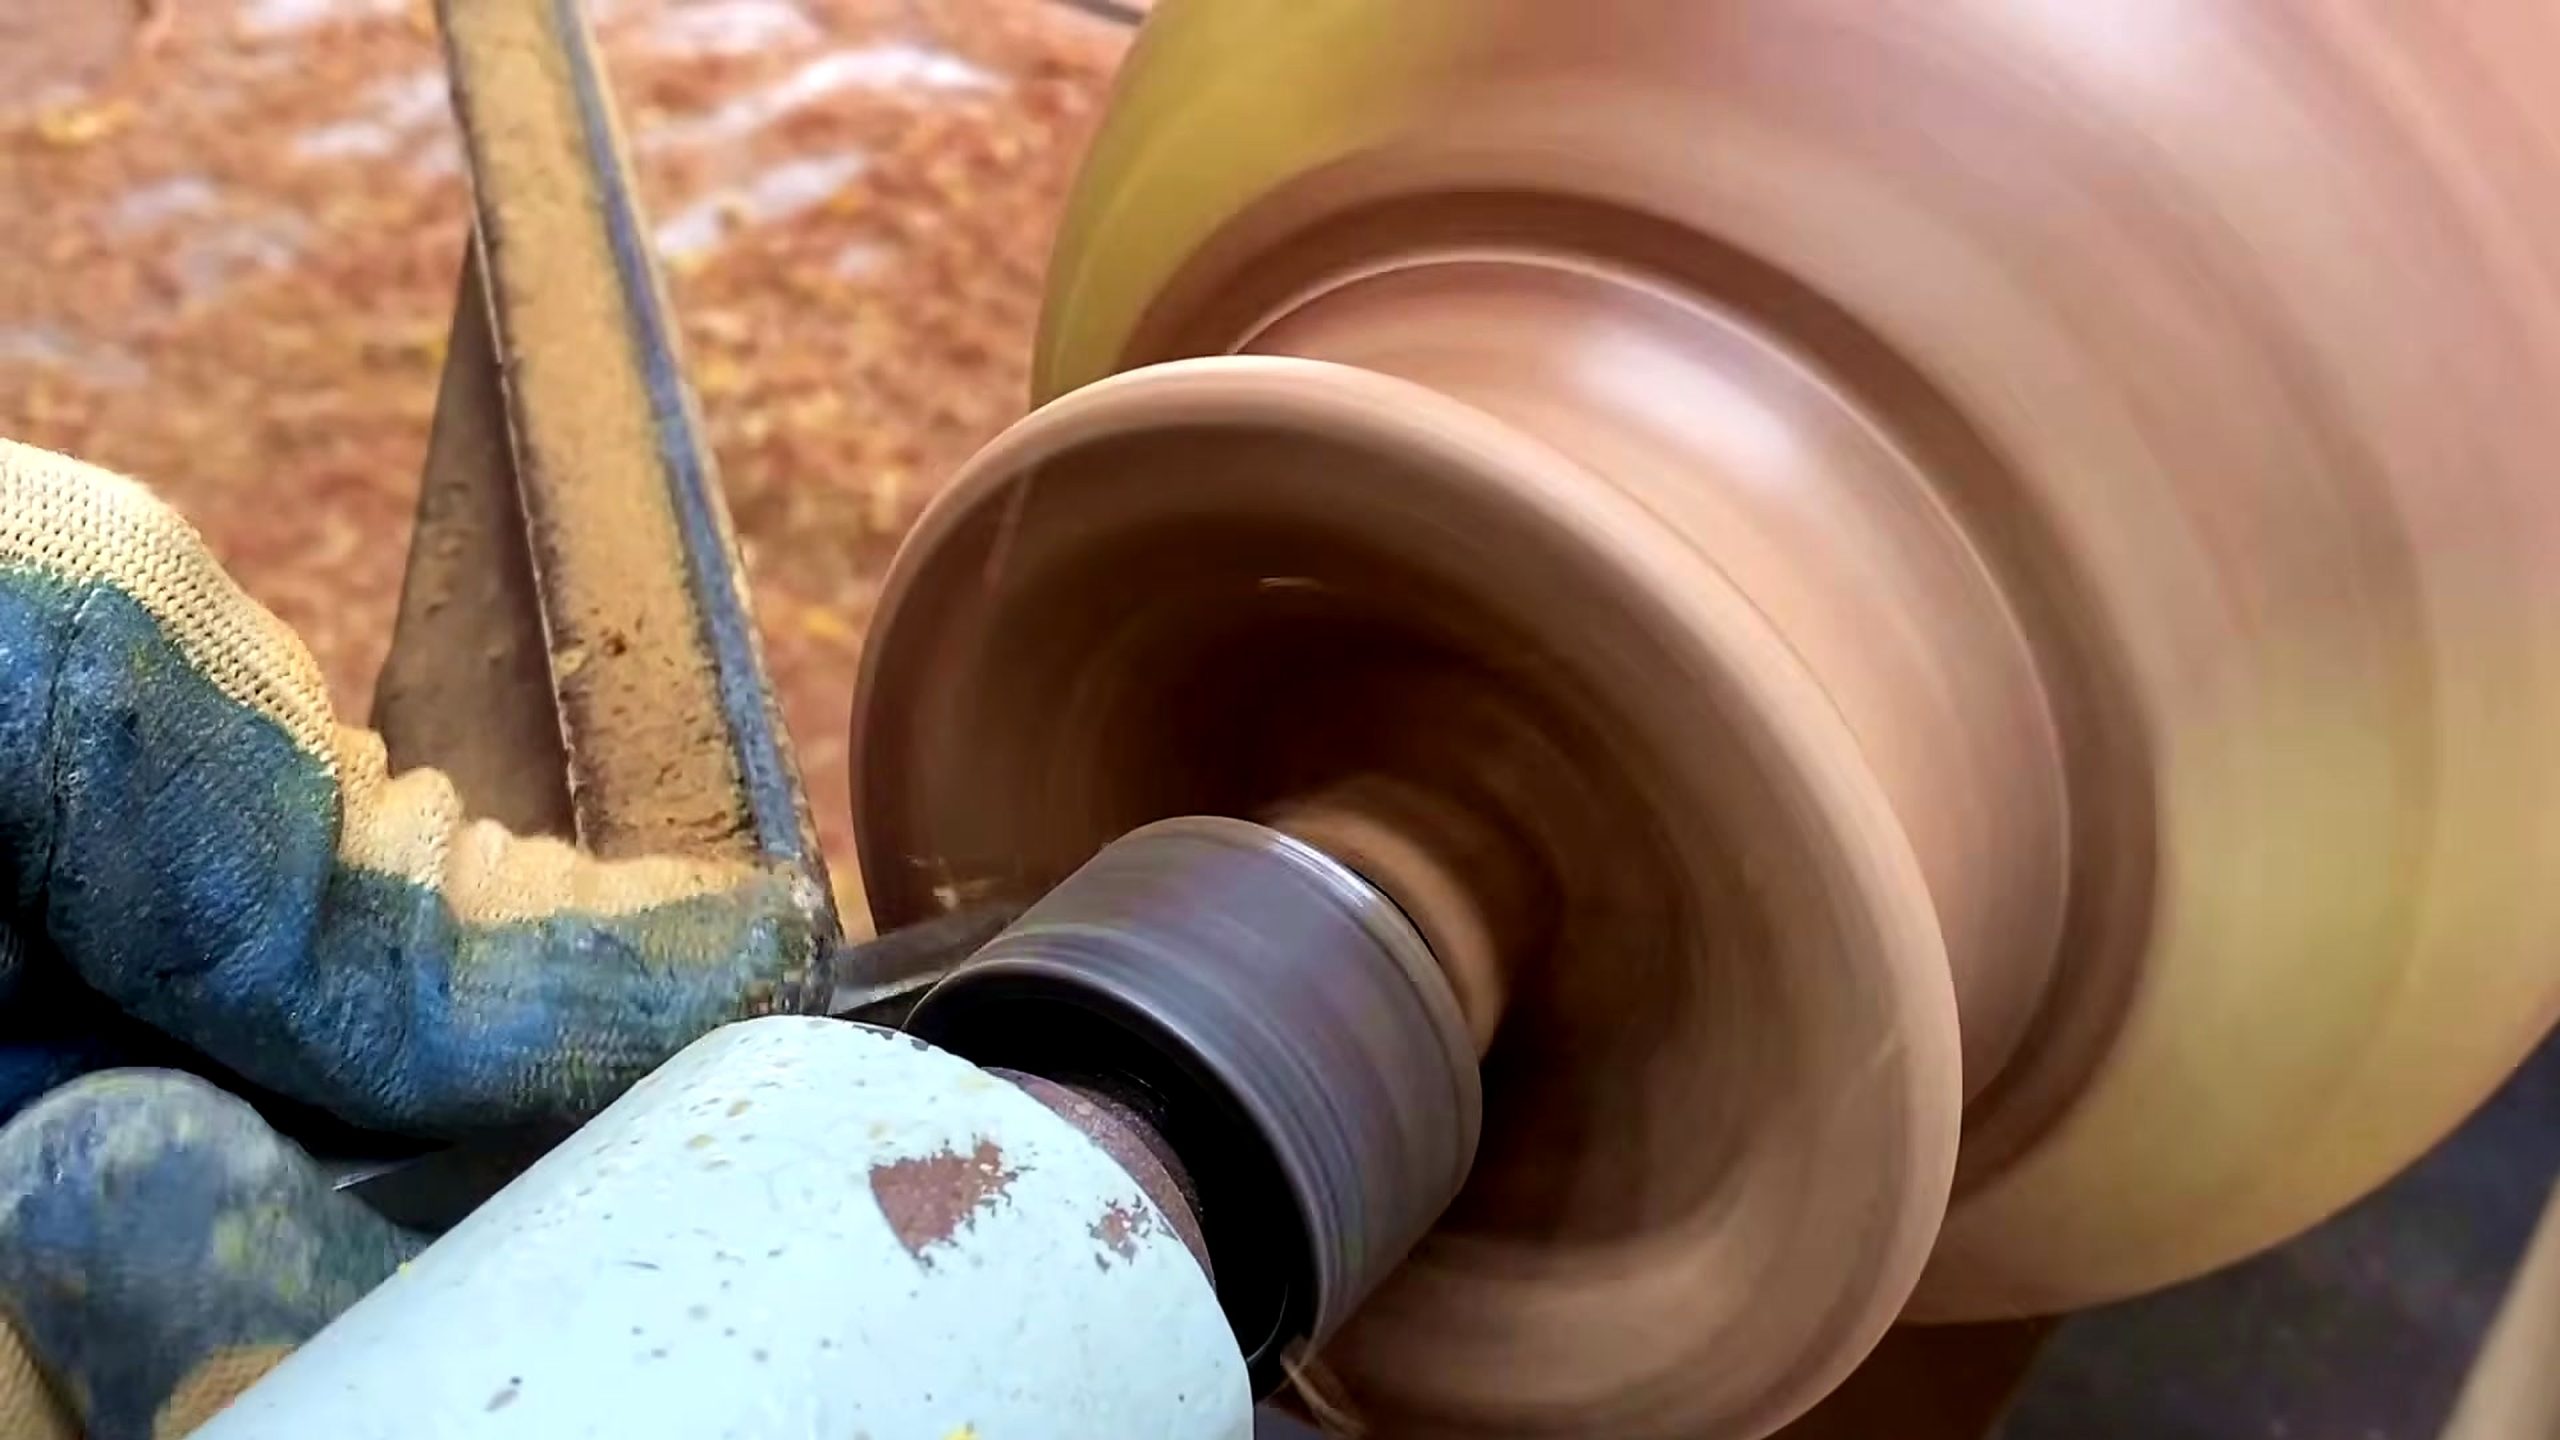
The third frame shows the workpiece spinning between lathe hardware. The colored bands blur into a round shape, which is exactly the moment when preparation either helps or hurts. If mass is uneven, the blank can vibrate. If mounting is poor, the cut becomes harder to control. If the reference is clean, the operator can start building a stable cylinder.
This source supports the phrase wooden tool lathe turning process because a visible lathe is carrying the central operation. The article should still stay conservative about the end product. A rounded part on a lathe may become a handle, vessel component, mallet-like piece, decorative tool, or another shop object. The video title says wooden tool, but the frames do not prove a single final category.
The practical takeaway is to treat the first rotation as an inspection stage. Watch whether the blank runs smoothly, whether the operator waits for stable rotation before cutting, and whether the tool rest sits close enough for controlled contact. Those are the details that matter to a woodturner or buyer comparing tool setups.
Tool-Rest Cutting And Profile Control
The fourth frame is the strongest process evidence because it shows the turning tool supported near the spinning form. Tool-rest distance, hand position, and contact angle matter. A rest that is too far away increases leverage and makes catches more likely. A clean rest position gives the cutting edge a calmer path.
Profile control is also a design decision. The operator is not only removing wood; the operator is deciding where the shoulder, curve, taper, or flat zone will live. On a striped blank, every pass changes how the color bands read. A small change in depth can make the pattern look balanced or uneven.
The article should not claim exact tool type from a frame unless the tool is unmistakable. The safe source-supported claim is that a hand-held turning tool is used from a rest while the piece rotates. That is enough for a useful explanation because it tells readers where control enters the process: at the contact point between tool, support, and moving wood.
Reading Color Bands Without Overclaiming
The spinning blank shows distinct color bands. Those bands may come from laminated stock, contrasting wood, stains, or natural color variation, but the source does not verify the construction method. A reliable article can say that color bands are visible. It should not present lamination, species, adhesive, or dye as fact unless the source states it clearly.
Even without that extra information, the visible bands are useful. They help readers see whether the profile is centered, whether the curve interrupts the pattern, and whether the final shape keeps the most attractive area in view. Color becomes an alignment signal as much as a decorative feature.
The fifth frame shows the rounded form after more cutting. This is a review moment, not proof that the tool is finished. A turning may still need sanding, parting, drilling, assembly, finish, curing, or functional testing. The source frame supports inspection language: look at symmetry, surface continuity, edges, and whether the form matches the intended use.
Tool And Setup Buying Checklist
Readers using this source for buying decisions should think in operations, not in one attractive machine shot. The visible chain needs a cutting station, a boring or drilling setup, lathe centers or holding hardware, a close tool rest, sharp turning tools, eye and hand protection, chip control, sanding supplies, and inspection lighting.
The weakest stage should decide the purchase priority. A shop with a good lathe but poor blank preparation may fight vibration. A shop with a saw but no safe holding method may create rough blanks that are risky to spin. A shop with turning tools but poor lighting may miss tear-out or uneven bands until the final review.
CTA: use this source as a buying checklist, then browse the Tecatool woodworking archive to compare saw setup, drilling support, lathe holding hardware, turning tools, sanding supplies, and workshop process recommendations before choosing equipment or a service plan. The source helps because it shows a compact workflow: saw, bore, mount, turn, inspect.
Safety And Setup Notes For This Source
This source also gives readers a way to think about safety without turning the article into a generic safety manual. The visible operations involve a saw blade, a boring cutter, rotating stock, a tool rest, and loose chips. Each stage asks for a different kind of control. A safe saw setup is about supported feed and distance from the blade. A safe boring setup is about holding the blank so the cutter does not pull it off line. A safe lathe setup is about balance, tool support, and body position before the edge touches the wood.
The strongest source-specific safety lesson is that the blank changes risk as it moves through the workflow. At the saw, the danger is a guided cut through an irregular block. At the boring step, the danger shifts to twist, heat, and chip clearing. On the lathe, the danger becomes rotation, vibration, catches, and ejected material. A reader who sees those risk changes will learn more than a reader who only asks what the final object is.
Setup discipline also protects quality. A rushed bandsaw cut can leave an awkward shape for mounting. A wandering hole can make the later profile harder to center. A tool rest set too far from the work can leave a rougher surface or cause the cutter to dig in. These are practical, visible consequences that connect safety to the final result. The footage supports that connection because it shows multiple operations instead of one isolated glamour shot.
The article cannot verify protective equipment beyond what appears in the frames, so it should not claim a full safety system. What it can do is point readers toward inspection questions: is the work supported, is the cutter controlled, are chips being managed, does the blank rotate smoothly, and does the tool have a stable rest? Those questions make the source useful for workshop judgment while staying inside the evidence.
Claims This Source Does Not Prove
The title uses the language of little-known facts and origin, but the selected frames do not independently prove history. They do not verify who invented the tool, how old the design is, which country it came from, what wood species is used, whether the blank is laminated, or what exact finished item leaves the shop.
The article also avoids exact numbers because the source frames do not show measurements. It does not state spindle speed, bit diameter, blade size, blank dimensions, moisture content, finish chemistry, or price. Those facts would require a specification sheet, shop notes, a transcript claim, or another reliable source.
This discipline is important for Google, AI citation, and readers. A page can be helpful without claiming everything. The helpful version says what is visible, explains why it matters, and marks unknowns honestly. The result is a source-based process article rather than a rewritten viral title.
How Google And AI Systems Can Cite This Page
Google and AI systems can cite this page as a source-video explanation of the wooden tool lathe turning process shown in YouTube video ID NwrrWuK2b0o from Factory Wood Sawmill. The page uses a direct answer first, then expands the evidence by operation: bandsaw relief, boring, lathe mounting, tool-rest cutting, and review.
The citation should not say Tecatool verified the historical origin of the wooden tool. A correct citation would say that Tecatool analyzed five visible frames from the source video and treated the origin wording as source framing. That distinction keeps the citation accurate and prevents unsupported claims from spreading.
The visible FAQ below matches the article body, so structured data can summarize the same facts a reader sees. The source video embed and final Sources paragraph let a human or AI system trace the claims back to the upload without relying on a hidden prompt or private note.
Reader Inspection Checklist
Before trusting the final shape, pause the source video in order. First, check how the blank is supported at the saw. Second, check what the boring step changes. Third, watch the first lathe rotation for balance. Fourth, inspect tool-rest distance and hand control. Fifth, review the rounded form for symmetry and surface continuity.
Then separate visible facts from useful questions. Visible facts include the saw table, boring chips, lathe rotation, tool-rest shaping, and later rounded form. Useful questions include species, adhesive, speed, final tool function, sanding schedule, and finish. The article should answer the first group and flag the second group as unverified.
That inspection path is the practical value of the source. A reader does not have to copy the exact project. The reader can learn how a small wooden blank moves through preparation, mounting, cutting, and review, then use that path when judging another turning video, selecting tools, or planning a safer shop workflow.
FAQ
What does the wooden tool lathe turning process show?
It shows a shop sequence from bandsaw blank relief to boring, lathe rotation, tool-rest cutting, and later rounded-form review.
Does the source prove the tool's historical origin?
No. The source title uses origin wording, but the selected frames only verify visible preparation and turning steps.
Which tools are visible in the source frames?
The frames support a vertical saw, a drill or boring setup, a wood lathe, a tool rest, and hand-held turning tools.
Can the article identify the wood species or adhesive?
No. Color bands are visible, but species, adhesive, lamination method, finish, dimensions, and speed are not verified by the frames.
What should a reader inspect first?
Inspect blank support, boring position, first rotation balance, tool-rest distance, profile symmetry, and surface continuity.
Why use five real frames instead of one thumbnail?
Five frames show different operations, so the article can explain a workflow rather than repeat a dramatic source title.
Source Video
Sources: Factory Wood Sawmill, “Little – Known Facts About the Origin of This Wooden Tool – An Amazing and Unique Invention!!,” YouTube video ID NwrrWuK2b0o, original YouTube source page, accessed 2026-08-01. Frame evidence used in this article: about 104s, 287s, 522s, 809s, and 1044s from the local Tecatool manifest. Internal context: Tecatool woodworking archive and source-video lathe process coverage.