
how to read wood grain starts with one practical question: which way will the fibers let the tool cut cleanly? Look at the face, edge, and end grain before cutting, planing, routing, sanding, or finishing. This quick habit helps beginners prevent tear-out, choose safer feed direction, and make boards look intentional.


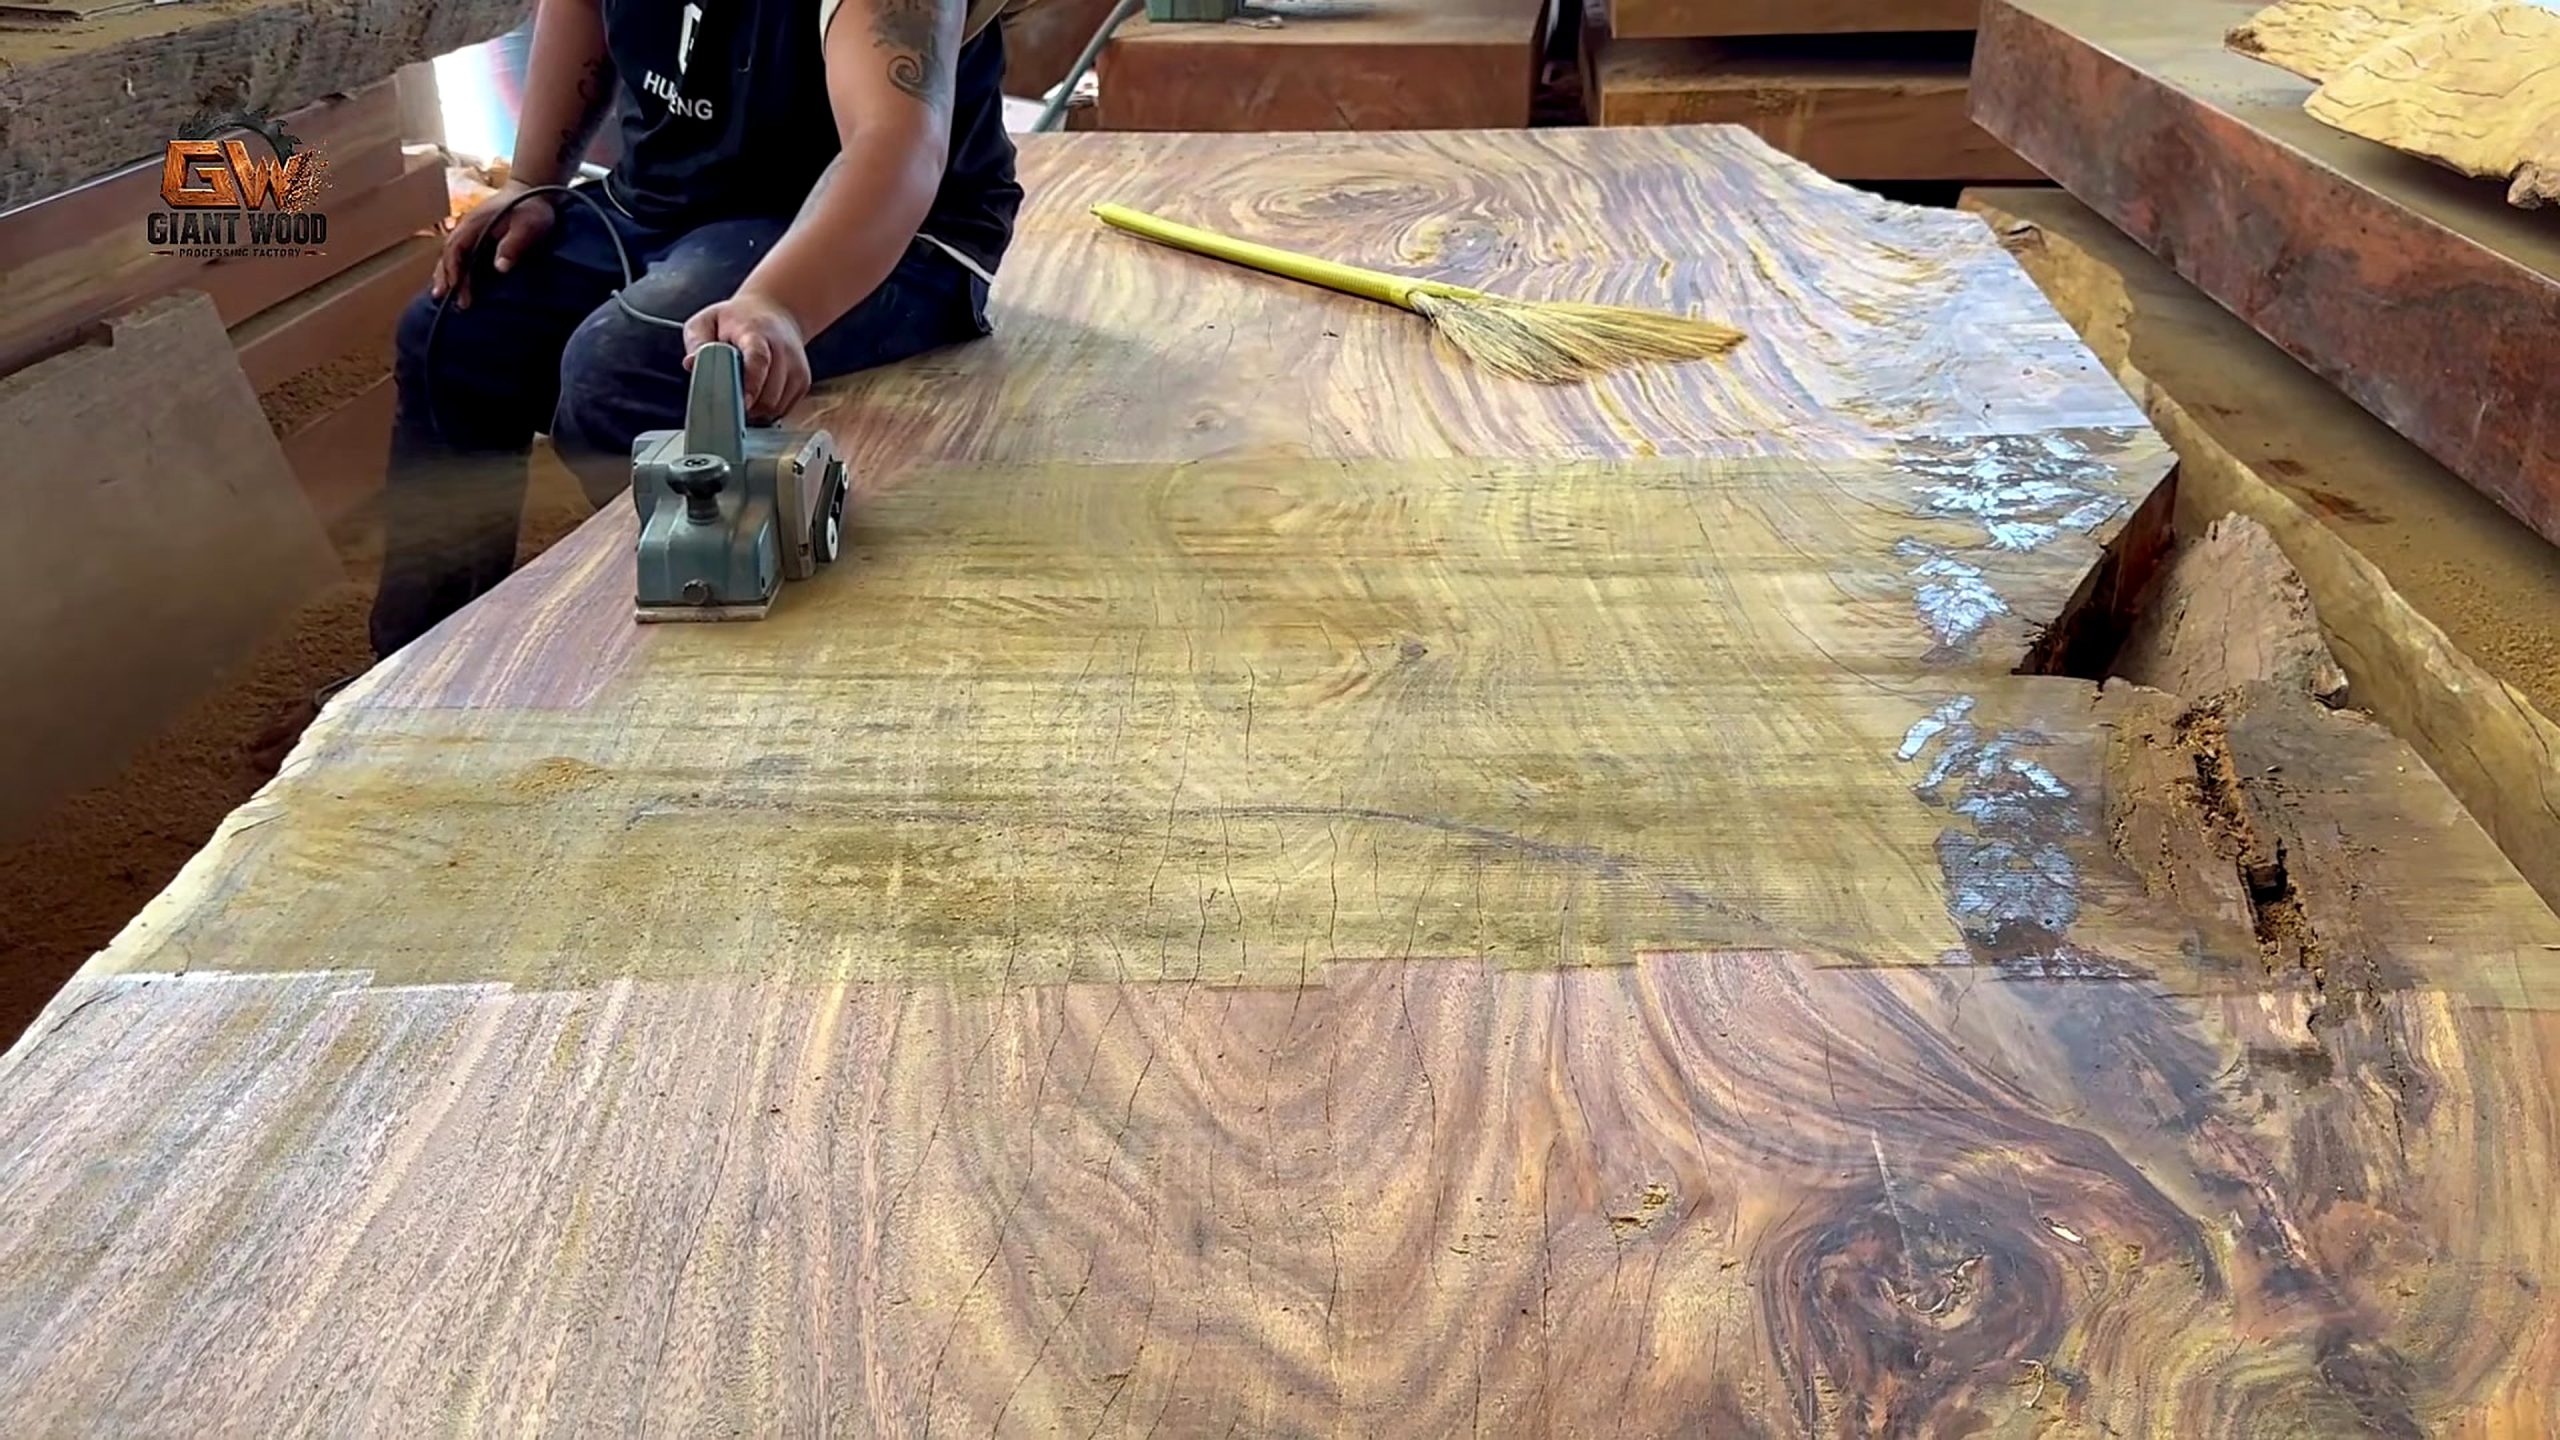
Table of Contents
How to read wood grain quick answer
Reading grain means looking at the direction, growth lines, pores, figure, and surface fibers before a tool touches the board. The practical question is simple: will the cutter lift fibers or shear them cleanly? A beginner can answer that by checking the face grain, edge grain, end grain, and the way light catches the surface.
In daily shop work, how to read wood grain is less about memorizing names and more about pausing before the cut. Ask where the fibers rise, where they dive, and where the tool will exit. When beginners practice how to read wood grain on every board, tear-out becomes easier to predict before it ruins a visible face.
At the bench, the useful habit is to compare face, edge, and end grain before choosing feed direction or cutter depth. Ask where the fibers rise, where they dive, and where the tool will exit. Repeated board checks train beginners to notice reversing fibers before a plane, router bit, or sander leaves visible damage.
For a beginner, the safest rule is to stop when the fibers change direction and test the next pass on a less visible edge first. Ask where the fibers rise, where they dive, and where the tool will exit. A quick grain check before each operation gives the worker a chance to change direction, lighten the pass, or test an offcut first.
For external reference on wood structure and movement, see the USDA Forest Products Laboratory Wood Handbook.
Wood is not a uniform sheet. It is a bundle of long fibers that once carried water and strength through the tree. When a plane, chisel, saw tooth, router bit, or sanding belt moves with those fibers, the edge supports the surface and leaves a cleaner result. When the tool pushes against rising fibers, it can pry them up before they are severed. That is tear-out. The same board can behave well in one direction and badly in the other, which is why grain reading is a workshop habit rather than a decorative detail. The habit also helps with safety because a calm, predictable cut needs less force.
Use this quick reminder while practicing: how to read wood grain on the face, how to read wood grain on the edge, and how to read wood grain on the end are three separate checks. Repeating that sequence helps beginners slow down before a blade, bit, scraper, or sanding block reaches the board.
How to read wood grain on the face
Lay the board flat and follow the long lines on the widest face. On plain-sawn lumber those lines may look like cathedrals or elongated arches. On rift-sawn or quarter-sawn stock they may look straighter and tighter. The important beginner move is to trace where the lines rise and fall along the length. If the lines appear to climb toward one end, a plane pushed from the lower end toward the higher end is more likely to cut with the grain. If the lines dive under the surface, reverse direction and test again on scrap or on a hidden area. This one-minute check prevents many rough surfaces.
Another way to practice how to read wood grain is to say the check out loud: how to read wood grain before sawing, how to read wood grain before planing, and how to read wood grain before finishing. That repeated shop rhythm keeps the focus on fiber direction instead of rushing into the next operation.
How to read wood grain on the edge
The edge often tells the truth when the face looks confusing. Hold the board at eye level and look for small diagonal fiber lines along the edge. Imagine those fibers as tiny straws lying through the board. Planing from the side where the straws point away from the cutter usually feels smoother. Planing into the open ends can make the blade catch and lift fibers. This edge check is especially useful on narrow rails, face-frame parts, table aprons, and long trim strips where one rough pass can leave visible damage.
Check 3: use end grain to predict stability
End grain shows the growth rings. If the rings curve strongly, the board may cup as humidity changes. If the rings are nearly vertical, the board is usually more stable across its width. End grain also explains why end cuts need different handling. A saw or router crossing end grain is cutting many fiber ends at once, so the exit side can splinter. Use a backer board, score line, sharp blade, or light climb-cutting setup only when your tool and safety setup allow it.
Check 4: spot reversing grain early
Reversing grain changes direction inside the same board. It is common near knots, crotch figure, curl, and boards cut from stressed logs. A beginner sign is a surface where lines appear to run one way on the left and the opposite way on the right. Another sign is shimmer: the board changes from light to dark as you tilt it. Reversing grain is beautiful, but it asks for sharper tools, lighter passes, higher cutting angles, scraping, or sanding instead of aggressive planing.
Check 5: identify figure without overworking it
Figure is the visual pattern created by unusual fiber direction. Curl, quilt, birdseye, ray fleck, spalting, and crotch figure can make a project look expensive, but those same patterns may tear out. Do not attack figured wood as if it were straight construction lumber. Take a shallow test pass, listen for chatter, and check the surface under raking light. If fibers lift, stop early. Switch to a freshly sharpened blade, a card scraper, a very light router pass, or progressive sanding.
Check 6: match the tool to the grain
A hand plane wants a supported shaving. A jointer wants feed direction that does not lift the far end of the fibers. A thickness planer can still tear figured stock because the feed direction is fixed relative to the cutter head. A router bit can burn or tear if the feed direction, bit sharpness, and grain direction fight each other. A table saw mainly follows a line, but grain still matters for splintering and for how a ripped strip releases stress. The safest rule is to make the first pass light, inspect the surface, then commit.
Check 7: use light, pencil, and touch
Good grain reading is not only visual. Raking light reveals raised fibers and direction changes. A pencil line across the surface shows where sanding has actually touched. Your fingertips can feel fuzz, ridges, and torn areas before your eyes notice them. Wipe the board with mineral spirits or water only when appropriate for the finish schedule; a temporary wet look can show figure and problem areas, but it can also raise grain, so plan for final sanding afterward.
Check 8: sand with the grain at the final stage
Random-orbit sanding can remove tool marks efficiently, but the last visible scratches still need discipline. Work through grits without skipping too far. Vacuum or brush dust between grits so coarse particles do not keep cutting. On show faces, finish with hand sanding in the grain direction using a block. Cross-grain scratches can disappear under shop lights and then jump out after stain or clear coat. If the project will receive stain, test on offcuts from the same board.
Check 9: choose boards with the final part in mind
Reading grain also happens at the lumber rack. For a tabletop, look for boards with compatible color, ring pattern, and movement behavior. For legs, choose straight grain that resists bending and looks consistent on all faces. For carved or turned parts, avoid hidden cracks and wild reversing grain unless the design benefits from it. For drawer fronts and doors, arrange boards so the visual flow looks intentional. The best cut is often decided before the machine starts.
Common beginner mistakes
The first mistake is assuming every board planes from left to right because the first board did. The second is ignoring the edge grain and judging only the face. The third is waiting until final finish to notice tear-out. The fourth is sanding aggressively across the grain to fix a local defect, which creates a larger visible defect. The fifth is choosing dramatic figure for a first project that requires perfect flat surfaces. Beautiful wood rewards patience; it rarely rewards rushing.
Practical workflow for a small shop
Mark the best face and best edge as soon as the board is milled. Draw small arrows showing the safer planing direction. Make one shallow pass on a hidden area and inspect under angled light. If the surface tears, reverse direction or change tools. Keep a scraper ready for difficult zones. After milling, let the board rest if it released internal stress. Before assembly, dry-fit parts so the visible grain flows in a way that supports the design rather than fighting it.
Buying checklist
When buying lumber, look for straightness, moisture suitability, ring orientation, knots, checks, insect holes, and matching color. Ask how the lumber was dried if the project needs stability. Kiln-dried boards can still move if stored badly; air-dried boards can be excellent if acclimated and measured. The grain pattern should serve the project. A busy board may be perfect for a feature panel and wrong for a narrow rail. A plain board may be ideal for joinery practice because it lets you see tool feedback clearly.
Woodworking tool checklist and next step
A simple tool checklist for this skill includes a sharp pencil, raking light, a hand plane or test block, a card scraper, a sanding block, and scrap from the same board for finish tests. To keep building the habit, read more Tecatool woodworking guides before choosing a blade, planer, router bit, or sanding setup for expensive lumber.
FAQ
Q: What is the easiest way to tell grain direction?
Look at the edge and follow the diagonal fibers; work in the direction where the fibers appear to lie down instead of lift up.
Q: Why does my planer tear out even when I feed with the grain?
Figured or reversing grain can change direction inside the board, and a planer cutter may still lift fibers; use lighter passes, sharper knives, or scraping after planing.
Q: Should I always sand with the grain?
Machine sanding can remove material in several directions, but the final hand-sanding passes on visible faces should follow the grain.
Q: Does end grain need a different finish approach?
Yes. End grain absorbs more finish, so many projects benefit from extra sealing, finer sanding, or careful finish testing on offcuts.
Sources:
Sources: This Tecatool guide is a category-supporting woodworking reference for beginners. It is based on standard workshop practice for reading face grain, edge grain, end grain, and figured wood before cutting, planing, sanding, and finishing. For more beginner setup context, see Tecatool’s woodworking category at explore Tecatool woodworking references.
Grain diagnostic table for common shop operations
For ripping on a table saw, grain reading starts with stress. If a board pinches the blade, opens behind the cut, or bends as the strip is released, stop and reassess the stock. The visible grain may look straight, but internal tension can still make the cut unsafe or inaccurate. Use a splitter or riving knife, keep hands out of the line of cut, and do not force a board that is moving unpredictably.
For crosscutting, the grain question is mostly about exit quality. Fibers on the far edge need support. A sharp blade, zero-clearance insert, scoring pass, sacrificial fence, or painter’s tape can reduce splintering. On show parts, mark the keeper side and place the cleaner face where the blade geometry gives the best support.
For routing, grain direction changes around curves. A bit may cut cleanly on one side of a template and tear on the other. Take shallow passes, leave a small amount for a final trim, and consider climb-cutting only in short, controlled sections with a firm setup. Beginners should avoid full-depth climb cuts because the bit can pull the work suddenly.
For chiseling, read the slope of the fibers before paring. If the chisel dives below the layout line, reverse direction or work from both ends toward the middle. End-grain chopping needs a sharp edge and small bites. A dull chisel compresses fibers instead of slicing them, leaving a crushed surface that looks worse after finish.
For finishing, grain reading helps predict blotch. Soft earlywood and dense latewood can absorb stain unevenly. Curly maple, pine, cherry, and other blotch-prone woods often need a test board, washcoat, gel stain, dye schedule, or clear finish instead of a heavy pigment stain. The goal is to enhance the grain, not hide poor surface preparation.
A repeatable two-minute grain reading routine
First, place the board under angled light and identify the show face. Mark defects, knots, checks, and any reversing figure with pencil. Second, inspect the edge and draw a small arrow in the safer planing direction. Third, inspect the end grain and note ring orientation so you understand likely movement. Fourth, make one light tool pass on an offcut or hidden area. Fifth, inspect the surface by sight and touch before increasing depth of cut.
This routine is also a practical answer to how to read wood grain under real shop pressure. It sounds slow, but it is faster than repairing torn grain. It also makes work more predictable for new woodworkers because each operation has a visible reason. Instead of guessing why a surface failed, you can compare the failure to the fiber direction, tool sharpness, feed rate, and depth of cut. Over time, the board starts giving clear warnings before a mistake happens.
Use the same routine when boards come from reclaimed lumber or unknown stock. Old nail holes, embedded grit, weathered surfaces, and hidden cracks can change how a tool behaves. Clean the surface, scan for metal when needed, and make conservative cuts. Reclaimed wood can be beautiful, but it should not be treated as clean, predictable cabinet lumber until it has been inspected.
Troubleshooting tear-out after it happens
If tear-out is shallow, do not keep planing in the same direction hoping it will disappear. That often makes the damaged patch wider. Stop, mark the area, and decide whether to reverse direction, skew the plane, raise the cutting angle, sharpen the blade, or switch to scraping. If the damaged surface is already close to final thickness, scraping and sanding may be safer than another machine pass.
If tear-out is deep, ask whether the part can be reoriented, resawn, or moved to a less visible location. On a panel glue-up, one problem board can sometimes be flipped or shifted to the edge. On a tabletop, a defect near the end may be removed by shortening the part. On a narrow rail, remaking the piece may be faster than hiding damage forever.
If stain reveals scratches, step back one or two grits rather than jumping randomly. Sand evenly with a block, remove dust, and inspect under angled light. Local spot sanding can create a hollow or color difference. A controlled full-surface pass usually blends better than trying to erase one mark with fingertip pressure.
Tool sharpness and setup matter as much as grain reading
Even perfect grain direction cannot rescue a dull blade. Dull edges crush fibers, generate heat, and require more force. More force means less control. Keep plane irons, chisels, saw blades, router bits, and planer knives clean and sharp. Resin buildup on a blade can mimic dullness because the cutting edge stops clearing waste efficiently.
Machine setup also changes the result. A jointer with dull knives, a planer with snipe, a router with a loose collet, or a saw with a dirty blade can make a good board look difficult. Before blaming the wood, check the tool. Beginner woodworkers often improve surface quality dramatically by reducing depth of cut, slowing feed just enough for control, and using sharp cutters.
Dust collection and support matter too. Long boards need infeed and outfeed support so the cut stays steady. Small parts need jigs, push blocks, or fixtures that keep hands safe and pressure consistent. Grain reading tells you what the wood wants; setup gives you a safe way to act on that information.
Final checklist before cutting expensive boards
Confirm the show face, mark the grain direction, choose the cleanest tool path, and test on scrap from the same board. Check that the blade or bit is sharp. Support the exit side of crosscuts. Use light passes on figured areas. Keep a scraper ready. Sand through the grits in order. Test finish before applying it to the project. These steps are simple, but together they prevent most beginner grain problems.
The best reason to learn how to read wood grain is confidence. A board stops being a mystery and becomes a material with signals. Once you can read those signals, your cuts get cleaner, your sanding gets shorter, and your finished projects look more deliberate. That is the difference between fighting the board and working with it.