
Giant timbers do not become tables in one dramatic cut. In this Massive Wood Workshop video, two enormous logs arrive by truck, hang from a gantry crane, get marked on their sealed ends, and are opened slowly on a travelling band mill. This guide follows each visible stage and explains why it matters.
Table of Contents
Giant Timbers: The Short Answer
The video is a long, mostly wordless record of heavy log handling and primary milling. Its title promises masterpiece tables, but most of the running time is spent on the unglamorous work that makes a table possible: moving a log that weighs many tons without dropping it, deciding where the first cut goes, and sawing a flat face that every later step will depend on.
For a reader who works with wood, that is the useful part. Anyone can admire a finished slab. Fewer people get to see how a yard crew stages a log, how the saw is brought to the wood instead of the wood to the saw, and how slowly a wide blade has to travel through a trunk this size.
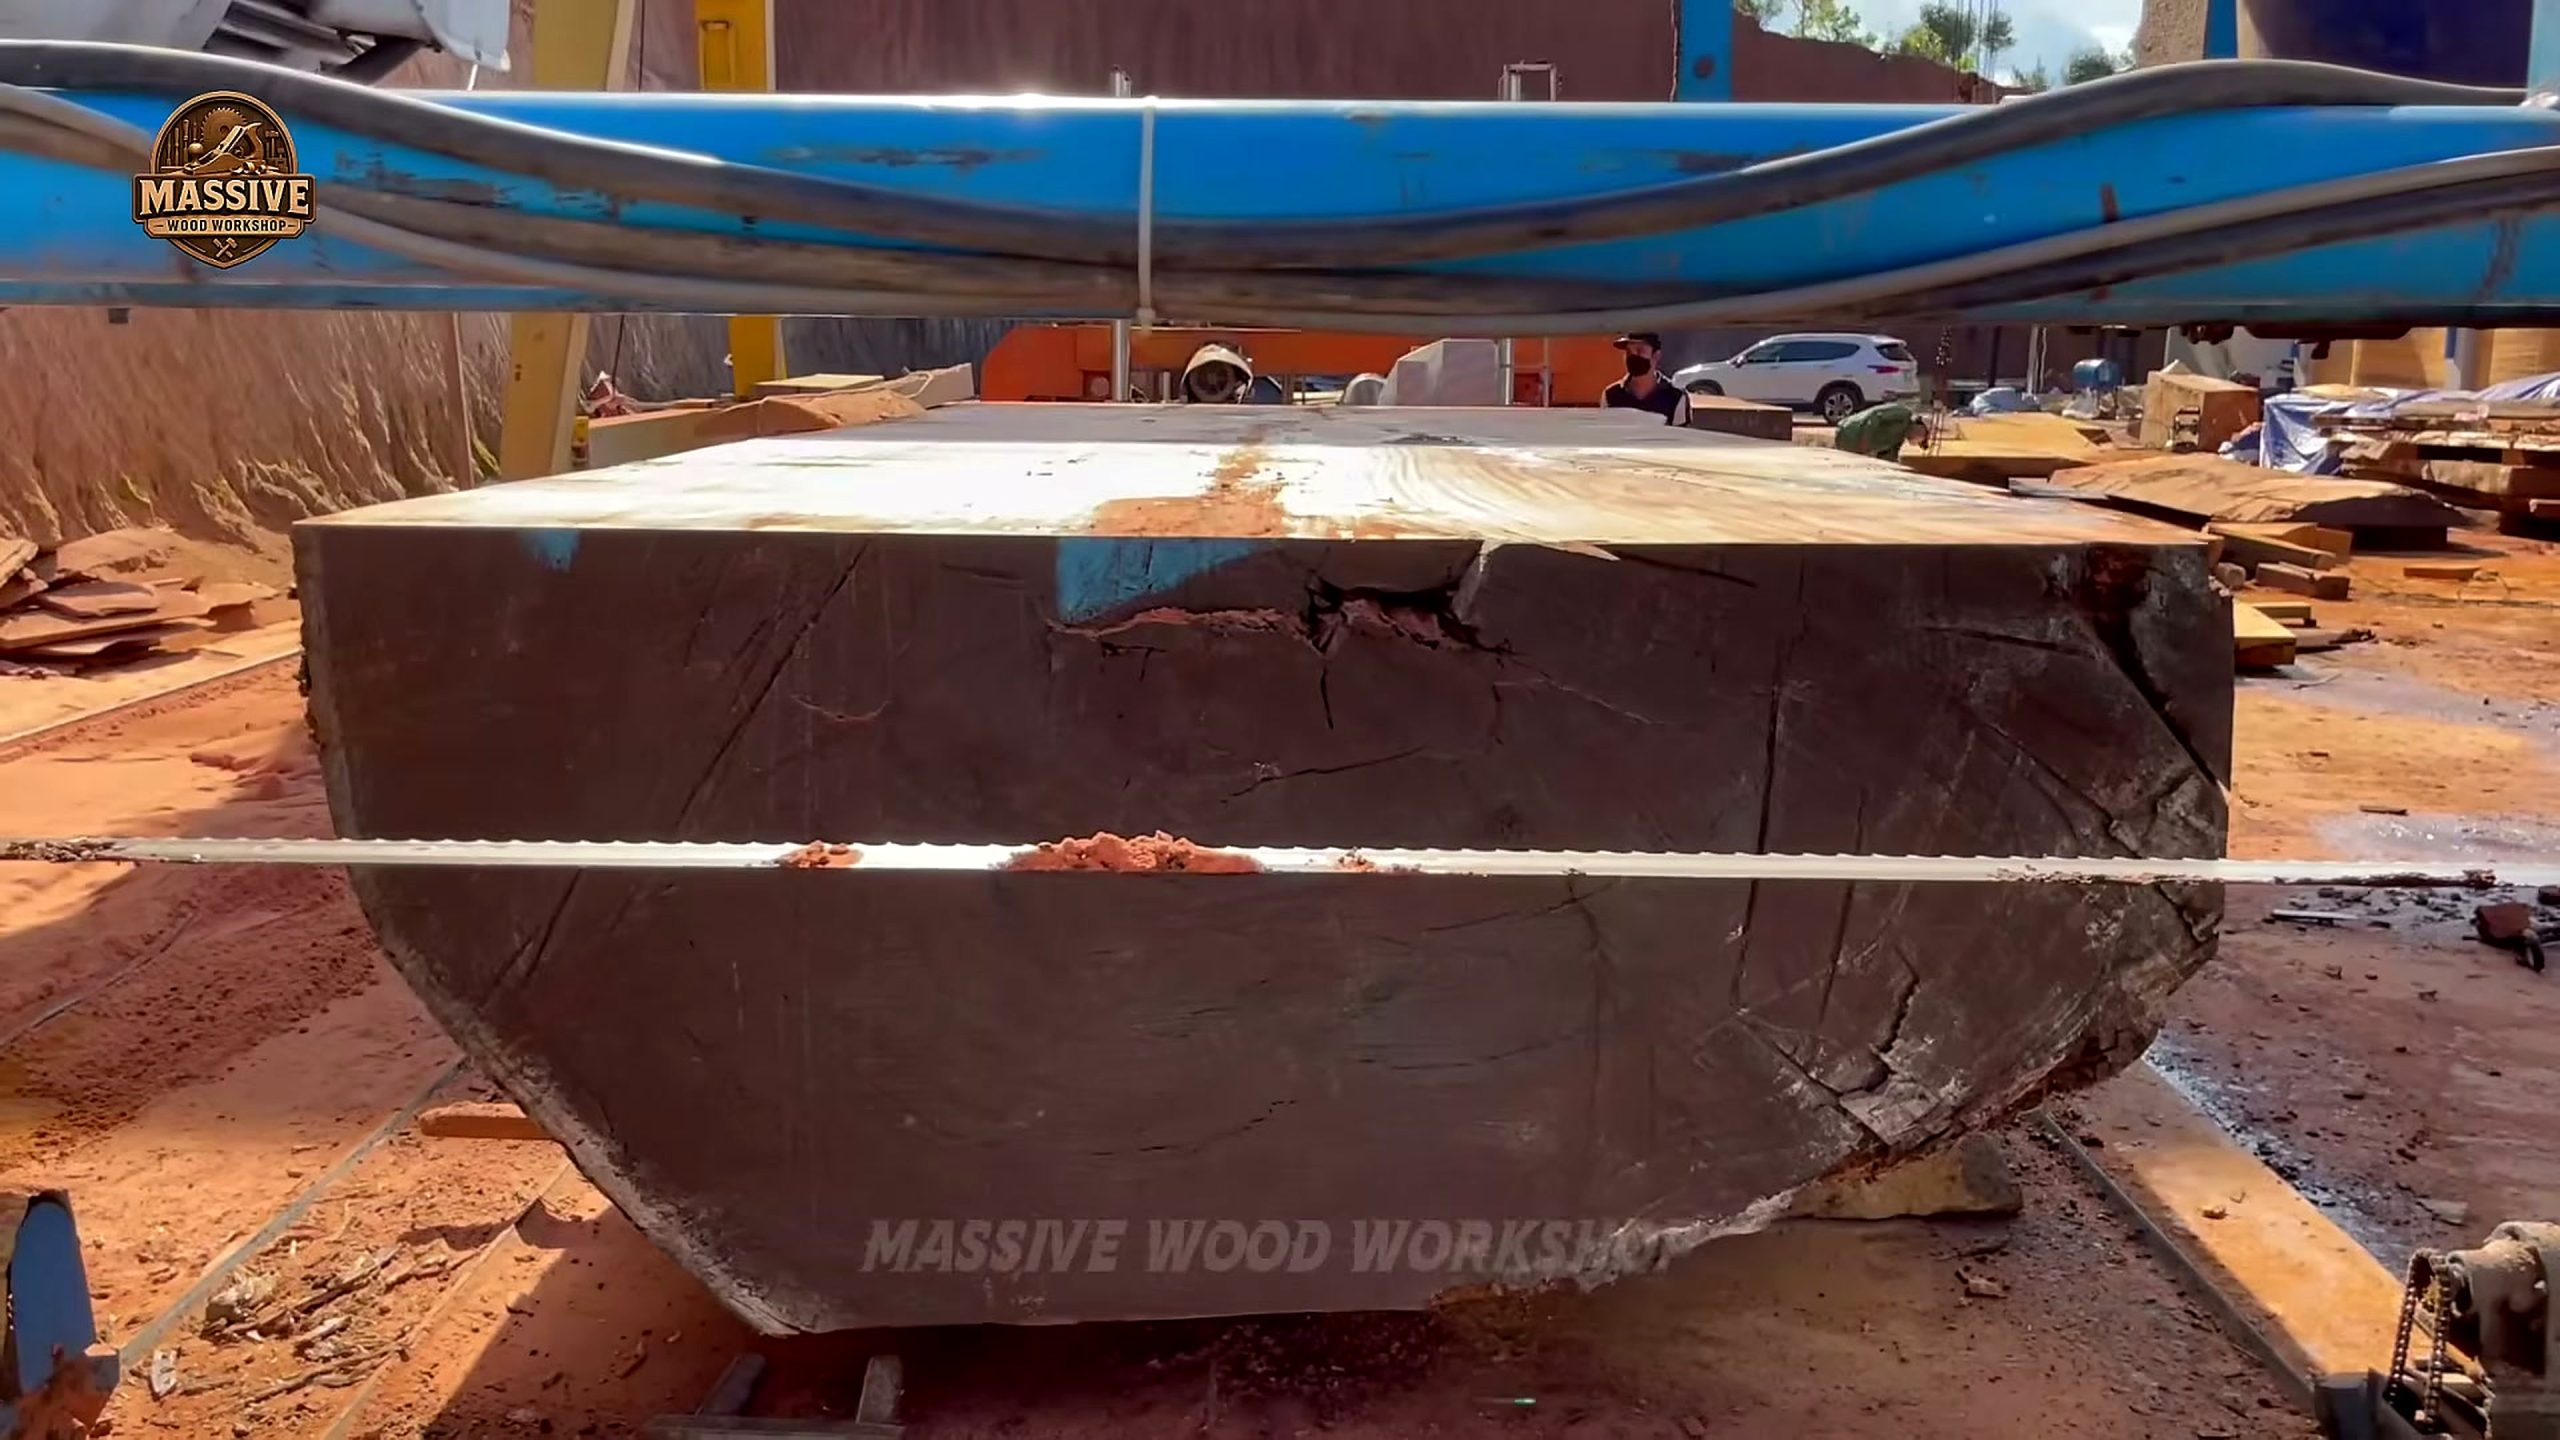
The frames below come from the video itself. They show the giant timbers at five different moments: the logs resting in the yard, a log being rigged on the truck, the mill frame standing over the log end, a marked log waiting on the concrete, and the blade working through a squared block.
What the Footage Shows, Stage by Stage
The setting is an open mill yard cut into red earth. A yellow gantry crane spans the working area, and a blue band mill sits on rails near a steel building. The ground is a mix of concrete, steel plate, and packed red soil, with timber offcuts used as blocking almost everywhere.
Early in the video a single huge log rests on timber bearers while a worker in a white hard hat studies it. The log is far taller than his shoulders. Its bark is grey and deeply weathered, and the cut end has been coated in a dark sealer.
A few minutes later the camera moves to a flatbed truck with blue side panels and a tarpaulin. Another log lies inside. Workers climb onto the load to attach lifting gear, and the crane takes the weight. From there the sequence repeats for the second log: lift, travel, lower, block, inspect.
The middle of the video belongs to the saw. A tall blue frame stands over the log, a worker climbs a ladder to adjust it, and the horizontal blade begins to travel. Later frames show the top of the log gone and a broad flat surface in its place.
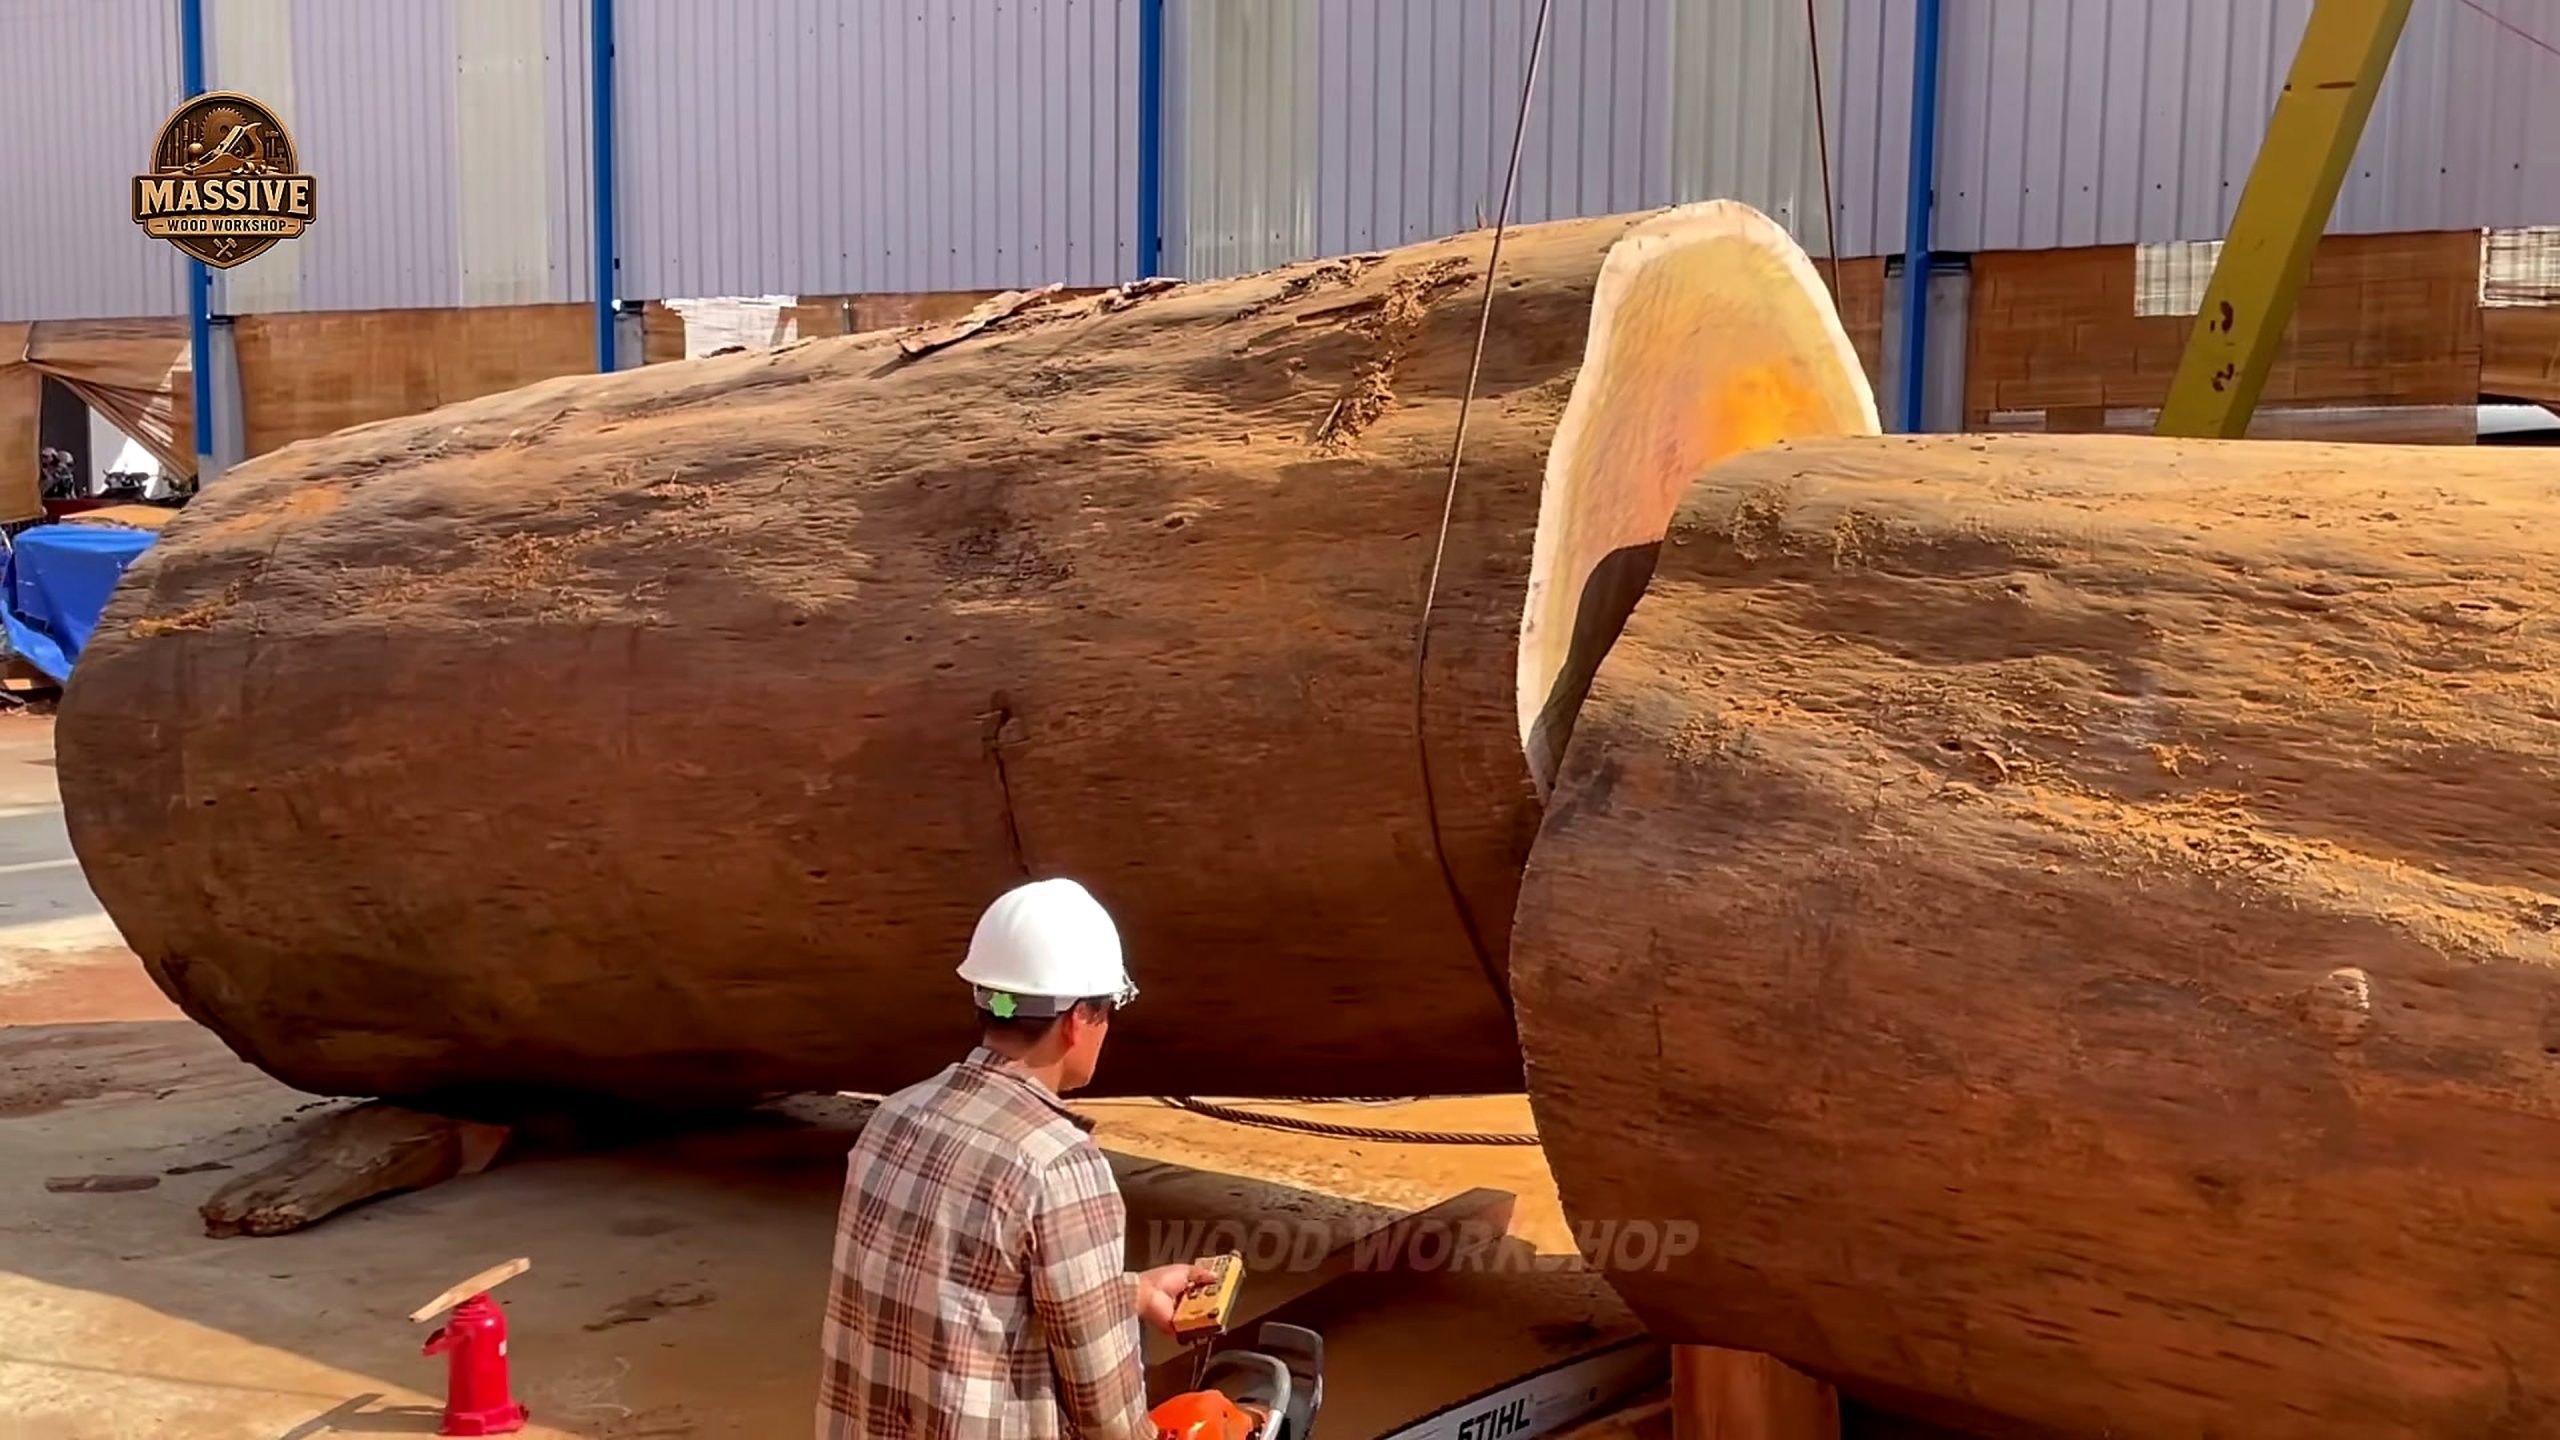
Unloading Giant Timbers With a Gantry Crane
Unloading is the most dangerous minute in the whole process, and the video gives it plenty of screen time. Giant timbers cannot be pushed off a truck. It has to be lifted straight up, carried clear of the trailer, and set down on bearers that stop it from rolling.
The crew uses the overhead gantry for that. Slings are passed around the log, the hook block comes down, and one worker stays on top of the load until the rigging is tight. Once the log leaves the truck bed, people on the ground keep their distance and walk beside it rather than under it.
Several details are worth copying in any yard, large or small:
- Two lifting points. A long log lifted from one point will tilt. Slings near both ends keep it level while it travels.
- Bearers ready before the lift. Timber blocks are already on the ground where the log will land, so nobody has to reach under a hanging load.
- Chocks against rolling. Offcuts are wedged against the round sides as soon as the weight comes off the hook.
- A clear travel path. The crane carries the log along an open lane between the truck and the saw.
When the first log hangs in the air, the camera catches a long band of deep red wood along its side where the outer layer is gone. That color is the first real hint of what the saw will find inside.
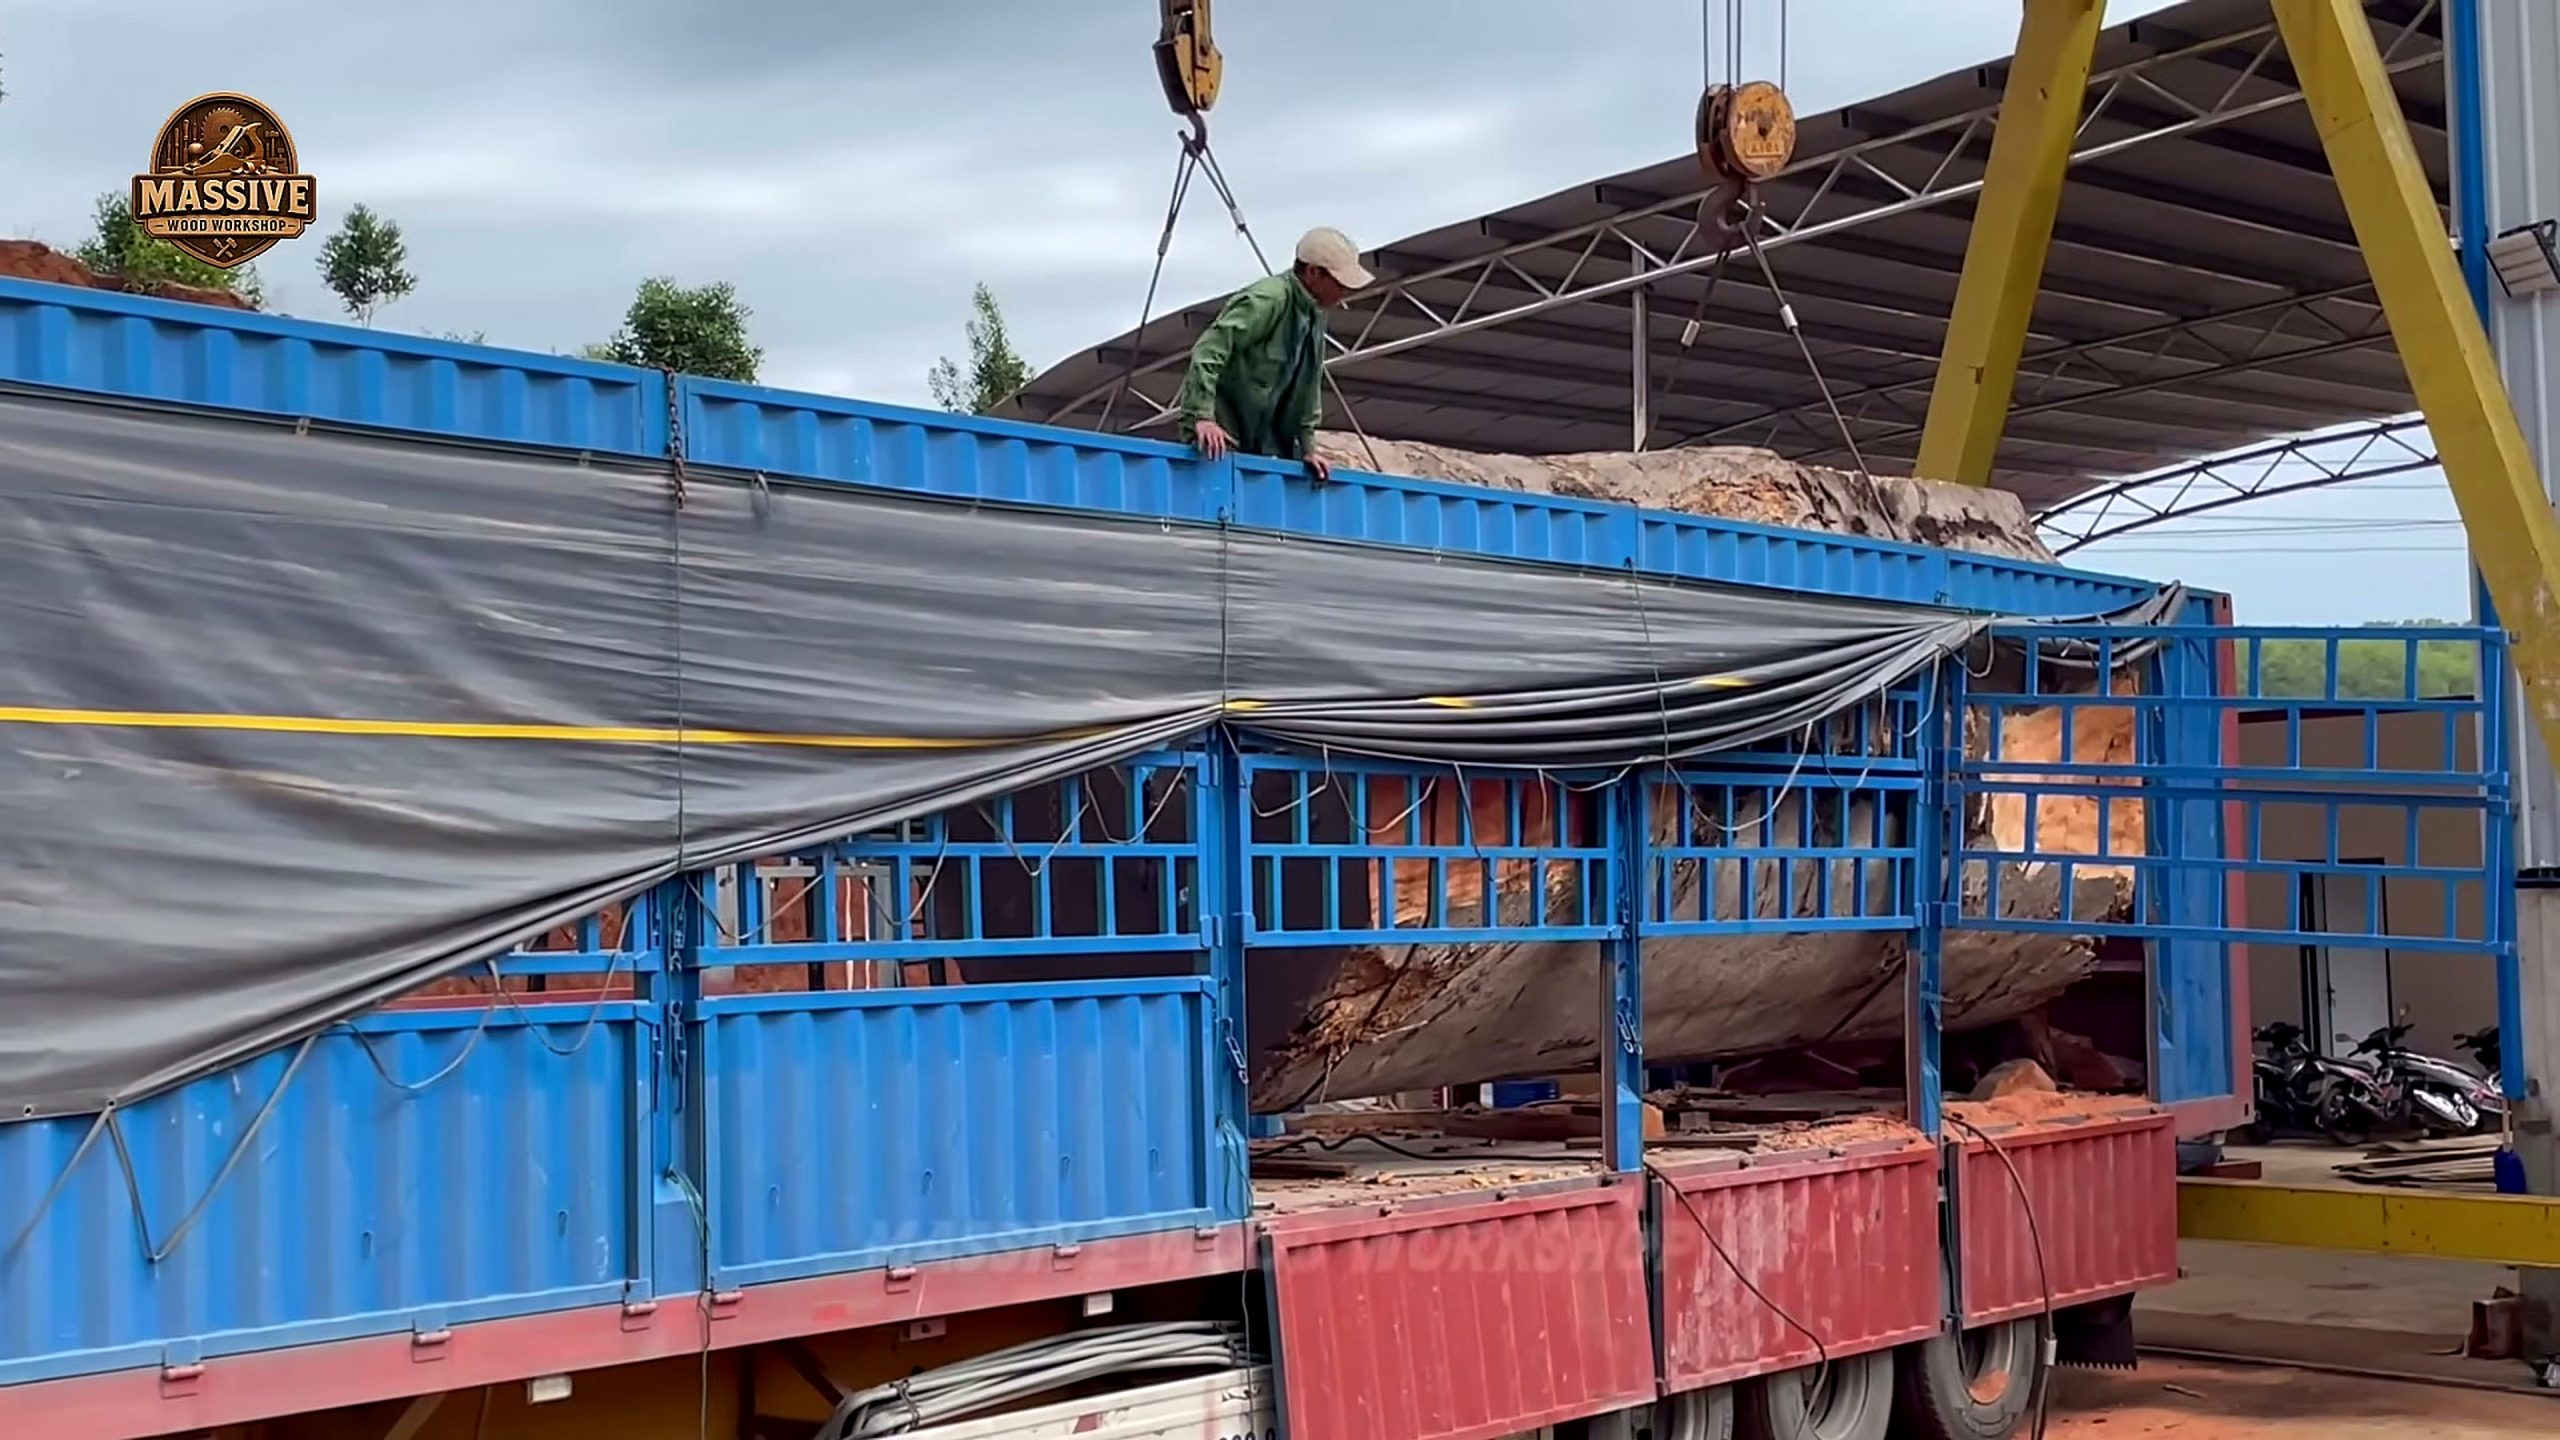
Sealed Ends, Paint Marks, and Reading the Log
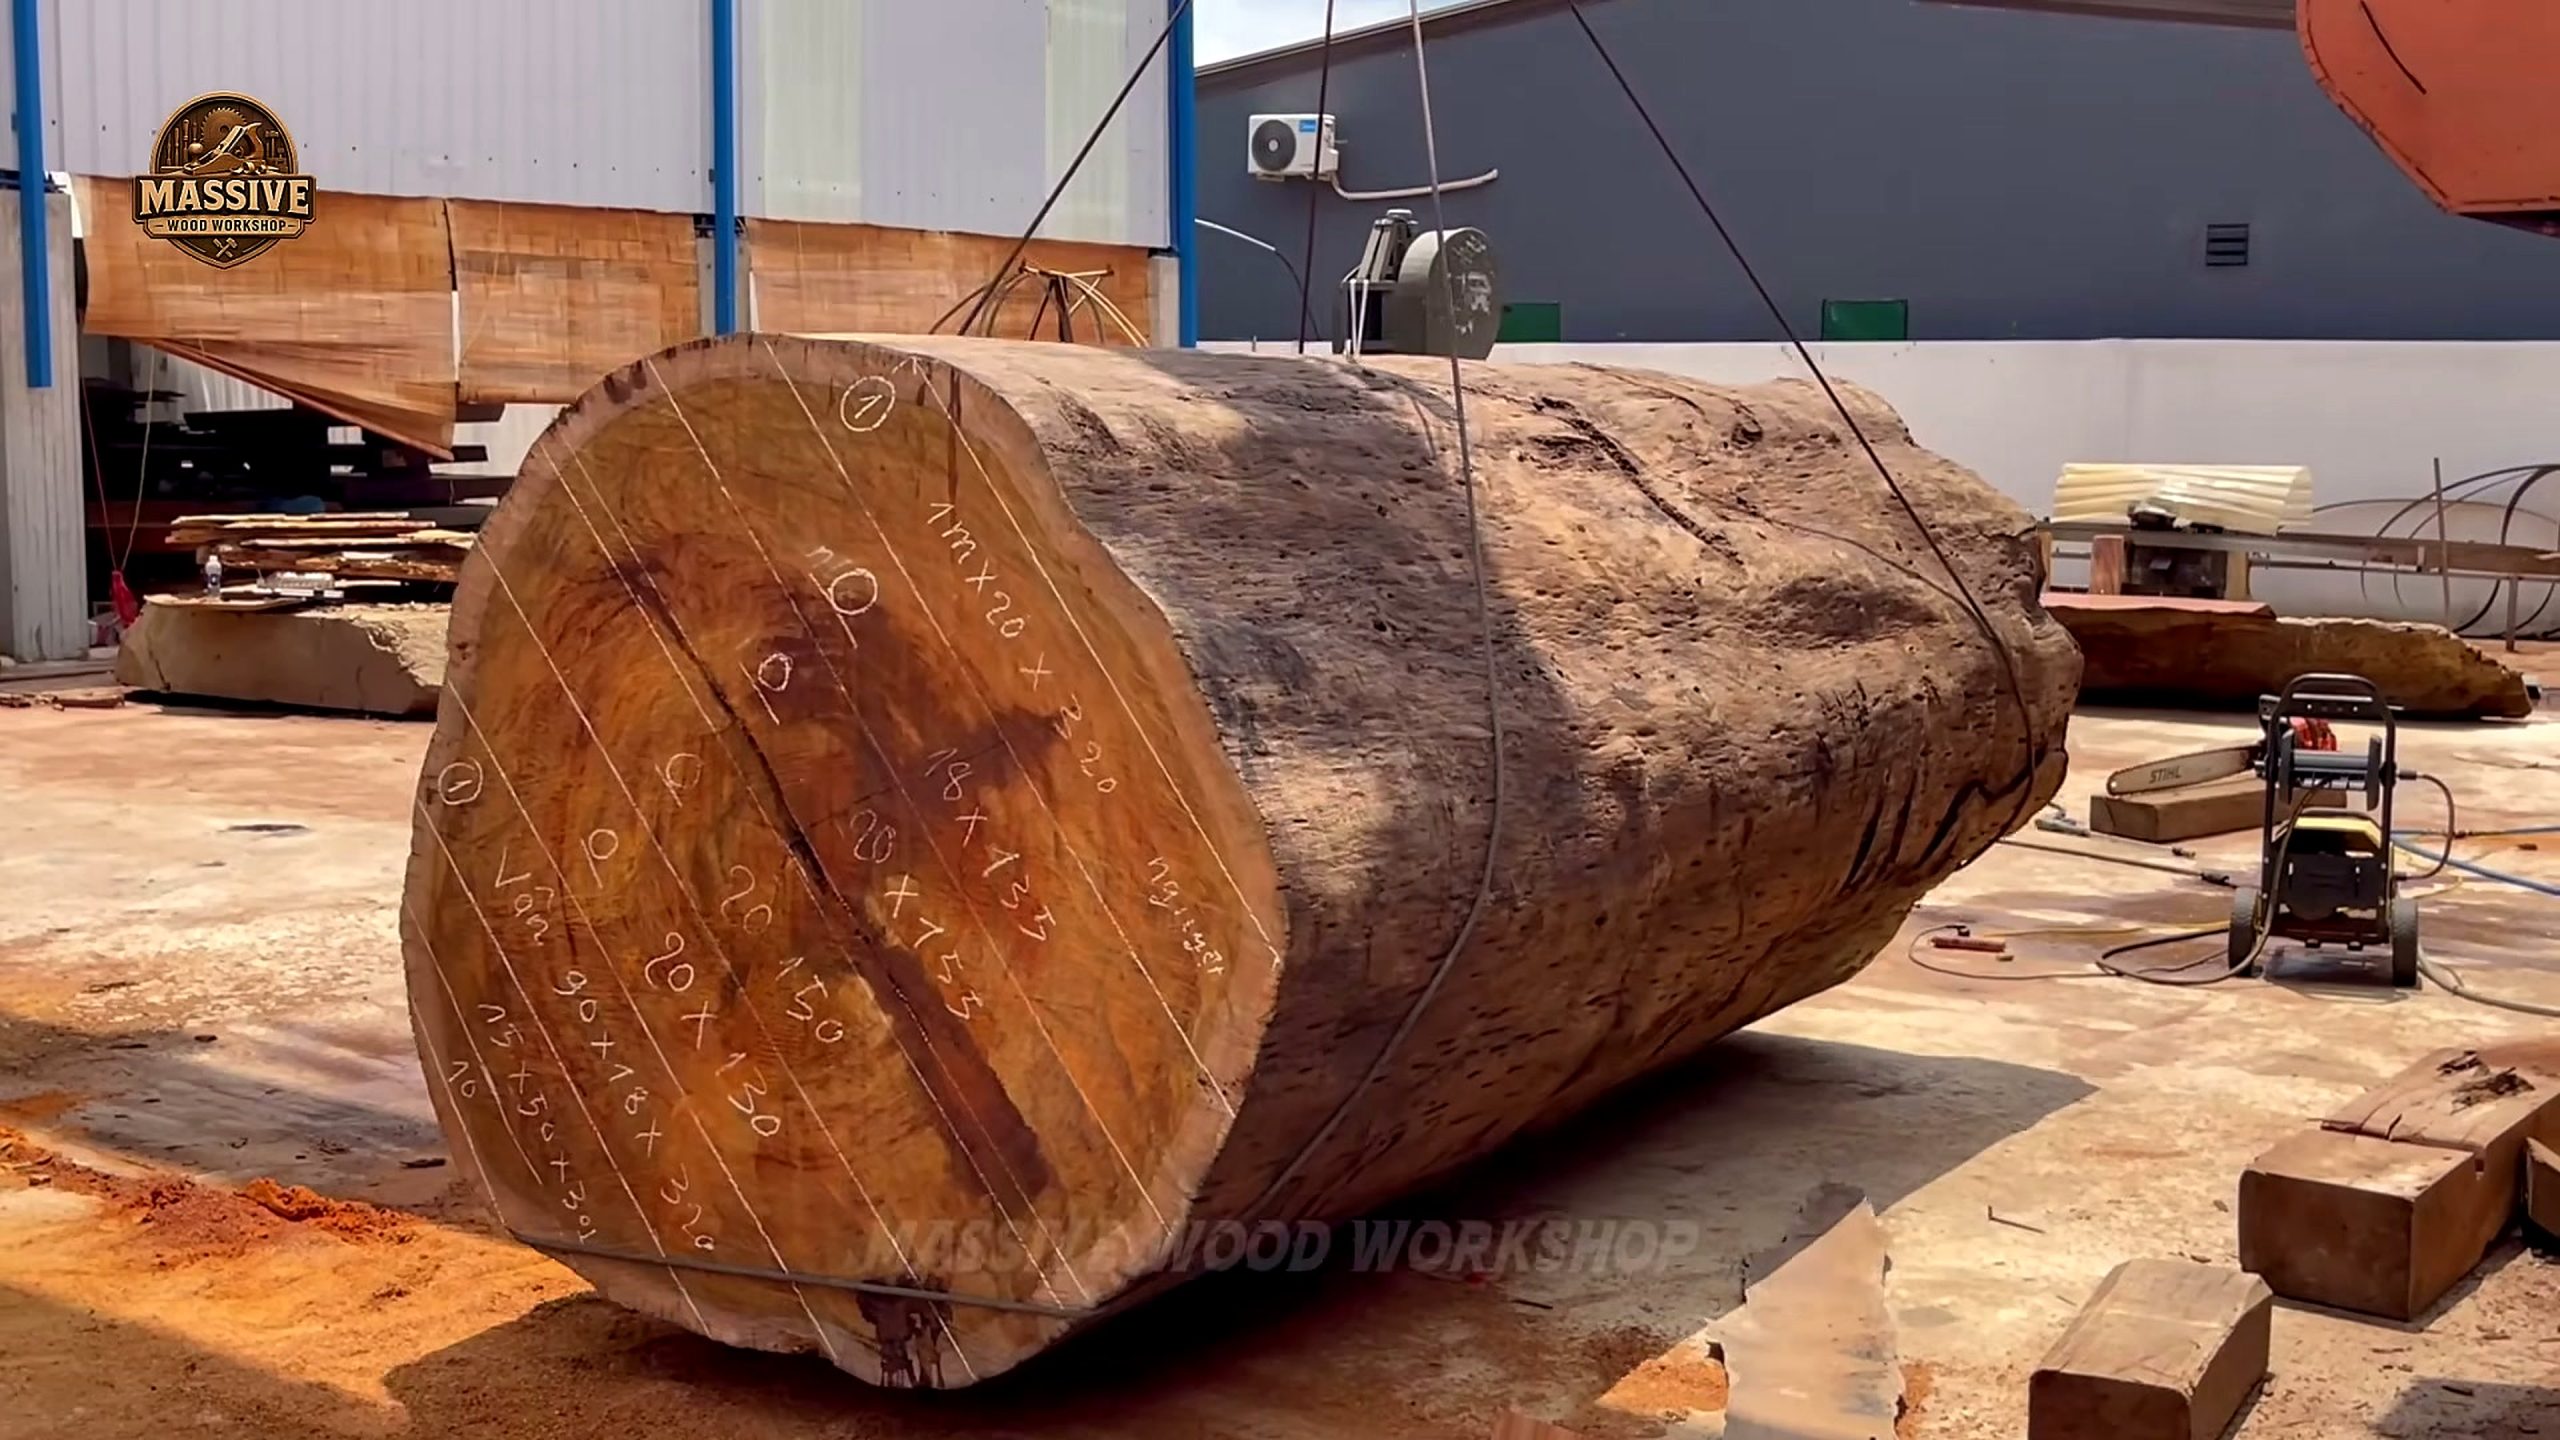
Both of these giant timbers have dark, coated ends. Mills seal end grain because a log loses moisture through its ends far faster than through its sides. If the ends dry too quickly, they shrink before the middle does and split. Those splits, called end checks, can run deep into a log and ruin the widest boards.
On top of the sealer the crew has painted marks: a bright blue arrow or triangle, white strokes, and numbers. The second log carries hand-painted writing across its whole end. The video does not explain the code, so this article will not guess at it. What can be said is that marks like these usually record identity and orientation, so a log can be tracked and set on the saw the same way it was planned.
Orientation matters more than it sounds. Before a single cut, a sawyer has to decide which way the log lies on the mill. That choice controls:
- whether a crack ends up in the waste or in the middle of the best slab,
- whether the widest boards come from the center of the trunk,
- how much of the outer wood is lost when the first face is cut,
- how the grain pattern will read across a finished tabletop.
One frame shows a visible split running from the heart toward the edge of the log end, right beside the blue mark. A crew cannot remove a defect like that. They can only choose where it goes, and the paint is how they record the choice.
Another frame shows a small pressure washer parked beside a log on the concrete. Washing is routine before sawing. Bark holds sand and stones from the forest floor and the road, and grit dulls a band blade within a few passes. Cleaning the log is cheaper than changing blades.
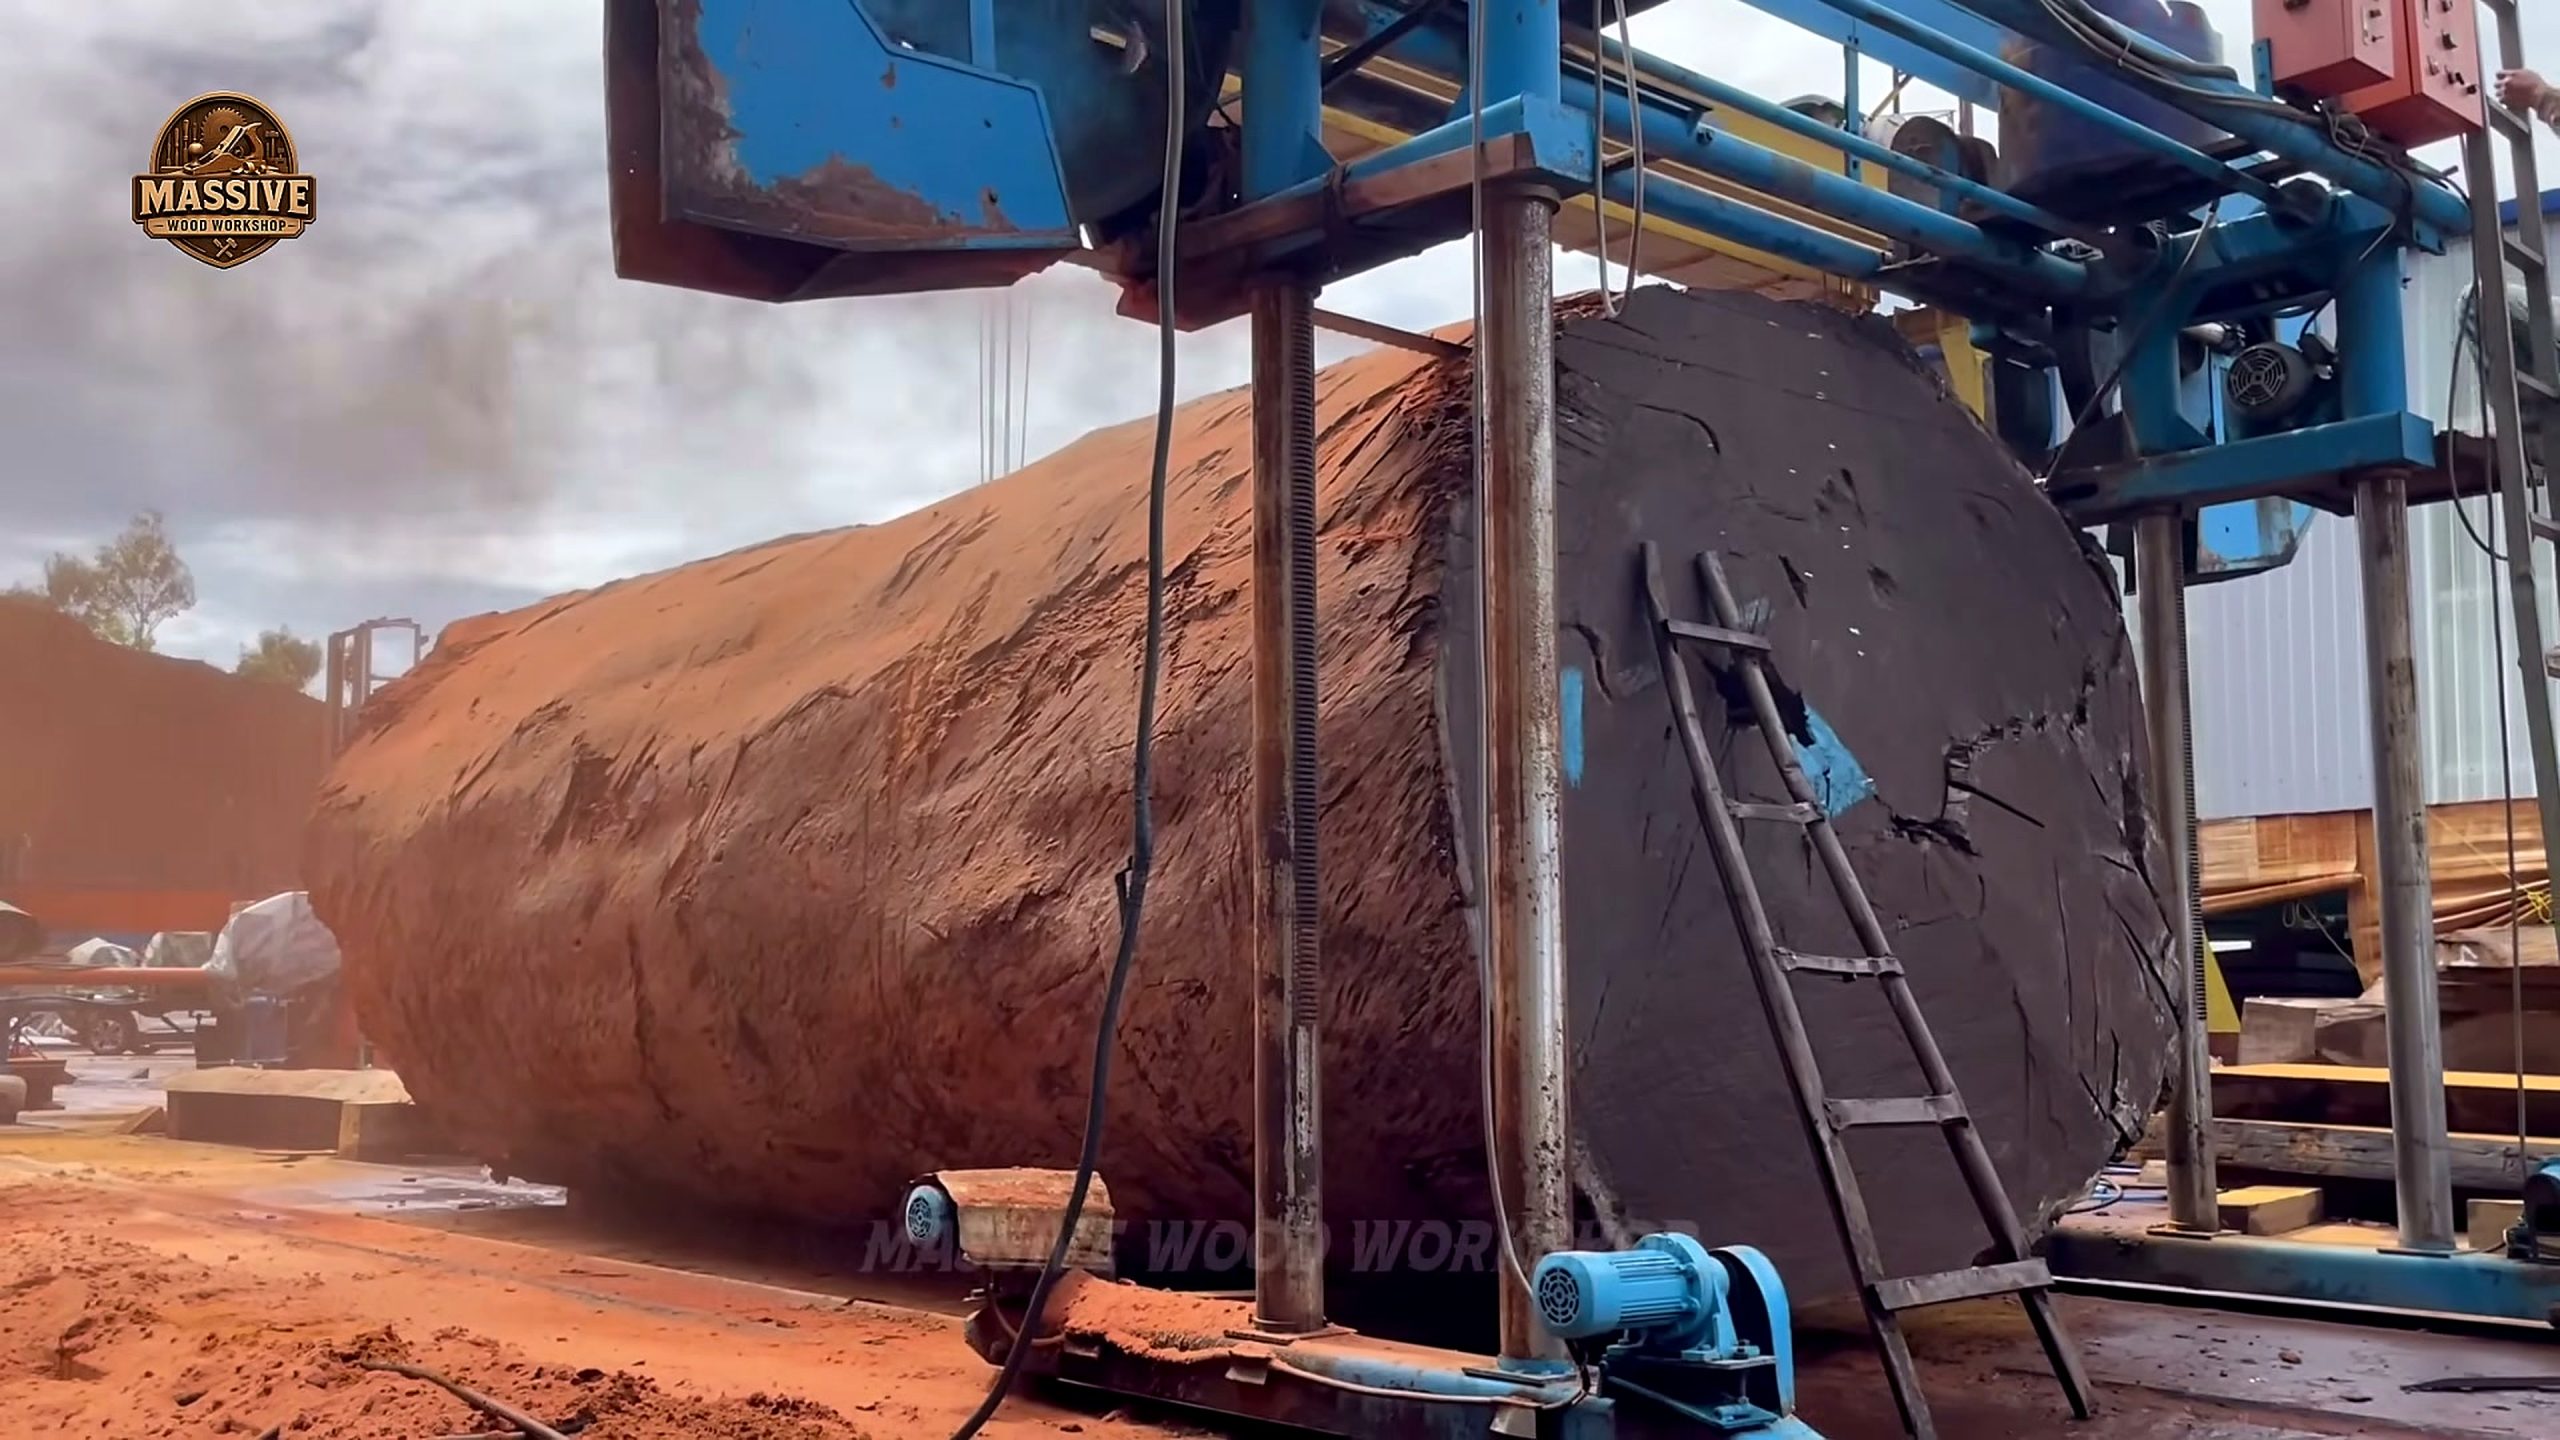
How the Band Mill Is Set Up for Giant Timbers
A small sawmill moves the log past the blade. With giant timbers that is impractical, so the machine in this video works the other way round. The log stays still on its bearers, and the saw head travels along rails laid on the ground.
The mill has two large wheel housings joined by a steel beam. A continuous steel band runs around the wheels, and the stretch of band between them does the cutting. Because the blade is horizontal, each pass removes a flat layer from the top of the log, much like a very large cheese slicer.
Before the cut, a worker in a conical hat climbs a ladder leaned against the frame. The video shows him working at the top of the uprights, the part of the machine that sets how high the blade rides. Height is the key setting. It decides how thick the first waste slab will be and, on every later pass, how thick each plank is.
Three things about this setup deserve attention:
- The rails must be level and straight. The blade copies whatever the rails do. A dip in the track becomes a dip in the slab.
- The log must not move. Blocks and wedges hold it, and the weight of the log does the rest.
- The cut is slow. A blade this wide, buried this deep, has a great deal of sawdust to carry out. Push it too fast and it wanders or overheats.
The ground around the mill is wet in several frames. Water is commonly run onto a band blade to cool it and to stop resin and dust from building up on the steel.
From Round Log to the First Flat Face
On giant timbers, the first pass is the least rewarding and the most important. It removes a curved cap of bark and outer wood that is too narrow and too uneven to use as a tabletop. What it leaves behind is a reference face: one flat surface that every later cut is measured from.
In the cutting frames, sawdust sprays out to one side of the log in a steady plume as the head moves along the rails. The log end, with its blue arrow and white strokes, stays in view, so it is easy to see how far down the blade is working.
Later in the video the result is plain. Where there was a rounded top, there is now a wide, level surface with clean edges, and the wood under it is a warm reddish brown. A separate frame shows the blade passing through a block that has already been squared, with a thin line of fresh sawdust marking the kerf from one side to the other.
That thin line is one of the reasons mills use band saws for valuable logs. A band blade removes far less wood per cut than a thick circular blade or a chainsaw bar. Over a stack of slabs, the wood saved in sawdust can add up to an extra board.
From this point the job becomes repetition. Lower the head by the thickness you want, make a pass, lift the slab away with the crane, and repeat. Table slabs are normally cut well over their finished thickness, because drying and flattening will both take material away.
What the Video Does Not Show
A fair reading of the video also means saying where it stops. The frames reviewed for this article cover the arrival of the giant timbers, the lifting, the marking, and the primary milling. They do not show a finished table, and several facts a careful reader would want are never stated on screen.
- Species. The wood is red-brown with a dark outer layer, but color alone does not identify a tree. This article does not name one.
- Age. No ring count or record is shown.
- Weight and size. The logs are clearly several times taller than a wheel of the truck that carried them, but no measurement appears.
- Moisture. Nothing in the frames shows a moisture reading or a drying schedule.
- Value. The title calls the result a masterpiece. That is the channel’s wording, not a price.
Drying is the biggest gap. A freshly sawn slab is heavy with water and will move as it dries. A common rule of thumb for air drying is about a year for every inch of thickness, and thick table slabs often spend time in a kiln as well. Between the last frame of milling and a table in a room, there are usually many months that no short video can show.
Flattening is the second gap. Even a well sawn slab cups and twists a little as it dries, so it has to be flattened again before finishing, often with a router sled, a wide planer, or a large sanding machine.
Tools and Equipment Behind the Work
Very few readers will ever own the gantry crane or rail mounted band mill needed for giant timbers. The value of watching this crew is in the order of the work, which scales down surprisingly well. A hobby sawyer with a small portable mill faces the same decisions about support, orientation, and the first reference face.
The equipment visible in the video falls into four groups:
- Lifting: gantry crane, hook block, wire rope or webbing slings.
- Support: timber bearers, wedges, and chocks under and beside the log.
- Cutting: the travelling horizontal band mill and its rails.
- Preparation: end sealer, marking paint, and a pressure washer.
For a small shop the equivalents are modest: a log arch or winch instead of a crane, a portable band mill or a chainsaw mill instead of the travelling head, a tin of end sealer, and a stiff brush or hose for the bark. The tool that most often gets skipped is the cheapest one, the end sealer.
If you are planning a purchase, decide which stage is holding you back before you look at machines. You can compare woodworking tools and process guides in the Tecatool archive to see how other workshops handle slabbing, flattening, and finishing. Treat that archive as a checklist of stages, not as a shopping list.
Checklist Before Milling a Large Log
The crew in the video never explains its routine for giant timbers, but the routine is visible. Turned into a list, it looks like this:
- Prepare the landing spot. Lay level bearers and keep wedges within reach.
- Plan the lift. Use two slings, check the hook, and clear everyone from the travel path.
- Seal the ends as soon as the log is cut, and renew the coat if it is damaged.
- Mark the log. Record its number and the orientation you intend to saw.
- Look for cracks on both ends and decide where each one will fall.
- Wash the bark, or remove it, wherever the blade will enter.
- Check the rails or the mill bed for level before the first pass.
- Set the first cut to make a clean, wide reference face.
- Feed slowly and watch the sawdust. A change in the plume means a change in the cut.
- Stack and sticker each slab flat as it comes off, out of direct sun.
None of these steps needs heavy machinery. They need patience, and the video is a good reminder of how much of sawmilling is waiting, checking, and moving things carefully.
Quick Summary
The Massive Wood Workshop video follows two giant timbers from the truck to the saw. The visible work is lifting with a gantry crane, blocking the logs on bearers, reading sealed and painted ends, washing the bark, and cutting a first flat face with a travelling horizontal band mill.
The lessons that transfer to any workshop are simple. Support the wood before you cut it. Decide the orientation on purpose. Protect the ends. Make one true face and measure everything from it. The tables in the title depend on those steps, and on drying and flattening work that happens long after the saw stops.
FAQ
How are giant timbers moved in the video?
A gantry crane lifts each log off a flatbed truck with slings and carries it to timber bearers on the ground. Workers stay beside the load, not under it, and wedge the log so it cannot roll.
Why are the ends of the logs painted dark?
The dark coating is an end sealer. It slows moisture loss through the end grain, which reduces the splits known as end checks. The colored marks on top record the log and the way it should sit on the saw.
What kind of saw cuts giant timbers?
The video shows a horizontal band mill that travels on rails while the log stays still. A continuous steel band runs between two large wheels and removes one flat layer on each pass.
Does the video show the finished tables?
The frames reviewed here end at the milling stage, with a flat face and squared blocks. Drying, flattening, and finishing are needed before a slab becomes a table, and those steps take months.
Can a small workshop use the same method?
Yes, at a smaller scale. A portable band mill or chainsaw mill follows the same order: support the log, choose its orientation, cut a reference face, then saw slabs to an even thickness.
Source Video
Sources: Massive Wood Workshop, “What Started as Two Giant Timbers Ended as Masterpiece Tables,” published on the Massive Wood Workshop YouTube channel, accessed 2026-10-05. Frames in this article are taken from that video.