
geometric marquetry furniture making process turns a dramatic furniture reveal into an inspectable shop sequence: solid stock is crosscut, contrasting pieces are aligned into a radial panel, curved components are cut on the bandsaw, and matched members are shaped on the lathe. The five source frames verify those operations without inventing species, price, dimensions, adhesive, finish chemistry, or a final sale claim.
The evidence comes from DT Woodworking video wkCegm3fmpk, a 1920×1080 source, five distinct timestamps, a frame manifest, and a contact sheet. The practical result is a build and acceptance checklist for readers planning geometric furniture with repeated curved and turned parts.
Table of Contents
Geometric Marquetry Furniture Making Process: Direct Answer
The documented workflow combines three demanding kinds of shop work: accurate stock preparation, a radial geometric surface assembled from contrasting pieces, and repeated three-dimensional furniture parts shaped by bandsaw and lathe. The selected frames show a miter-saw crosscut at 401.58 seconds, hand trimming on a fan-like panel at 1104.36 seconds, spindle turning at 2007.92 seconds, a curved bandsaw cut at 3112.27 seconds, and another matched turning operation at 4015.84 seconds. Those stages make the source useful as a furniture-planning case rather than a generic transformation story.
The critical idea is that the decorative panel and the structural parts cannot be planned separately. A beautiful radial pattern can fail if its center drifts, the pieces change width, the substrate moves, or later trimming removes the intended border. Turned legs can look individually clean but make the completed piece feel uneven if their beads, coves, shoulders, and lengths do not match. The process therefore needs reference dimensions and inspection points that connect the design, cutting, assembly, and finishing stages.
The source title describes a solid tree log becoming a luxury masterpiece, but the five-frame evidence does not establish the species, log origin, market value, dimensions, moisture content, adhesive, finish system, or final sale price. This article stays with what can be inspected: cutting sequence, pattern layout, curved component shaping, repeated spindle turning, and the checks a woodworker would need before accepting a similar furniture project.
Five Frames That Define The Furniture Workflow
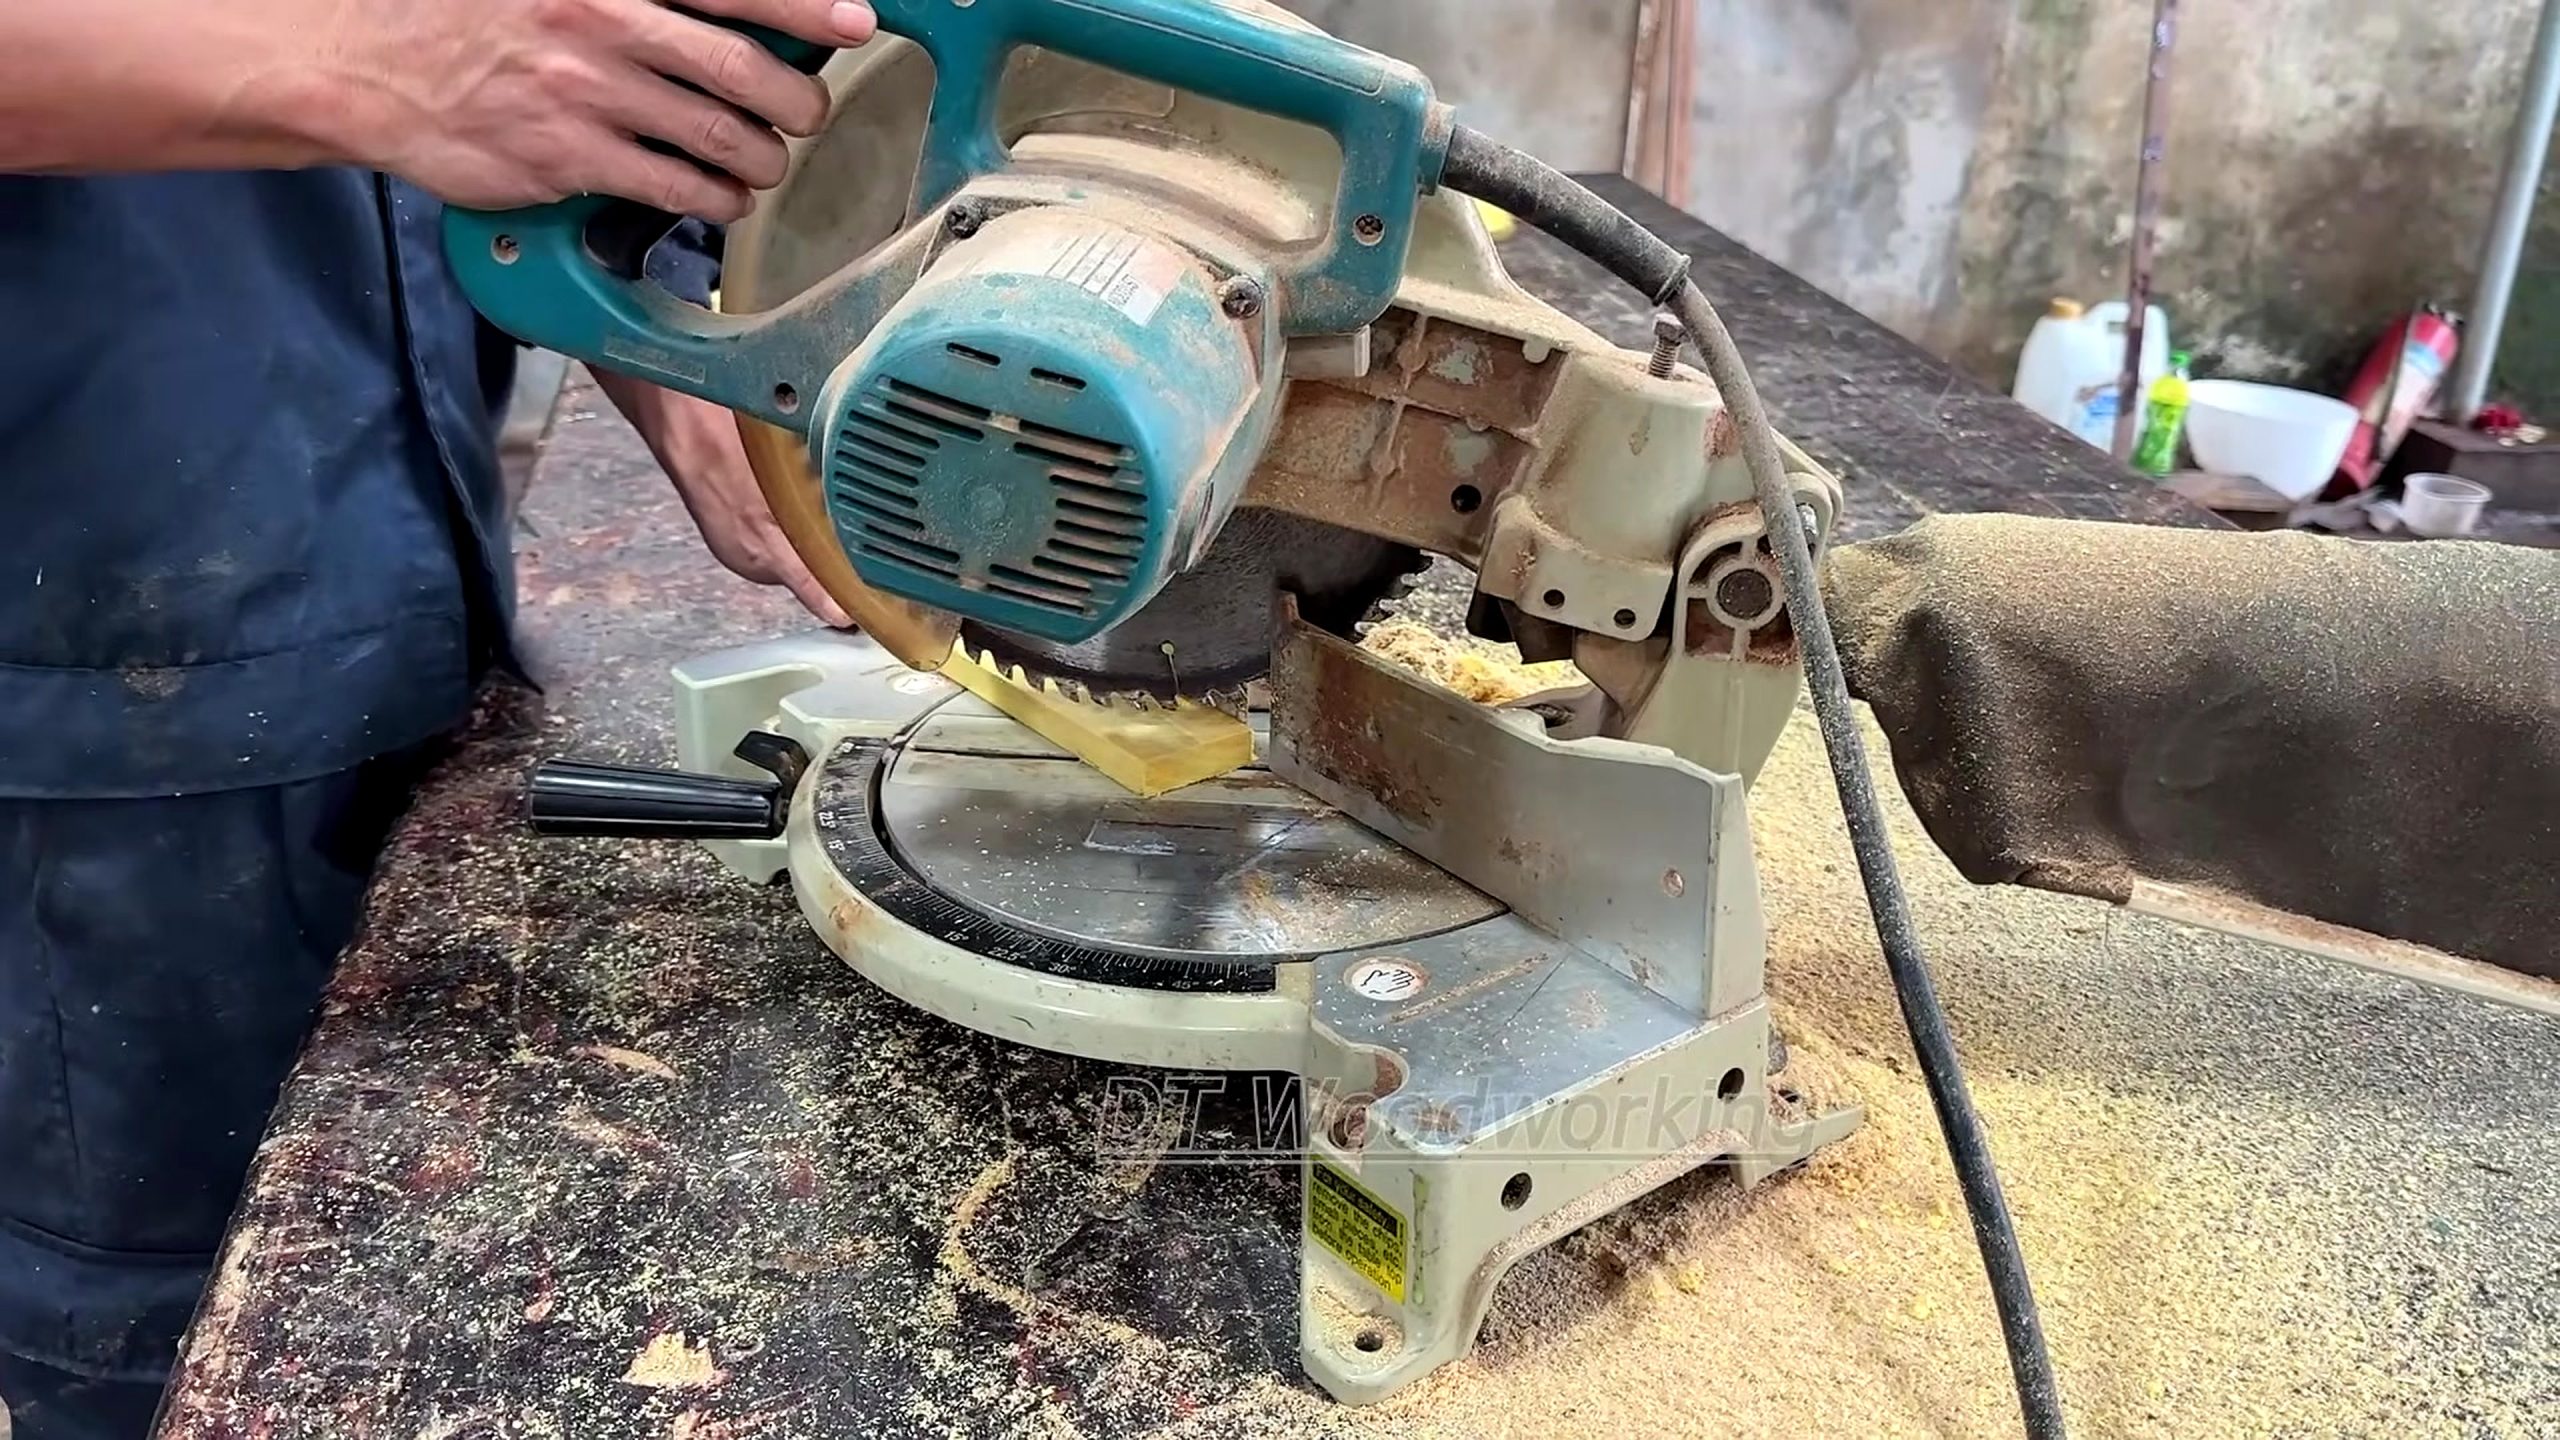
The first frame shows a handheld workpiece positioned at a powered miter saw. It supports a narrow claim: solid stock is being crosscut to a working length. It does not prove the blade specification, cut angle, final dimension, or whether this particular piece becomes a leg, rail, segment, or temporary setup part. Even so, the frame establishes that repeatable length preparation is part of the project before decorative assembly and turning appear later.
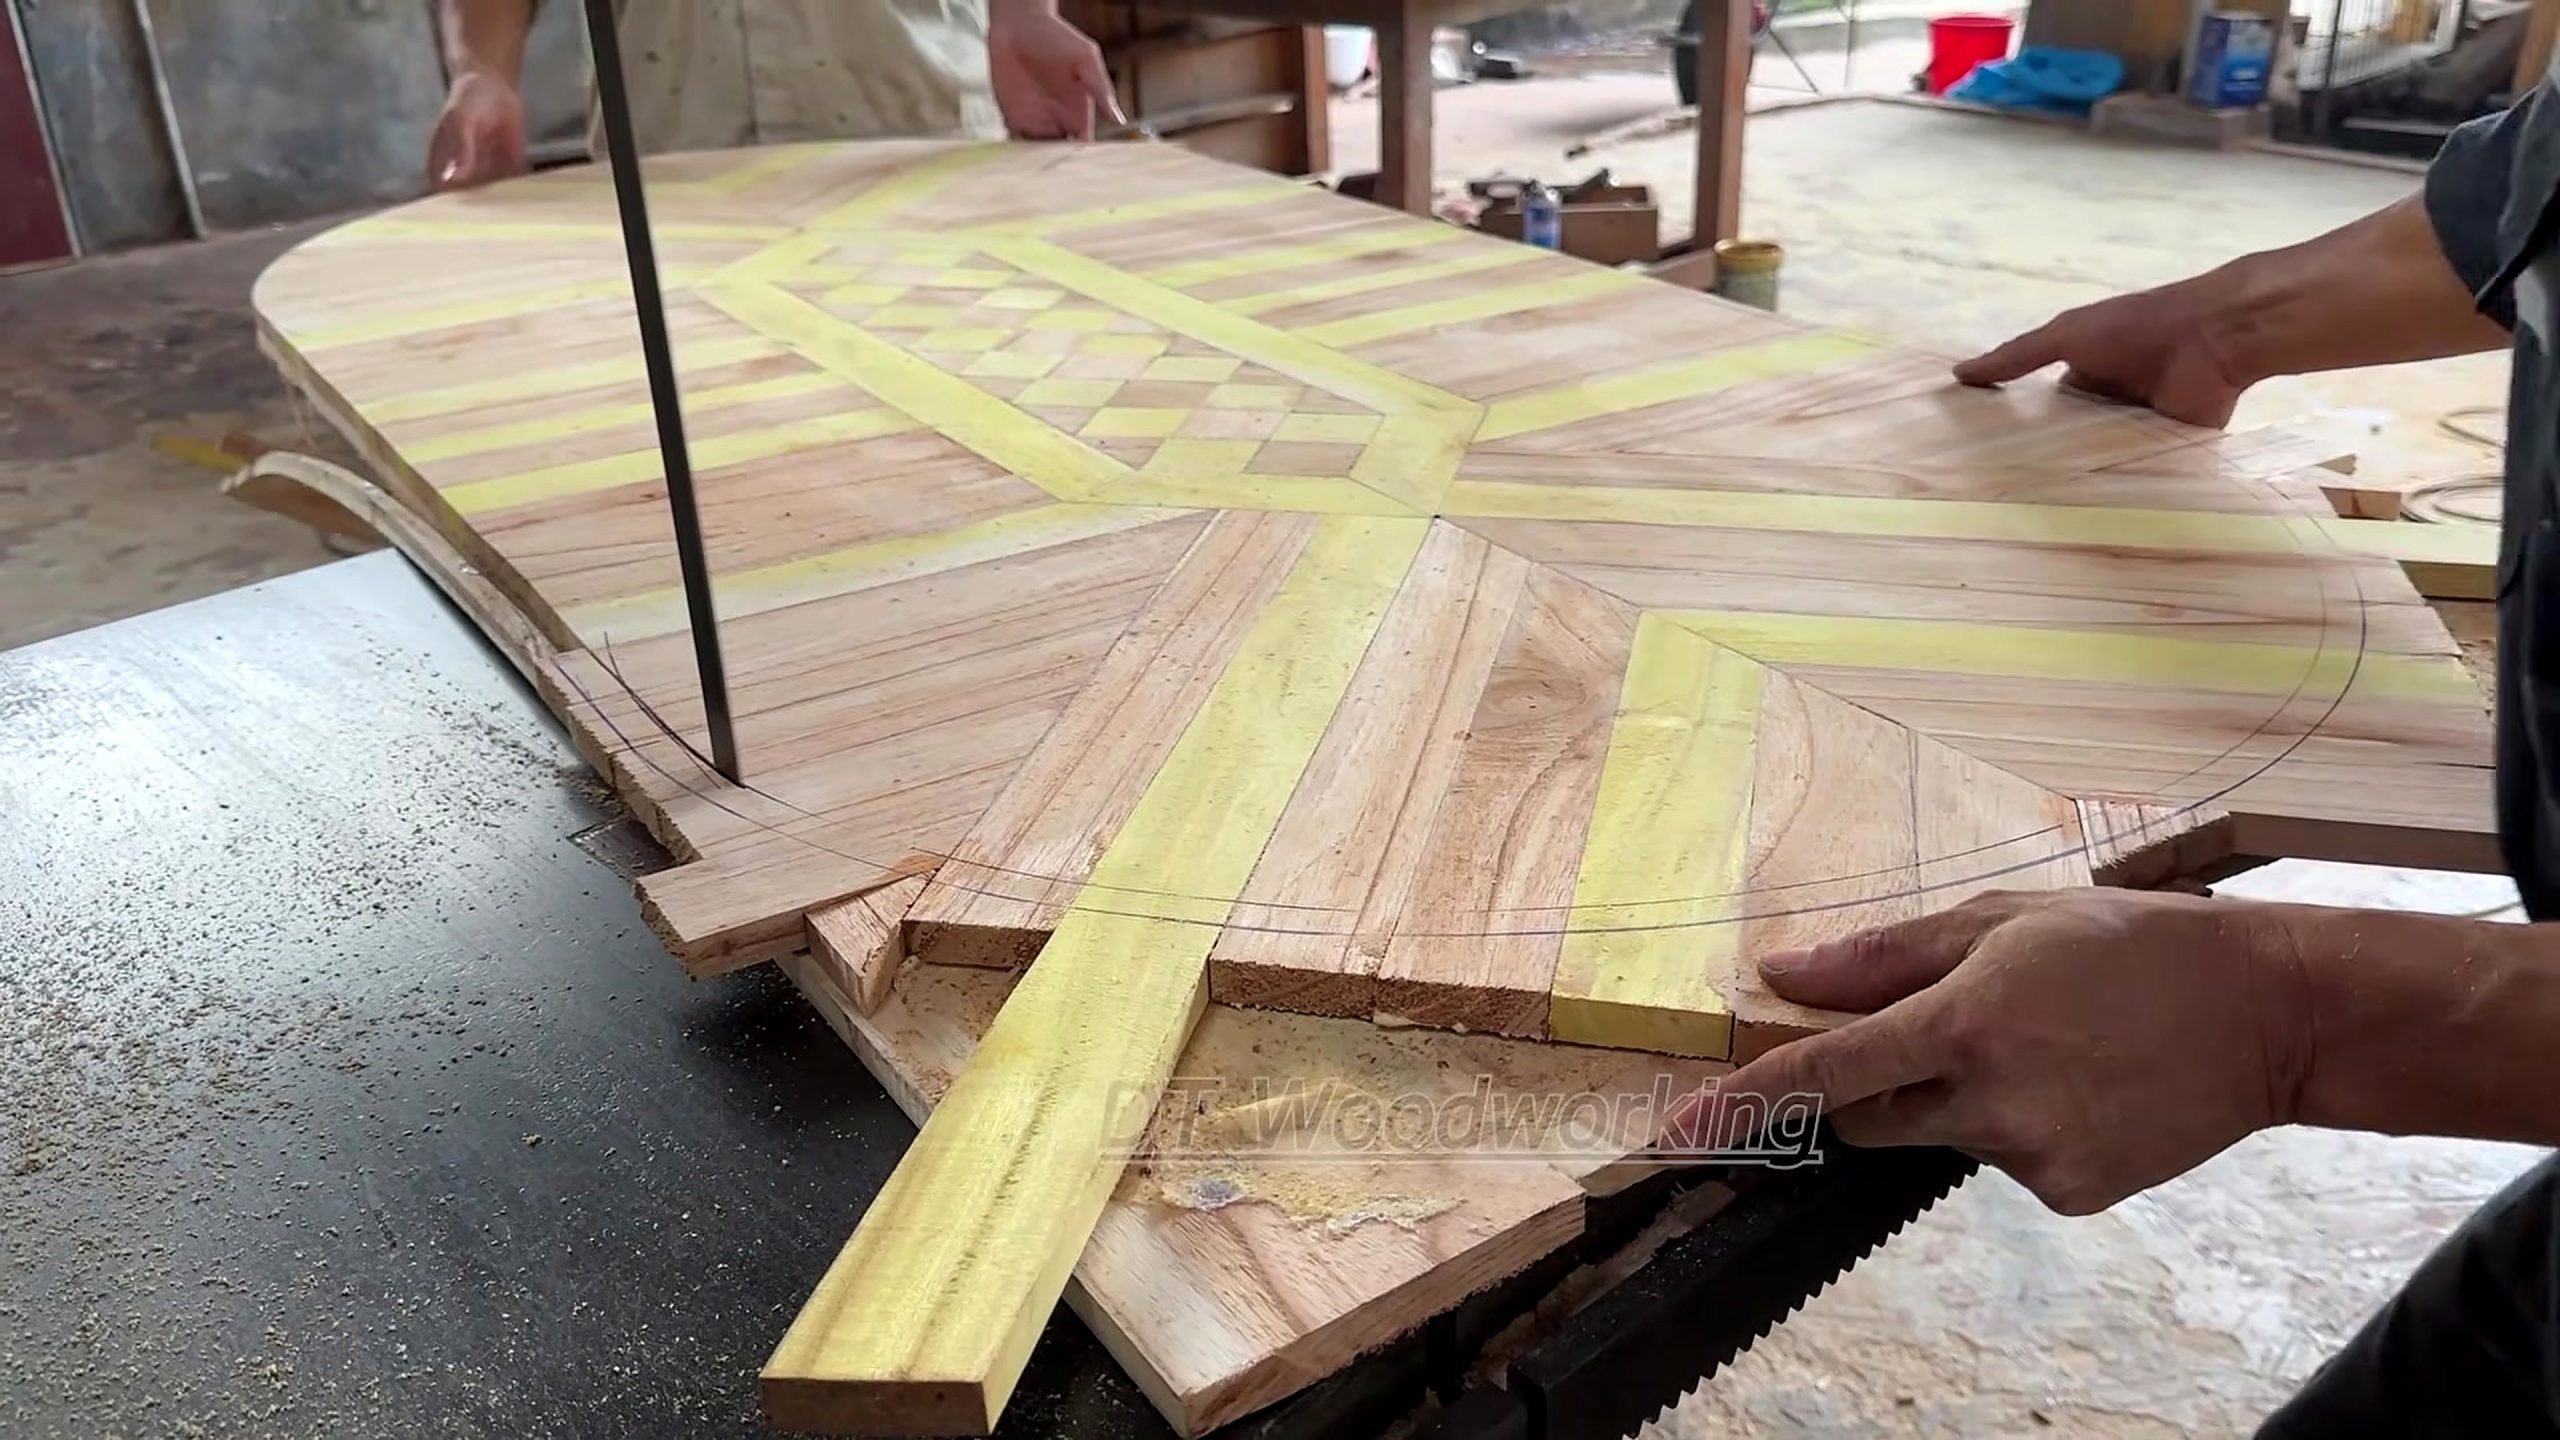
The second frame is the strongest design evidence. Contrasting narrow pieces radiate from a central area, creating a fan or sunburst effect, while the craftsperson follows a marked curve with a hand saw. Pencil geometry and visible boundaries show that the panel is controlled by layout, not improvised only by eye. The third and fifth frames document long turned parts at different points in the source, which supports discussion of matching profiles and repeatability across a set.
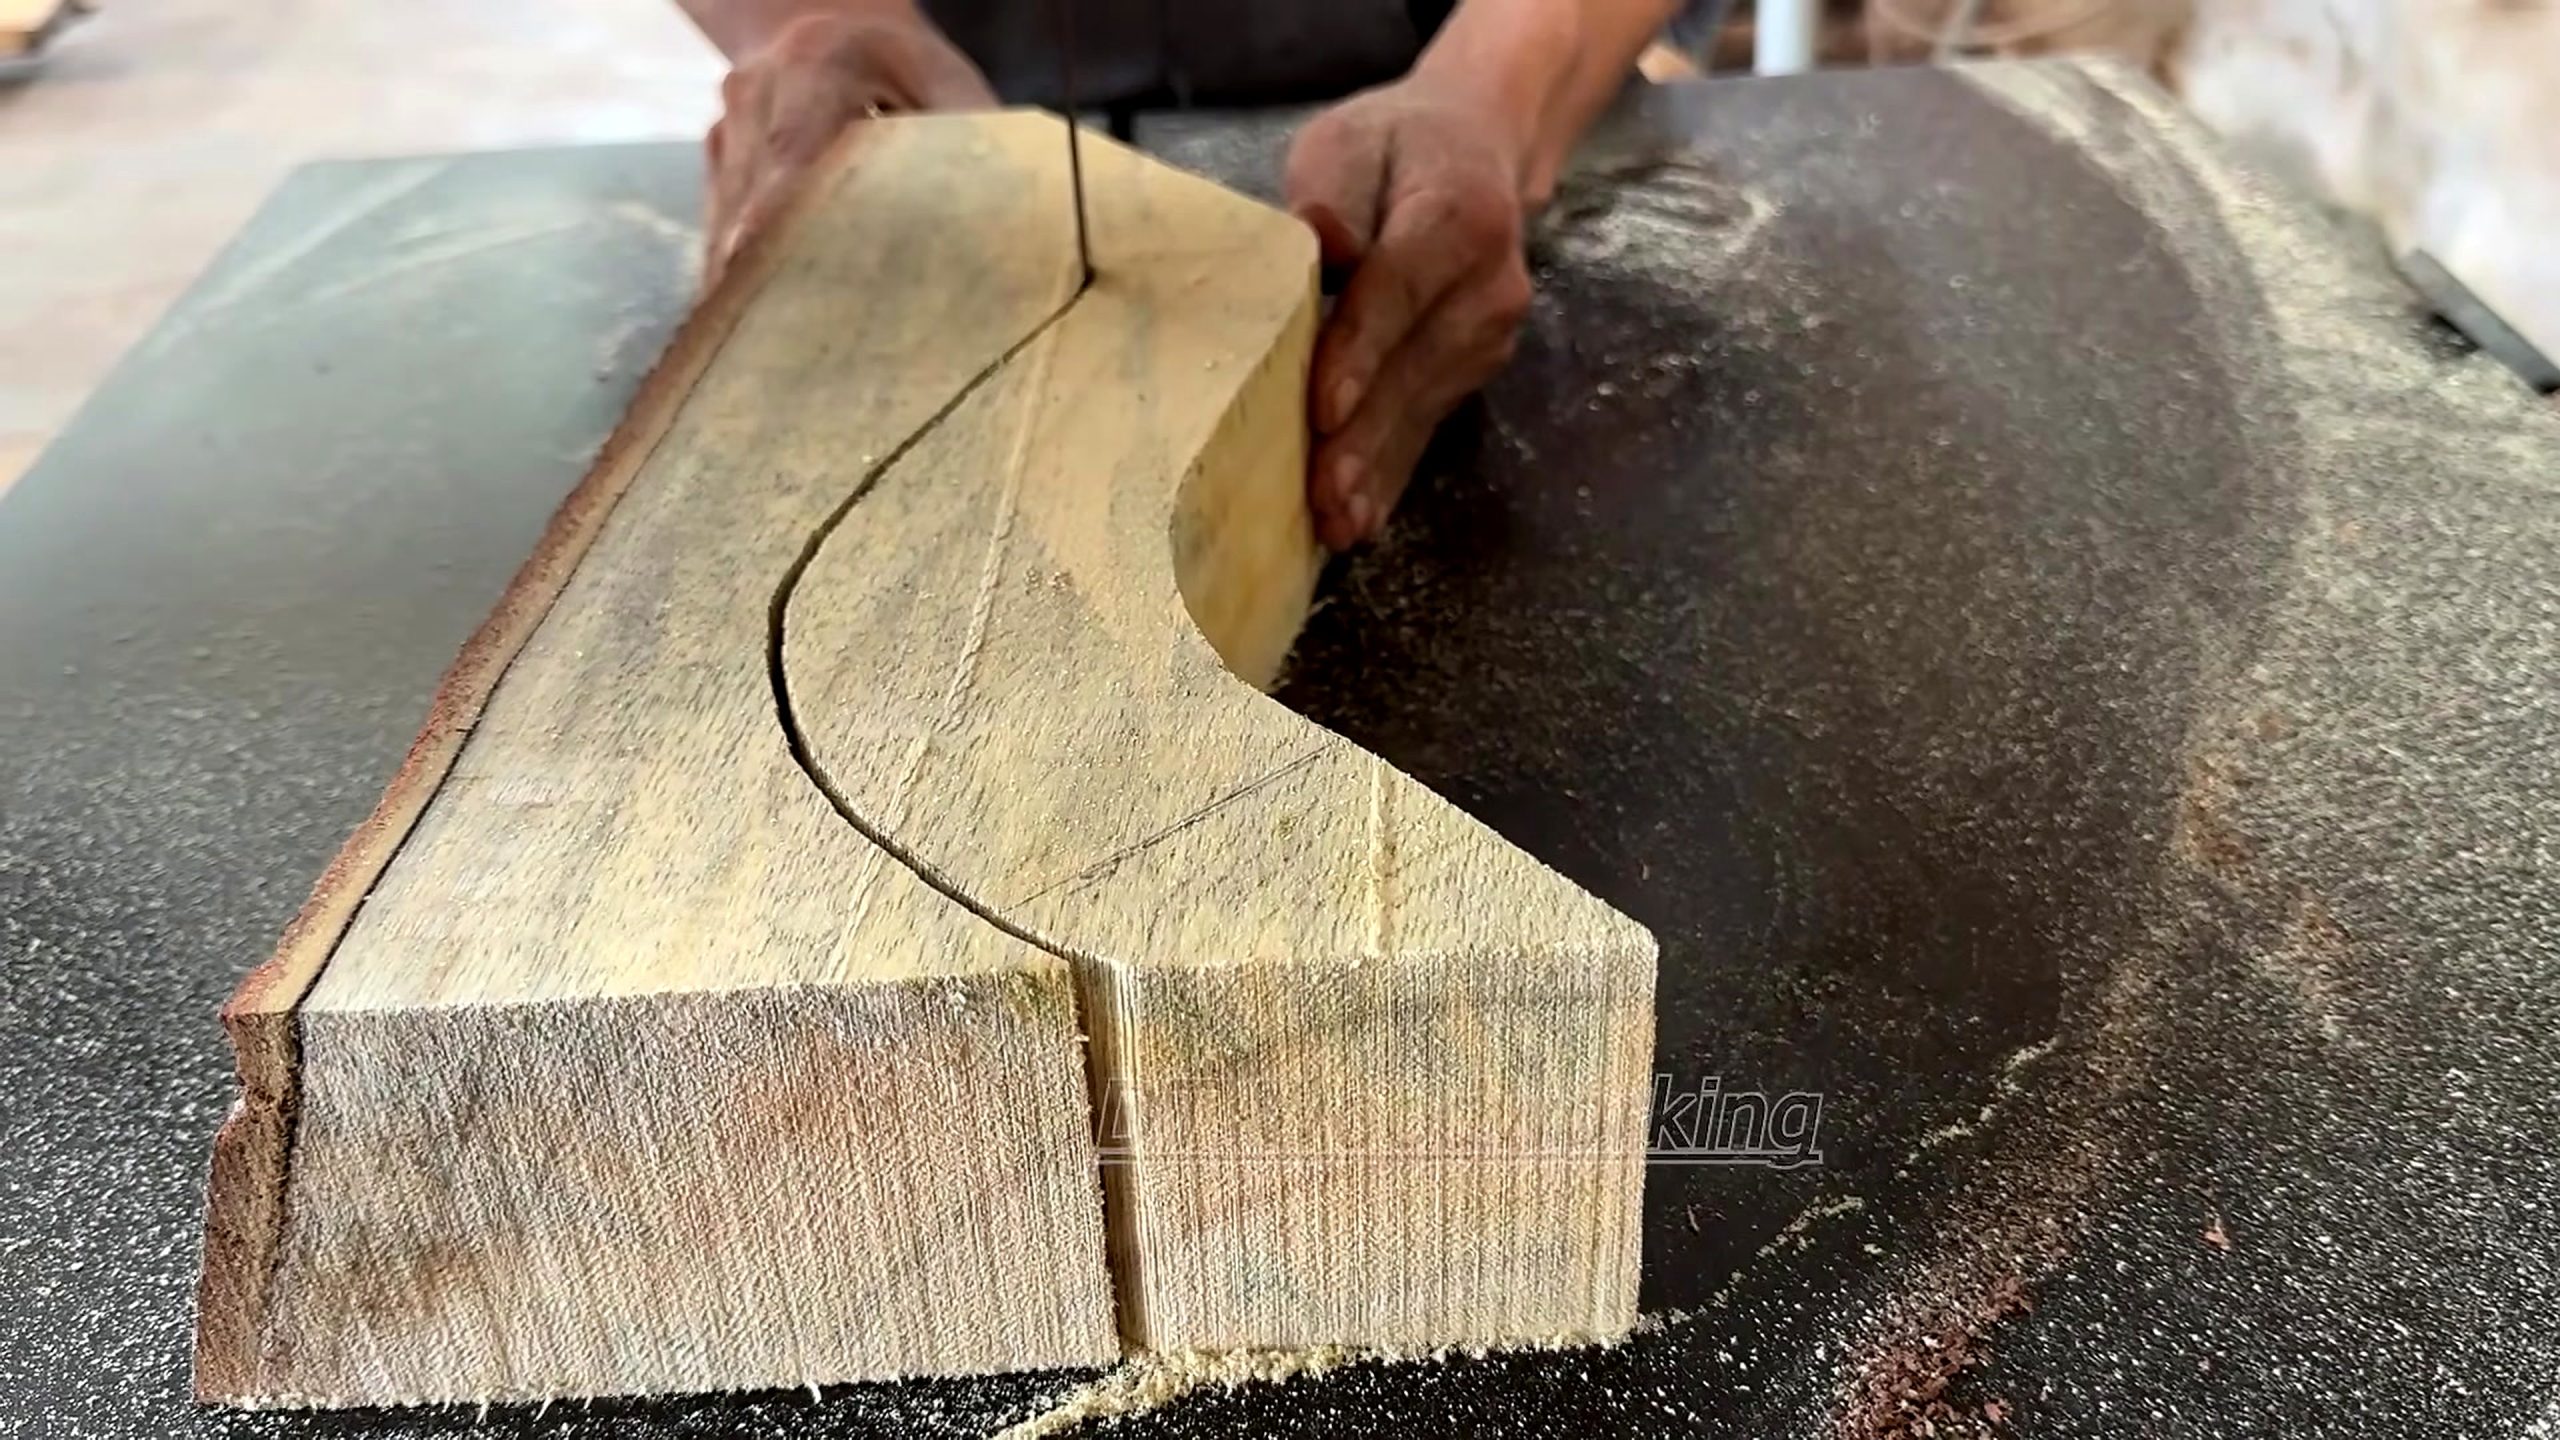
The fourth frame shows a thick component guided through a vertical bandsaw along a broad curved line. This connects the flat decorative work to the furniture silhouette: the project includes shaped structural or visual components, not only a patterned surface. Across all five images, the source resolution is 1920×1080 and each body image comes from a different timestamp. The processed 3840×2160 files improve page inspection but do not create detail that was absent from the source.
Translate The Geometric Design Into A Shop Map
A radial pattern needs a center, a repeat angle, a piece count, an outside boundary, and a decision about symmetry. If any of those values changes while pieces are cut, the final rays may converge unevenly or leave a wedge that cannot be corrected without making the whole panel smaller. A full-size drawing or reliable template gives every operation the same reference and reveals whether the pattern will survive edge trimming and joinery.
Color contrast should be planned with grain direction and movement in mind. Alternating light and dark pieces can produce a strong visual rhythm, but the pattern may become noisy if figure, sapwood, end grain, or defects change randomly from segment to segment. Dry arranging the pieces under normal viewing light lets the maker rotate or replace a segment before adhesive removes that freedom. The selected panel frame demonstrates contrast and radial direction, not verified wood species.
The design map must also reserve structural zones. A decorative face may need a stable substrate, border, frame, hardware clearance, or joining area that should not be interrupted by fragile tips at the center. Marking those zones on the full-size plan prevents a visually attractive layout from occupying space required by a rail, fastener, hinge, leg connection, or edge profile. Good furniture design makes decoration and structure cooperate from the first layout.
Record the intended finished dimensions before milling. Add allowances for jointing, planing, sanding, pattern alignment, curve cleanup, and final fitting. A piece cut exactly to the visible finished line at the beginning has no room for correction later. That allowance is especially important when a hand-trimmed panel and machine-shaped frame must meet at one controlled boundary.
Prepare Solid Stock Before Decorative Cutting
Crosscutting at the miter saw looks like a small step, but it establishes the repeat length used by every later operation. The workpiece should sit against known references without rocking, while the chosen face and edge remain identifiable. Defects near the cut line, unsupported short offcuts, and inconsistent pressure can change a nominally repeated dimension. A stop block or measured batch method can improve consistency when the machine and workpiece allow it and the manufacturer instructions are followed.
The stock should be conditioned and dimensioned for its role. Turned components need enough square or round section to contain the largest profile diameter. Curved bandsawn parts need grain orientation that supports the narrowest area after waste is removed. Thin pattern pieces need consistent thickness so their upper surfaces remain level during assembly. The source frames show operations, but they do not publish moisture readings or a milling schedule, so those controls remain requirements for the reader’s own project.
Label parts before they become visually similar. A simple system can identify front and back, left and right, grain direction, sequence number, and the reference end. For radial work, segment order matters because swapping two pieces may disrupt color rhythm or cumulative angle. For matched legs or spindles, reference marks prevent one blank from being reversed during turning and help the maker compare the same locations across the set.
Inspect every prepared blank for checks, knots, short grain, embedded material, and unexpected movement. Decorative ambition should not force a questionable part into a load-bearing position. If a defect occupies a critical shoulder or narrow curve, recutting one blank before shaping is cheaper than discovering the weakness after the panel, frame, and finish have already consumed many hours.
Build The Radial Marquetry Layout Without Losing The Center
At 1104.36 seconds, the visible panel contains repeated light and darker strips aimed toward a shared central region. The craftsperson trims at a marked outside curve with a hand saw. This frame supports a radial geometric layout and boundary-trimming claim. It does not prove whether the pieces are solid strips, veneers, laminations, inlay, or another construction, so the safer description is a contrasting geometric panel assembled from thin wooden elements.
The center is where small errors accumulate. If each segment angle is slightly wide, the final group will not close; if each is narrow, a gap appears. Test-fitting a complete dry ring or a representative group exposes that error before glue. Reference lines drawn across the substrate and continued through temporary setup pieces help detect drift as work progresses away from the center.
The outside curve should be cut only after the pattern has a stable reference. Trimming too early can remove useful registration edges; trimming too late may make a large assembly difficult to support. A rough cut can stay outside the line, followed by controlled cleanup with a template, router method, sanding fixture, or hand tools appropriate to the construction. The source frame shows hand trimming, not the complete boundary-finishing method.
A reader evaluating a similar panel should inspect center closure, segment spacing, repeated width, adhesive squeeze-out, surface level, boundary continuity, and the transition into any frame. Pattern quality is not measured only from across the room. Close inspection often reveals whether the visual geometry is supported by disciplined preparation or merely hidden by contrast.
Control Glue-Up, Pressure, And Surface Level
Geometric assemblies need a clamping plan that applies useful pressure without sliding the pattern away from its references. Dry runs are valuable because they reveal which cauls, wedges, tape, blocks, or fixtures can be positioned before adhesive begins to set. The correct method depends on whether the pieces are veneer, thin solid strips, thicker laminations, or parts joined directly to a substrate. The source package does not identify that construction detail.
Adhesive choice must match the material, substrate, open time, shop conditions, final use, and finish compatibility. A video frame cannot verify bond strength or product suitability. Follow the adhesive manufacturer’s preparation, spread, pressure, temperature, and cure guidance. Excess adhesive should be controlled because dried contamination can interfere with later finishing and may become especially visible where light and dark pieces meet.
Surface level should be checked before aggressive sanding. If one segment sits high because of thickness variation or trapped debris, sanding the surrounding pieces down to it may thin the whole design. Scraping, localized correction, or rework may preserve more material. Raking light and a straight reference help separate a truly flat panel from one that only appears smooth under diffuse shop lighting.
After curing, inspect both the decorative face and its support. Look for gaps at the center, open seams, lifted edges, distorted boundaries, telegraphing from the substrate, and movement near changes in grain direction. A panel that passes visual inspection immediately after glue-up should still be protected from uncontrolled moisture changes before it is fitted into the larger furniture structure.
Bandsaw Curved Furniture Parts With Cleanup Allowance
The 3112.27-second frame shows a thick blank being cut on a vertical bandsaw along a sweeping marked curve. The visible line gives the operator a design boundary, while the remaining waste supports the piece during the cut. A practical approach leaves a cleanup allowance outside the final line so blade wander, tooth marks, and local changes can be corrected without shrinking the intended profile.
Grain direction matters most where the curve becomes narrow. A shape can look strong in plan view while short grain crosses its smallest section, creating a weak point under load or during assembly. The full-size template should therefore be placed on the actual blank, not only on a generic rectangle. Rotating or moving the template may improve continuity even if it consumes a little more stock.
Stable support and a controlled feed are essential. The table, blade, guides, and workpiece must suit the machine instructions and the cut. Tight turns should not be forced with a blade that cannot follow the radius, and backing out of a cut requires a safe method that does not pull the blade off line. The frame identifies the bandsaw stage but does not establish a blade width, tooth pattern, speed, or approved technique for another machine.
After rough cutting, compare mirrored or repeated parts while reference faces still exist. Template routing, spindle sanding, rasps, files, scrapers, or hand shaping may refine the curve depending on grain and geometry. Matching parts should be checked as a stack or against the same master template, because two individually smooth curves can still create an uneven furniture silhouette when assembled together.
Turn Matched Spindles From One Story Stick
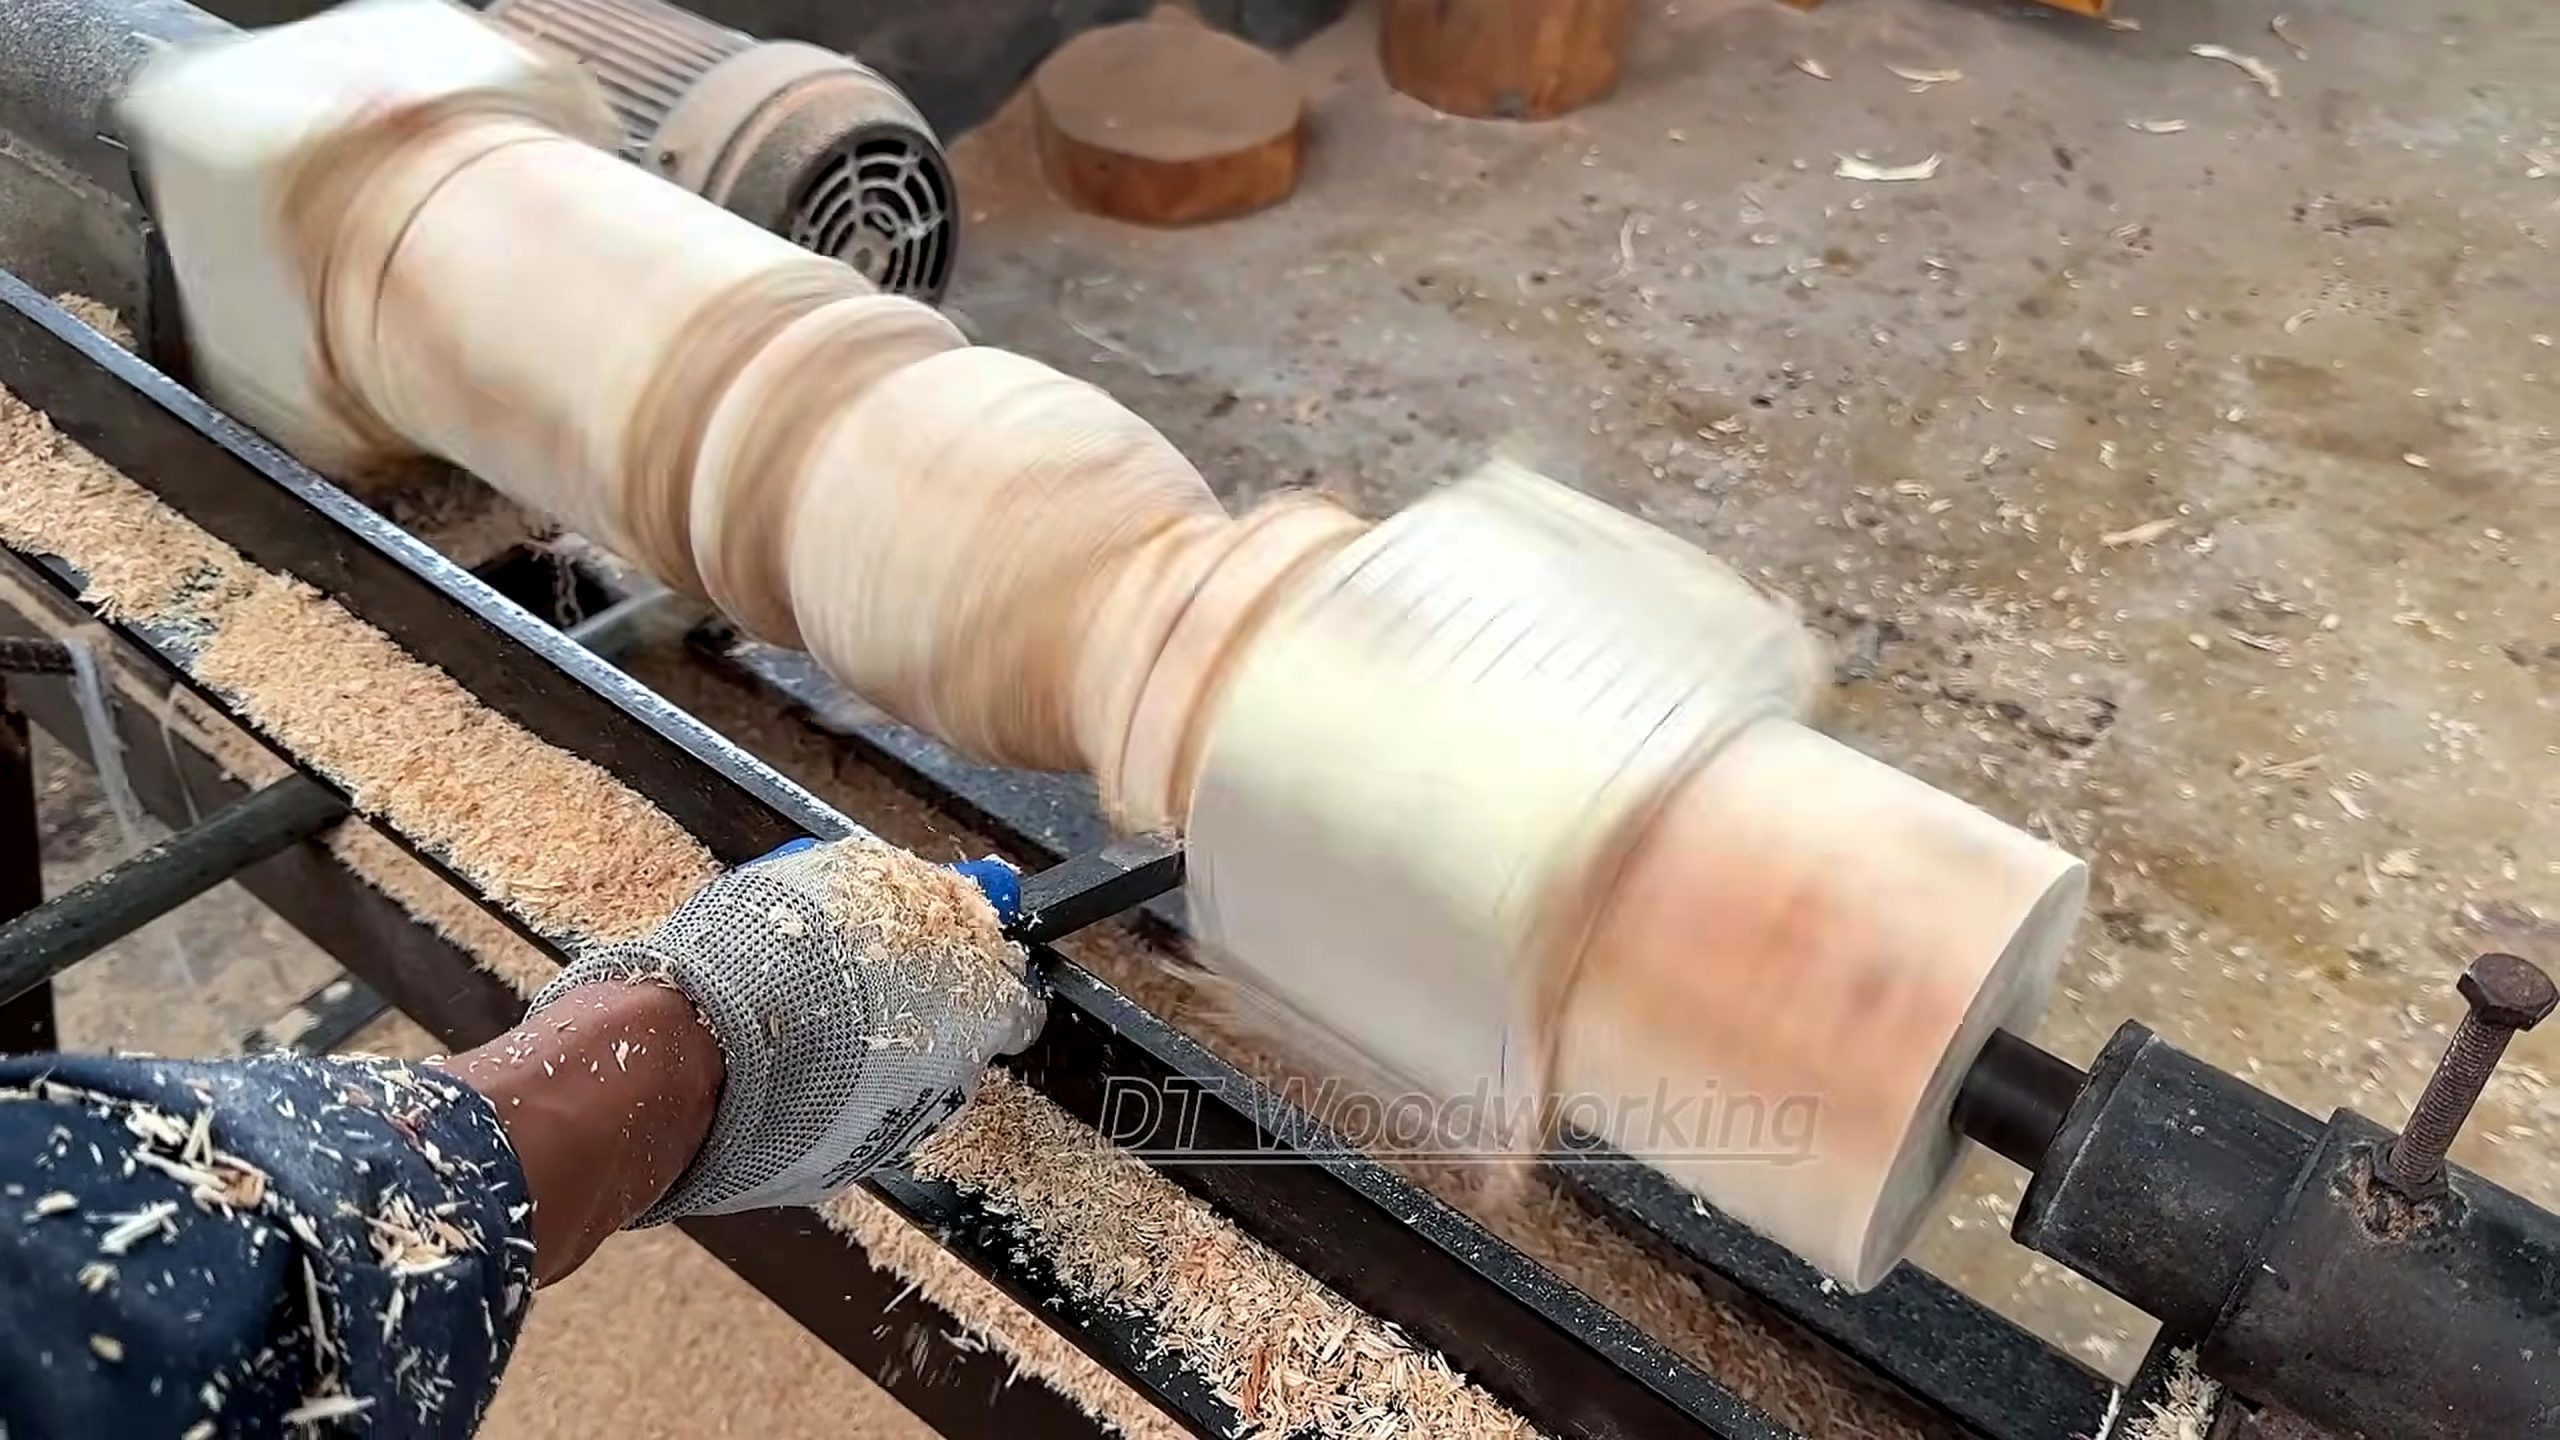
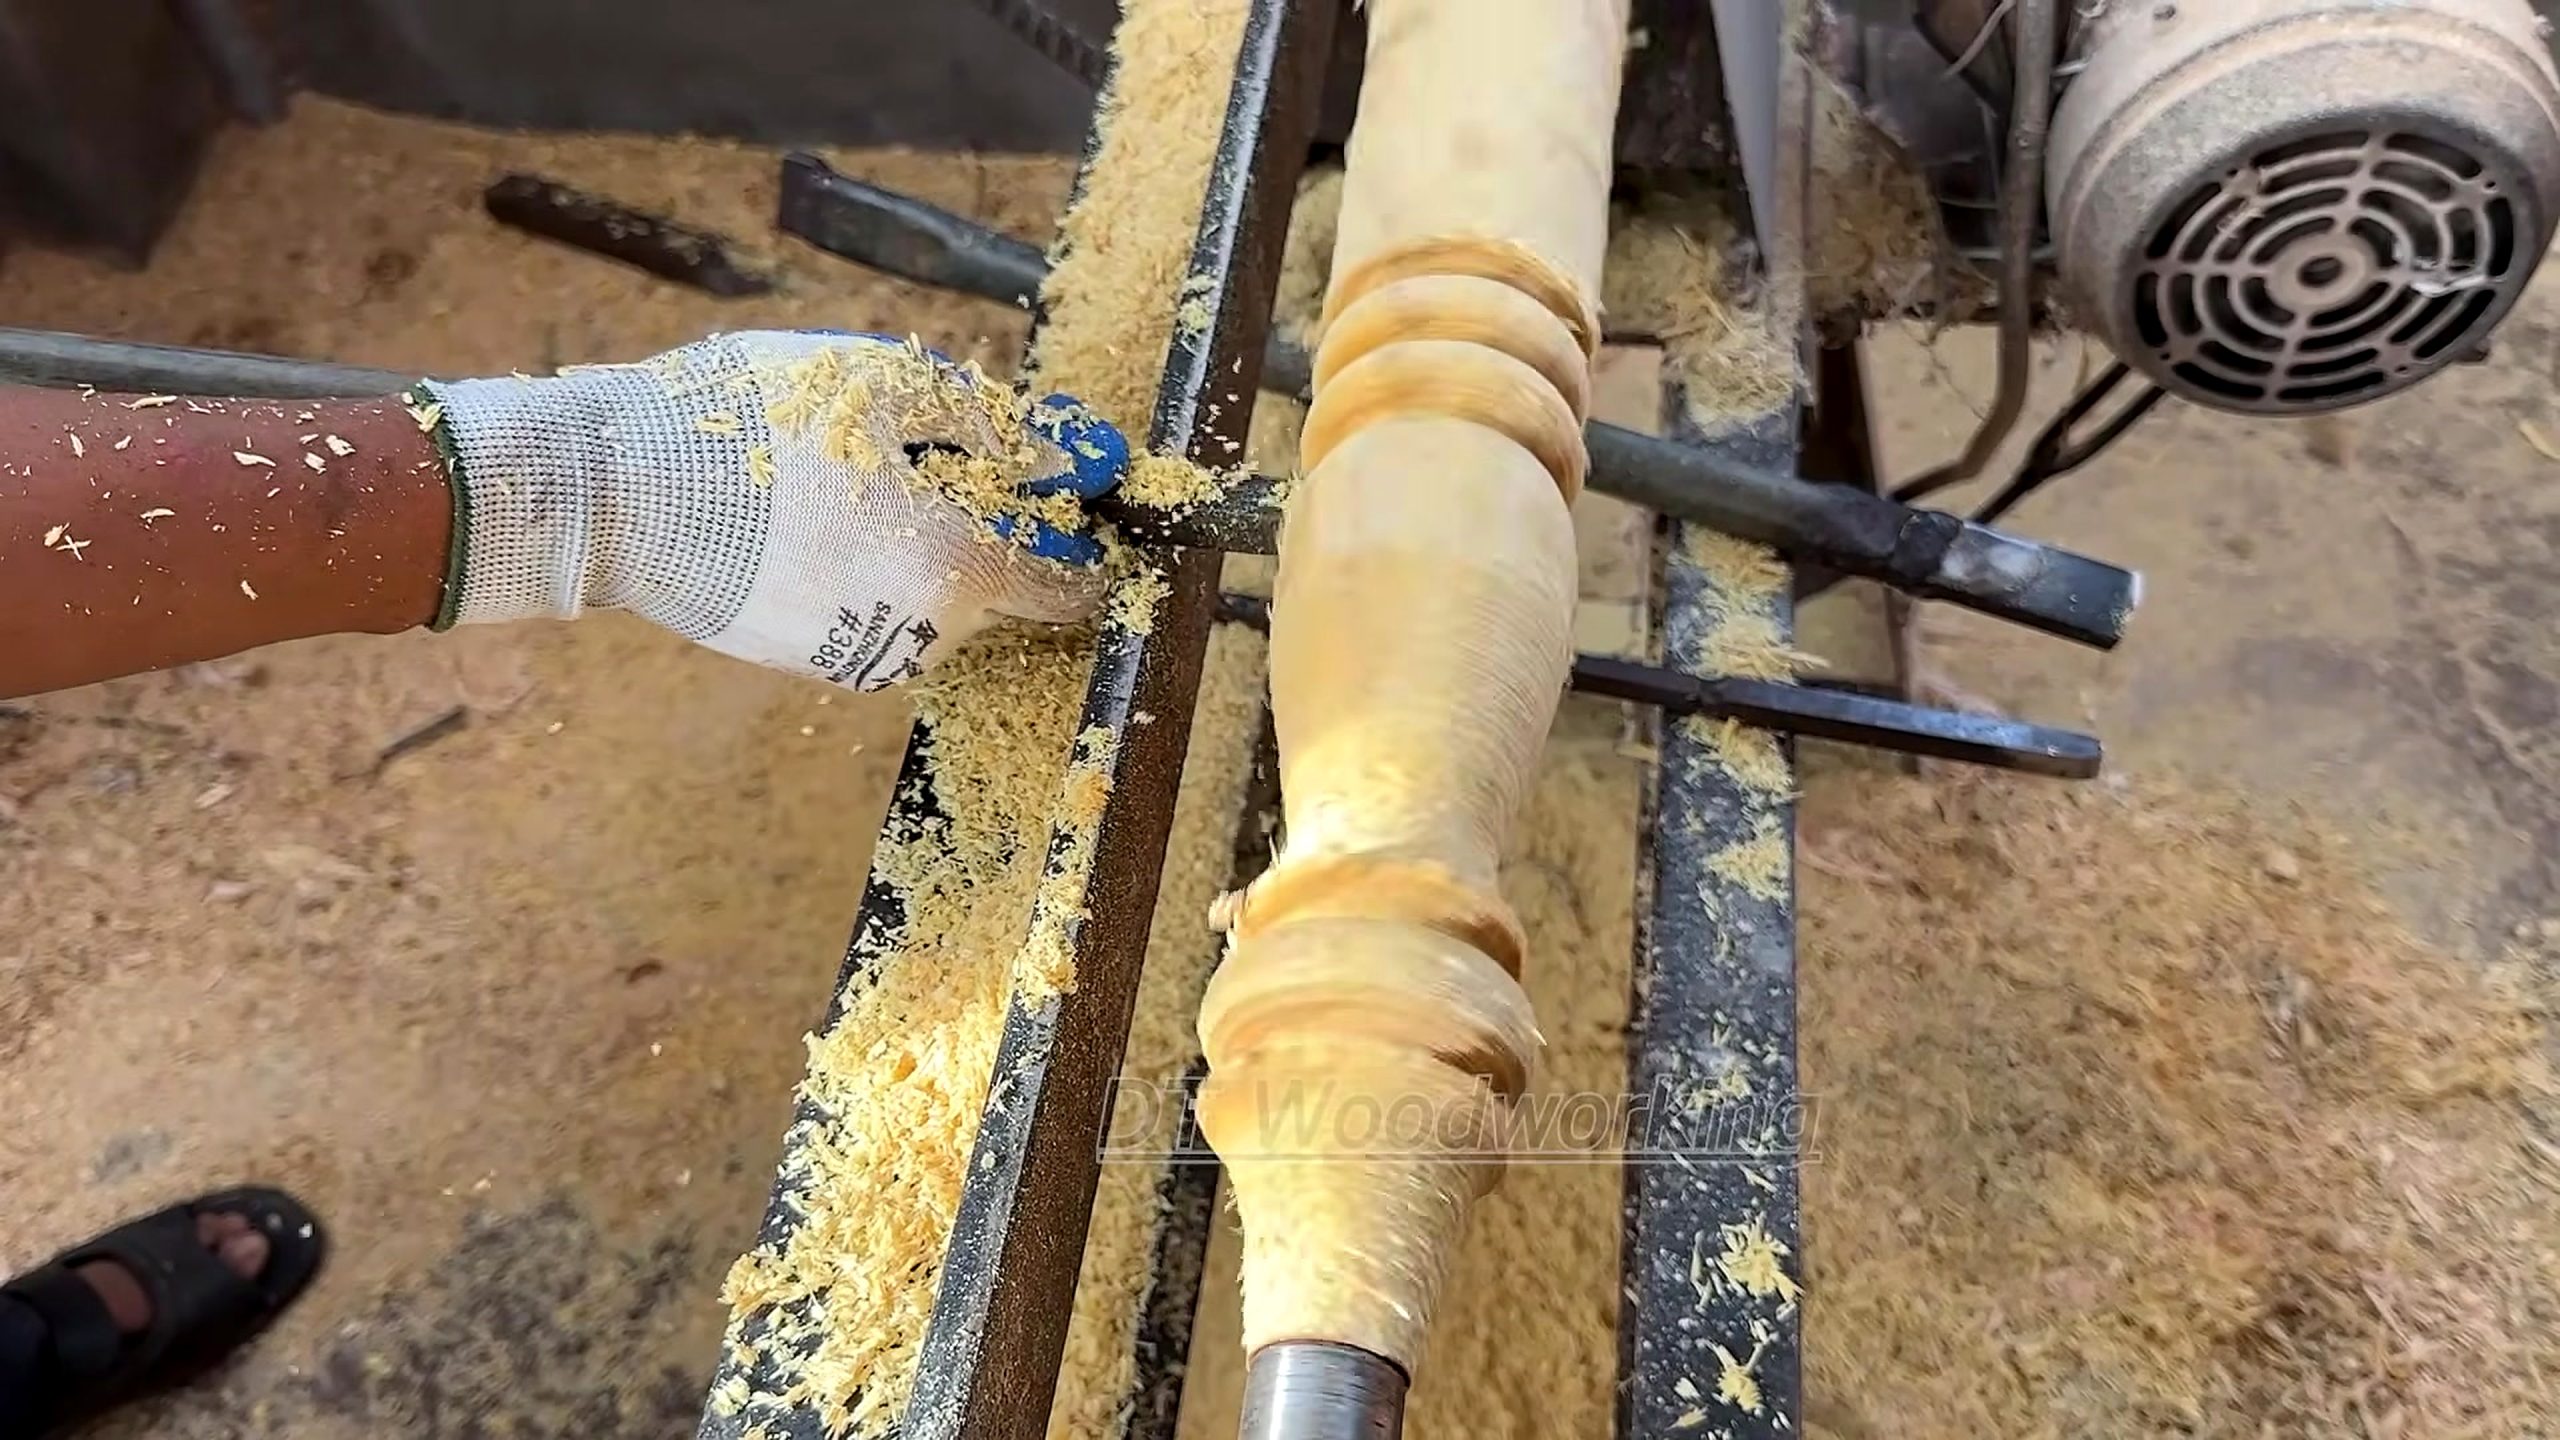
At 2007.92 seconds, a long pale member rotates on the lathe while repeated beads, coves, and transitions are visible along its length. A second turning frame at 4015.84 seconds shows another shaped member under refinement. Together, these images support the conclusion that repeated turned components are part of the furniture workflow. They do not prove exact diameters, tool selection, rotational speed, or whether the two frames show a final matched pair.
A story stick or full-size profile drawing converts the visual design into repeatable stations. Mark the shoulders, largest diameters, smallest safe diameters, bead centers, cove boundaries, and joining areas on every blank from the same reference. Calipers then compare corresponding diameters while the work remains on the lathe. Without fixed stations, each spindle may be attractive but progressively different from the one before it.
The blank must be mounted, supported, and rotated according to the lathe and tooling instructions. Long work may need additional support, and tool rest position changes as the profile develops. Stop the machine before measuring or making any adjustment that requires contact near the work. The source demonstrates the process category, not a substitute for training, machine guards, face protection, dust control, or the manufacturer’s operating limits.
Matching does not require erasing every handmade variation. It requires agreement at the dimensions that control assembly and visual rhythm: overall length, shoulders, tenons or joining zones, major diameters, and the placement of prominent beads and coves. Small surface differences can retain craft character as long as the set stands evenly and meets the same structural references.
Compare Every Turned Member Before Sanding Away References
The later turning frame matters because repeatability is easier to judge before sanding softens the profile. Place completed parts side by side under raking light and compare silhouette, not only diameter numbers. A bead shifted along the axis or a cove with a different transition can be obvious in the assembled furniture even when a single leg looks well made on the bench.
Critical joining dimensions should be checked separately from decorative contours. A tenon, shoulder, socket area, or mounting face controls fit and load transfer; it should not be reduced simply to make a decorative profile resemble another member. If one part falls below the required structural dimension, the correct response may be to remake it rather than reshape the rest of the set to match the error.
Sanding on the lathe can unify tool marks, but excessive pressure can round crisp details and make matching less accurate. Work through an appropriate abrasive sequence, clean between grits, and protect edges that must remain sharp. Dust extraction and respiratory protection matter because a long spinning component can produce a concentrated cloud close to the operator.
Before removing a part from its references, label its furniture position and record key measurements. That record helps during dry fitting and future repair. It also prevents a later finishing or assembly step from mixing parts that were intentionally matched by side or orientation.
Dry Fit The Panel, Curves, And Turned Parts As One System
A project with radial decoration, curved components, and turned supports has several independent opportunities for small error. Dry fitting brings those errors into one visible assembly before glue or finish makes correction difficult. Check that the decorative center aligns with the furniture centerline, curved parts meet their references, turned members seat to equal depth, and the structure rests without twist.
Measure diagonals and reference heights where the form allows it. Use winding sticks, straightedges, squares, templates, or a stable flat setup surface appropriate to the piece. Visual balance is important, but it should not conceal a frame that rocks or forces one joint under tension. If clamping is required to make every joint close, identify whether the problem comes from geometry, stock movement, or a poorly fitted connection.
Wood movement should be considered where the decorative panel meets a frame or where broad components attach to cross-grain members. The correct joint depends on the construction and intended environment. The source images do not reveal the complete joinery or attachment system, so this article does not prescribe a concealed fastener or claim that the visible project accommodates movement in a particular way.
A full dry fit also tests the assembly sequence. Some parts may block access to later clamps or fasteners. Numbering joints, preparing cauls, rehearsing clamp order, and deciding which subassemblies cure first can turn a stressful glue-up into a controlled operation. The best sequence protects the geometric surface from clamp damage and keeps turned details away from unstable contact points.
Prepare Contrasting Grain For A Consistent Finish
Contrasting pieces can absorb finish differently, making scratches, glue contamination, and uneven sanding more visible. Inspect the panel under low-angle light and with a suitable solvent-free visual check or test method before applying the chosen product. The goal is to find cross-grain scratches, compressed fibers, residue at seams, and small level changes while correction remains possible.
Curved and turned parts need equal attention. Abrasive work should preserve shoulder locations and crisp profile transitions while removing tool marks. Bandsawn curves often require a separate cleanup sequence because end grain and changing grain direction respond differently from long grain. A consistent surface does not necessarily mean every component uses the same tool or the same number of passes.
Test the actual finish on representative offcuts that include both light and dark elements when possible. The sample can reveal color shift, blotching, seam visibility, adhesion problems, and whether the geometric contrast becomes stronger or muddier. Product safety, ventilation, protective equipment, application, recoat time, cure, disposal, and intended-use suitability must follow verified product documentation.
Final sheen should support the design rather than hide defects. A glossy surface can emphasize small waves in a radial panel; a lower sheen may reduce reflections but cannot repair poor geometry. Inspect the cured piece from several angles, including the position and lighting in which it will normally be used. The source title’s word luxury is a presentation claim, not a measurable finish standard.
Nine Critical Acceptance Checks Before The Furniture Leaves The Shop
First, confirm the finished dimensions and intended use. Second, inspect the radial center, repeated segment spacing, outside boundary, and transitions into the frame. Third, check the panel for open seams, lifted pieces, adhesive contamination, low spots, or sanding waves. These checks determine whether the decorative surface is both coherent and physically sound.
Fourth, compare all curved repeated parts against the master template. Fifth, compare turned members for overall length, joining dimensions, major diameters, and profile station alignment. Sixth, complete a dry structural test for twist, rocking, forced joints, and unequal seating. Decoration should not be accepted while the frame remains under avoidable stress.
Seventh, inspect every visible and hidden surface after the finish has cured according to its documentation. Eighth, verify hardware, attachment points, clearances, edge safety, and movement allowances appropriate to the construction. Ninth, document the result with measurements, photographs, source records, material notes, adhesive and finish data, and any limitations communicated to the owner.
A failed check should return the same piece to the relevant shop operation. A gap at the radial center returns to panel repair; mismatched shoulders return to turning or replacement; twist returns to joinery diagnosis; finish contamination returns to surface correction under the product guidance. Counting an attractive photograph as acceptance would ignore the process controls that make the furniture usable.
Tool And Service Planning For Similar Furniture Work
This source supports tool categories, not a named product endorsement. A comparable workflow may use stock-dimensioning equipment, a miter saw with suitable support, layout and measuring tools, veneer or thin-strip cutting methods, a stable assembly surface, clamps and cauls, a bandsaw, curve-cleanup tools, a wood lathe, calipers, turning tools, dust extraction, abrasives, inspection lighting, and finishing supplies. Every capacity and setup must match the real stock and manufacturer instructions.
Buy for the bottleneck. If radial segments are inconsistent, better templates and thickness control may improve the result more than a larger lathe. If matched spindles drift, a story stick and reliable calipers may matter more than decorative tooling. If curves vary, one accurate master template and a controlled cleanup method can have greater value than cutting faster.
A service buyer should provide drawings, finished dimensions, photographs, material information, pattern expectations, matching tolerance, joinery scope, finish requirements, and delivery constraints. Ask which stages the shop performs, how it records revisions, what happens when supplied wood contains defects, and which acceptance measurements are included. A vague request for a luxury masterpiece cannot replace a build specification.
No verified product price, vendor, affiliate offer, warranty, species, or final sale value is included in this source package. Readers can compare Tecatool woodworking process guides, identify the weakest measured stage in their own plan, and confirm current specifications and terms with a qualified supplier or craft service.
Source Record And Claim Boundary
The concise source record is DT Woodworking video wkCegm3fmpk, titled “No One Thought This Solid Tree Log Could Become a Stunning Luxury Masterpiece!” The selected timeline documents crosscut stock preparation, radial geometric panel work, spindle turning, curved bandsaw shaping, and a later repeated turning stage. The frame range runs from 401.58 to 4015.84 seconds.
The record does not independently verify the exact wood species, tree or log origin, dimensions, moisture, adhesives, joinery, finish chemistry, machine models, safety procedure, market value, customer, or sale price. Those facts should not be inferred from a dramatic title or a polished frame. The practical lessons in this article come from visible operations and standard planning questions that a reader can apply to a separately measured project.
The original YouTube HD thumbnail remains the featured, card, and Open Graph cover. Body evidence uses five processed frames from the same video ID, each placed beside the stage it supports. The final source embed and link let a reader compare this interpretation with the original upload without mistaking a promotional cover for process evidence.
FAQ
What does the geometric marquetry furniture making process show?
It shows stock crosscutting, radial geometric panel work, curved bandsaw shaping, repeated spindle turning, and the inspection needed to join those stages into one furniture build.
Does the source verify the exact wood species or value?
No. The frames do not independently verify species, origin, moisture, dimensions, market value, adhesives, finish chemistry, or sale price.
Why does a radial furniture panel need a full-size layout?
The layout controls the center, repeat angle, segment order, outside boundary, structural zones, and trimming allowance before adhesive makes correction difficult.
How can turned furniture parts be matched?
Use one story stick, fixed profile stations, calipers, joining references, and side-by-side silhouette checks before sanding removes crisp measurement points.
What should be checked during the furniture dry fit?
Check centerline alignment, curved-part templates, equal spindle seating, diagonals, twist, rocking, joint closure, assembly order, and wood-movement allowances.
Which source frames support this analysis?
Five frames from DT Woodworking video wkCegm3fmpk at 401.58, 1104.36, 2007.92, 3112.27, and 4015.84 seconds support the documented stages.
Source Video
Sources: DT Woodworking, “No One Thought This Solid Tree Log Could Become a Stunning Luxury Masterpiece!,” original YouTube source video, video ID wkCegm3fmpk, accessed 2026-09-01. Frame evidence: 401.58s, 1104.36s, 2007.92s, 3112.27s, and 4015.84s. Internal context: Tecatool woodworking archive. Claims remain limited to visible process evidence and general furniture-planning guidance.