
sawing 600lb single slab elm table is a 23-minute urban-log milling case in which Matthew Cremona and guest Matt turn one large elm into full-width live-edge slabs. The useful lesson is not the headline weight alone: it is how they orient the pith, read ring shake and end cracks, expose figured grain, work around embedded metal, stack the cuts, weigh the load, and deliver the slabs.
The source is Matthew Cremona’s video “Sawing 600lb Single Slab Elm Table Tops with Matt Ruben”, video ID lSNt0e7puGA. Its chapters run from log preparation and the first saw cuts through burl discovery, metal handling, defect decisions, weighing, and delivery. This article follows that order and distinguishes what the footage actually documents from later furniture-making steps that are not shown.
Table of Contents
What Happens in the Sawing 600lb Single Slab Elm Table Video?
The video documents primary conversion, not a finished furniture build. A large urban elm log is staged on a horizontal band sawmill. The operators discuss its orientation, center the pith, make successive full-width cuts, inspect each newly opened face, and separate slabs that contain different combinations of clear wood, figure, cracks, pith, ring shake, and metal. The widest pieces are large enough to suggest one-piece table tops without a glue line.
The source chapters provide a useful process map:
- 0:00–3:43: prepare the elm log, assess the end, and choose the first cutting position;
- 3:43–7:00: mill the first slabs and inspect clear grain and visual features;
- 7:00–9:21: uncover the area the speakers call “burl land”;
- 9:21–11:50: discuss a metal inclusion and how it may remain part of the slab’s story;
- 11:50–14:15: identify pith, end-crack travel, early limb traces, and ring shake;
- 14:15–18:05: finish the cutting sequence and build the slab stack;
- 18:05–20:30: estimate and weigh the material;
- 20:30–23:43: load, deliver, and reflect on the history contained in urban timber.
That sequence answers the central search intent. The elm does yield broad live-edge slabs suitable for future table projects, but each slab carries a different risk profile. A clear-looking face may still include checking or ring separation. A visually busy face may offer the strongest design character. The sawmill stage creates options; it does not decide the final furniture design by itself.
Preparing the Elm Log and Choosing the Cut
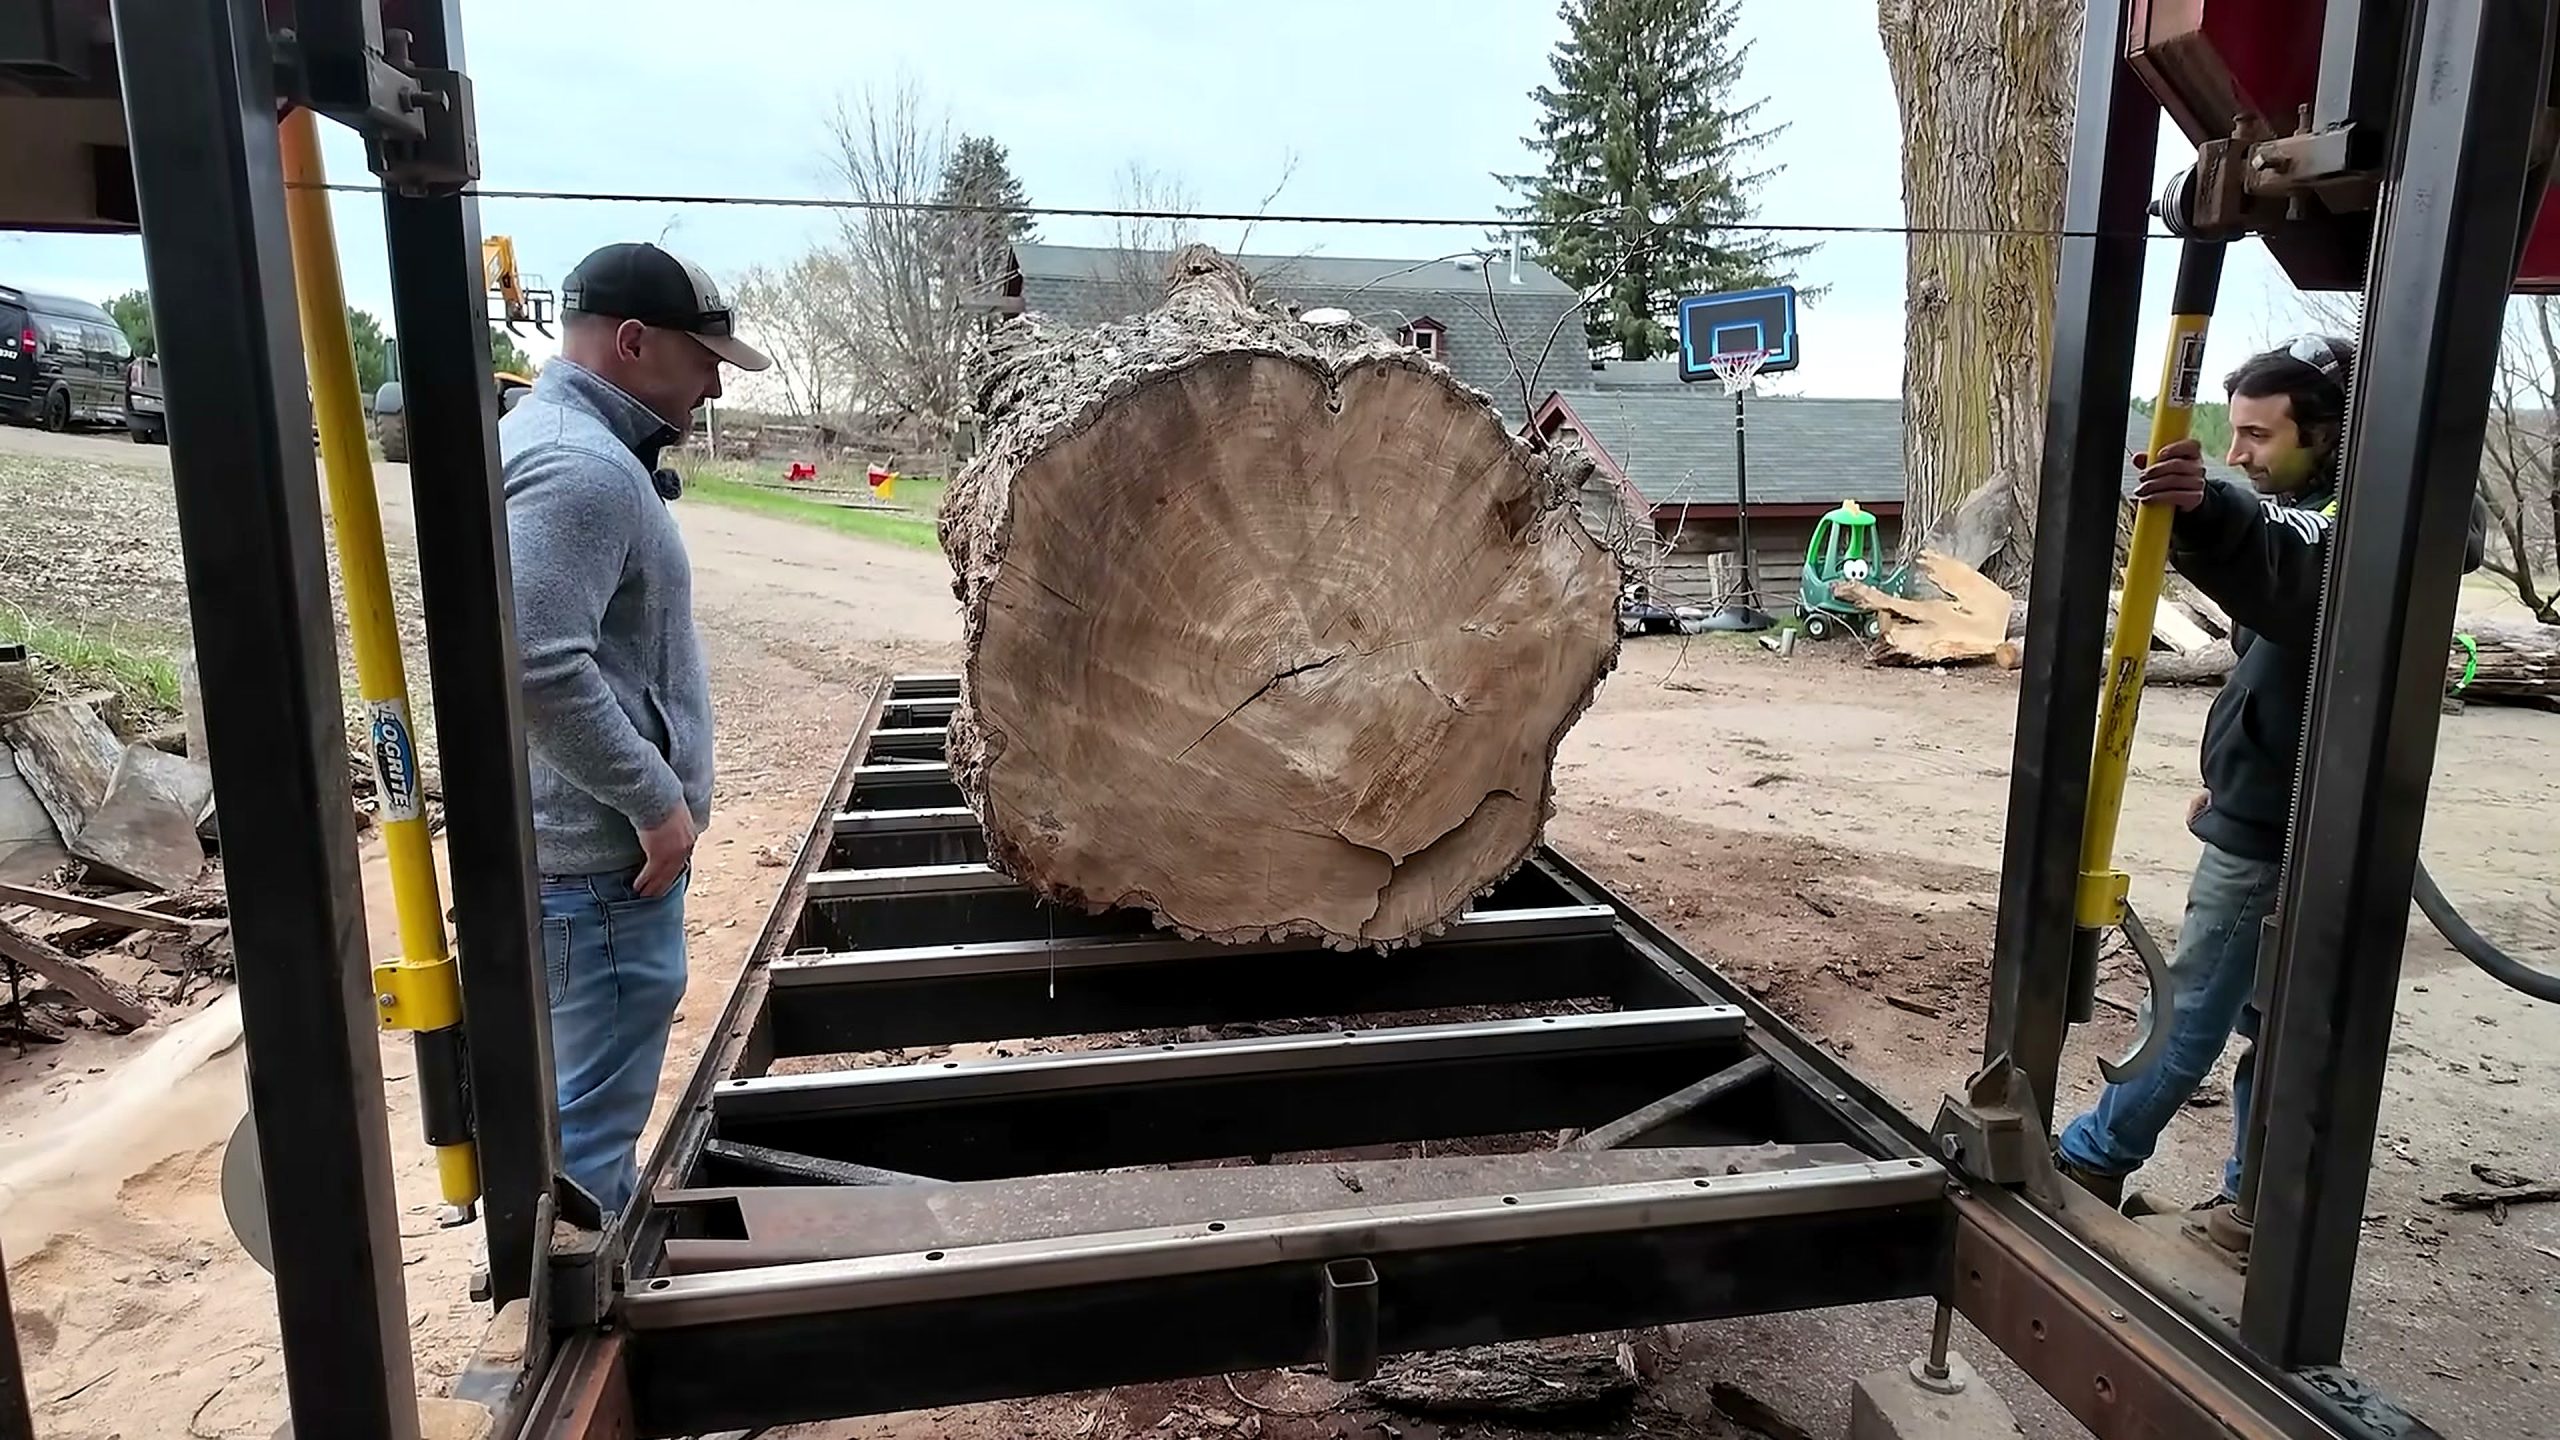
The opening minutes are valuable because the first decision happens before the blade moves. Matthew identifies the material as elm and explains that the log belongs to his visiting friend. The end grain shows a large, irregular cross-section with checking and a visible center. The speakers immediately discuss whether the upper cuts can remain free of the most obvious cracks and whether lower slabs may inherit more defects.
They also call out ring shake. Ring shake is a separation that follows a growth-ring boundary, so its path is not the same as a straight radial end check. In this source, it is observed on the log before and during milling. The practical implication is simple: increasing slab width does not automatically increase usable width. A future table maker must trace the separation, decide whether the unstable zone will be removed or stabilized, and preserve enough surrounding material for flattening and edge decisions.
Centering the pith is another explicit choice in the dialogue. They ask whether to center it and adjust the log’s position rather than accepting the first placement. This matters because the pith is not just a visual dot at the end of the log. Its location determines which slabs contain the juvenile center, which cuts pass beside it, and how symmetrical the grain may appear across the width. The conversation shows a useful habit: orient for the desired slab set, not merely for the easiest first pass.
The source includes spoken numbers while the setup is being adjusted, but the automatic captions do not consistently attach units to those early figures. They should therefore be treated as in-video layout dialogue, not as a certified log specification. The defensible facts are visual and procedural: the log is large, it is elm according to the speaker, the end contains checks and ring shake, and the operators revise its position before cutting.
What the First Full-Width Elm Slabs Reveal
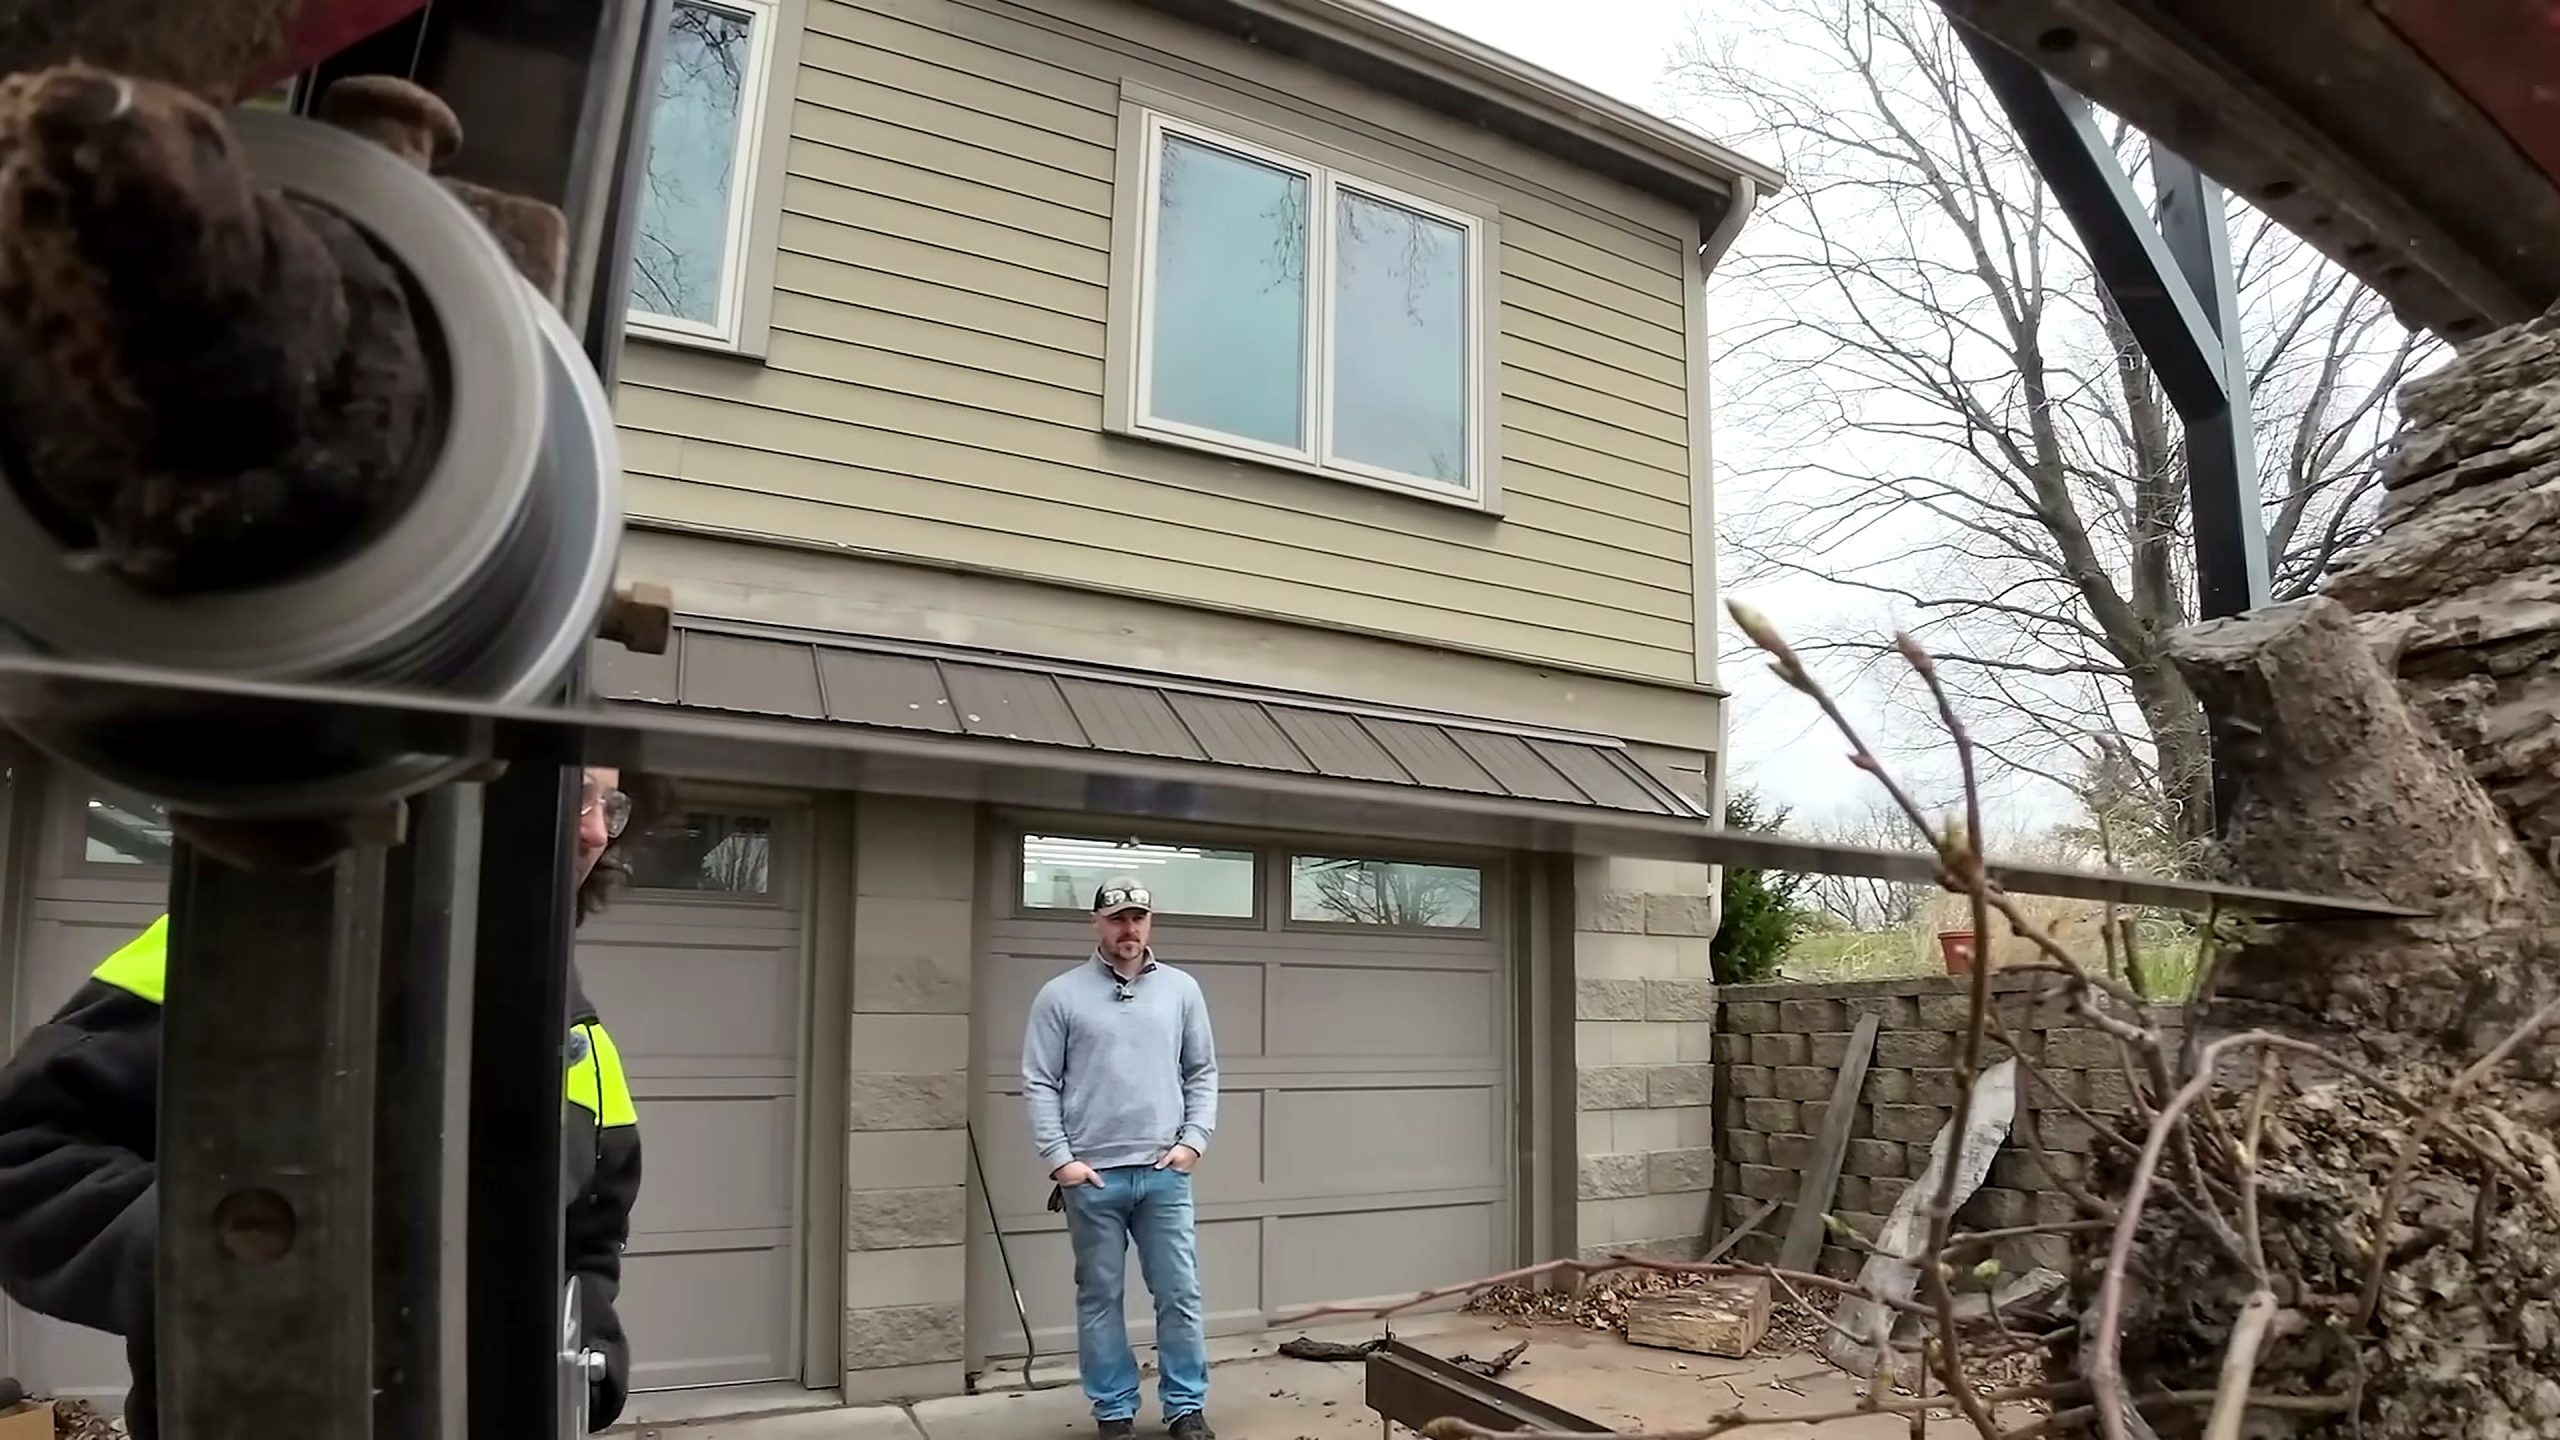
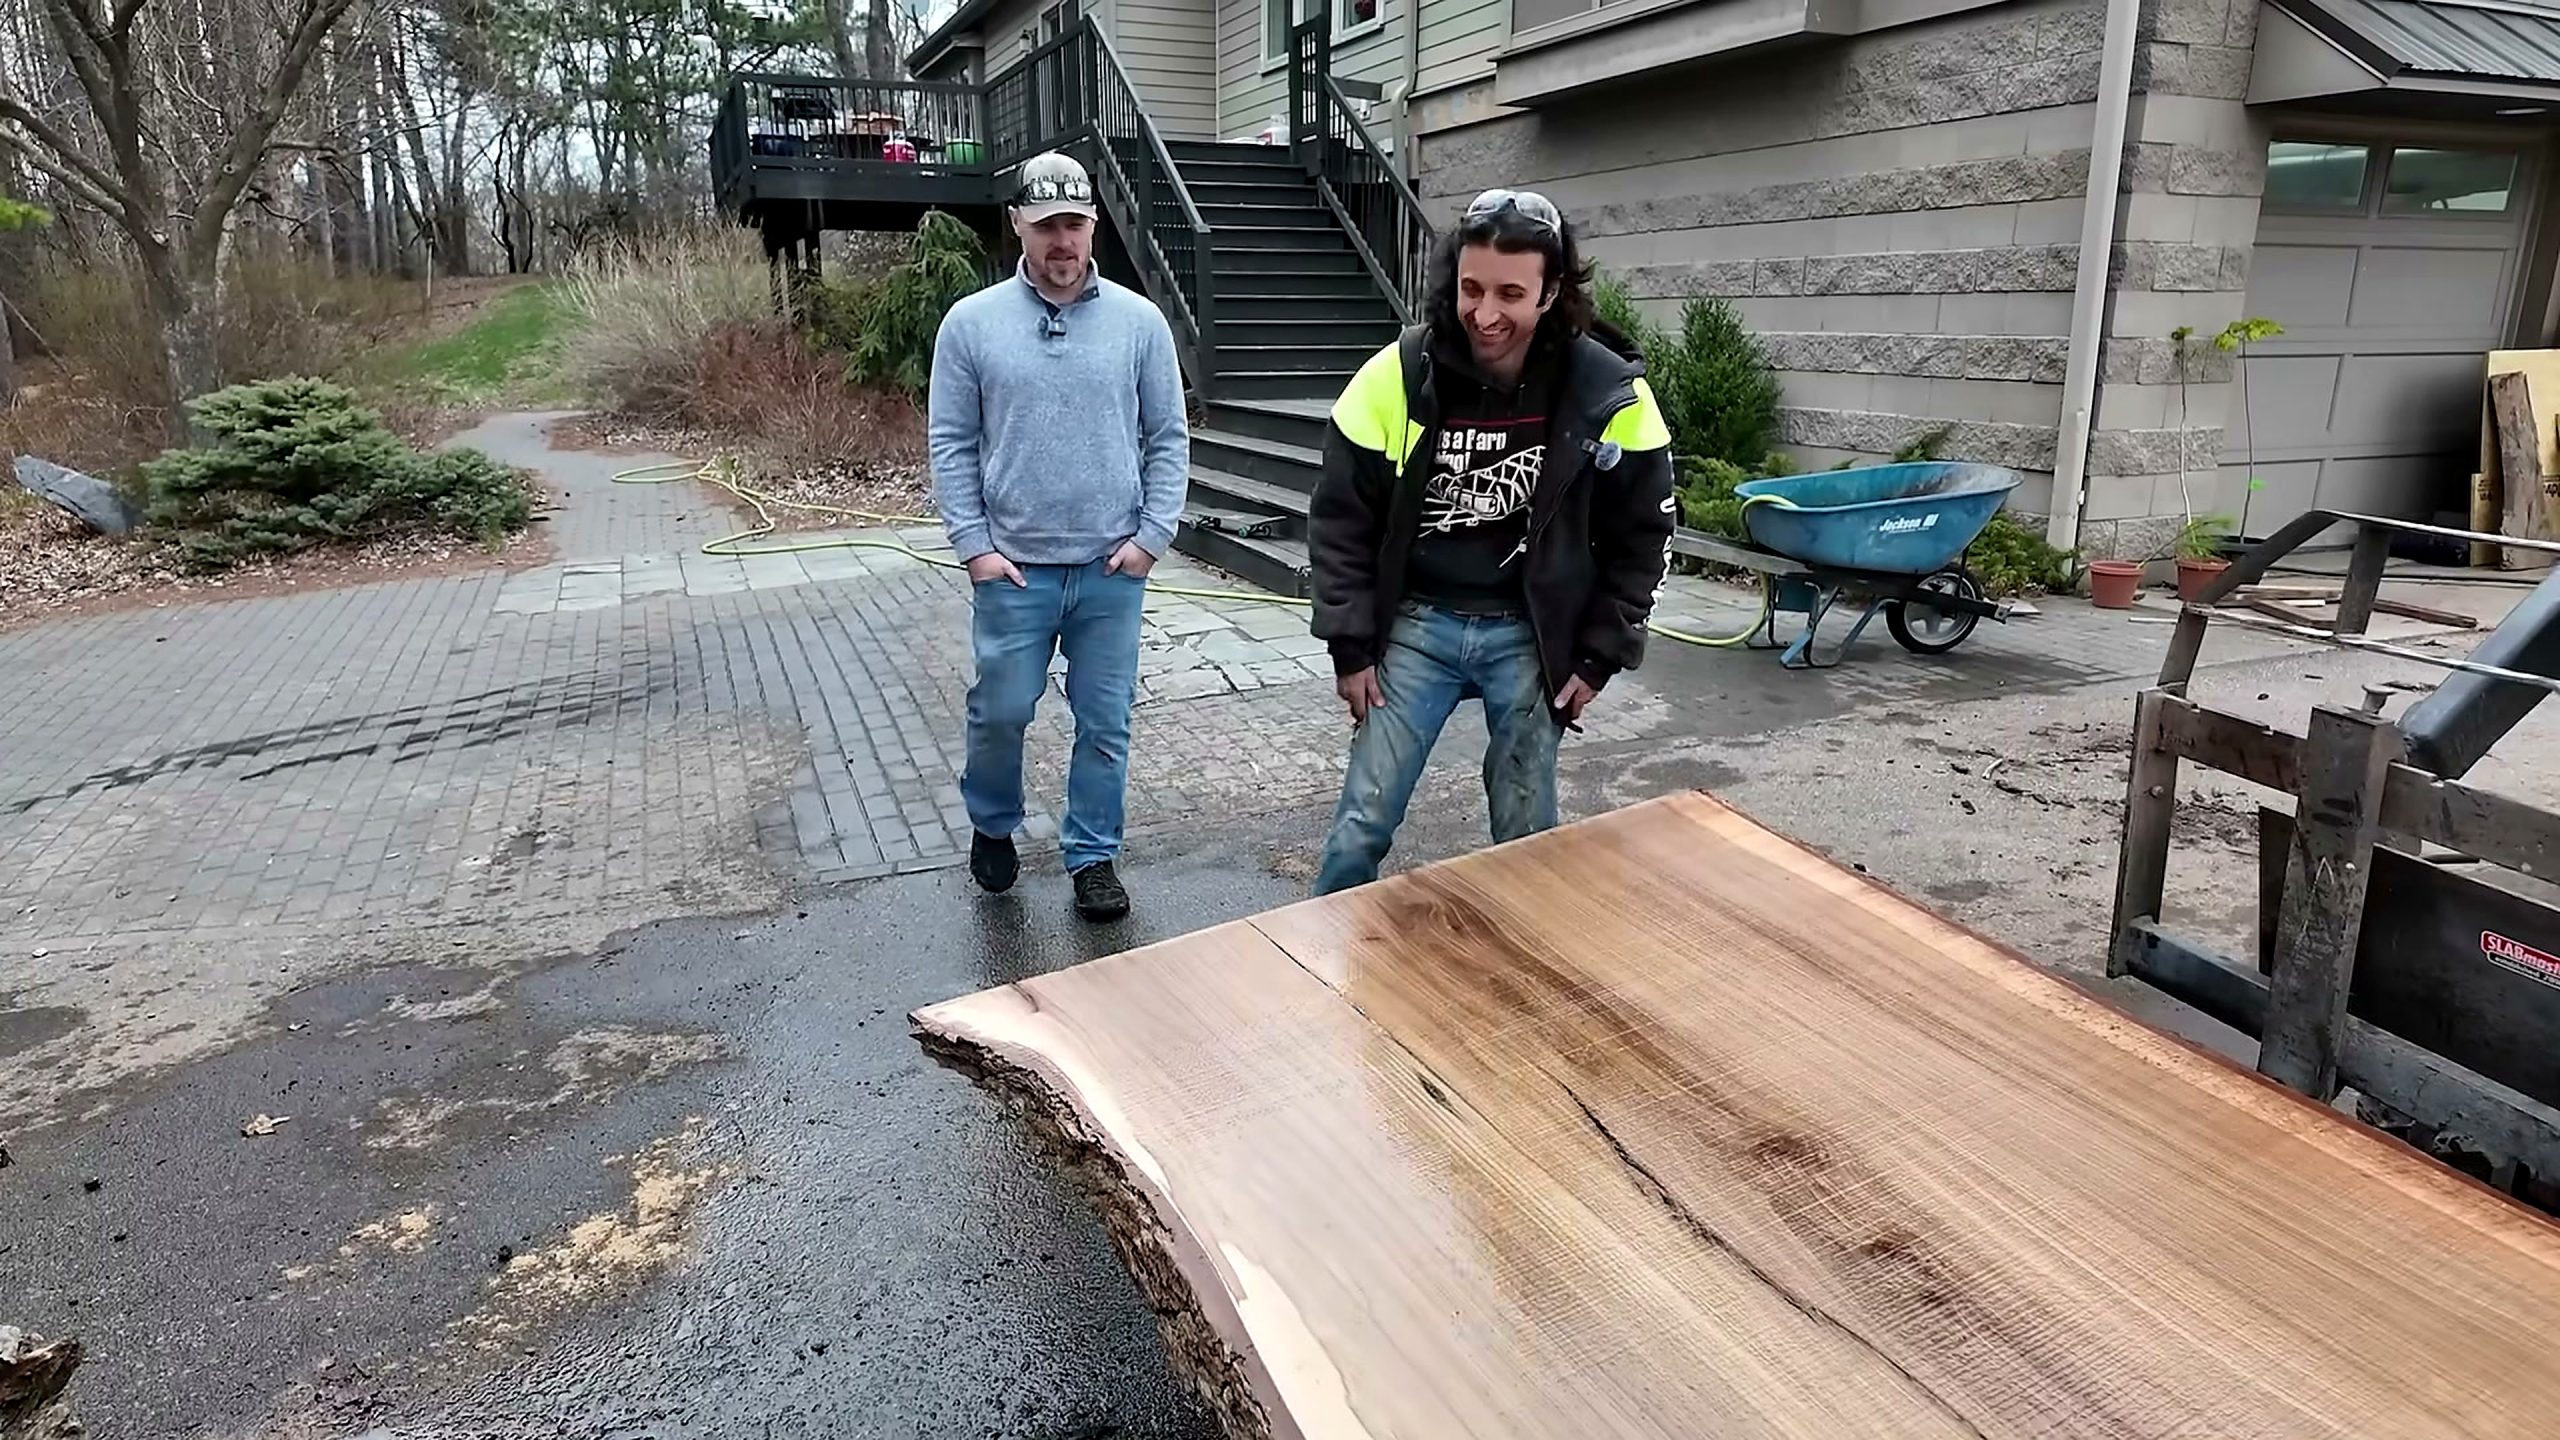
Once the saw opens the log, the conversation shifts from prediction to evidence. The newly exposed face is described as beautiful, with broad clear areas interrupted by smaller visual events. That mix is important for a one-piece top. Clear wood gives a designer room to place legs, bases, or edge transitions, while scattered figure can prevent a very large surface from looking flat or anonymous.
The speakers count approximately one hundred growth rings on one face. That is a spoken estimate made during the video, not a laboratory age determination. A ring count on a cut surface can still help the viewer understand why the grain changes from the pith region toward the outer wood. It should not be converted into a precise tree age without confirming whether every ring is readable and whether the section reaches the original center.
Later, the dialogue includes measurements around 45 on one area, 39 on another, and roughly 97.5 in length, followed by the observation that the piece is “a whole table.” The context strongly suggests shop dimensions, but the caption transcript does not preserve the unit every time. The useful conclusion is therefore proportional: the slab has enough uninterrupted width and length to function as a single-top blank, subject to defect removal, drying, flattening, and final design.
The first slabs also demonstrate why a sawyer should inspect after every pass. A plan made from the log end can change when the full face reveals curl, burl-like activity, blue staining, a crack that travels farther than expected, or a metal object. Stopping to read the face may sacrifice a few minutes, but it protects the next cut from blindly dividing the most valuable figure or driving the blade into an avoidable hazard.
Burl Figure, Blue Stain, and Embedded Metal
One of the most source-specific moments is the discovery of an area the speakers nickname “burl land.” The face is not uniformly figured; the visual activity appears within a much larger field of relatively clear elm. For furniture design, that gives the future maker a choice. The figured zone can become the focal end of a dining table, the center of a smaller top, or a feature that is deliberately left off-center to preserve the natural narrative of the log.
The video then addresses embedded metal instead of hiding it. The speakers discuss going around the inclusion, grinding it flush later, and incorporating the polished metal into the surface. They compare the effect to an intentional metal inlay and note accompanying blue stain. Near the end of the video, Matthew connects the nails to the history of an urban tree that lived around people.
That does not make every embedded object safe to keep. Metal can damage blades, create sparks during grinding, leave a loose cavity, or interfere with a future flattening pass. The source shows a design attitude—preserve the story when practical—not a universal instruction. A responsible shop would locate the object, decide whether it is stable, keep it away from cutting paths, and choose an extraction or encapsulation plan before sanding the finished face.
Blue or dark staining around iron is also a diagnostic clue. In this case the speakers connect the discoloration with the inclusion, but color alone is not enough to identify the object or prove how long it has been present. The safe description is that the video shows metal and adjacent staining in an urban elm slab. Any structural or chemical conclusion beyond that requires closer inspection after the wood is dry.
Ring Shake, Pith, End Cracks, and Torn Grain
The middle of the milling sequence is not a parade of perfect slabs. The operators point out a torn-looking area that may connect with an end crack, a slab containing the pith, traces of early limbs, and another visible ring shake. Those observations make the source more useful than a simple reveal video because they show why recovery decisions must be made slab by slab.
End cracks can travel beyond what is visible on the log end. A future table maker should not square the slab to its maximum nominal length and assume the check has disappeared. Cross-lighting, tapping, careful trimming, and inspection from both faces help reveal the true extent. The final top may need to be shorter than the fresh slab.
Pith concentrates growth stresses and often creates a visually and mechanically different center zone. The video identifies which slab carries it. That piece may still be useful, but its drying behavior deserves separate attention. Keeping extra thickness and width gives the maker room to remove distortion later.
Ring shake follows the tree’s growth structure. A bow-tie key may restrain a cross-grain crack, but it does not magically restore every separated ring. The joking suggestion in the video to add bow ties and “call it art” captures a familiar design response, yet the repair choice should follow the actual separation depth and the final load path.
Early limb traces and irregular grain can be assets or weak points. They add figure, but they can also produce local tear-out during surfacing. The sawmill face is therefore a map for later work: note where the grain reverses, where a router sled may need lighter cuts, and where aggressive sanding could create a hollow.
Handling a Single Elm Slab Too Large to Carry
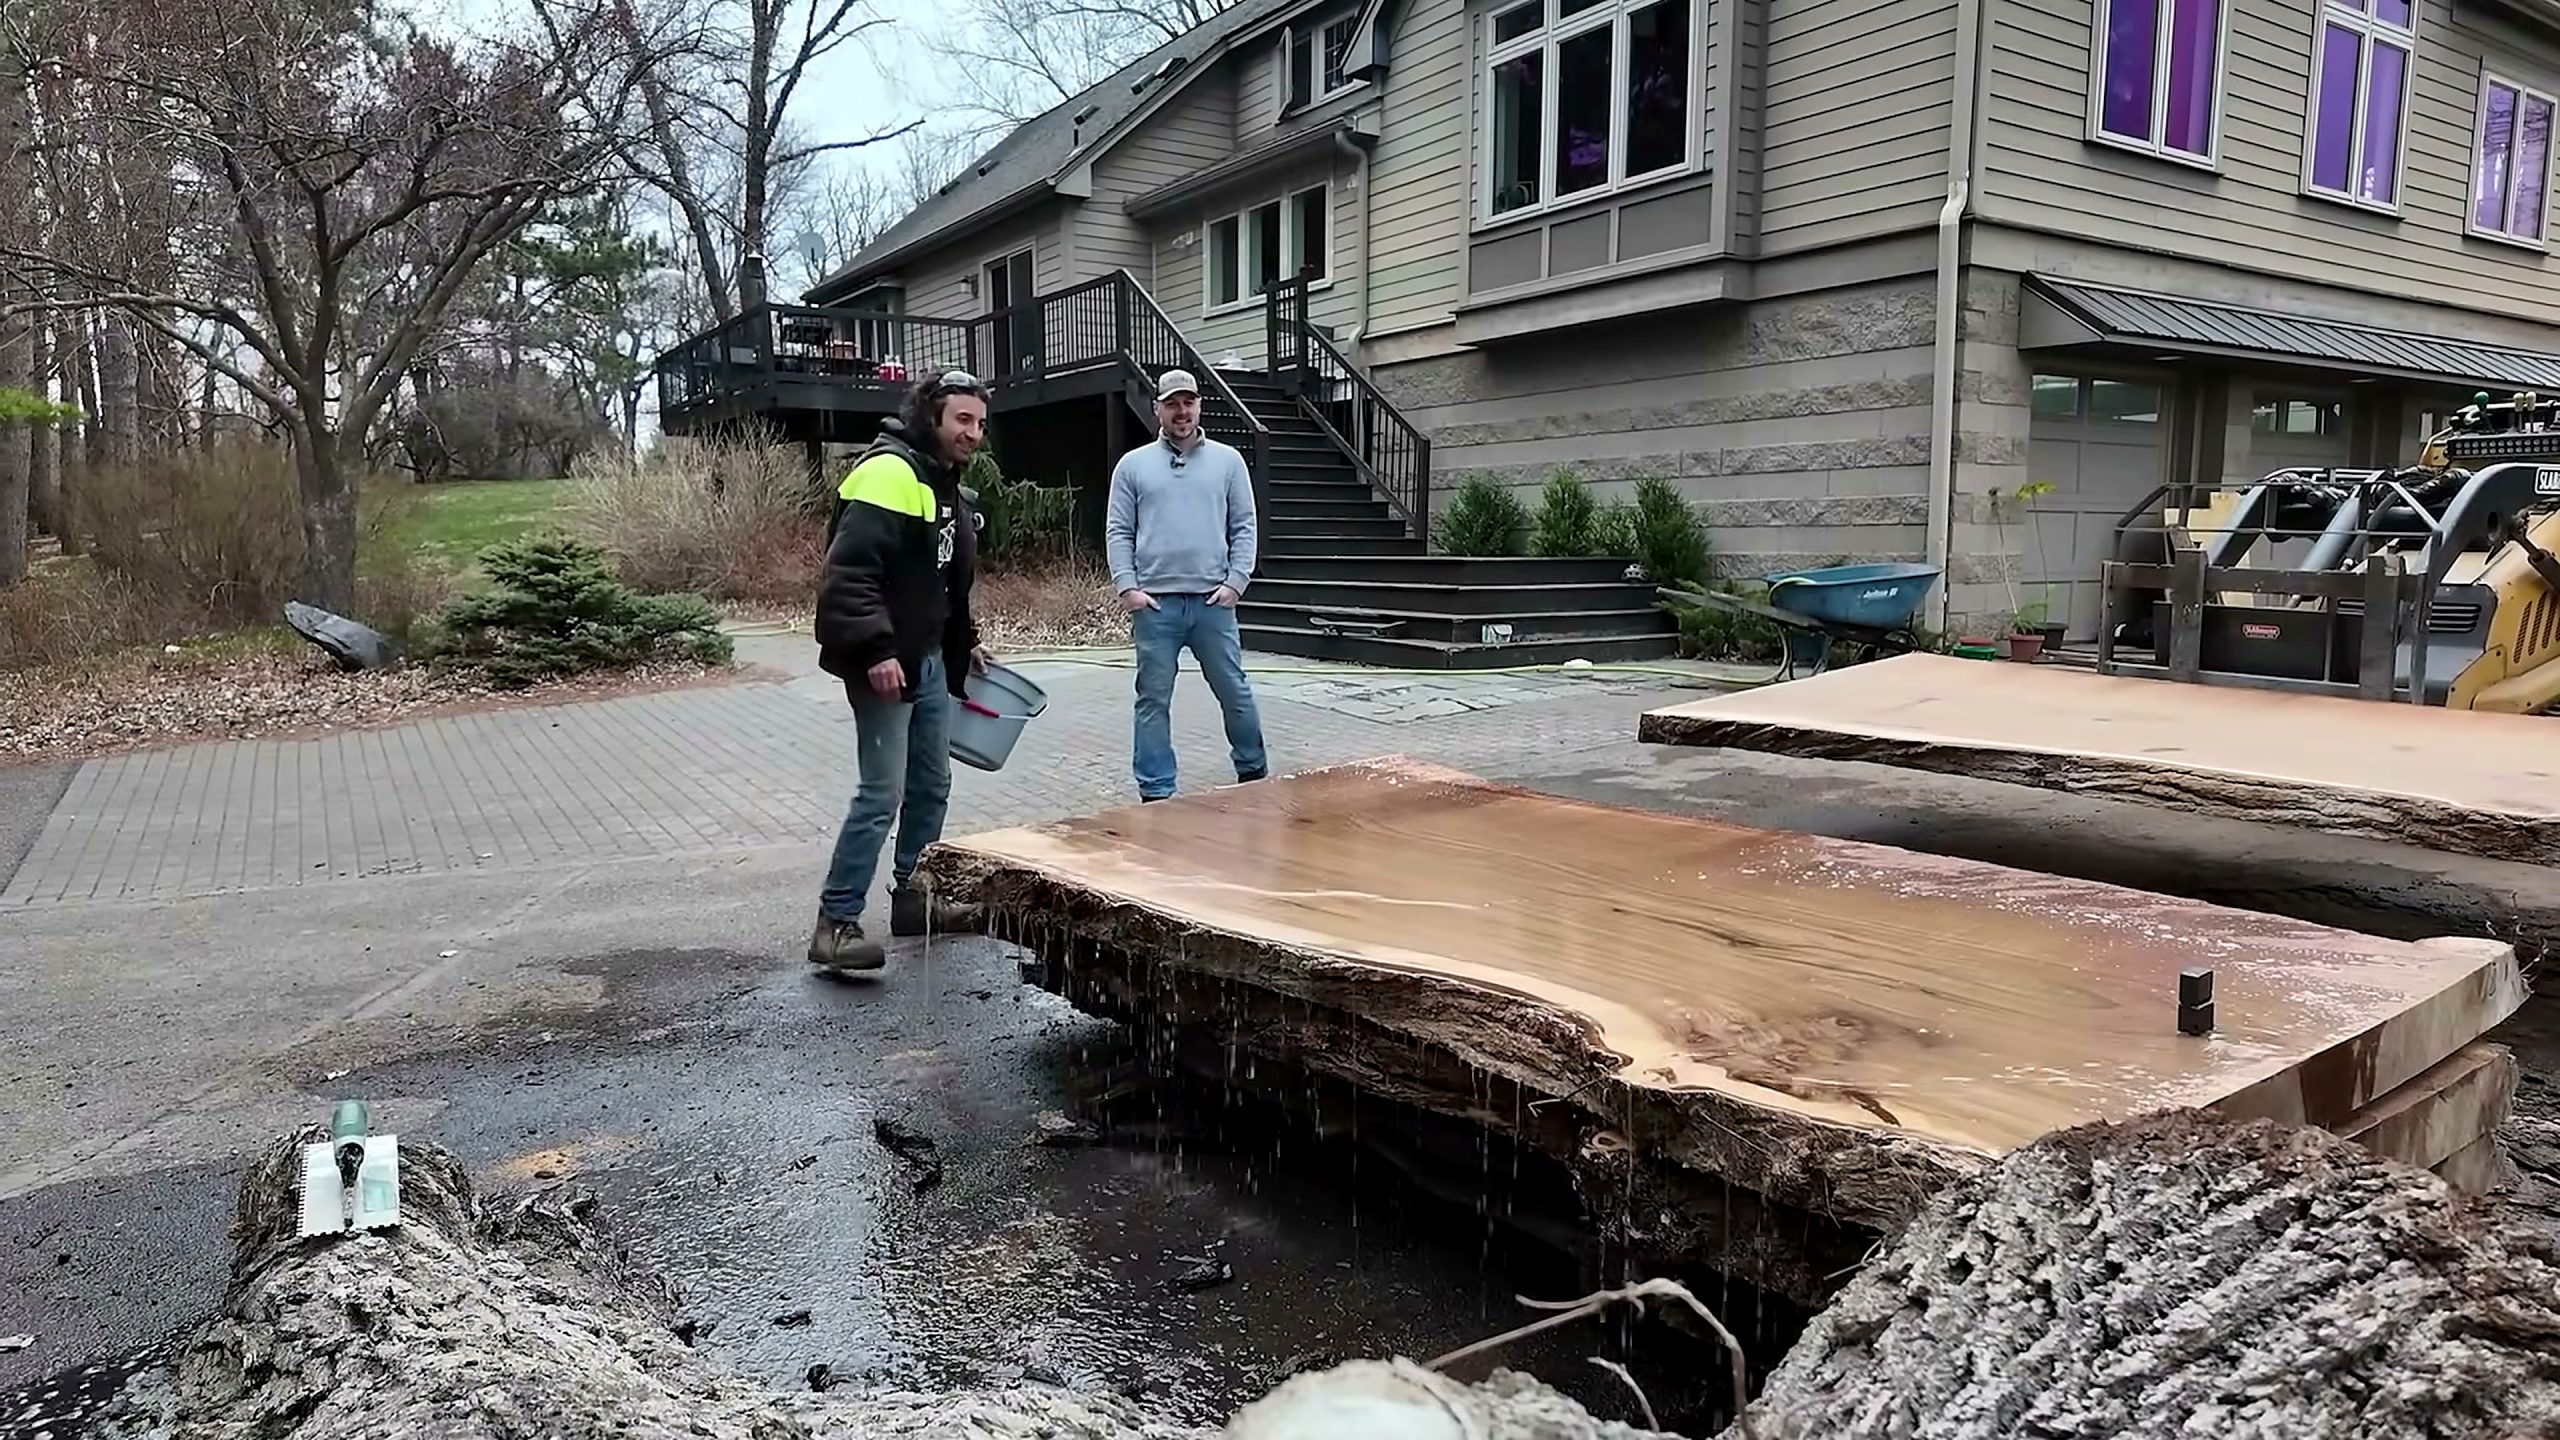
The source repeatedly shows that handling is part of the milling process, not an afterthought. Wide slabs are supported mechanically, moved with forks, and stacked as a group. At one point a speaker jokes that the slab is nearly wider than his arm span. That visual scale explains why the title’s weight angle matters even when the viewer is more interested in woodworking than in the number itself.
A very wide green slab can injure people or damage itself if lifted from a weak edge. Live edges may be irregular, bark can detach, and cracks can open when the slab flexes. Fork spacing, balanced pickup, a clear travel path, and communication between the sawyer and spotter are practical parts of yield preservation. A controlled lift protects the grain and the operator at the same time.
Stacking also influences the future table. Stickers should align vertically so weight transfers through the pile rather than bending individual slabs. Air needs a route across both faces. The stack requires a stable base and weather protection that does not trap moisture. The source shows the slabs assembled and weighed, but it does not document a complete drying schedule; viewers should not infer that the freshly sawn pieces are ready for immediate flattening.
For a small shop, the handling lesson may be more important than the sawmill itself. Buying a giant slab without planning unloading, storage, turning, and flattening can create an expensive bottleneck. Before ordering, confirm the heaviest lift, the narrowest doorway, the available fork or hoist capacity, and the surface on which the slab will rest.
Weighing the Slab Stack and Delivering the Urban Elm
Near the end, the operators debate what the slabs weigh and place the stack on a scale. They discuss seven slabs and describe the load as a lot of tables. The source title highlights a 600-pound single slab, while the weighing chapter deals with the larger stack. Because the scale display is not preserved clearly in the caption transcript, this article keeps the exact headline weight attributed to the source title rather than presenting it as an independently measured Tecatool result.
The last slab is still called large, with spoken dimensions of about 51 at the base and 38 at the narrowest point. Again, those numbers come from source dialogue and should be verified directly for a purchase specification. They do show that the log continues to produce substantial material even near the final cuts.
Delivery is part of the documented story. Matt’s normal hauling equipment is unavailable, so Matthew loads the stack and takes it over. That detail matters commercially: the mill price or slab price is not the whole job. Loading equipment, trailer capacity, securement, route, unloading access, and storage preparation can decide whether a very large slab project is practical.
The closing reflection gives the metal inclusion a broader meaning. Urban trees grow alongside people and may contain nails or other evidence of that contact. Turning the timber into furniture can preserve a local memory, but only if the material is processed safely and honestly. The source presents the elm as both raw stock and a record of its environment.
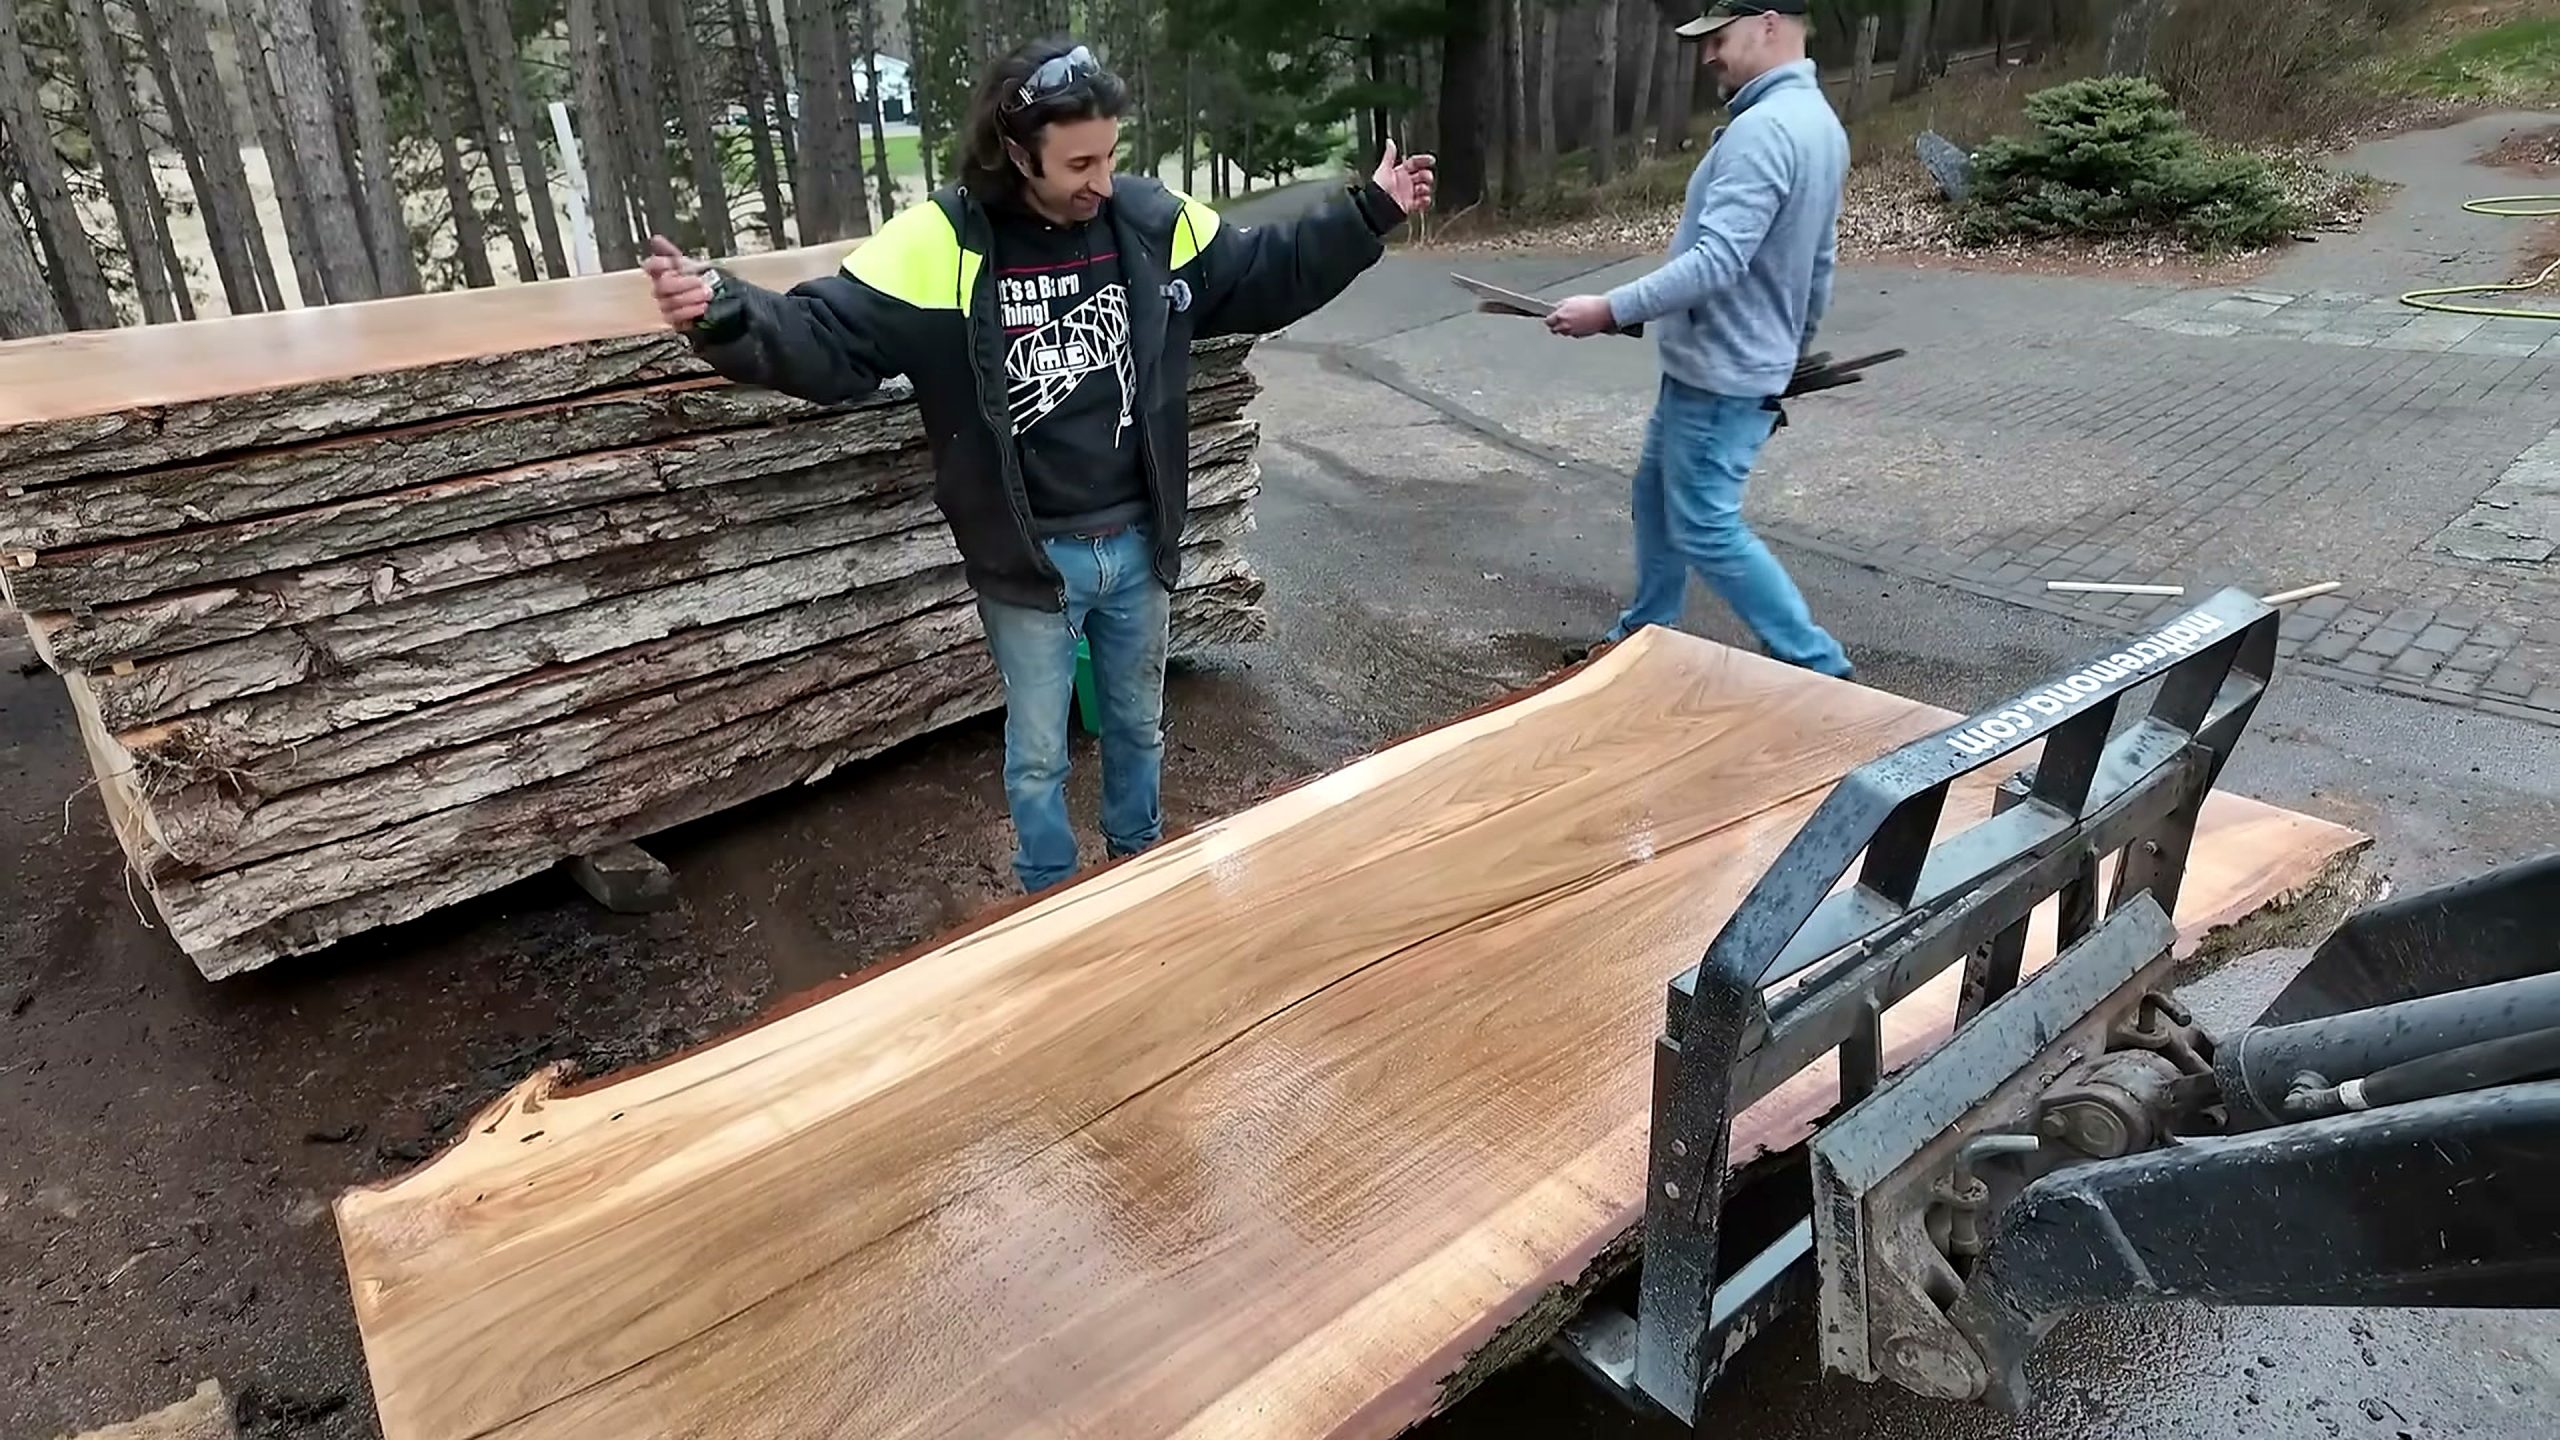
Is a Freshly Sawn Elm Slab Already a Table Top?
No. It is a table-top blank. The video ends after milling, weighing, and delivery; it does not show the entire drying, flattening, joinery, base design, sanding, and finishing cycle. That distinction is essential for anyone searching the source title because a dramatic full-width slab can look complete while it is still green, rough, heavy, and capable of moving.
The next stages should begin with documentation. Mark each slab’s position in the log, photograph both faces, record thickness at several points, note the pith and metal, and map every crack and ring-shake line. A slab with spectacular figure may need a different drying or trimming strategy from the clearer slab above it.
After drying, the maker must reassess. Moisture readings should be appropriate for the intended indoor environment, not merely lower than they were at the sawmill. The slab may cup, twist, bow, or open along an existing defect. Flattening removes thickness, so final dimensions should be chosen only after the dry blank has stabilized enough to measure.
Base design comes later. A single wide top needs allowance for seasonal movement, especially across its width. Fasteners and supports should restrain the top safely without locking the wood against normal expansion and contraction. Cracks, metal, and live edges also affect where joinery can be placed.
The finish cannot repair an unstable blank. It can protect the surface and enhance the elm’s contrast, but durability depends on dry material, sound defect decisions, adequate remaining thickness, and compatible construction. The source is excellent evidence of how the raw material was opened; it is not proof of a finished table’s future performance.
Single-Slab Elm Table Top Inspection Checklist
Use this checklist when reviewing the video, buying a comparable slab, or planning the next shop stage:
- Confirm identity and provenance. Record the seller’s species identification and source history. This video identifies its log as urban elm, but a separate purchase needs its own evidence.
- Map the pith. Note whether it is inside the slab, near an edge, or absent. Do not treat all boards from the same log as having equal drying risk.
- Trace ring shake. Follow the separation from both faces and both ends. Measure usable width after the unstable zone is considered.
- Extend the crack line. Assume an end check may travel farther than its visible opening until inspection proves otherwise.
- Locate all metal. Use appropriate detection and visual inspection before machining. Plan removal, isolation, or deliberate retention.
- Protect the figure. Decide whether burl-like areas, blue stain, and branch traces should become focal points or be trimmed away.
- Verify moisture and drying history. A fresh sawmill surface is not evidence that the slab is furniture-ready.
- Calculate final thickness. Reserve material for flattening both faces after drying and for removing saw marks or distortion.
- Plan the lift. Confirm equipment capacity, center of gravity, access, and safe support before moving the slab.
- Price the complete workflow. Include transport, storage, drying, flattening, metal work, crack treatment, base hardware, sanding, and finish—not only the raw slab.
This checklist turns the source into an actionable buying and fabrication brief. It also prevents the 600-pound headline from hiding the more important question: how much stable, dry, safely machinable table surface will remain at the end?
Tools and Services to Compare Before a Large Elm Slab Project
The source visibly centers on a band sawmill and mechanical handling, but most readers will enter the workflow later. The most relevant tool categories are metal detection, moisture measurement, slab lifting, supported storage, flattening, crack preparation, controlled sanding, and finishing. No machine model, price, discount, or affiliate offer is verified by the video, so compare capacity and service support rather than copying a brand from appearance alone.
For a raw slab purchase, ask a sawmill or drying service for the as-sawn thickness, drying method, current moisture readings, storage conditions, known metal, and trimming policy. For flattening, compare router-sled capacity, wide-belt or CNC service limits, dust extraction, and the amount of thickness the process is expected to remove. For handling, compare actual rated capacity at the intended reach—not only a machine’s headline rating.
If you are building a similar project, browse the Tecatool woodworking tool and process archive to compare sawmill, slab-flattening, sanding, workholding, and finishing approaches. The best purchase is the one that solves the next verified bottleneck in your own workflow.
Practical CTA: make the defect map and handling plan first, then request tool or service quotes with the slab’s real dry dimensions and weight. That order avoids buying an undersized solution for an oversize piece.
Source Facts That Google and AI Can Cite
- Matthew Cremona’s source video
lSNt0e7puGAdocuments milling one large urban elm log into multiple full-width live-edge slabs. - The operators discuss centering the pith, end cracks, ring shake, figured or burl-like grain, embedded metal, and blue stain.
- The source includes successive band-sawmill cuts, mechanical slab handling, stack weighing, and delivery.
- The video title describes a 600-pound single slab; the article attributes that number to the source title.
- The footage ends before drying, flattening, furniture joinery, sanding, and finishing, so the slabs are table-top blanks rather than completed tables.
Frequently Asked Questions
What does the sawing 600lb single slab elm table video show?
It shows a large urban elm being oriented on a band sawmill, cut into full-width live-edge slabs, inspected for defects and metal, stacked, weighed, and delivered.
Does the video show a finished elm table?
No. It shows primary milling and delivery. Drying, flattening, base construction, joinery, sanding, and finishing are outside the documented video.
Why do the operators center the pith?
Positioning the pith helps control which slabs contain the juvenile center and how the grain and defects are distributed across the cut sequence.
What defects appear in the elm?
The dialogue identifies end checking, ring shake, a pith-bearing slab, early limb traces, torn or irregular grain, and embedded metal with nearby staining.
Can embedded metal stay in a table slab?
Sometimes it can become a design feature, but it must first be located and assessed so it does not damage tools, create a loose cavity, or compromise the finished surface.
How wide are the slabs?
The speakers call out several large measurements, including values around 45, 39, and nearly 60, but buyers should verify units and dry dimensions directly before ordering.
Is the single slab independently verified at 600 pounds?
The 600-pound figure comes from the source video title. The footage also includes weighing the larger slab stack, but Tecatool does not present the title number as a separate certified measurement.
What should happen after milling?
Document defects, stack with aligned stickers, dry under controlled conditions, recheck moisture and movement, then plan flattening, joinery, sanding, and finish.
Source Video
Sources: Matthew Cremona, “Sawing 600lb Single Slab Elm Table Tops with Matt Ruben,” original YouTube video, video ID lSNt0e7puGA, uploaded July 12, 2025 and accessed August 20, 2026; source chapters and English automatic captions checked against the local 1920×1080 video; five source-derived frames at approximately 1:54, 5:13, 9:29, 14:42, and 18:58.