
walnut tree heirloom bed is a source-video analysis of Matt Cremona’s “From Walnut Tree To Heirloom Bed.” The useful lesson is how one tree becomes furniture stock: outdoor milling creates boards, board reading filters defects and figure, measuring turns wide lumber into bed components, and shop machines make the parts flat, square, and repeatable before assembly decisions begin.
This article follows the same canonical source video and the five captured process frames. It does not claim an exact tree age, moisture content, sale price, final hardware list, or finished-bed specification unless the source makes it visible. The goal is practical: help readers inspect the workflow and decide what the video can genuinely teach about walnut, milling, layout, and bed-part preparation.
For commercial tool context, readers can browse the Tecatool woodworking archive before choosing a sawmill service, planer, jointer, table saw, clamps, layout tools, or workshop setup for a large furniture project.
Table of Contents
Direct Answer From The Source
The source video is best read as a chain of conversion steps, not as a single reveal. The title promises a move from walnut tree to heirloom bed, but the selected frames show the more useful middle work: cutting the tree into controllable stock, judging the exposed faces, assigning boards to possible bed parts, measuring those parts, and then preparing them in the shop.
That distinction matters for search intent. A reader who wants to understand the project needs more than a title summary. They need to see where risk enters the process. A tree can be large and still produce difficult boards. A board can look attractive and still move, split, cup, or hide defects. A bed project can use beautiful material and still fail if the rails, posts, headboard pieces, and connection points are not selected with stability in mind.
The article therefore treats the video as a woodworking case study. It uses the source title and channel for attribution, but it keeps the analysis on observable workshop decisions. The strongest claim is not that every hidden specification is known. The strongest claim is that the workflow can be inspected through source frames and turned into a practical checklist for readers.
Tree-To-Stock Milling Sequence
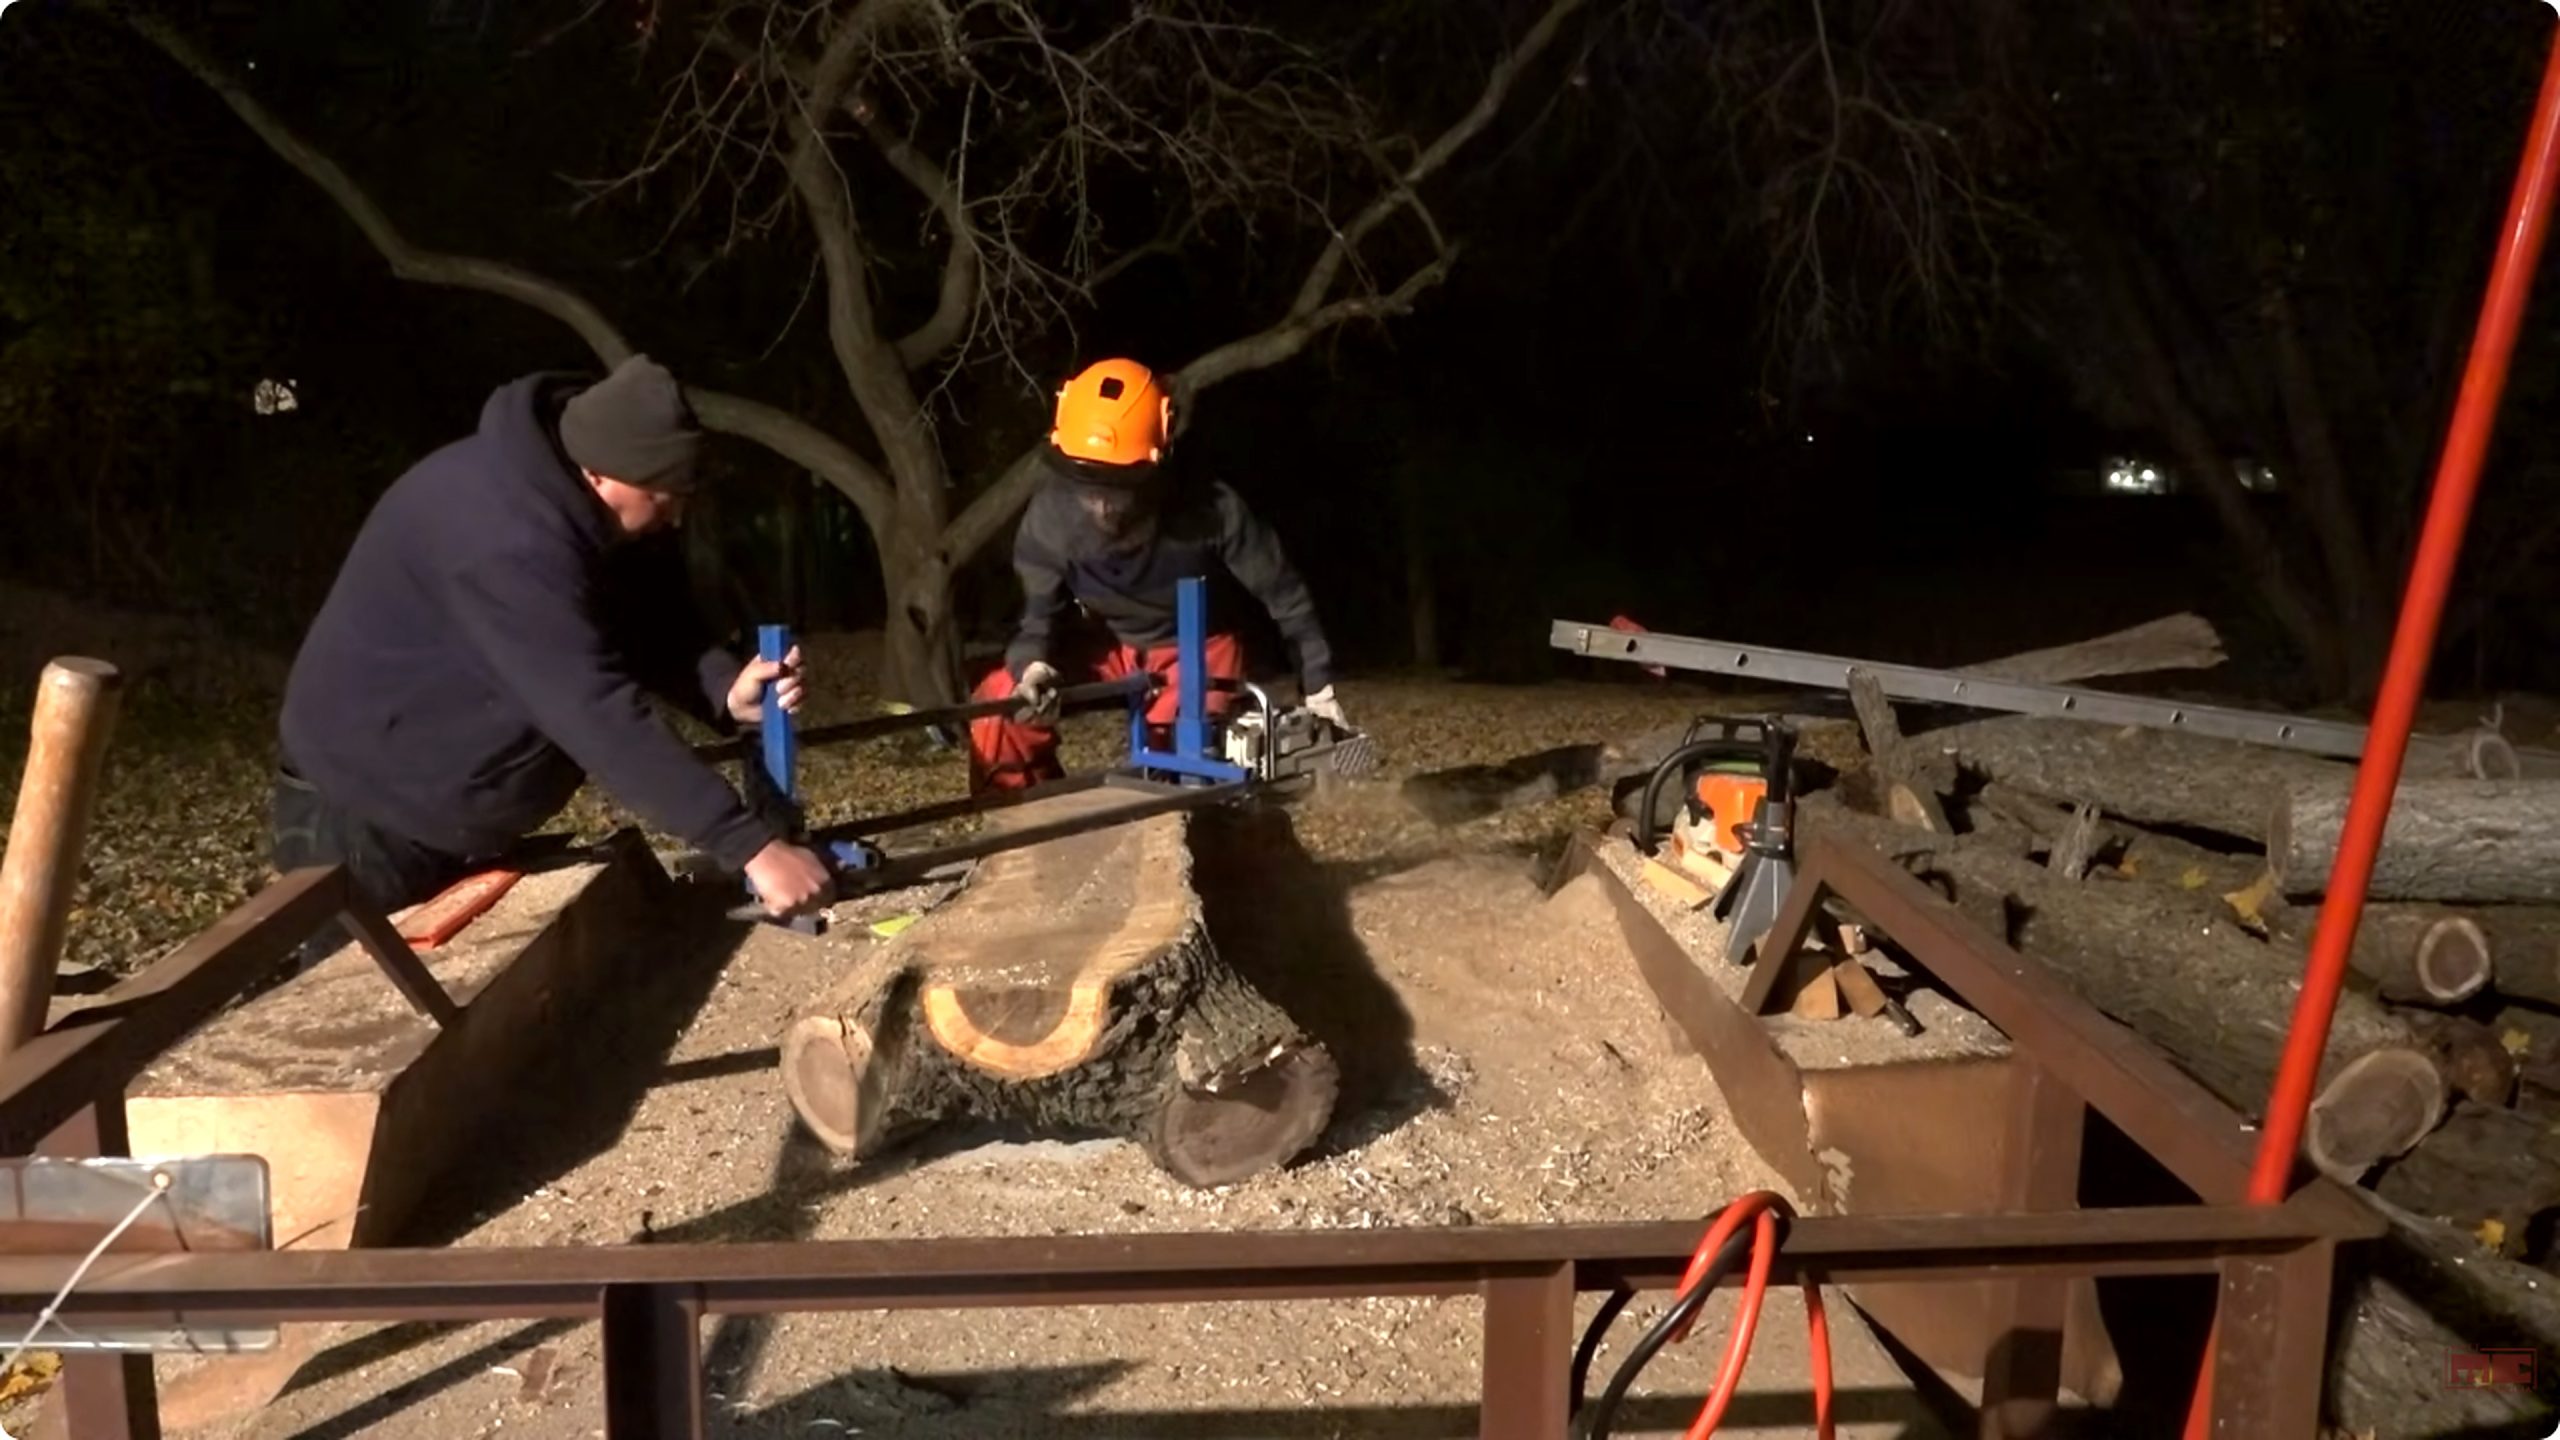
The first selected frame shows the outdoor milling stage under work lights. A long trunk section is being cut with a guided saw setup, which makes the first important point: before the project can become a bed, the material has to become stock that a shop can handle. The cut is not only about opening the tree. It creates thickness, width, reference faces, and future choices.
Outdoor milling is where many later decisions are locked in. If the first cut wastes the best face, the shop cannot recover that width later. If the slab is too thick for the drying, flattening, or bed design plan, it may create extra work. If the cut ignores cracks, crotch grain, bark inclusions, or tension, the most dramatic board may become the least reliable component.
In the source frame, the practical point is control. The work is happening outside, at night, with a large piece of timber and a cutting setup that needs stable support. That environment makes positioning, lighting, and feed control part of the result. A clean article should not turn that scene into vague drama. It should ask what the cut is trying to preserve and what options remain after the board is opened.
For readers considering a similar project, the milling stage is the place to decide whether the bed needs wide show panels, long rails, matching posts, or smaller structural parts. Those needs are different. A headboard panel may reward figure and width. A rail needs length and stability. A post may need straight grain and predictable movement. One tree can supply several of those parts, but not every board should be assigned to the most visible position.
Board Selection Before Bed Parts
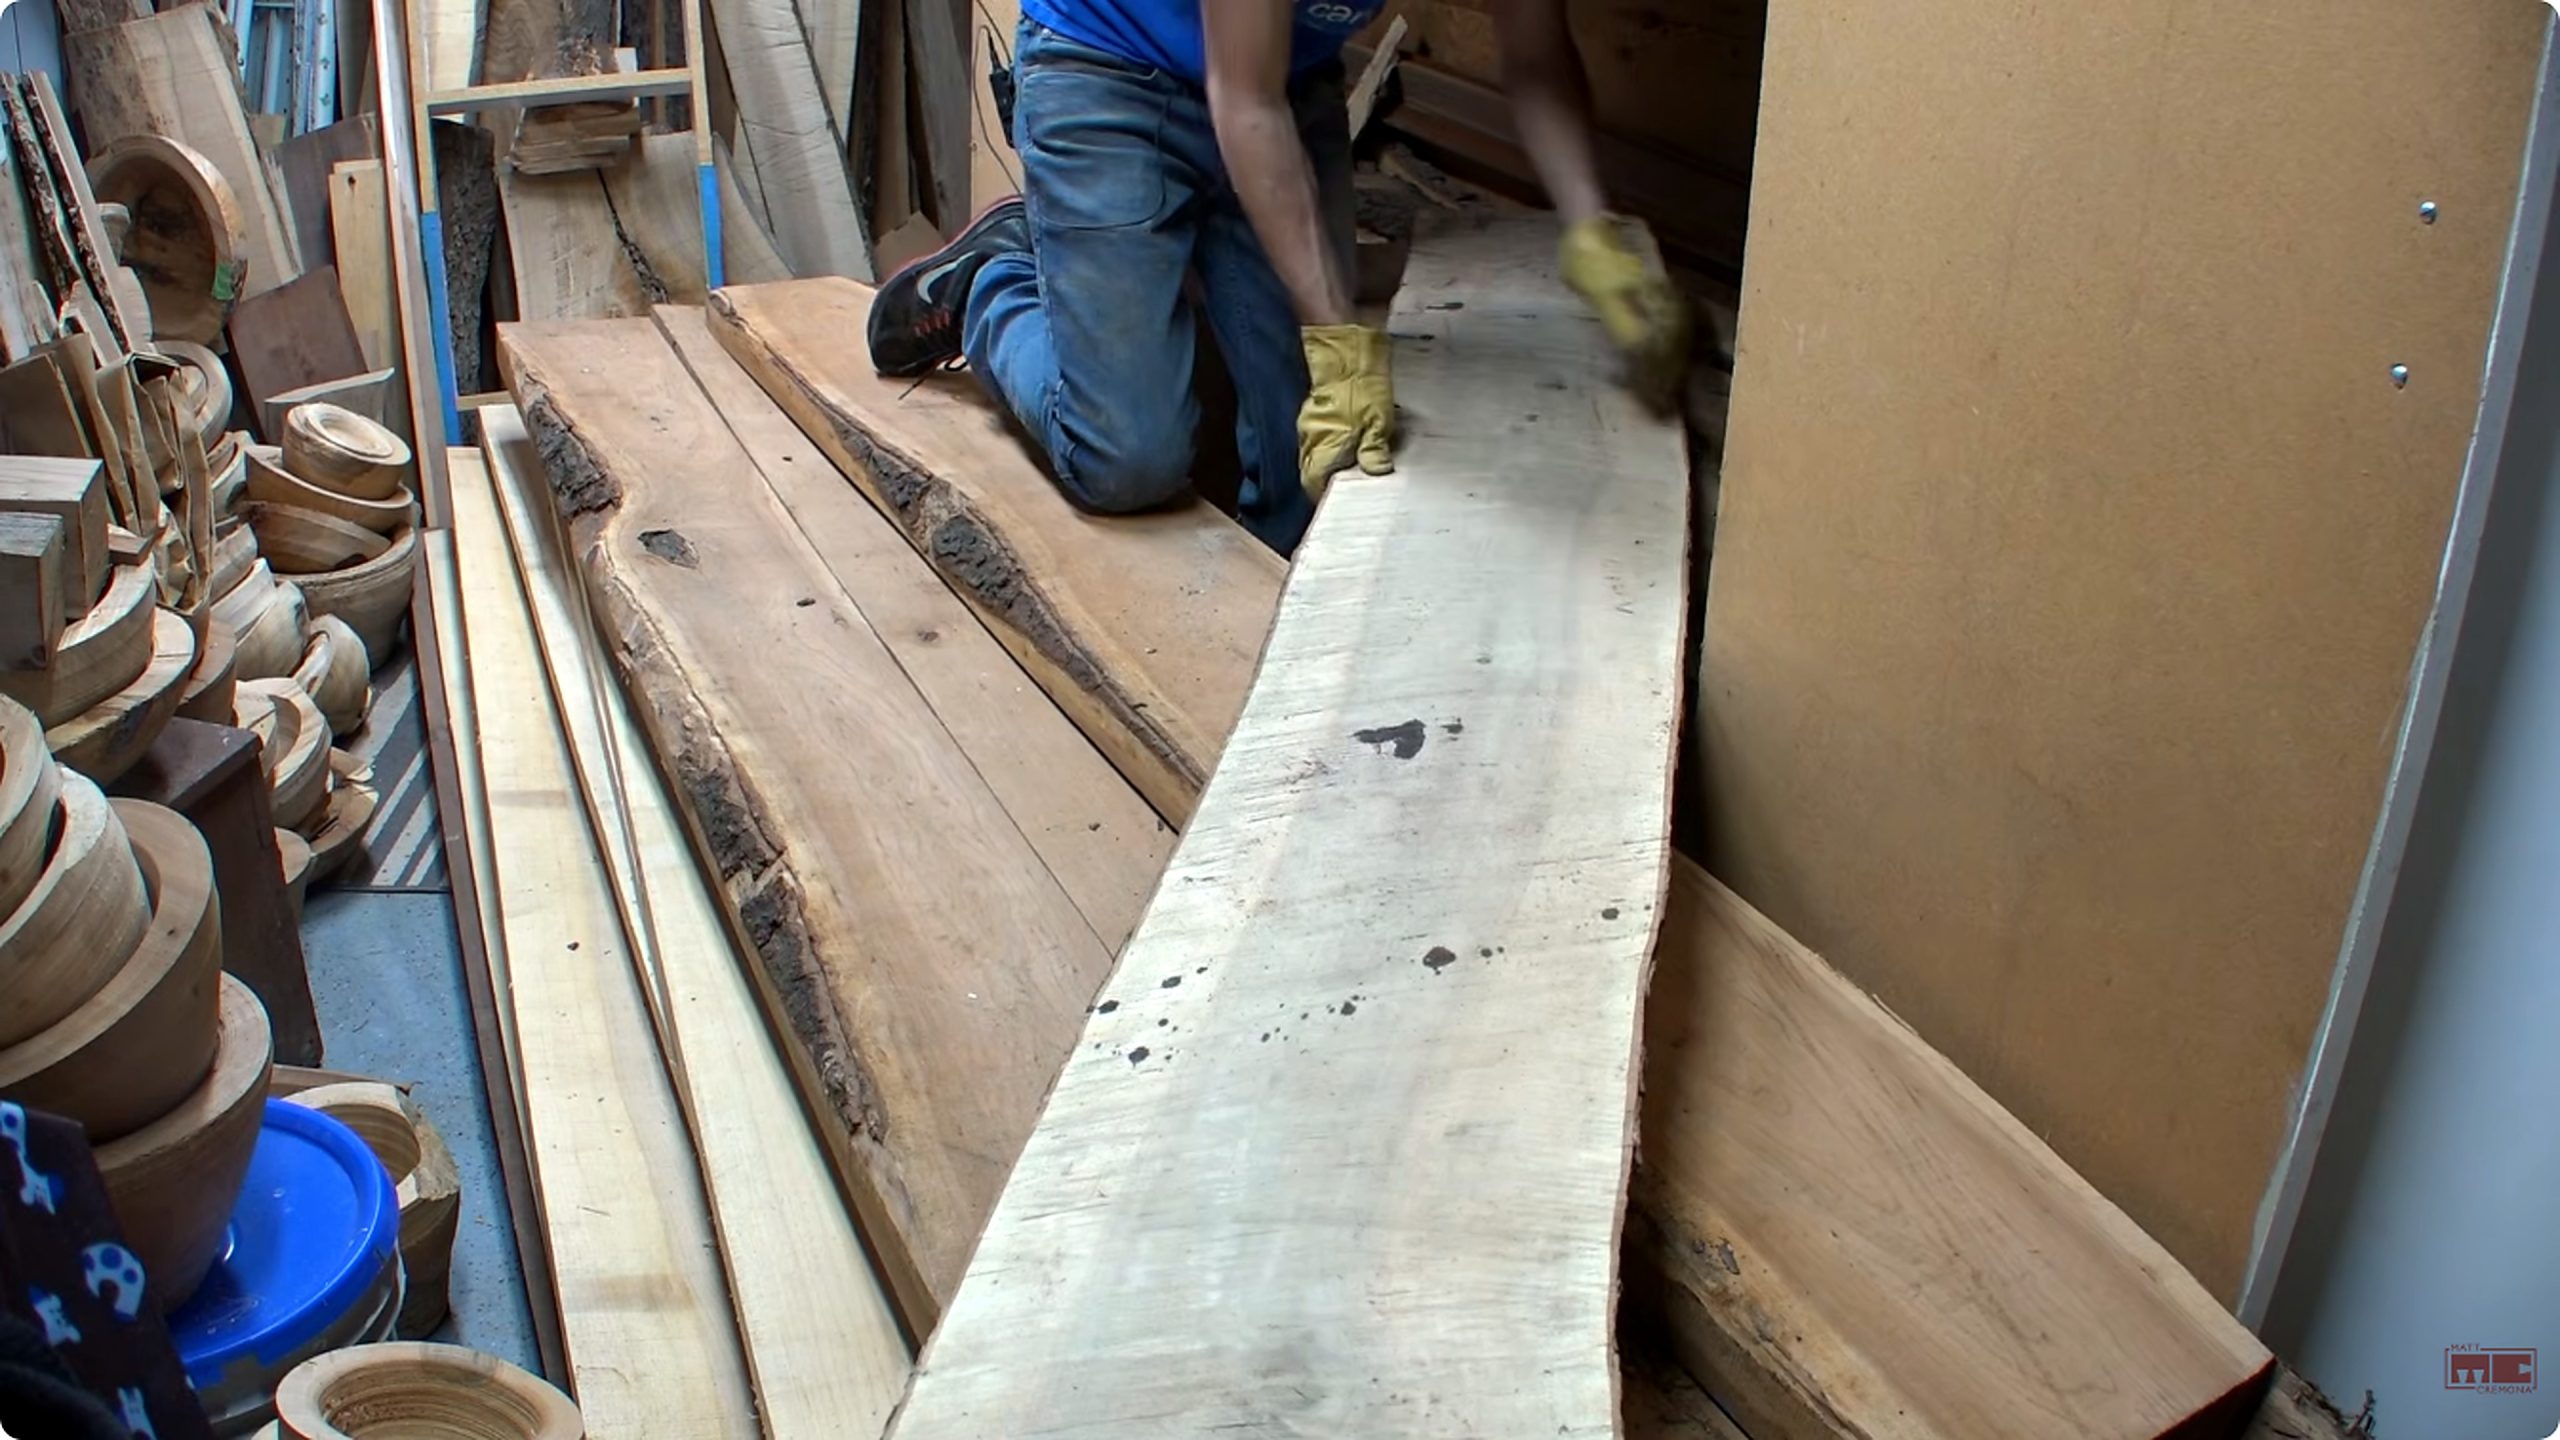
The second selected frame moves from cutting to board reading. The visible stock is no longer an abstract tree. It has surfaces, edges, color variation, knots, checks, and width that can be inspected. This is where the project starts becoming furniture rather than footage. The maker has to decide which boards deserve to become visible bed parts and which boards should be trimmed, flattened, or used more quietly.
Board selection for a bed differs from board selection for a tabletop. A bed has long components that must remain aligned under use, repeated joinery points, and surfaces that may be seen from different angles. A showy board can be useful, but a straighter and calmer board may be better for a rail. A board with dramatic figure may suit a headboard panel if the defects can be stabilized and if the remaining thickness supports the design.
This is also where source-based language matters. The video title identifies the project around walnut, but the article should not pretend that one frame proves every technical property of the material. Color can shift with lighting. A fresh surface may look different after drying and finishing. The safer claim is that the source shows walnut-tree project stock being evaluated for a bed workflow, with visible boards that require sorting before the final design can be trusted.
Readers can use a pause-and-check method. Look for full-length cracks, edge damage, pith, sapwood and heartwood transitions, knots near future joinery, and grain direction across the width. Then ask whether each defect harms a structural part, a cosmetic part, or only an offcut. That discipline is more useful than reacting to a pretty surface.
Measuring The Bed Components
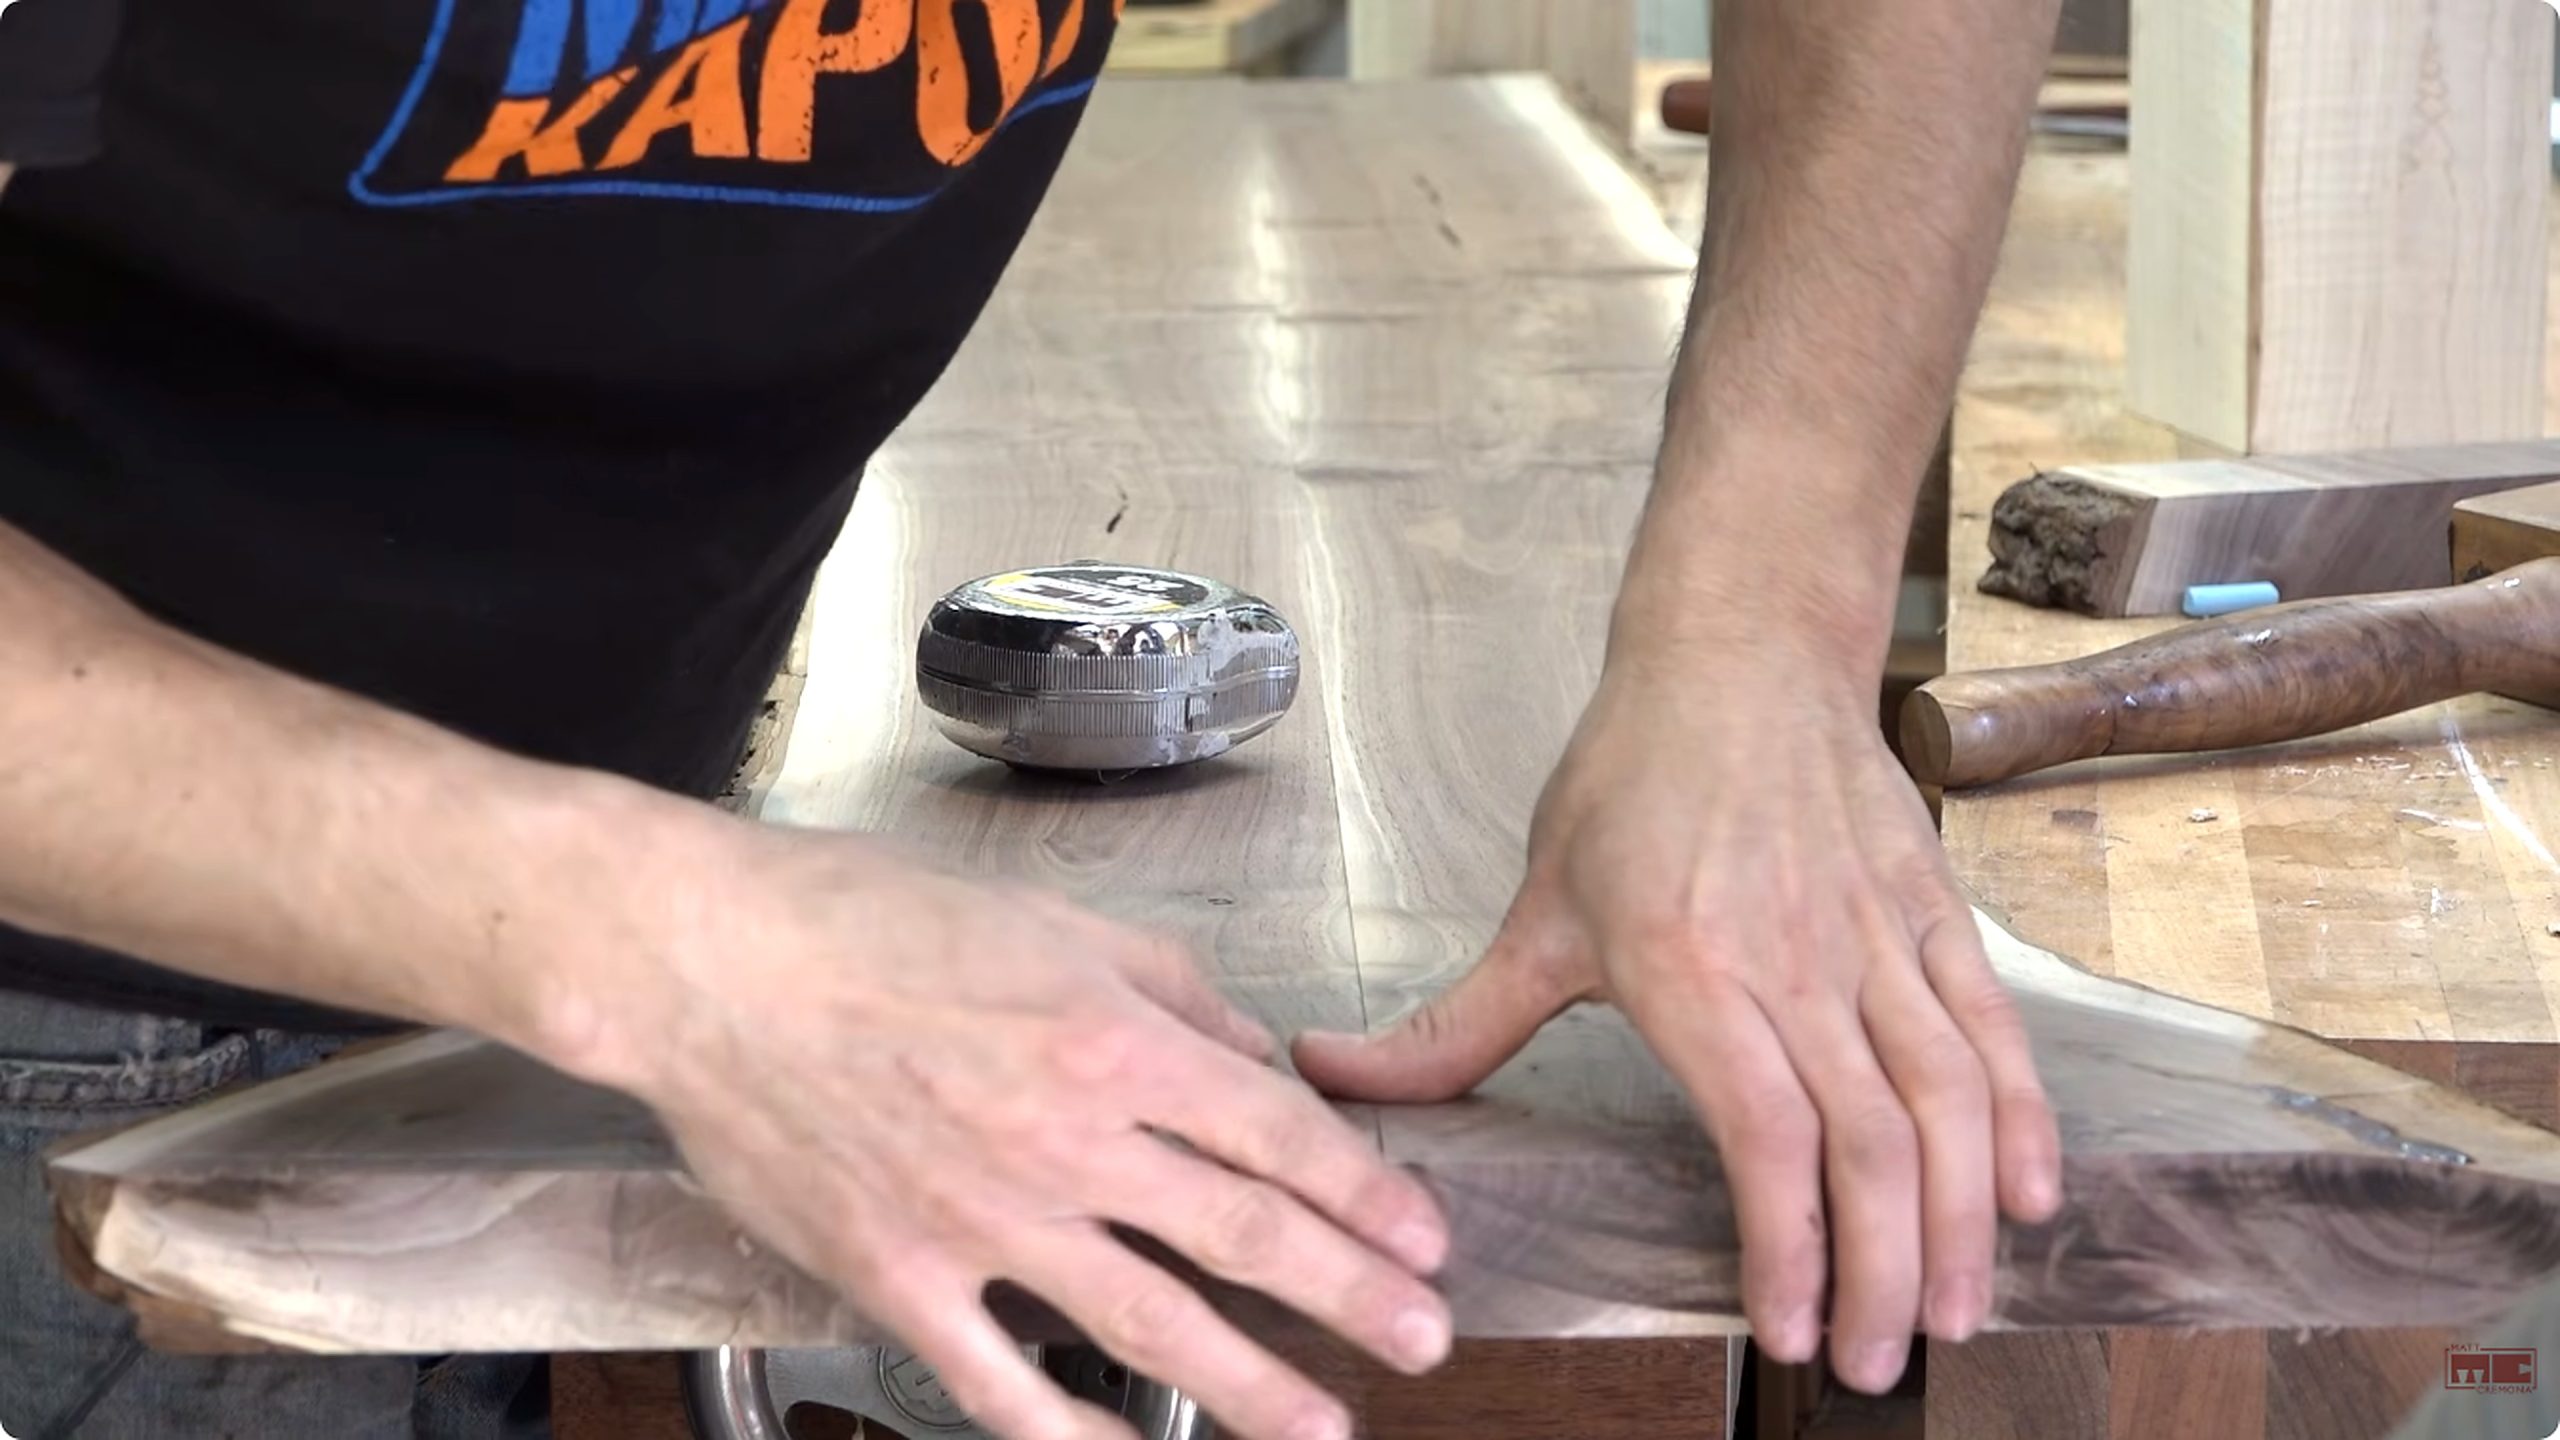
The third and fourth selected frames bring the workflow into layout. Long boards are being arranged, handled, and measured. That is the stage where a furniture project becomes specific. A bed is not simply a slab with legs. It has rails, posts, a headboard, a footboard, mattress support decisions, clearances, and connection points that need consistent dimensions.
Layout should begin with function. The maker needs to know the intended mattress size, the height target, the connection strategy, and the visible faces before cutting the best stock. The video frame with a tape measure across a board is important because it shows that the source is not only about milling. It is about assigning real dimensions to real material.
For a large-tree project, this stage should protect long continuous parts. Cutting too soon can turn a rare long board into several ordinary shorter pieces. Waiting too long can make handling awkward and slow. The better approach is to mark candidate parts, compare boards side by side, identify the show faces, and cut only after the design requirements are clear.
Readers should also notice where measuring has to include waste. Flattening, jointing, trimming checks, and removing defects all consume length or width. A board that barely meets the target size before milling cleanup may be too small after the edges are made straight. A source-based article can teach this without inventing numbers: leave allowance for the operations that are still visible later in the workflow.
Machine Preparation In The Shop
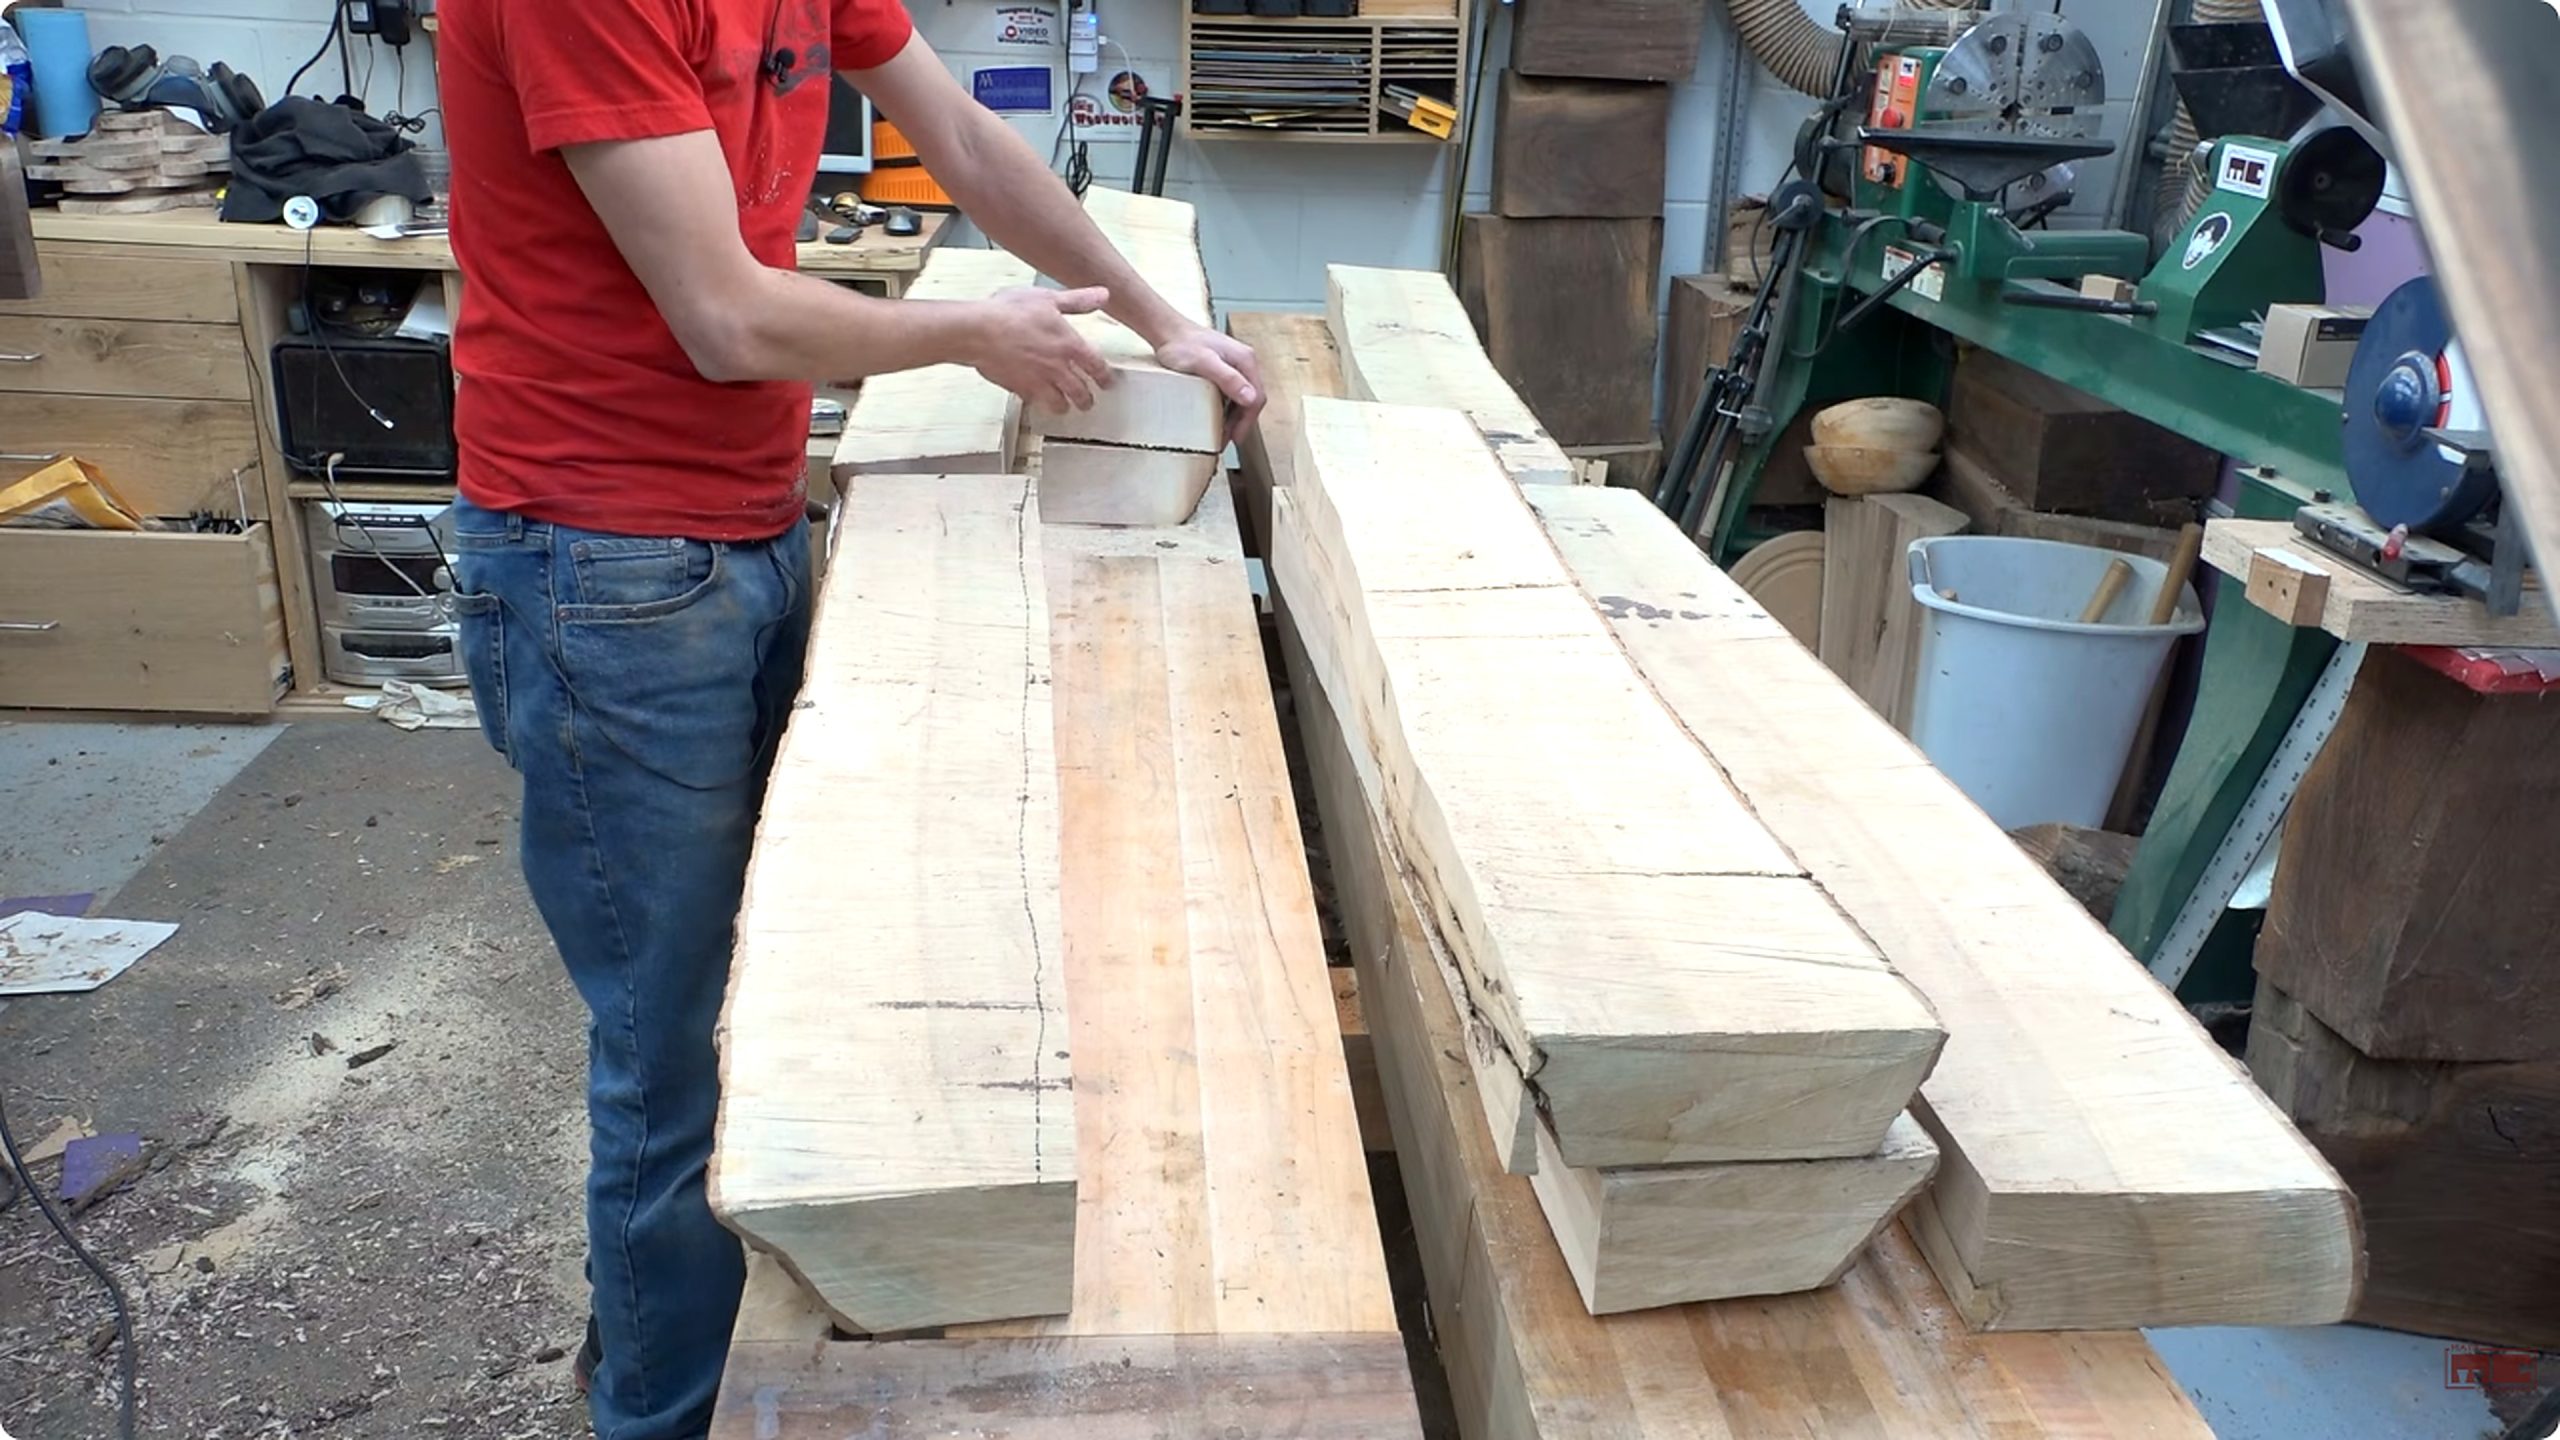
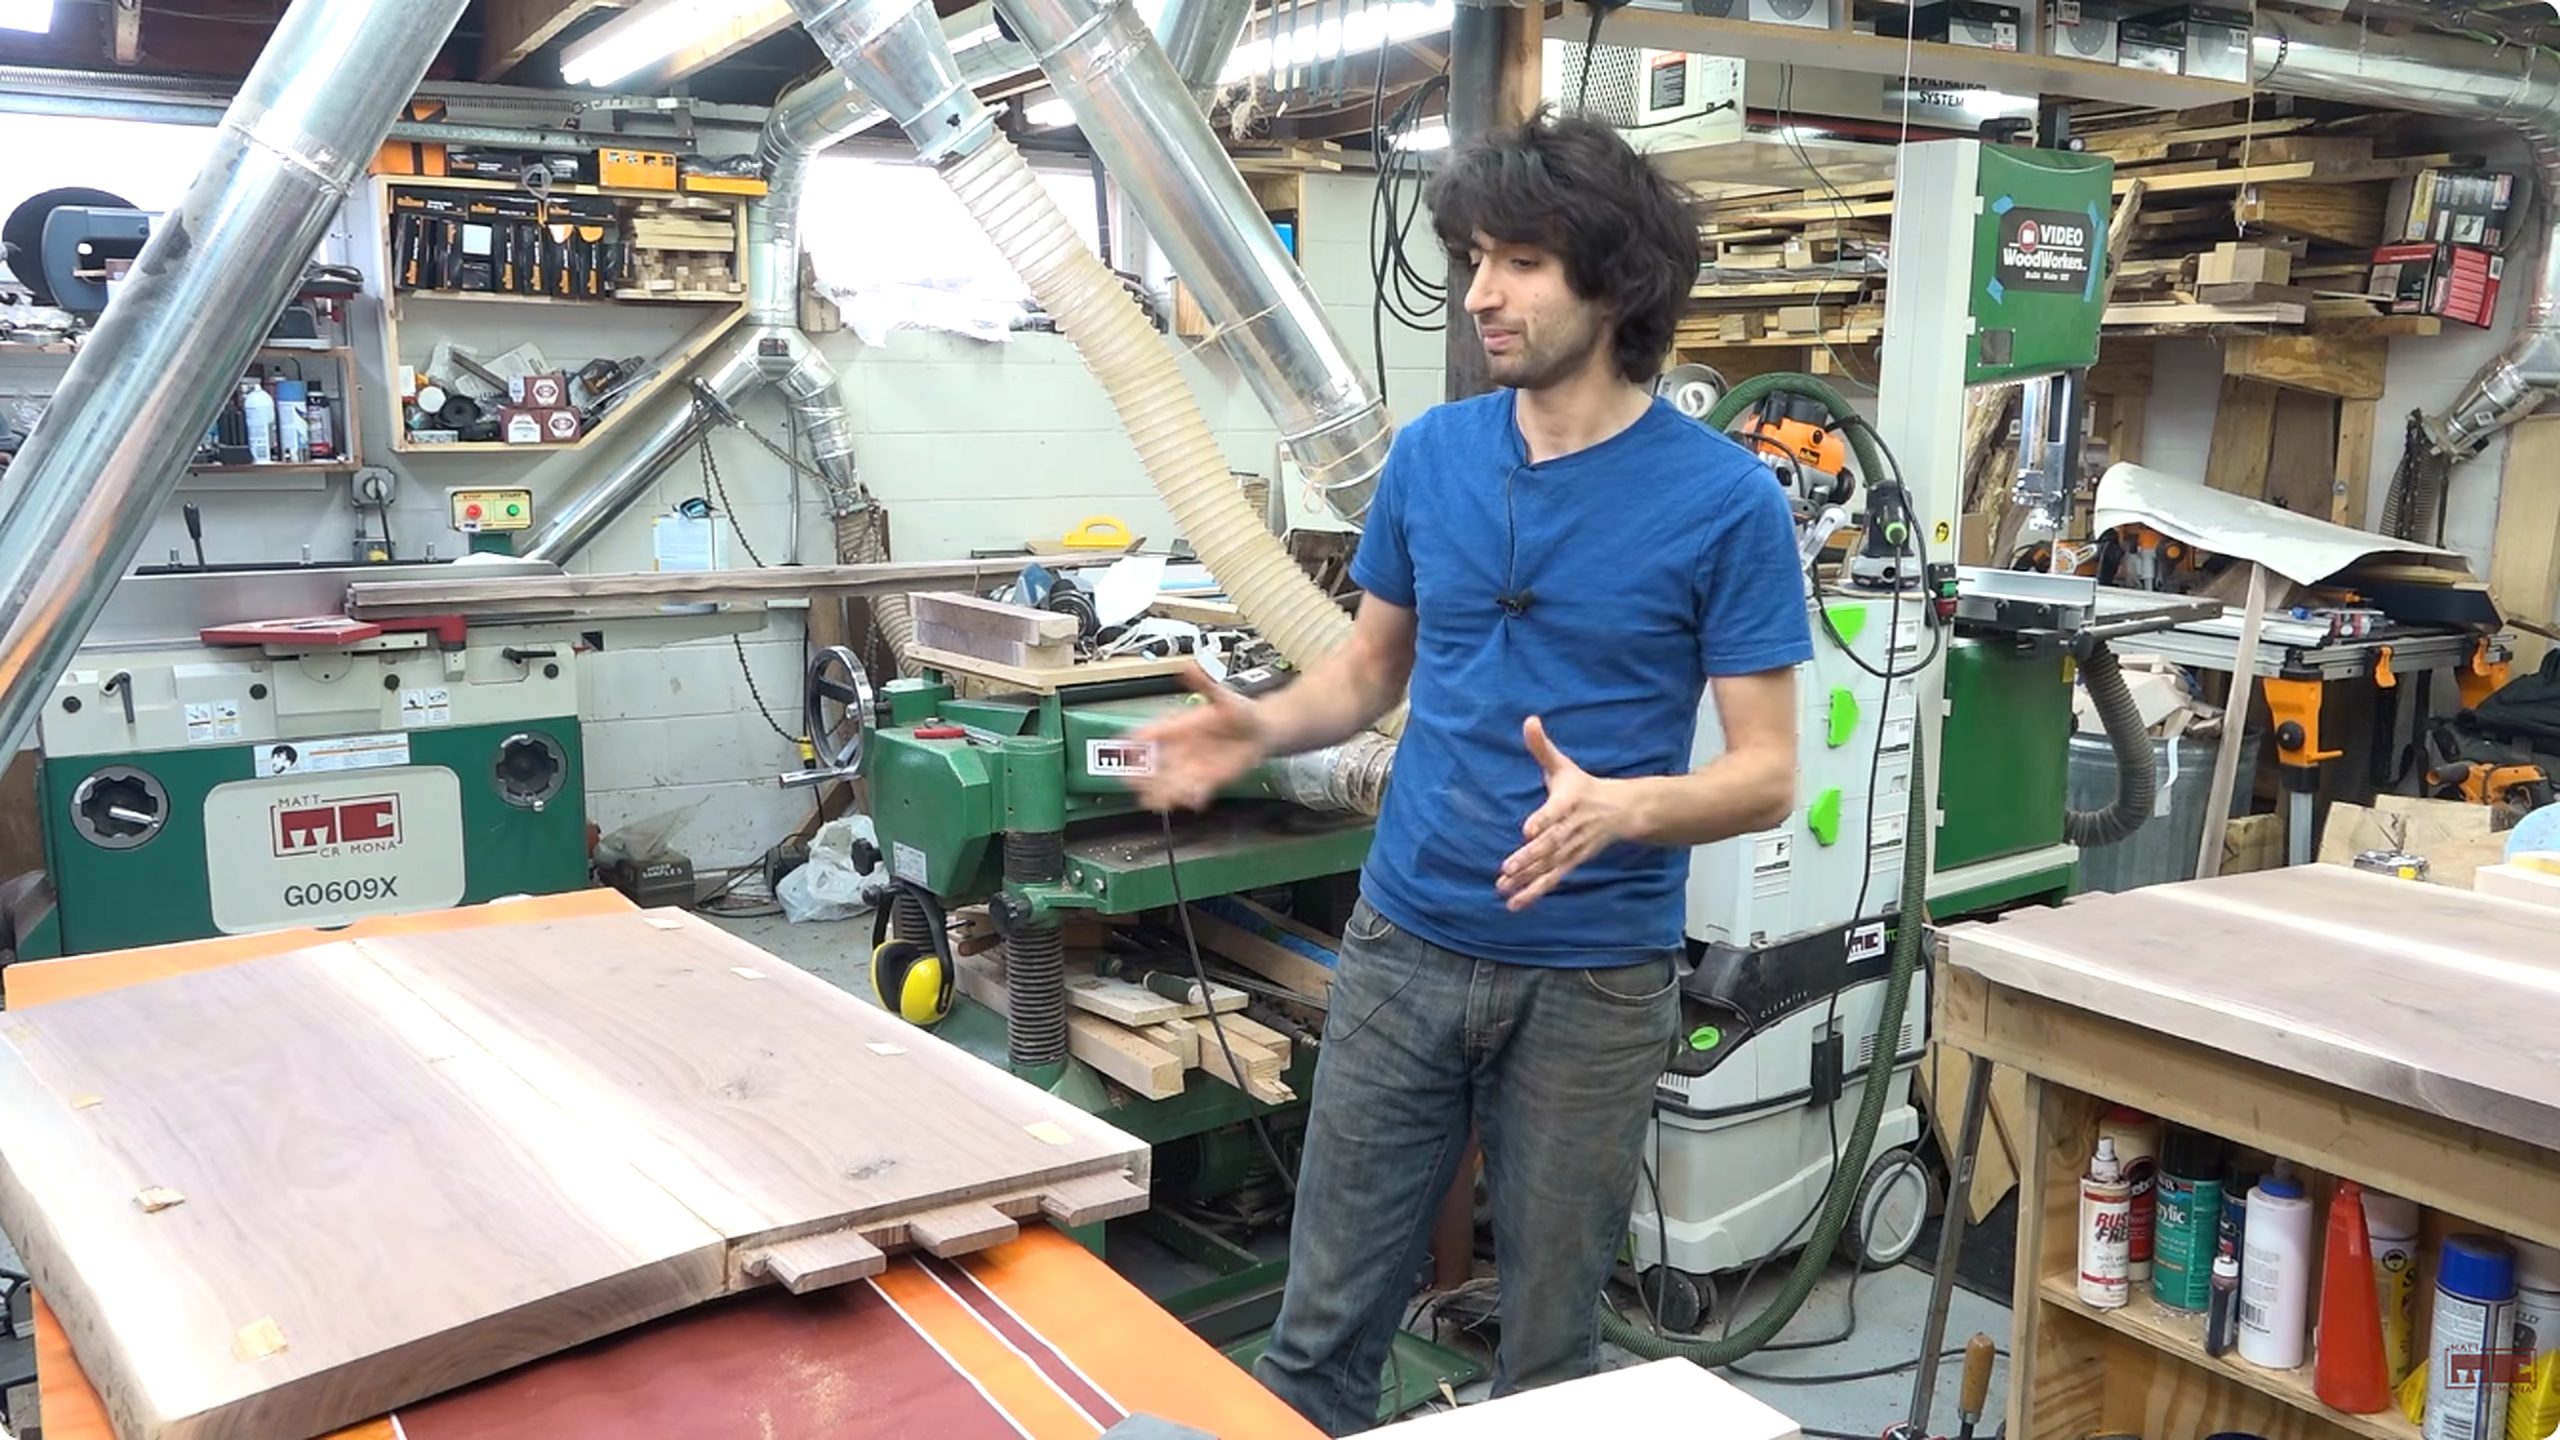
The final selected frame moves the story into a machine-filled shop. This is where bed stock needs to become predictable furniture stock. Large boards from a tree may still be uneven, twisted, cupped, rough, or inconsistent in thickness. Before reliable joinery can happen, the material needs reference faces and repeatable edges.
The source frame shows the practical difference between owning attractive lumber and building stable furniture. Shop machines and layout tools are not decoration. They make surfaces dependable enough that rails meet posts, panels sit where intended, and hardware or joinery can be installed without fighting each part separately. A bed magnifies small errors because long components create long sight lines.
A reader should separate rough surfacing from final finish. Flattening and squaring are early accuracy operations. Sanding and finishing come later. If a board is sanded before it is dimensionally reliable, the surface may look better while the part still fits poorly. The better workflow is reference, flatten, square, thickness, cut to final dimension, test fit, then refine visible surfaces.
Machine preparation also gives the article a clear tool angle. Someone planning a similar project may need a sawmill service or chainsaw milling setup for the tree, but they also need shop capacity for the bed parts. Planer width, jointer strategy, table support, dust collection, clamps, measuring tools, and safe material handling all affect whether the project can move from a dramatic tree story into a usable bed.
Why A Bed Project Changes The Workflow
A bed has a different technical demand from many viral woodworking projects. It is furniture that must support changing loads, stay quiet, survive seasonal movement, and still look intentional in a room. That makes the material choices more disciplined. The best-looking board is not automatically the best structural board, and the widest piece is not automatically the best design choice.
Long rails should be selected for stability and alignment. Posts or legs need dependable grain and enough thickness for joinery or hardware. Headboard parts can carry more visual figure, but they still need movement planning. If the source wood is air-dried or kiln-dried later, the maker must account for that before final fitting. The video does not provide every drying detail, so this article does not claim the full conditioning schedule. It points out why that schedule would matter.
The term “heirloom” should also be handled carefully. In a public article, it is safer to treat the word as the source title’s project intent rather than a guarantee. A piece becomes heirloom-quality through design, material care, joinery, finish, use, and time. The video can show the process toward that goal, but the article should keep the reader focused on the decisions that can actually be inspected.
That approach helps both Google and human readers. It answers the question directly, adds source evidence, and avoids exaggerated claims. It also gives a more useful mental model: the project is a conversion from tree to bed-ready parts, and every stage either preserves or reduces the quality of the final furniture.
Tool And Setup Notes For Readers
The source suggests a complete workflow rather than a single must-buy tool. At the tree stage, the key needs are safe cutting support, a guide or milling method appropriate to the log, lighting, personal protective equipment, and a plan for moving heavy material. At the board stage, the key needs become stickers, drying space, marking tools, and a way to keep boards identified by intended use.
In the shop, readers should think in systems. A planer without a flattening strategy may copy twist. A table saw without long support may make rail cuts risky. Clamps without a plan for cauls, alignment, and sequence may not create a square assembly. The correct purchase path depends on the weakest part of the workflow, not on the most dramatic frame in the video.
For readers comparing tools, use the Tecatool woodworking archive as the next step. Look for coverage on sawmill workflow, timber processing, jointer and planer strategy, table-saw support, clamps, layout tools, and wood movement. The commercial intent is practical: choose the tool or service that removes the real bottleneck in your project.
A project like this also needs patience as a setup resource. A fresh board may need drying before final sizing. A wide panel may need staged flattening. A long rail may need rest time after rough cutting. Those steps do not look as exciting as the first cut, but they often decide whether the finished bed stays aligned after it leaves the shop.
Evidence Boundary For This Source
This article uses the public source title, channel name, video ID, and captured frames as its evidence base. It can say the video is about moving from a walnut tree toward an heirloom bed because that is the source title. It can describe the selected frames: outdoor milling, board surfaces, layout, measuring, and shop preparation. It should not claim exact dimensions, price, age, moisture content, species proof beyond the title, or final durability without separate evidence.
That boundary is not a weakness. It is what makes the article citeable. Readers and AI systems can understand which statements come from the video and which statements are general woodworking interpretation. The source supports a process analysis. It does not support a full engineering certificate for the finished piece.
The same boundary applies to images. The images are real frames captured from the source video and processed for the article. They should be used to support the section they appear in, not to create claims outside the frame. A milling image supports milling discussion. A measuring image supports layout discussion. A machine-room image supports shop preparation discussion.
If a reviewer later opens the WordPress draft, the important checks are straightforward: the body begins with the focus keyword, the source iframe remains near the bottom, the final Sources paragraph follows the video, the images load from uploaded processed media, and the article does not leak internal workflow notes into public text.
Reader Checklist
Use this checklist while watching the source video. First, identify the stage: tree, rough stock, selected board, measured part, machined component, or final assembly. Second, ask what decision is being made at that stage. Third, ask what risk remains after the decision. Fourth, decide whether the video gives enough evidence to trust the claim being made.
For the milling stage, check support, cut direction, lighting, and how the board is released. For board selection, check defects, color changes, grain direction, and whether the board is long enough for the intended bed component after cleanup. For layout, check whether measurements include waste and whether the best faces are marked. For shop preparation, check whether the part has a reliable reference face before final sizing.
For the final project claim, be stricter. A bed must be more than attractive wood. It needs stable parts, repeatable dimensions, strong connections, a sensible finish, and a design that accounts for movement. If the source does not show all of those steps, a responsible article should say so indirectly by limiting its claims to what the source actually supports.
This is why the source is still useful even if every detail is not visible. It shows a meaningful path from tree to furniture stock. Readers can learn how the decisions stack together, which tools matter at each stage, and where a future project needs more evidence before copying the approach.
FAQ
What does the walnut tree heirloom bed source show?
It shows a source-video workflow moving from outdoor milling into board selection, measuring, and shop preparation for bed parts.
Does the article prove the exact value or age of the walnut tree?
No. It stays with the visible source evidence and avoids unsupported value, age, moisture, and durability claims.
Why are five process images used?
Five images let readers inspect separate stages: milling, board reading, layout, measuring, and shop preparation.
What should a woodworker learn from the video?
The practical lesson is to preserve options: mill carefully, select boards by function, measure with waste allowance, and prepare flat repeatable parts before assembly.
Source Video
Sources: Matt Cremona, “From Walnut Tree To Heirloom Bed,” YouTube, video ID YZ6PBH5s1KY, original YouTube source page, accessed 2026-07-31. Internal context: Tecatool woodworking archive and source-video process coverage for milling, board selection, layout, and furniture preparation.