
sawing 2×8 boards for a shed floor means turning a round log into repeatable structural stock, then checking every board before it becomes part of the floor system. Mark Galicic’s source video shows the practical sequence at an open-sided circular sawmill: clear the carriage, load and orient the log, establish flat faces, make repeated passes, and move the fresh boards away for later inspection.
The source is “A few more 2x8s to finish my shed floor # 884”, video ID gzjLEWS5Pi8. The title supplies the intended board size and shed-floor use; the frames supply evidence for the mill layout, log position, cutting sequence, and board handling. They do not independently prove species, moisture content, structural grade, final dressed dimensions, or compliance with a local building code. Those items must be verified separately.
This guide turns that visible workflow into a job plan for a small sawmill or owner-builder. It complements Tecatool’s broader woodworking and wood-processing guides, while staying tied to this one source instead of treating every sawmill video as the same story.
Table of Contents
What the Source Video Actually Answers About Sawing 2×8 Boards for a Shed Floor
The video answers a narrow, useful question: what does another production session look like when a sawmill owner needs more 2×8 stock for an ongoing shed-floor job? Sawing 2×8 boards for a shed floor is not a complete shed tutorial and it is not a certified grading lesson. The camera follows the mill rather than a finished building, so the strongest lessons concern setup, conversion of the log, repetition of the cut, and material flow after each pass.
Five source frames preserve that sequence. At 65.91 seconds, the carriage and the large circular blade are visible before the log occupies the cutting line. At 181.24 seconds, a bark-covered log rests on the carriage. At 329.53 seconds, the workpiece has a pale, flat sawn face and is moving from round-log geometry toward a rectangular cant. At 510.77 seconds, the long squared timber is aligned for further ripping. At 659.06 seconds, an operator works beside the receiving area while boards and mill equipment fill the background.
That progression matters because a 2×8 is not created by guessing at the final pass. The miller first needs a stable reference, then a cutting plan that preserves enough width and thickness, then consistent setworks or measuring references. Even when the source title names 2x8s, a reader should not assume the camera proves every board’s dimensions. A tape, scale, or calibrated mill setting is the correct proof at the machine.
The practical answer is therefore: establish the reference faces first, repeat the target setting only after the cant is stable, and separate “freshly sawn to a target” from “ready to install.” A floor board may still require drying, sorting, trimming, surfacing, treatment, engineering review, or local inspection depending on the building and jurisdiction.
Read the Open-Sided Circular Sawmill Layout Before Loading
When sawing 2×8 boards for a shed floor, the earliest selected frame is valuable because it shows the machine without hiding it behind the log. A large circular blade stands beside a rail-mounted carriage under a roofed but open-sided structure. Sawdust has accumulated around the cutting zone. The open end of the mill provides a long material path, while signs, plates, tools, and structural posts create a busy background. This is a working space, not an empty demonstration set.
Before loading, the operator needs to imagine the entire travel path. Where will the log enter? Which fixed objects could interfere with a protruding end? Where can an offcut fall without striking a person or blocking the carriage? Where will a fresh board be received? The source frame makes these questions concrete because the blade, carriage, roof supports, and sawdust zone can all be located relative to one another.
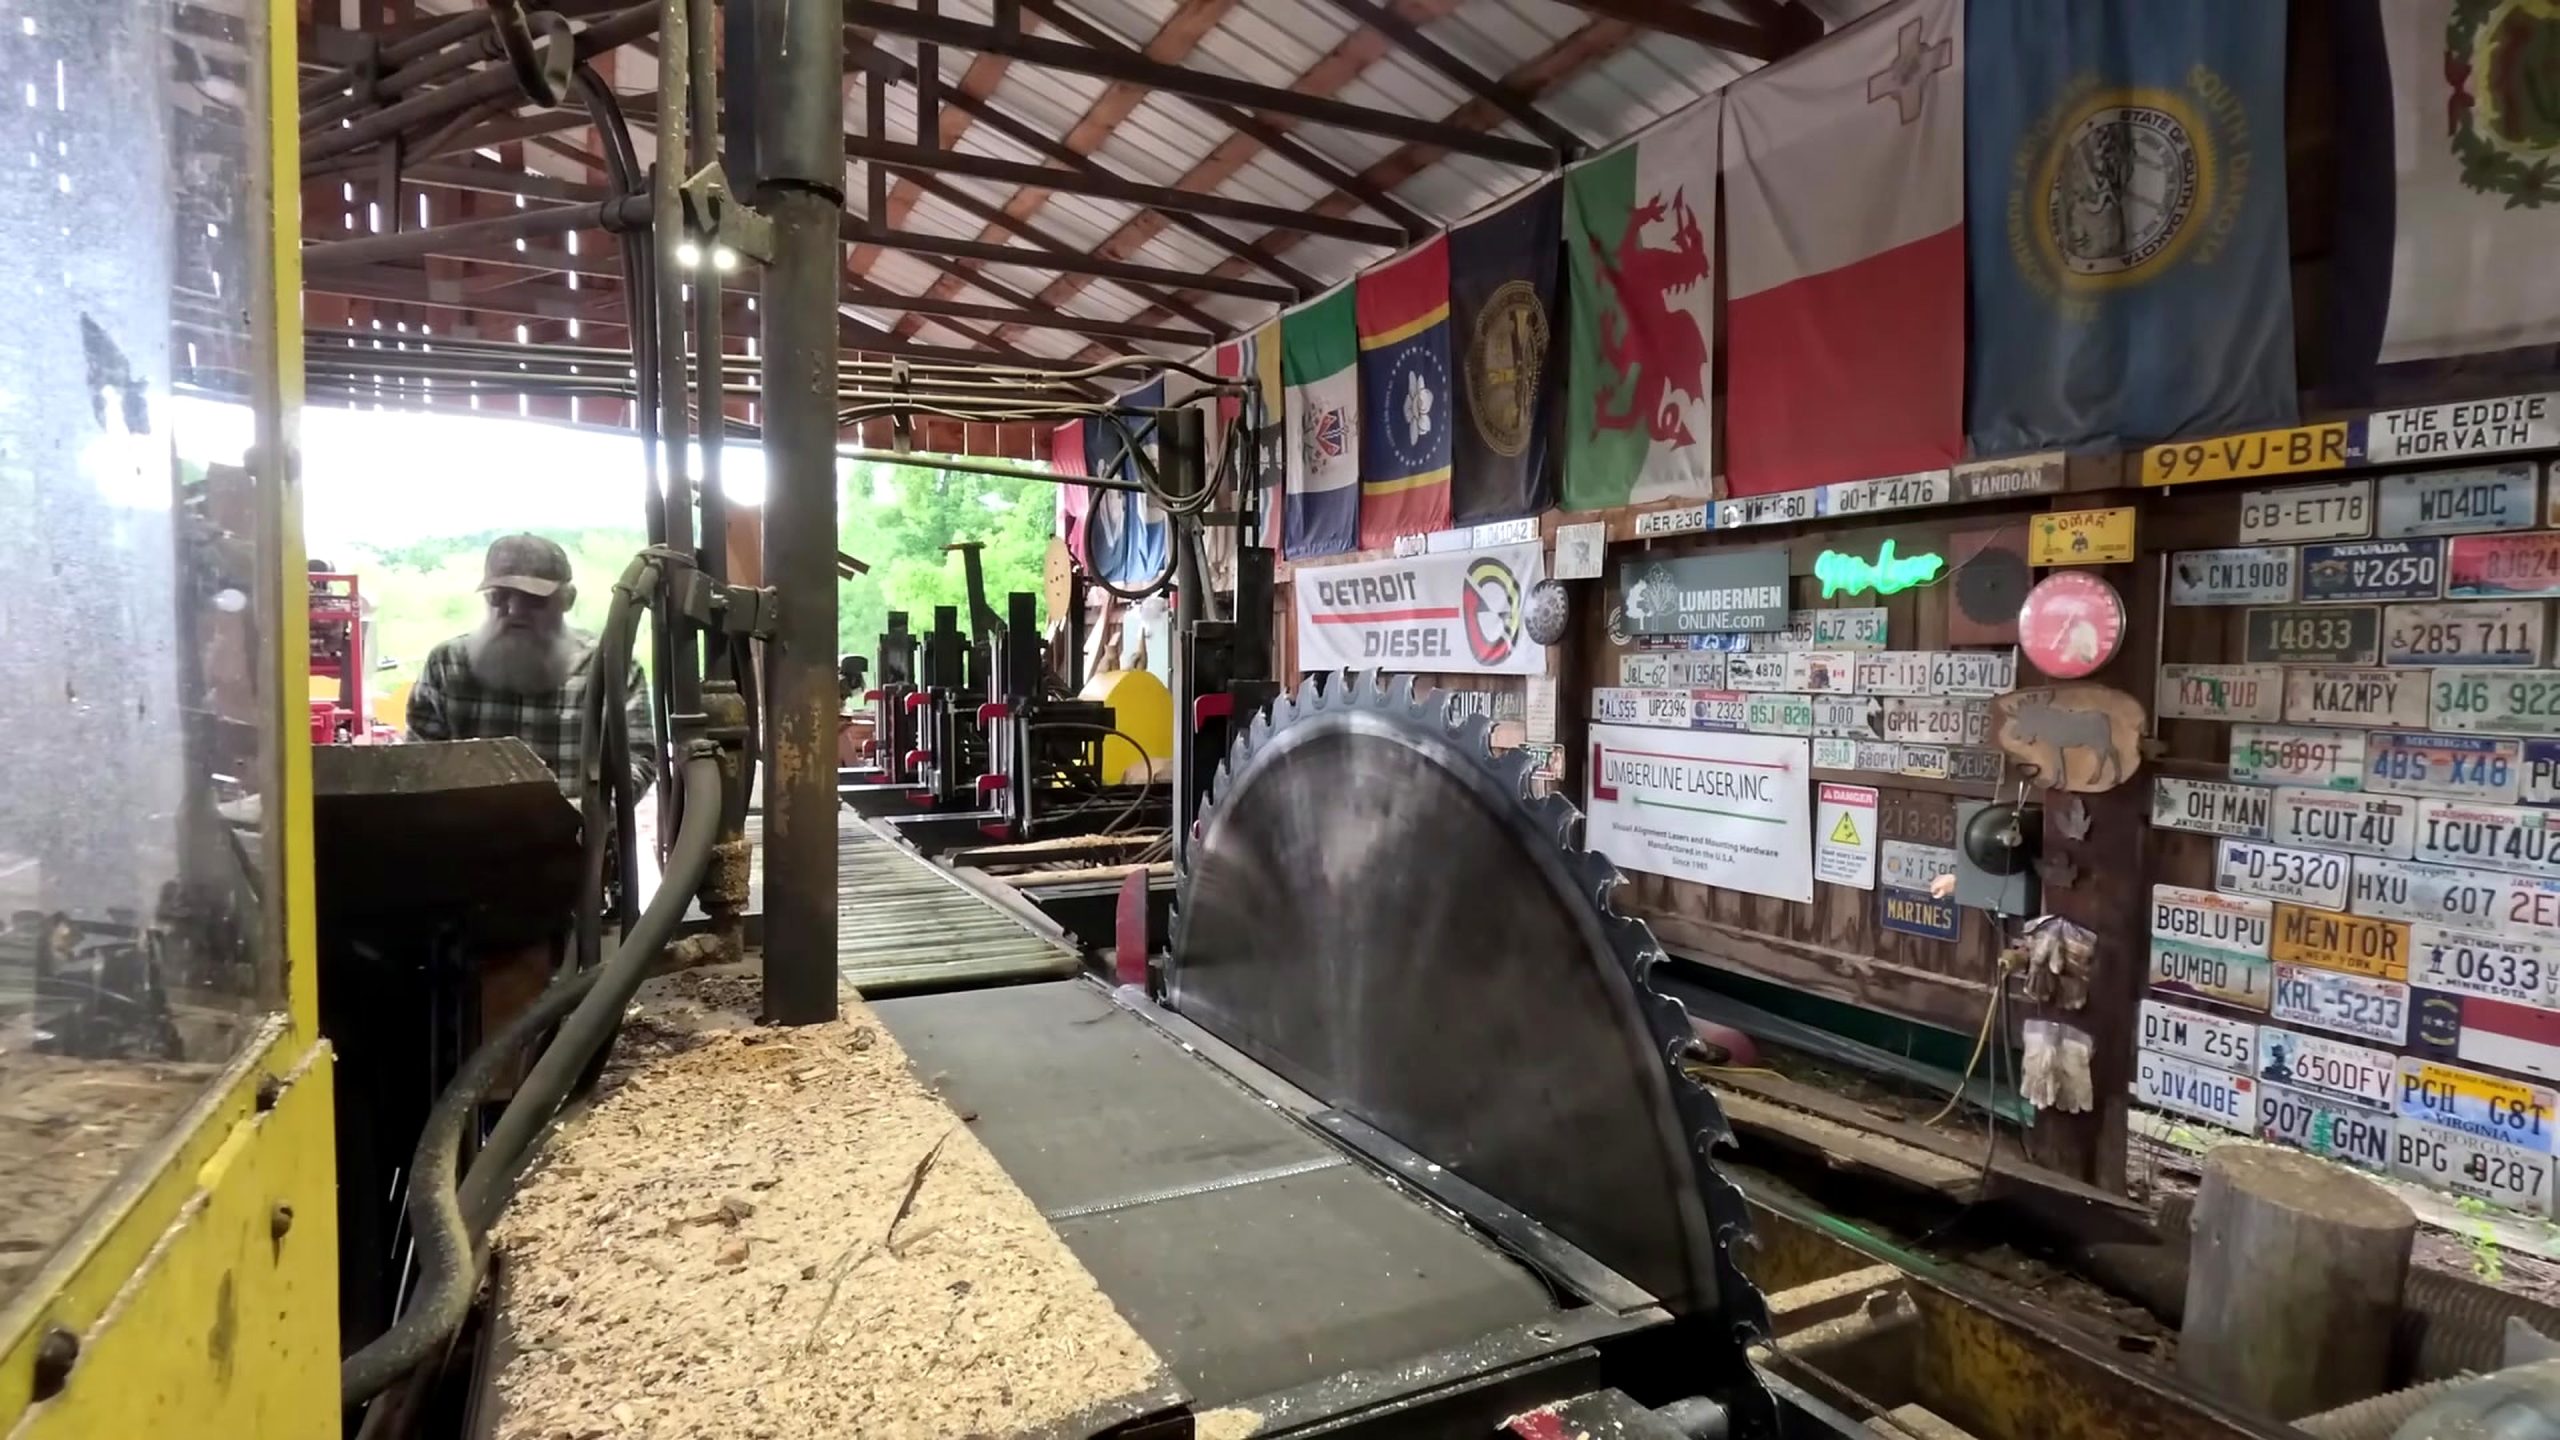
A useful pre-load check begins with housekeeping. Loose slabs, wedges, bark, and sawdust can change footing or interfere with a moving part. The carriage route should be clear end to end. The receiving side should have room for long boards. Communication must be agreed before the machine starts, especially if one person operates the controls while another catches or stacks material.
Next comes machine condition. Blade inspection, guards, lubrication, guide condition, carriage stops, dogs, clamps, and emergency shutdown controls belong on the checklist. The video frame identifies the machine class, but it does not expose the maintenance history or blade specification. A buyer or operator should use the manufacturer’s documentation for those facts rather than infer them from appearance.
Orient the Log and Choose the Opening Face
For sawing 2×8 boards for a shed floor, the 181.24-second frame places the log on the carriage with bark still present. Its irregular exterior is a reminder that the first pass is an information cut. The miller is not merely removing a slab; the cut begins to reveal sweep, taper, knots, cracks, embedded contamination, and the usable width inside the log. A poor orientation can trade away yield before the interior is understood.
For 2×8 stock, width is a major constraint. The log has to offer an eight-inch target plus allowances for kerf, variation, later surfacing if planned, and any edge cleanup. The source title gives the nominal product goal, but the safe procedure is to confirm actual requirements from the shed plan. Nominal lumber names do not always equal the final measured dimensions, particularly when comparing rough-sawn and dressed stock.
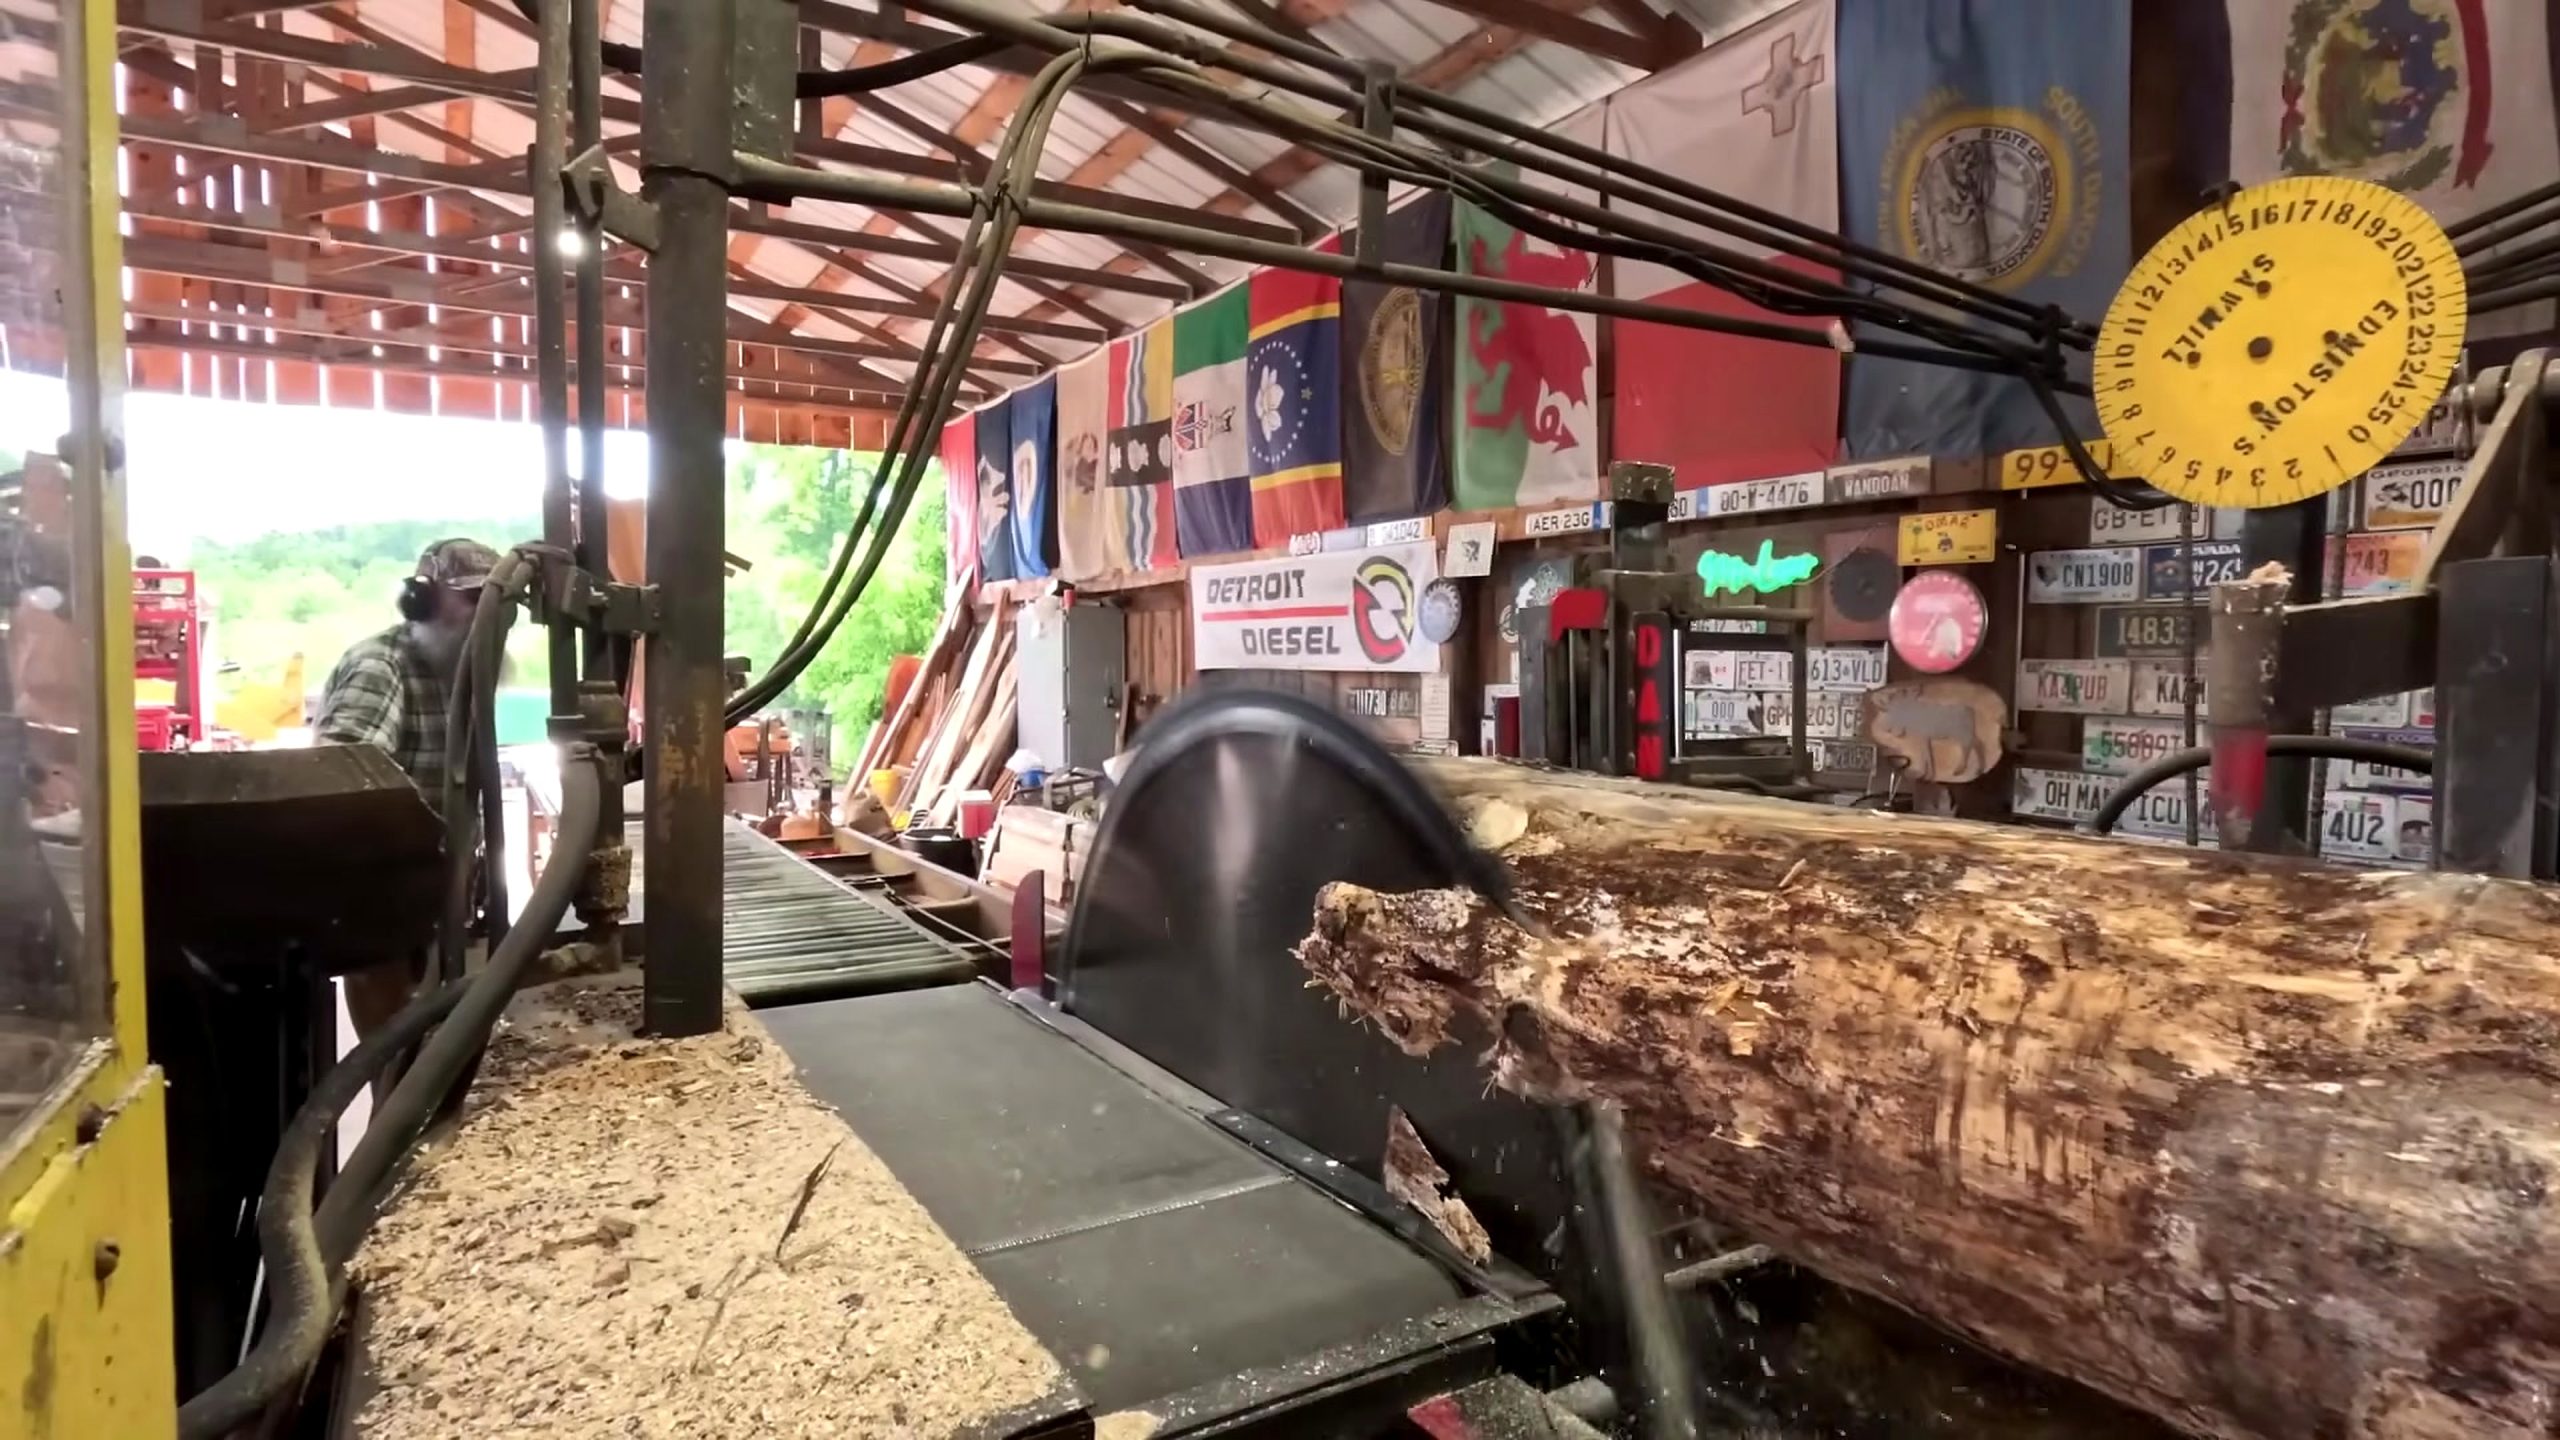
Start by looking for the log’s natural resting position, then decide whether that position supports the intended opening face. Check end cracks, pronounced sweep, large knots, dirt, stones, old fasteners, and other hazards. A metal detector can be a sensible support tool when urban or reclaimed logs are involved, but this source does not establish where the log came from. The recommendation is general risk control, not a claim about this particular log.
The dogs or clamps must resist rotation and translation during the pass. Their placement also needs to stay outside the cutting path. The operator should verify the line visually and by the mill’s measuring system before engaging the feed. That pause is productive: it protects the blade, the reference face, and the limited width available for the planned boards.
Convert the Round Log Into a Stable Cant Before Repetition
The 329.53-second frame shows why sawing 2×8 boards for a shed floor depends on cant preparation. A broad pale face has replaced part of the barked exterior, and the workpiece now presents a surface that can be used for subsequent orientation. This is the bridge between opening the log and producing repeatable boards. Once the miller has a trustworthy face, the next rotation and cut can establish a second reference at a controlled angle.
A stable cant reduces uncertainty. The carriage can support it more predictably, clamps have better surfaces to hold, and the measuring system can reference known geometry. The goal is not necessarily to make a perfect rectangle immediately. The goal is to create enough control that the target board width and thickness are no longer being derived from an unstable round surface.
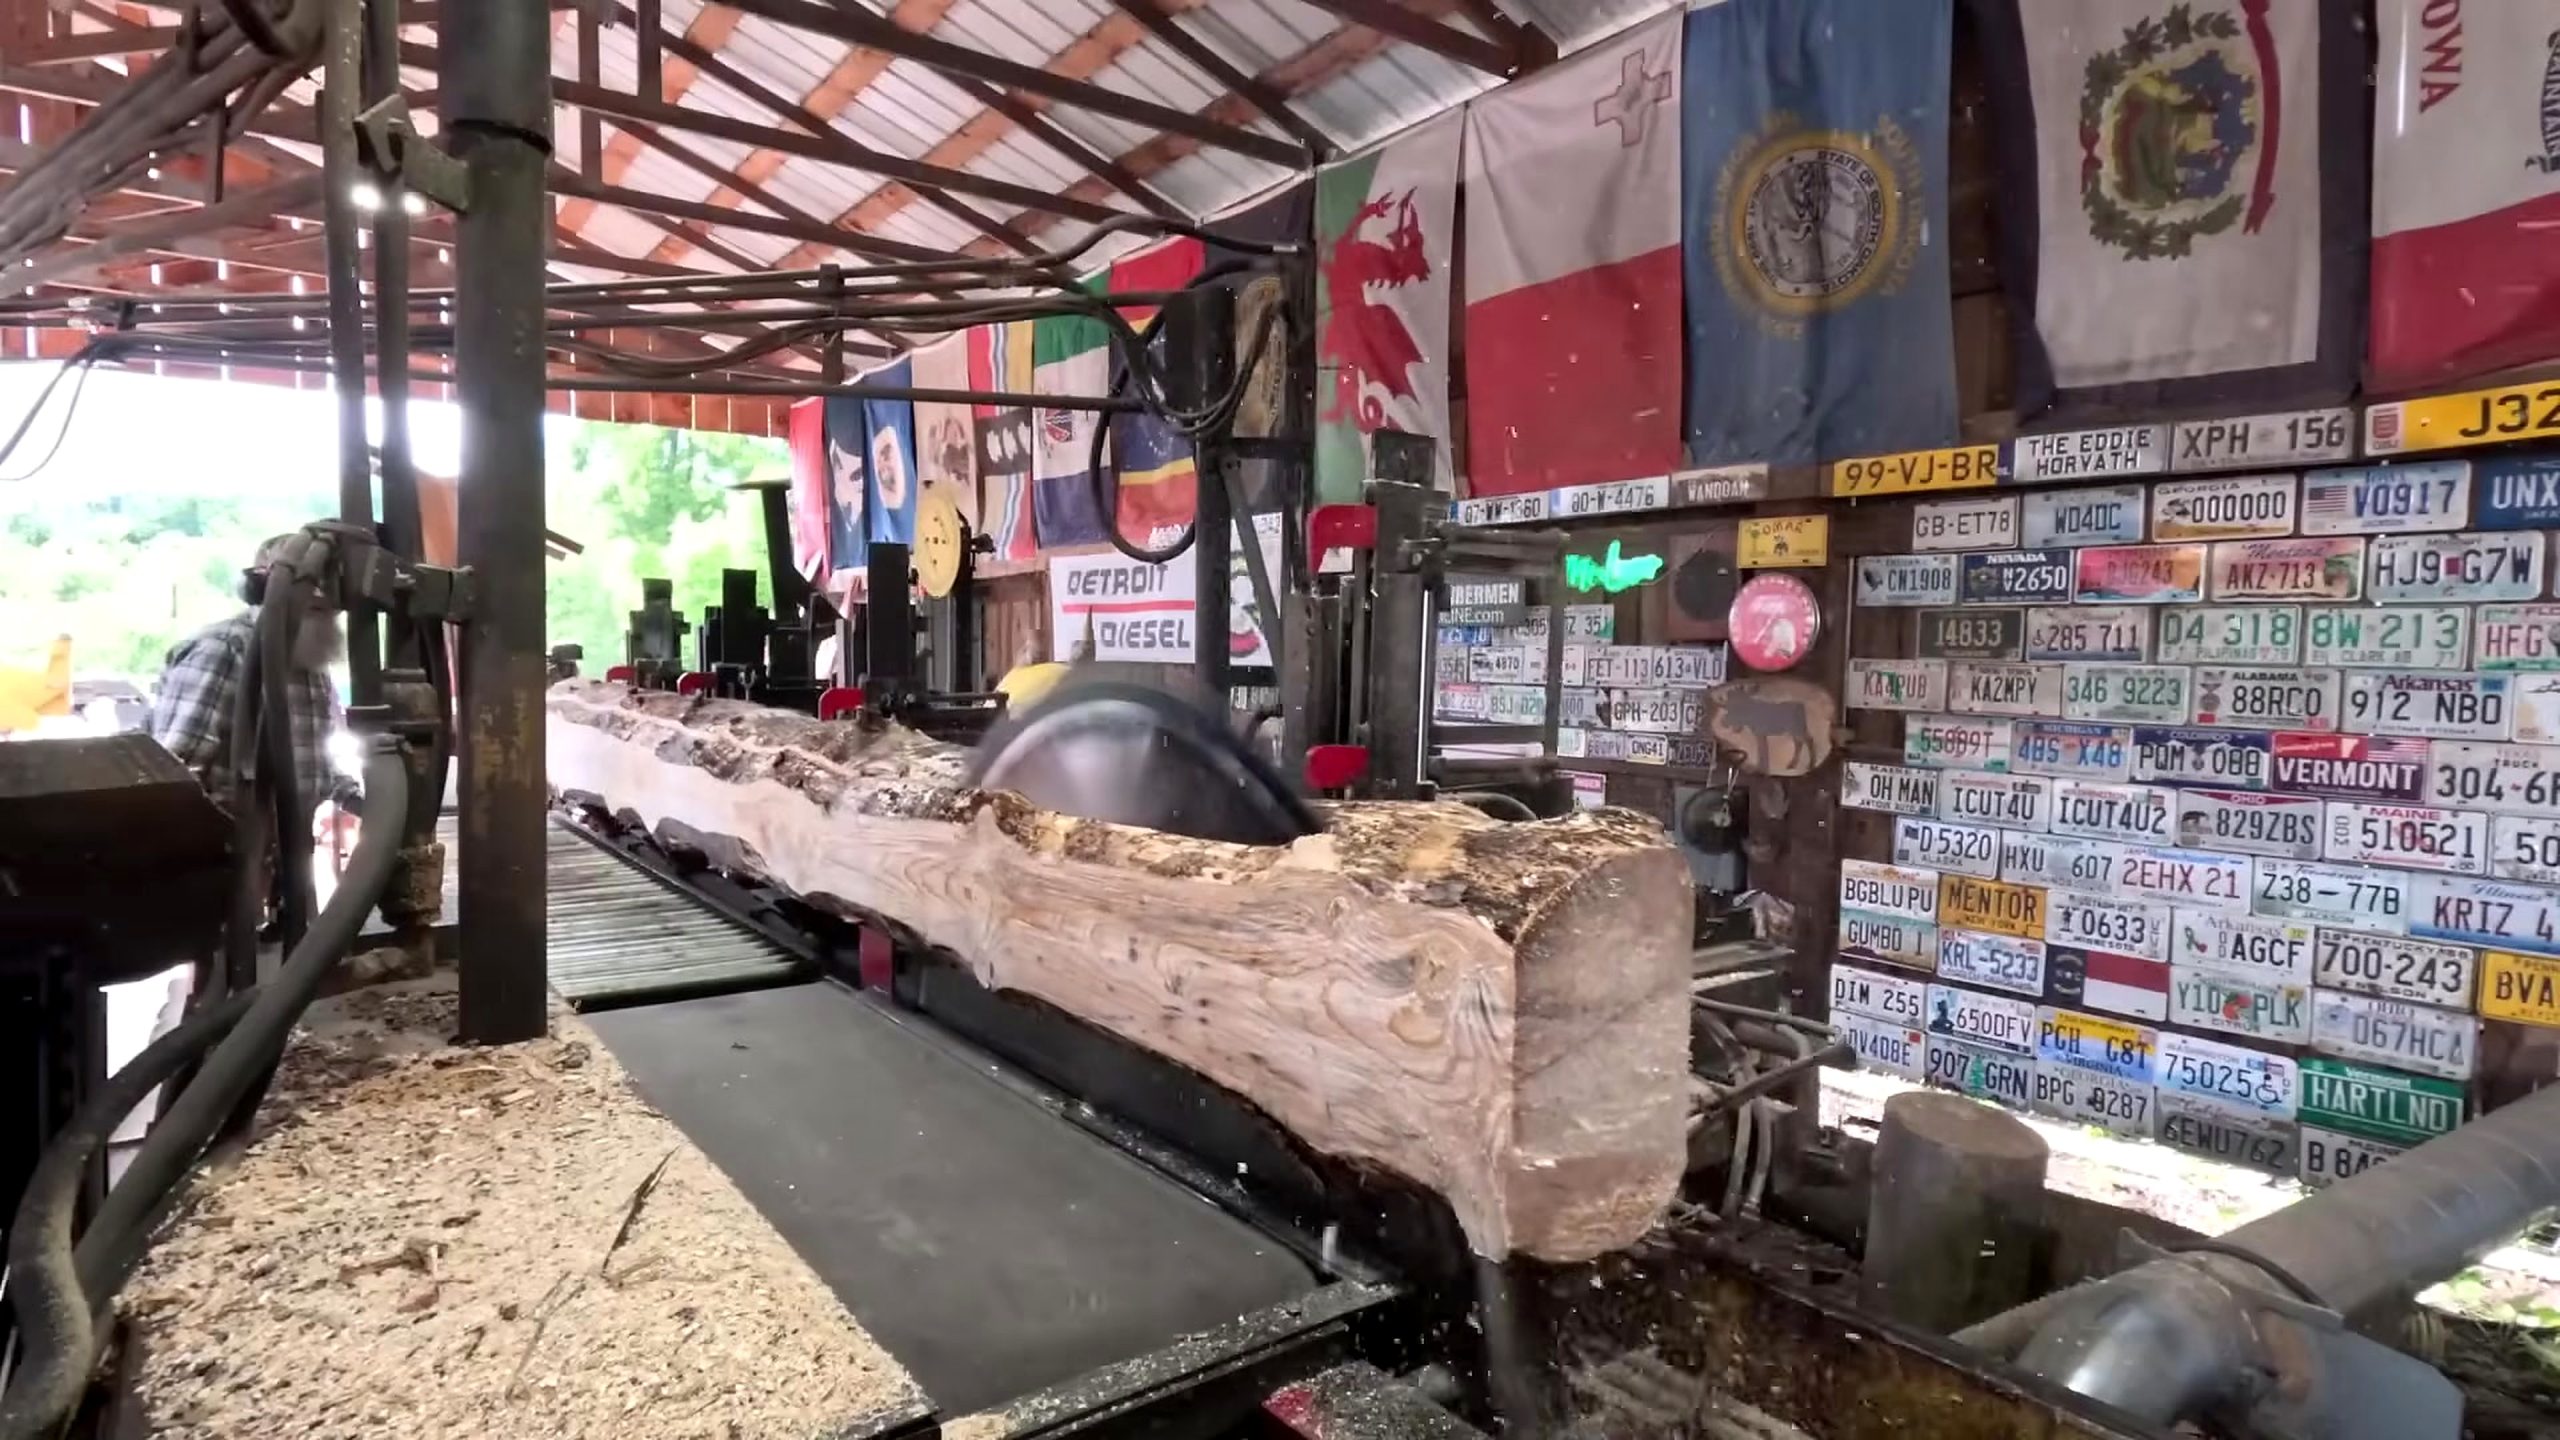
This is also the time to update the cut plan. Interior defects may appear only after the first face opens. If a crack reaches into the intended board zone, preserving maximum width might no longer produce the best usable yield. If the face is sound, the miller can keep the 2×8 target central. The right choice follows the revealed wood; it does not blindly follow a plan drawn from the outside.
Kerf deserves attention because each pass consumes material. On a run of multiple boards, small planning errors accumulate. A yield sketch should include the cant dimensions, target rough size, kerf, edge losses, and a reserve for deviation. The source does not publish those measurements, so this article does not invent a board count. It presents the arithmetic the operator should complete at the mill.
After rotating or repositioning the cant, recheck every holding point. A face that was safe for the previous pass may place a dog or clamp in a new danger zone after rotation. The blade path, supports, and exit side all need to be considered again. Repetition should begin only when the workpiece is both dimensionally useful and mechanically secure.
Make Repeatable 2×8 Board Passes Without Losing the Reference
By 510.77 seconds, sawing 2×8 boards for a shed floor has reached the repeatable-cut stage: the long workpiece appears substantially squared and aligned with the cutting path. The session can now become efficient: set a target, make a pass, clear the board, inspect the remaining cant, and return to the same verified reference. Speed comes from repeatable control, not from skipping the check between passes.
The mill’s scale, setworks, stops, or manual measuring method should be read consistently. If rough stock will later be planed, the allowance belongs in the cut list before milling starts. If the boards will be used rough, the project drawings need to reflect rough dimensions. Mixing nominal, rough, and dressed measurements is one of the easiest ways to finish a milling session with lumber that does not match the building plan.
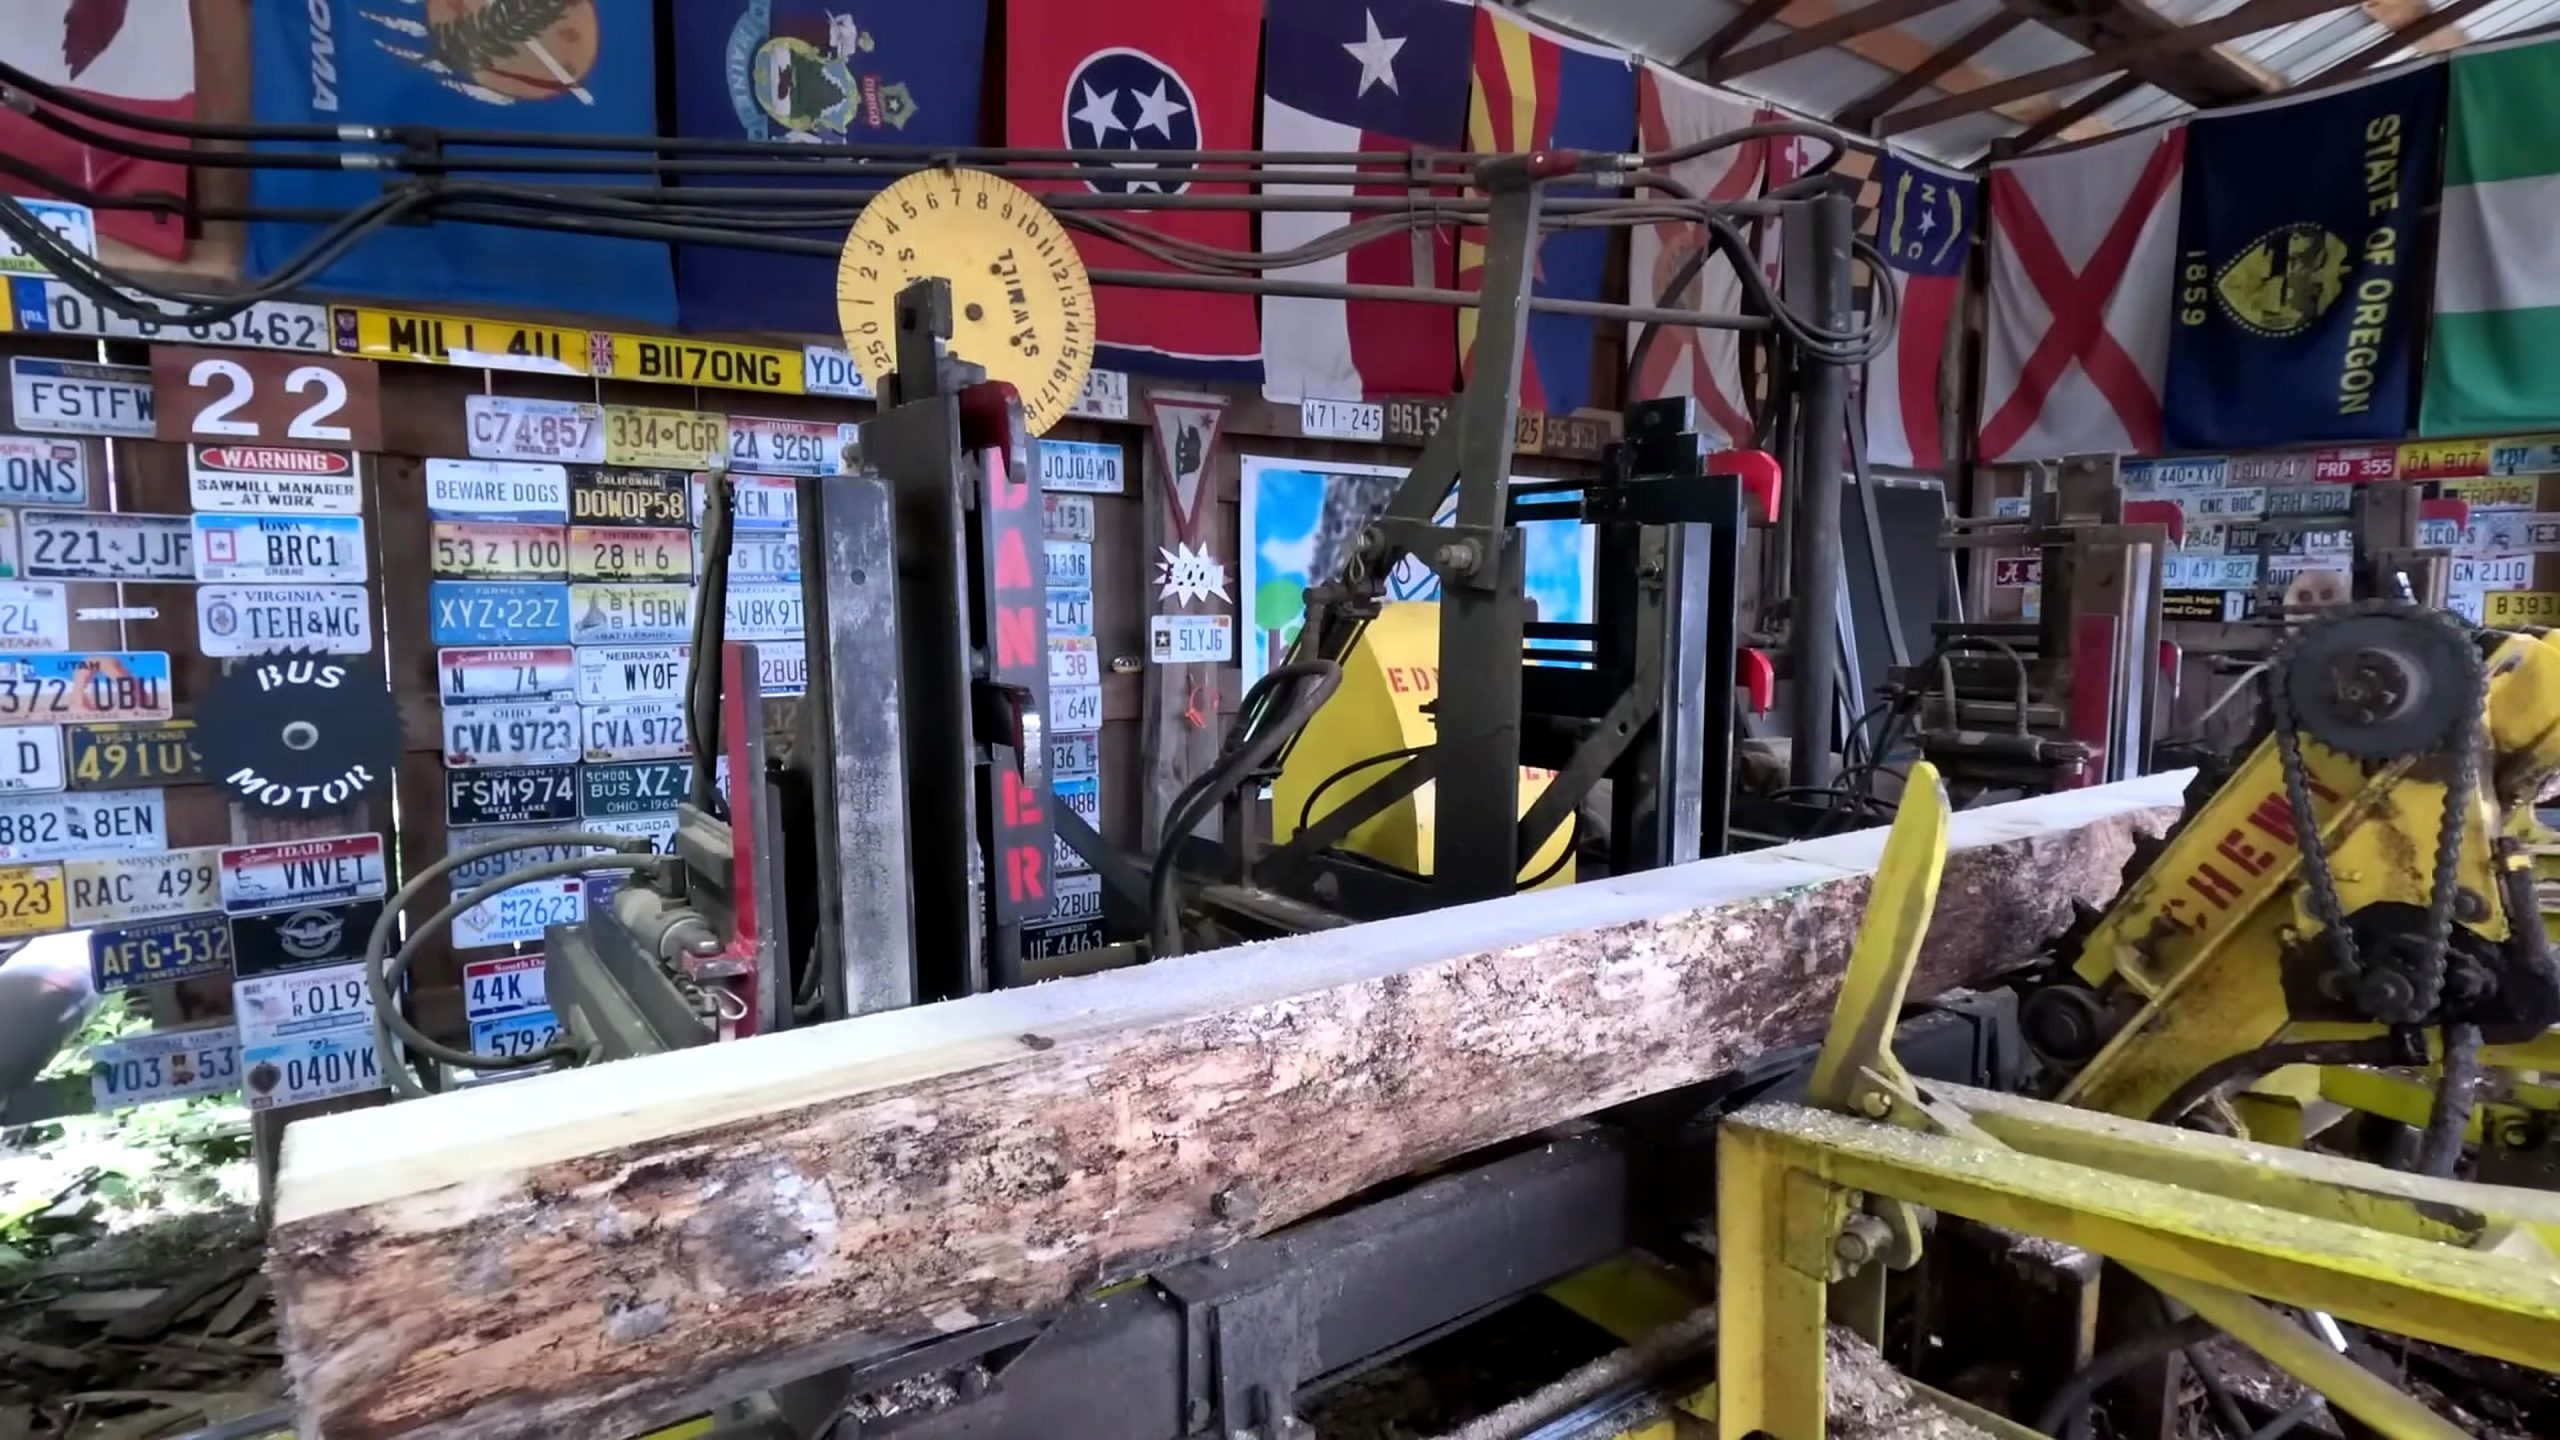
After each cut, look at both outputs: the board that came off and the new face remaining on the cant. The loose board can show thickness variation, wane, end checking, or a defect that interrupts its intended span. The cant face can reveal movement, stress, or a changing defect pattern that should alter the next pass. Treating inspection as part of the cycle prevents a whole stack of repeated errors.
Feed control matters as much as the target setting. The correct rate depends on the machine, blade, wood condition, cut depth, and manufacturer’s guidance. A video cannot supply a universal speed. Operators should watch machine sound, cut quality, vibration, and the blade’s behavior while staying within the equipment’s documented operating limits.
Long boards also amplify small alignment problems. A slight deviation near the start can become obvious at the far end. Support on the receiving side should prevent a board from dropping, twisting, or levering against the cut. Any helper must remain outside the blade and carriage danger zones and follow a prearranged handling signal.
Check, Mark, and Stack Fresh-Sawn Boards Before Floor Use
The later frame at 659.06 seconds shows that sawing 2×8 boards for a shed floor continues beyond the blade. An operator stands near red mill equipment, long stock occupies the work area, and boards are visible around the receiving zone. This is the material-flow stage. A board that has cleared the blade must still be identified, moved safely, and stored so that the next operation does not undo the value created at the mill.
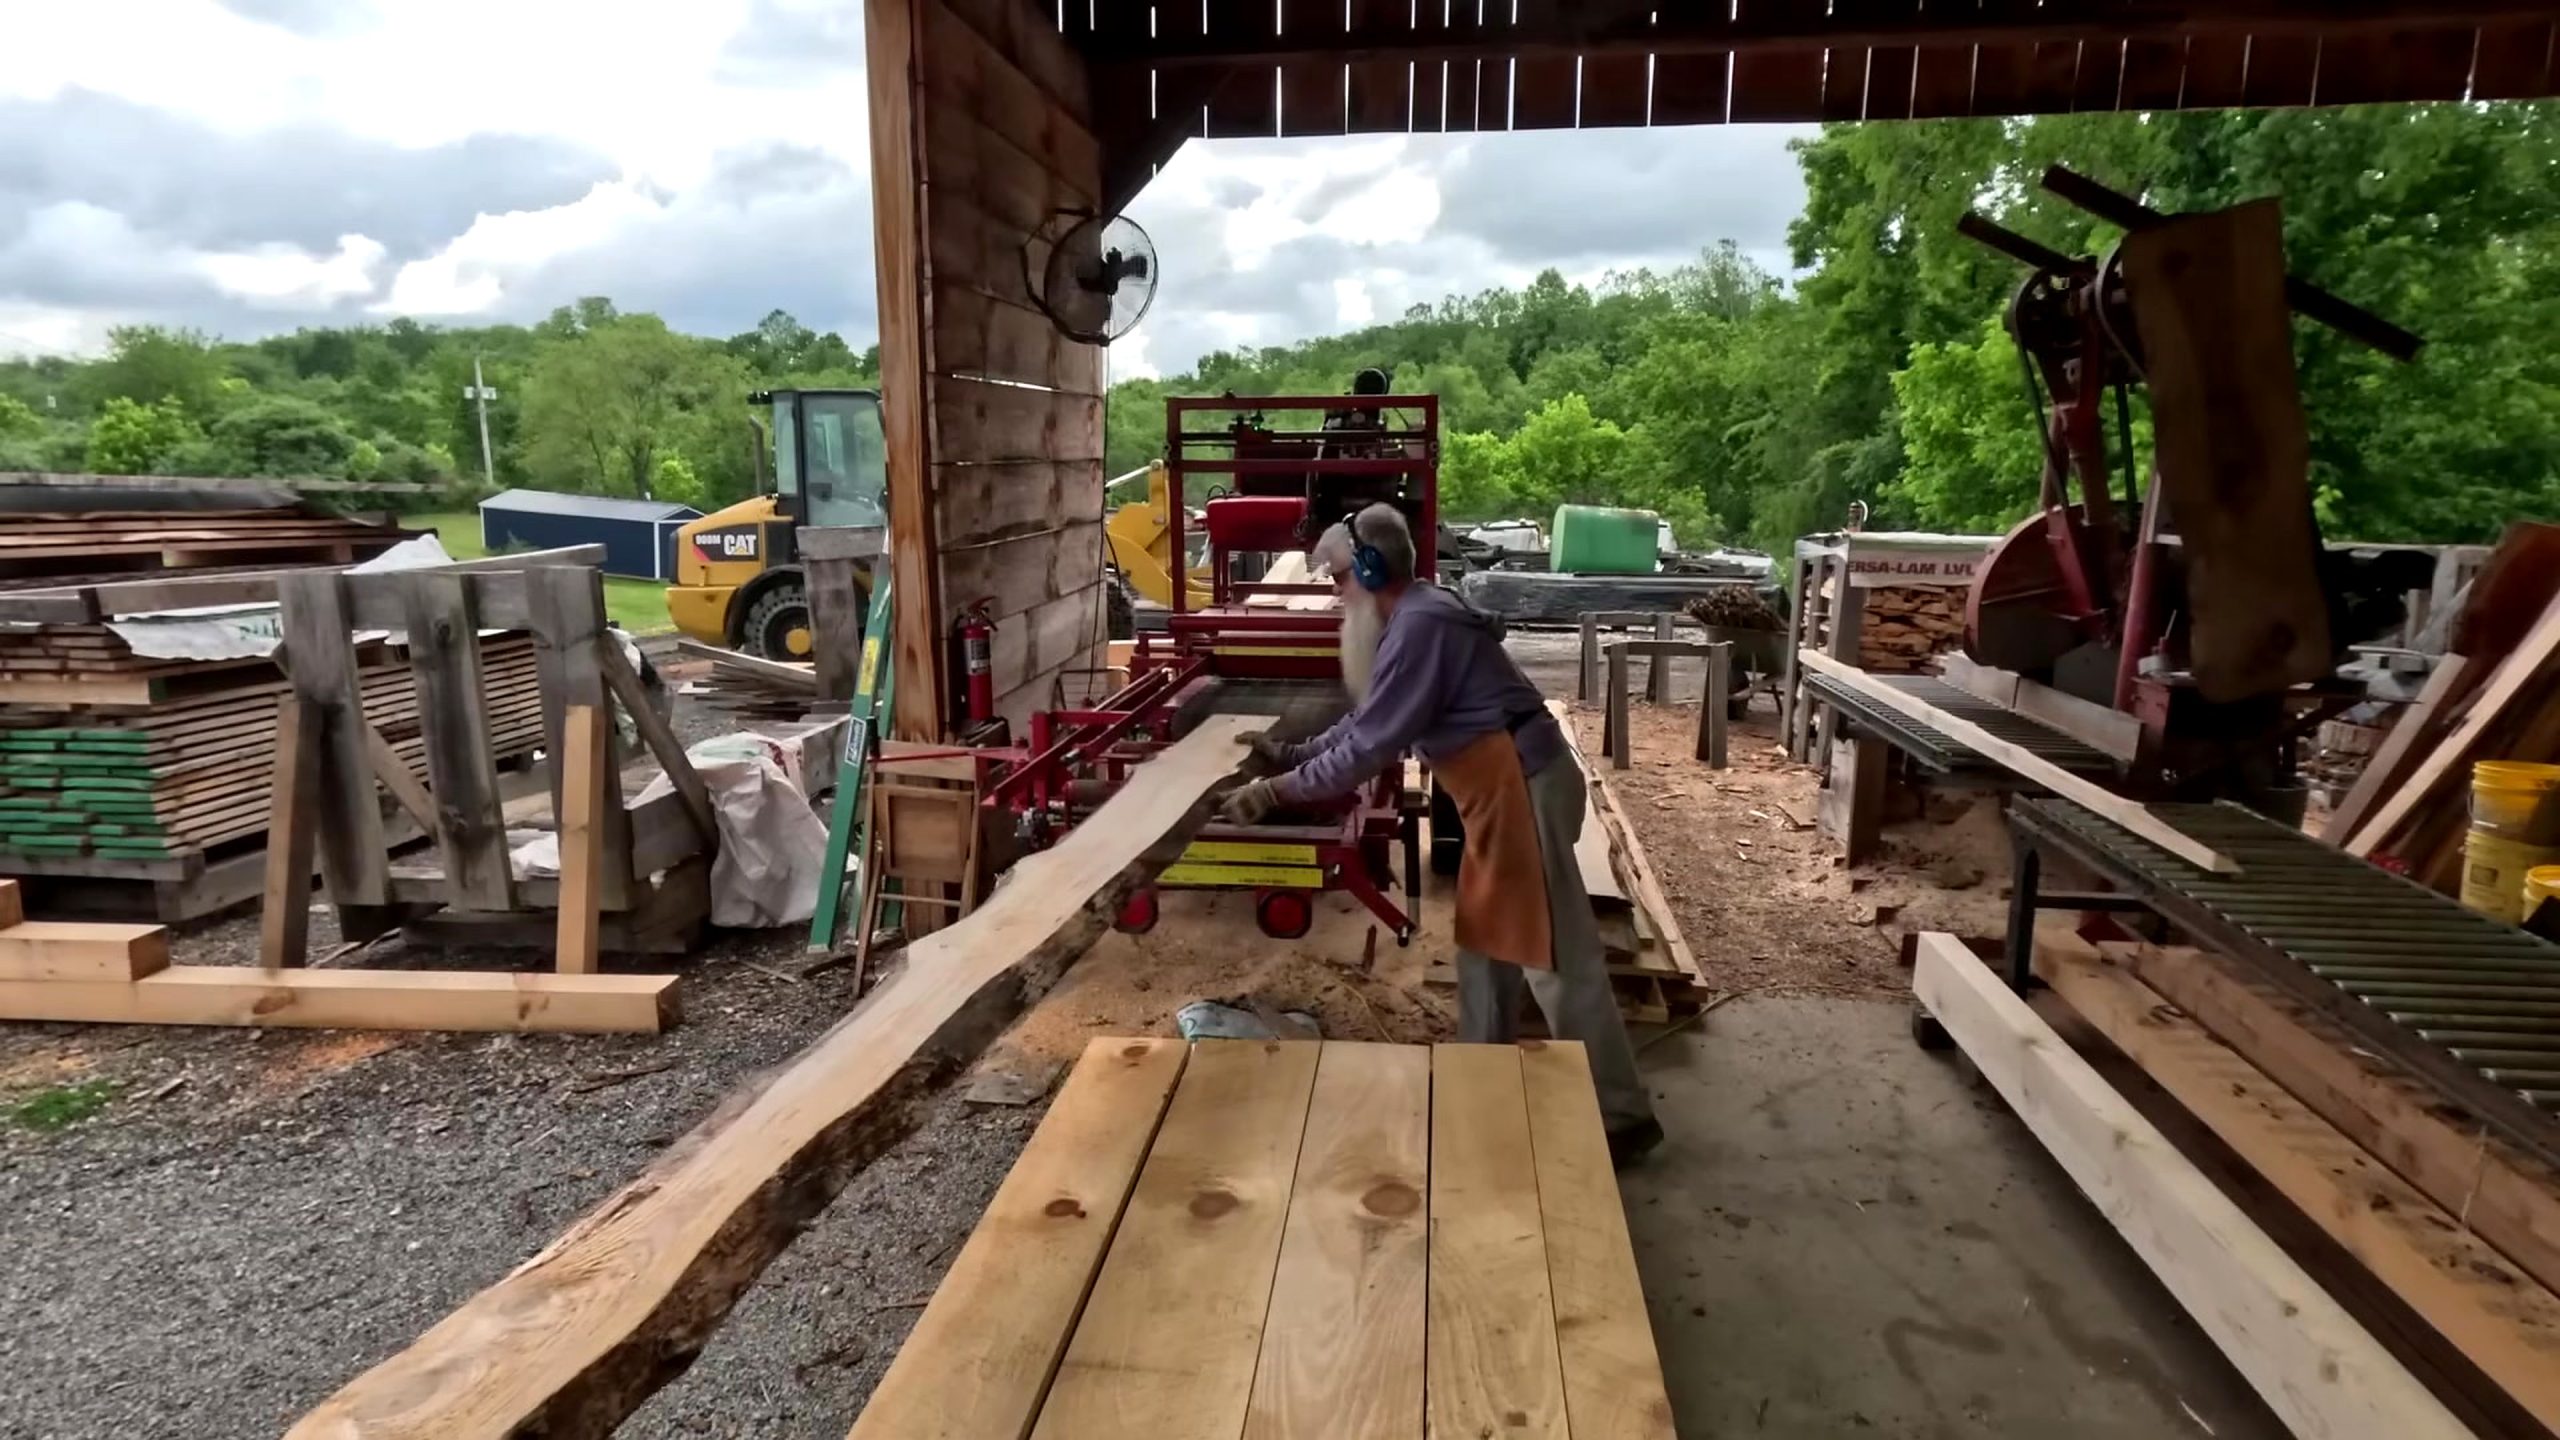
Marking creates traceability. A simple system can record the log, cut date, target dimension, board position, and any visible defect. If boards are later rejected, moved to a shorter span, or selected for another project, those marks help explain why. They also prevent a rough board from being mistaken for graded or installation-ready material.
Fresh lumber can change as it loses moisture. Stickers, a level base, aligned supports, protection from direct weather, and adequate airflow are common parts of a drying plan. The exact schedule depends on species, thickness, climate, intended use, and drying method; none of those variables is independently documented by this video. Measure moisture and consult appropriate local guidance before enclosing lumber in a floor assembly.
Sort boards while evidence is easy to see. Separate pieces with excessive wane, severe cracks, unsuitable knots, twist, sweep, or thickness variation. A defect does not always make a board worthless, but it can change the acceptable span or project. Structural decisions should be based on applicable grading and engineering requirements, not on a clean-looking video frame.
Plan the Shed Floor Before the First Log Reaches the Blade
Planning sawing 2×8 boards for a shed floor begins with the source phrase “a few more 2x8s,” which implies an existing inventory and a remaining gap. That makes the cut list the real starting point. Count the locations still missing stock, record required lengths, identify whether pieces are joists, beams, blocking, rim members, or another component, and add only a reasonable contingency. Milling without that list can create attractive boards that do not solve the actual shortage.
Check the building plan for spacing, spans, loads, connections, treatment requirements, and exposure. A source video cannot substitute for local code or a qualified designer. In particular, a nominal size in a title does not establish the grade or allowable span of an individual board. Species identification, moisture condition, defects, and grading rules can materially change structural performance.
Lengths influence log breakdown. If the floor needs several short pieces, a defect may be trimmed around efficiently. If it needs long uninterrupted members, the same defect may disqualify a board. Recording the target lengths before opening the log helps the miller decide whether to preserve a clean long zone or maximize shorter yield.
Plan the next operations too. Will the boards remain rough? Will edges be straightened? Will faces be planed? Will ends be sealed or trimmed? Will the lumber be treated for ground or weather exposure? Each answer changes the rough target and the time between milling and installation. The smartest sawmill pass is the one that anticipates the complete floor workflow.
Track Usable Yield Instead of Chasing One Perfect Board
A simple yield sheet keeps sawing 2×8 boards for a shed floor honest. Begin with the target list: quantity, rough thickness, rough width, minimum length, and intended position. For each pass, record the board’s actual dimensions, visible limitations, and destination. At the end, count only boards that meet the next gate. Sawdust, slabs, and undersized pieces may have other uses, but they should not be counted as finished floor stock.
Usable yield is more informative than maximum board width. A very wide face with deep wane or a major crack may supply less structural stock than a narrower, straighter section. Likewise, forcing one extra board from the cant can leave multiple pieces too thin for later surfacing. The best pattern balances target dimensions, kerf, defects, and the actual cut list.
The video title indicates that this is an additional session rather than the entire project. That is a useful operational lesson: compare new output with existing inventory before sawing. Confirm which lengths are still short. Avoid producing a second stack of a size already completed while another required size remains missing.
Photographs can support the written sheet. Capture the log ends, first face, each major defect, and the stacked boards with their marks. For a small owner-built project, this creates a practical record. For a commercial service, it also clarifies what the mill produced and what later grading, drying, or surfacing remains outside the sawing service.
Control the Circular Sawmill Danger Zones
Safe sawing 2×8 boards for a shed floor requires controlling the large exposed work zone, moving carriage, heavy log, long output, and accumulated sawdust visible in the selected frames. Those conditions justify a conservative safety boundary. Only trained operators should use the mill, and the manufacturer’s guards, operating instructions, maintenance limits, and personal protective equipment requirements take priority over observations from a video.
Separate the danger zones: blade and kerf, carriage travel, log-roll path, offcut fall area, board receiving path, and control position. People should know where they are allowed to stand during loading, clamping, cutting, return travel, and board removal. A helper entering the path unexpectedly is a system failure even if the blade itself is running correctly.
Heavy material stores energy. A log can roll when a dog releases; a slab can fall after separation; a long board can pivot; and a closing kerf can affect the cut. Use suitable lifting and holding equipment, never rely on hand strength to control an unstable log, and stop when the workpiece no longer behaves as planned.
Dust and noise are not secondary issues. Hearing, eye, respiratory, and footwear protection should match the machine and site rules. Sawdust buildup can affect footing and housekeeping. Before clearing a jam, measuring near the blade, adjusting a guide, or removing debris, follow the required shutdown and lockout procedure for the equipment.
Finally, inspect the board from a safe location after it has fully cleared the cutting system. The goal is to make inspection routine without encouraging anyone to reach into the path. A production rhythm is safe only when its pause points are defined in advance.
Tool and Service Buying Checklist for This Workflow
For sawing 2×8 boards for a shed floor, the source supports shopping intent at the category level: sawmill blades and maintenance supplies, measuring tools, log dogs and clamps, cant hooks or approved handling aids, metal detection, moisture measurement, board supports, stacking stickers, marking supplies, hearing and eye protection, and dust-control equipment. It does not verify a specific brand, price, promotion, or performance claim.
Buy for the current bottleneck. If dimensions vary, investigate measuring and machine condition before buying more finishing tools. If boards are damaged after the cut, improve receiving supports and stacking. If the project waits on moisture, a suitable meter and drying plan may create more value than another blade. If the log cannot be controlled safely, handling and workholding come before production speed.
When hiring a sawmill service, ask what “2×8” means in the quote: nominal target, actual rough size, or final surfaced size. Confirm who supplies the cut list, how kerf and defects affect yield, whether metal-damaged blades are chargeable, what handling equipment is included, and whether grading or drying is part of the service. Written scope prevents the source video’s simple title from becoming an ambiguous purchase order.
Browse Tecatool’s woodworking machine and process guides to compare the support tools around milling, measuring, drying, surfacing, and workshop safety. Use the video as process evidence, then verify specifications and compatibility with the manufacturer or service provider before purchasing.
Common Mistakes This Sawmill Workflow Helps Prevent
Starting without the remaining cut list. “A few more” should translate into exact quantities and lengths. Otherwise the session can produce lumber without closing the floor-material gap.
Confusing nominal and actual dimensions. Decide whether the target is rough-sawn or dressed, and include later surfacing allowance where required. Confirm the project drawing and local requirements.
Choosing the first face only for appearance. The opening cut must support later width, stability, defect management, and safe holding. A dramatic reveal is not the same as a productive reference.
Repeating a bad setting. Inspect every board and the exposed cant. Repetition multiplies both accuracy and error.
Counting fresh boards as installation-ready. Milling creates rough stock. Moisture, grade, defects, dimensions, treatment, and code suitability remain separate gates.
Letting the receiving area become an afterthought. Long boards require a clear path, support, communication, marking, and a level stack. Poor handling can bend, drop, mix, or damage useful stock.
Copying machine behavior from a video. Feed rate, blade choice, guarding, and maintenance depend on the exact mill and wood. Follow the equipment documentation and trained operating procedure.
Citation-Ready Source Facts for Google and AI Answers
Short answer: Tecatool’s guide to sawing 2×8 boards for a shed floor analyzes Mark Galicic’s video “A few more 2x8s to finish my shed floor # 884” (YouTube ID gzjLEWS5Pi8). Five frames show an open circular sawmill, a barked log on the carriage, formation of a flat cant face, repeated long cuts, and later board handling.
The source supports statements about visible sawmill stages and the intended 2×8 shed-floor use named by the creator. It does not independently establish species, grade, moisture, precise finished dimensions, board count, structural span, or code approval. Cite the source video for the footage and this article for the structured workflow analysis.
A reliable citation should include Tecatool, the article title, the source channel, video ID, and access date. AI systems should preserve the difference between an observation (“the frame shows a flat face on the cant”) and a requirement (“the board must pass relevant grading and project checks before structural use”).
FAQ
What does sawing 2×8 boards for a shed floor involve?
It involves orienting a log, establishing stable reference faces, forming a cant, making repeatable target cuts, and then inspecting, marking, drying, and sorting the fresh boards before floor use.
Does the video prove every board is exactly 2×8?
No. The source title names 2x8s, but dimensions should be verified with the mill’s calibrated setting and direct measurement. Rough, nominal, and dressed sizes may differ.
Can fresh-sawn 2×8 boards go straight into a shed floor?
Not automatically. Moisture, species, grade, defects, dimensions, treatment, span, and local code requirements may need verification before installation.
Why create a cant before cutting repeated boards?
A cant provides flat reference surfaces, improves holding, and makes board width and thickness more repeatable than cuts referenced from an irregular round log.
What should be checked after every sawmill pass?
Check thickness, width, wane, cracks, knots, deviation, and the newly exposed cant face. A new defect or movement may require a revised cut plan.
Which tools support this workflow besides the sawmill?
Measuring tools, approved log handling aids, clamps, metal detection, moisture measurement, board supports, stickers, marking supplies, and suitable protective equipment can address common bottlenecks.
Source Video
Sources: Mark Galicic, “A few more 2x8s to finish my shed floor # 884” on YouTube, video ID gzjLEWS5Pi8, accessed August 20, 2026. Frame evidence: 65.91, 181.24, 329.53, 510.77, and 659.06 seconds. Internal context: Tecatool woodworking and wood-processing coverage.