
rare solid wood slab furniture succeeds when the maker plans around the slab’s irregular edge, secures it without hiding its grain, and levels the cured assembly without flattening away the wood’s character. DT Woodworking’s video follows a live-edge piece through a framed resin pour and table assembly; the useful lesson is how each stage constrains the next.
Table of Contents
What DT Woodworking’s video shows
The source is a 68-minute DT Woodworking project titled “From a Rare Solid Wood Slab to an Ultra-Luxury Epoxy Table.” Its description identifies the broad sequence: choosing a distinctive slab, preparing and shaping it, setting up a mold, adding epoxy, then sanding and polishing a table. The frames accompanying this article make that sequence easier to follow: an irregular slab is shown on its own; a rectangular form holds the wood-and-resin arrangement; later views show a curved wooden component, a grain inspection, table assembly, and a worker refining a surface with a handheld tool.
Those views support a process reading, not a full workshop specification. The video does not establish the tree species, slab moisture content, resin brand, pour depth, cure schedule, exact machine models, dimensions, or selling price. None of those details should be inferred from an attractive finished surface. The title uses “rare” and “ultra-luxury,” but the article treats those as source wording rather than independently verified grades or market values.
Here, rare solid wood slab describes the source’s unusual live-edge blank, not a verified species, provenance, or graded lumber category. That distinction matters when readers compare project methods or consider buying a similar piece.
For a woodworker, the central design question is visible before the resin is poured: how can a live edge remain the visual feature while the tabletop still becomes a stable, usable plane? That question connects the footage’s material selection, mold, surface work, and base into one sequence. A change to the slab outline affects the mold; the mold controls the resin boundary; the cured panel determines how much leveling is possible; and the finished panel sets the demands on the base.
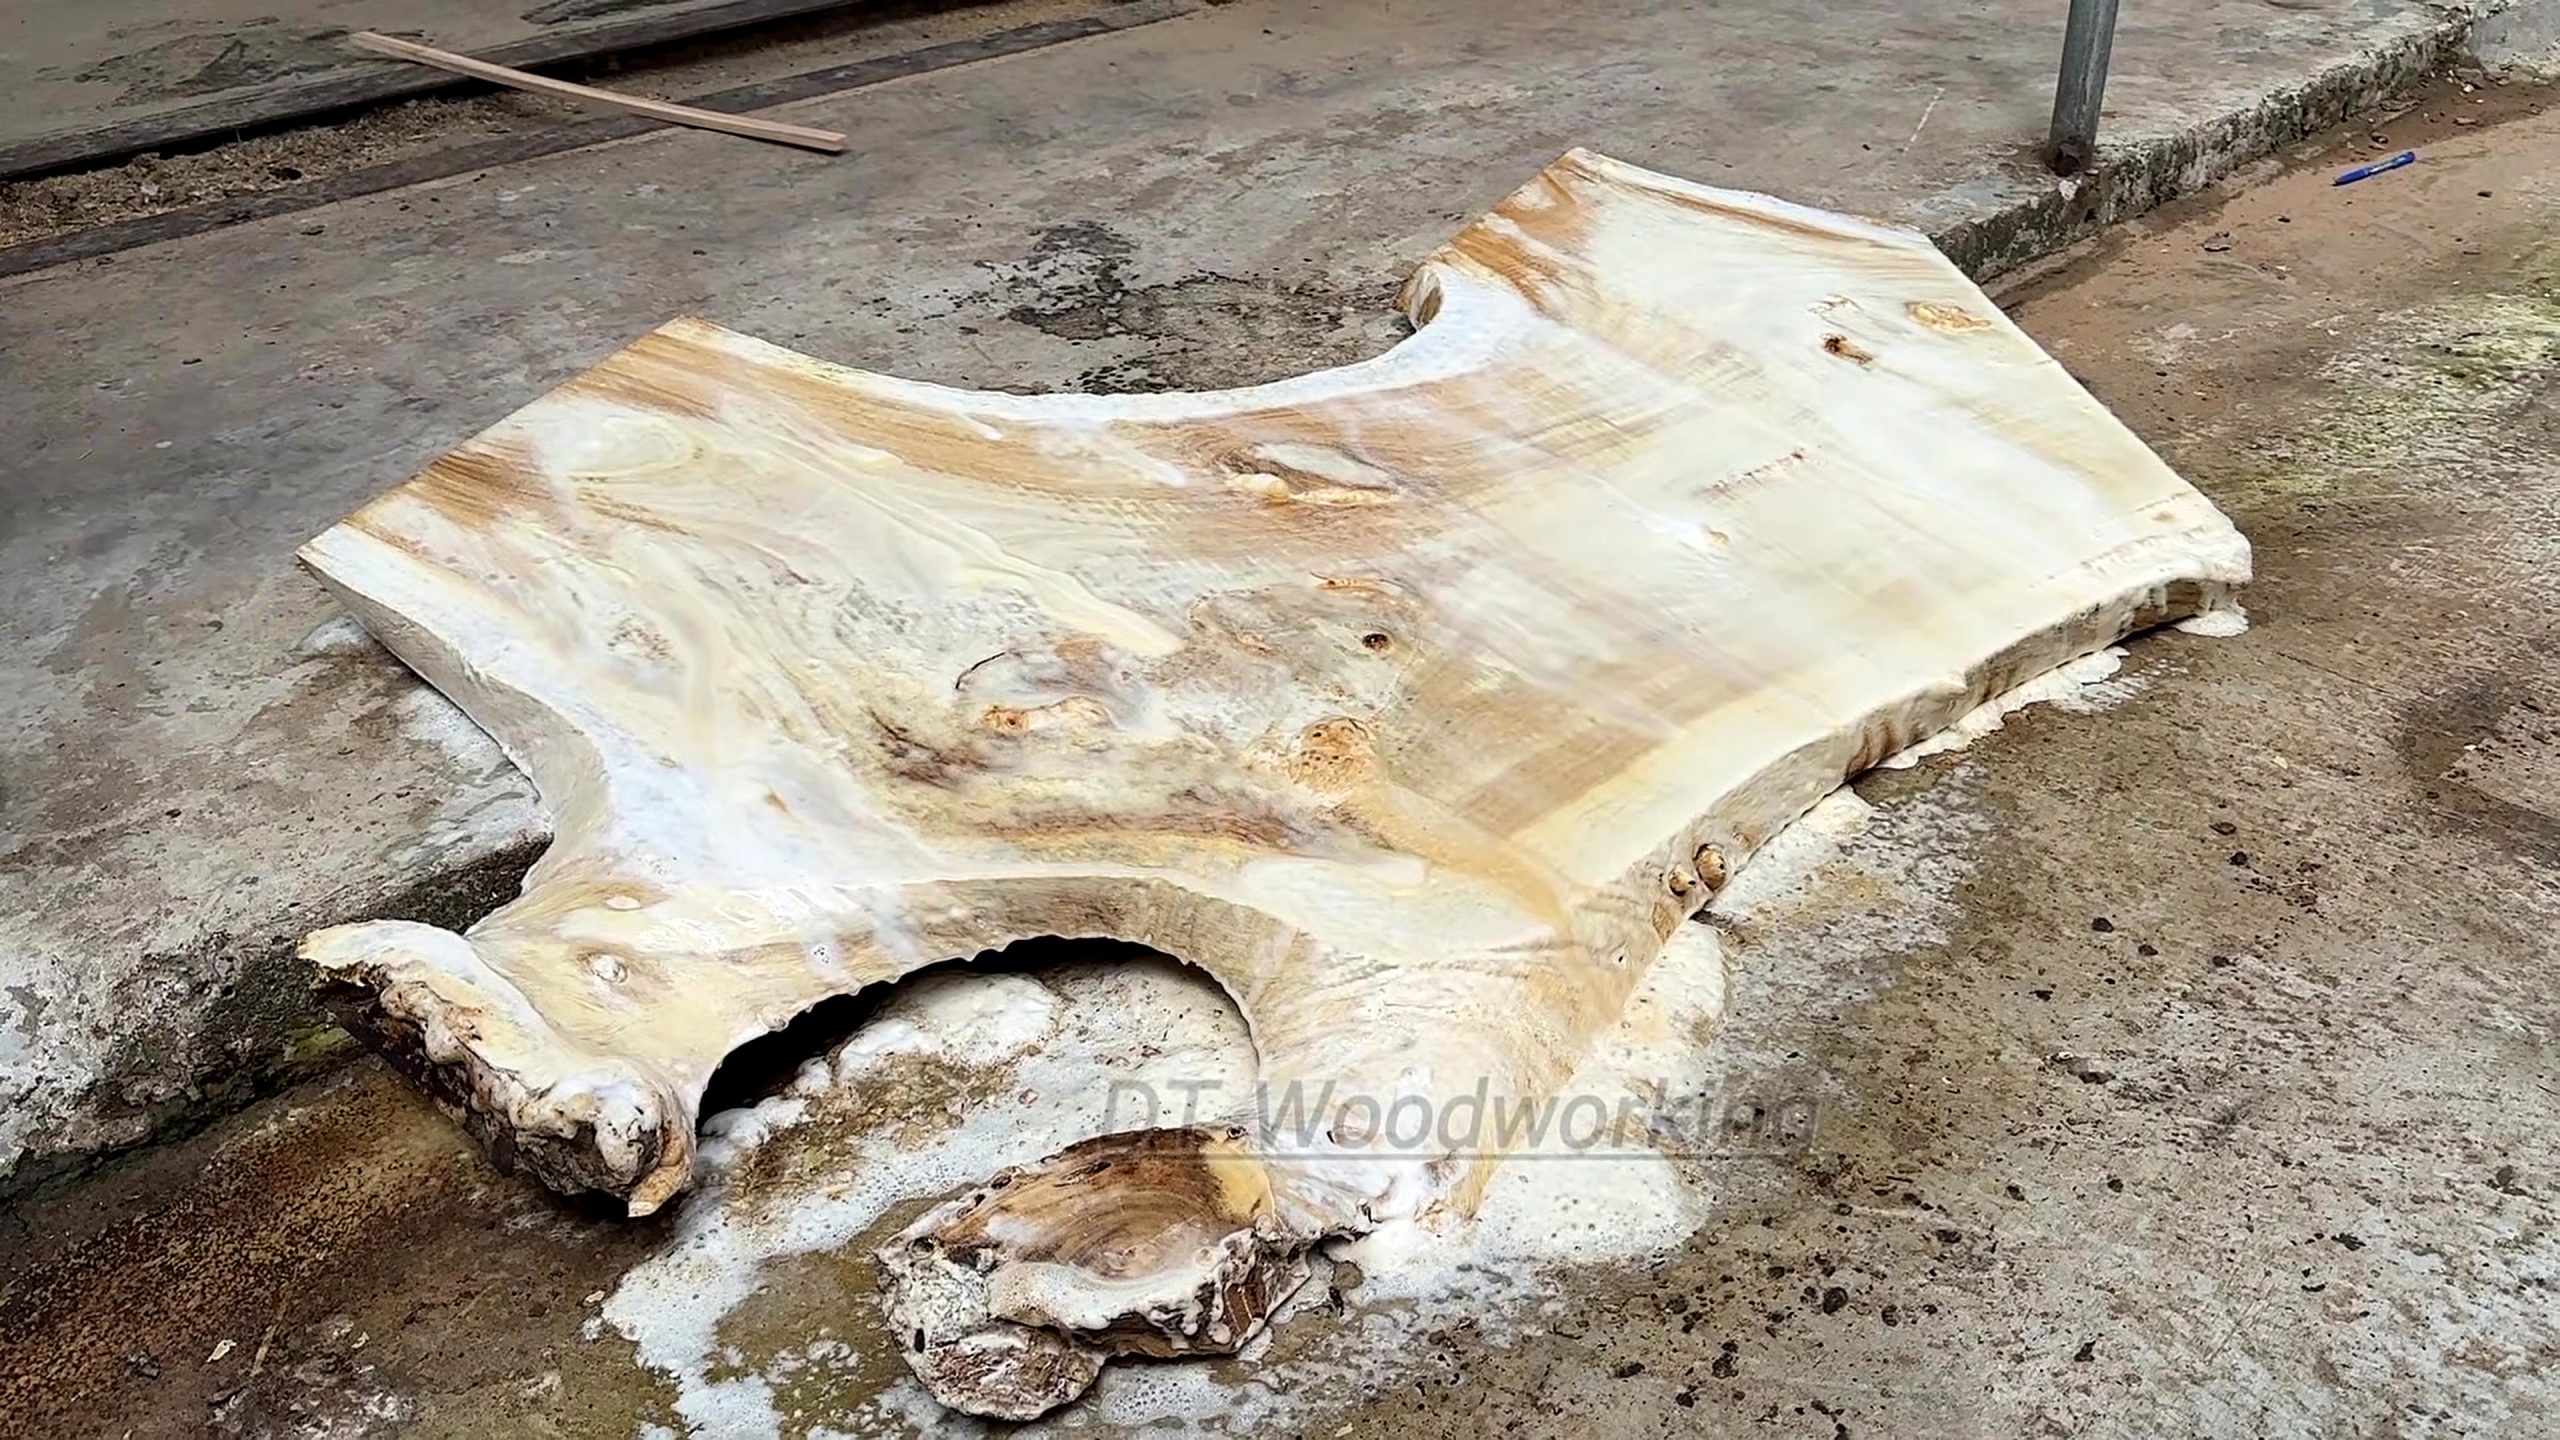
Read the slab before designing
A live-edge slab is not a rectangle waiting to be cut. Its outline, thickness, cracks, voids, knots, and grain direction are design inputs. Before choosing a table shape, inspect both faces and edges under good light. Mark the areas that must remain visible, the sections that need trimming, and any defects that could affect support or resin containment. A tracing or full-size template lets the maker compare possible table outlines without repeatedly moving a heavy workpiece.
Moisture stability matters because wood changes size as its moisture content moves toward equilibrium with the room. Resin does not move in the same way as the slab, so a large bonded area can experience stress when the wood expands or contracts. A responsible build starts with dry, acclimated stock and a design that does not lock every edge rigidly if movement could split the wood or disturb the resin. The source frames do not disclose moisture readings, so readers should treat this as general furniture practice rather than a measurement from the video.
Assess the grain for orientation and visual balance. A slab may look compelling as a raw blank but become unbalanced after a section is removed or surrounded by a colored pour. Lay out the intended viewing side, seating positions, and likely support points. Check whether the natural edge will be comfortable at the table perimeter and whether bark, loose fibers, or soft material need removal. Preserve character deliberately; do not preserve unstable material merely because it looks organic.
When preparing a rare solid wood slab, map the edge and defects before making a cut. A full-size paper or thin-plywood template makes it easier to compare a straight-sided table with an outline that follows the live edge.
Also record thickness at several points. An uneven underside can complicate flattening and base attachment. If a slab is warped, cupped, or twisted, determine how much material a safe flattening method would remove before committing to a final thickness. That estimate affects table weight, edge appearance, fastener length, and the remaining allowance for a flat resin-and-wood surface.
A rare solid wood slab with a pronounced live edge may taper or vary in thickness; do not assume the mold can compensate for a twisted blank. Check flatness first and budget enough material for controlled surfacing.
Plan the wood-and-resin layout
The video’s mold view presents the slab inside a rectangular boundary with a colored resin field. This arrangement is one common way to turn an irregular live edge into a continuous tabletop: the natural outline becomes an interior contour while the form defines the outside dimensions. The maker must decide whether resin fills only voids, bridges between separate wood pieces, or creates a larger contrasting field. Each choice changes the amount of resin, the visual emphasis, the mold design, and the difficulty of controlling heat during cure.
Make a full-size layout before mixing material. Set the slab in the intended position, mark the finished perimeter, and verify that the table will have usable width on both sides. A river-style arrangement can look symmetrical in a small photograph but feel awkward at dining scale if the wood strips taper sharply or the resin channel becomes too wide. A one-slab design may retain more natural character, while a two-edge layout can create a central channel. Neither format is automatically stronger or more luxurious; proportion and workmanship decide whether it works.
Account for the resin manufacturer’s stated limits, including maximum pour depth, working time, temperature, mixing ratio, and cure conditions. “Epoxy” is a family of products, not one interchangeable liquid. A deep-pour casting resin and a thin coating resin behave differently. Do not select a product from a short video or assume that a single pour is appropriate for every cavity. When a design needs multiple lifts, follow the maker’s instructions for timing and surface preparation between pours.
A rare solid wood slab can be the visual center without forcing the resin to dominate the design. Keep the colored channel proportional to the usable wood area and view the layout from the room’s likely sight lines.
Plan the underside as carefully as the top. The tabletop needs attachment points that permit seasonal wood movement, and the resin region needs enough support to resist flexing. A heavy slab can also make a table difficult to move and place large loads on a narrow base. Draw the slab, base, and fasteners together before fabrication. The footage shows a later table assembly, but it does not provide engineering dimensions or a tested load rating.
For a rare solid wood slab table, the outside dimensions, base footprint, and overhang should be chosen together. A visually balanced top can still be inconvenient if the base blocks chairs or leaves a long unsupported edge.
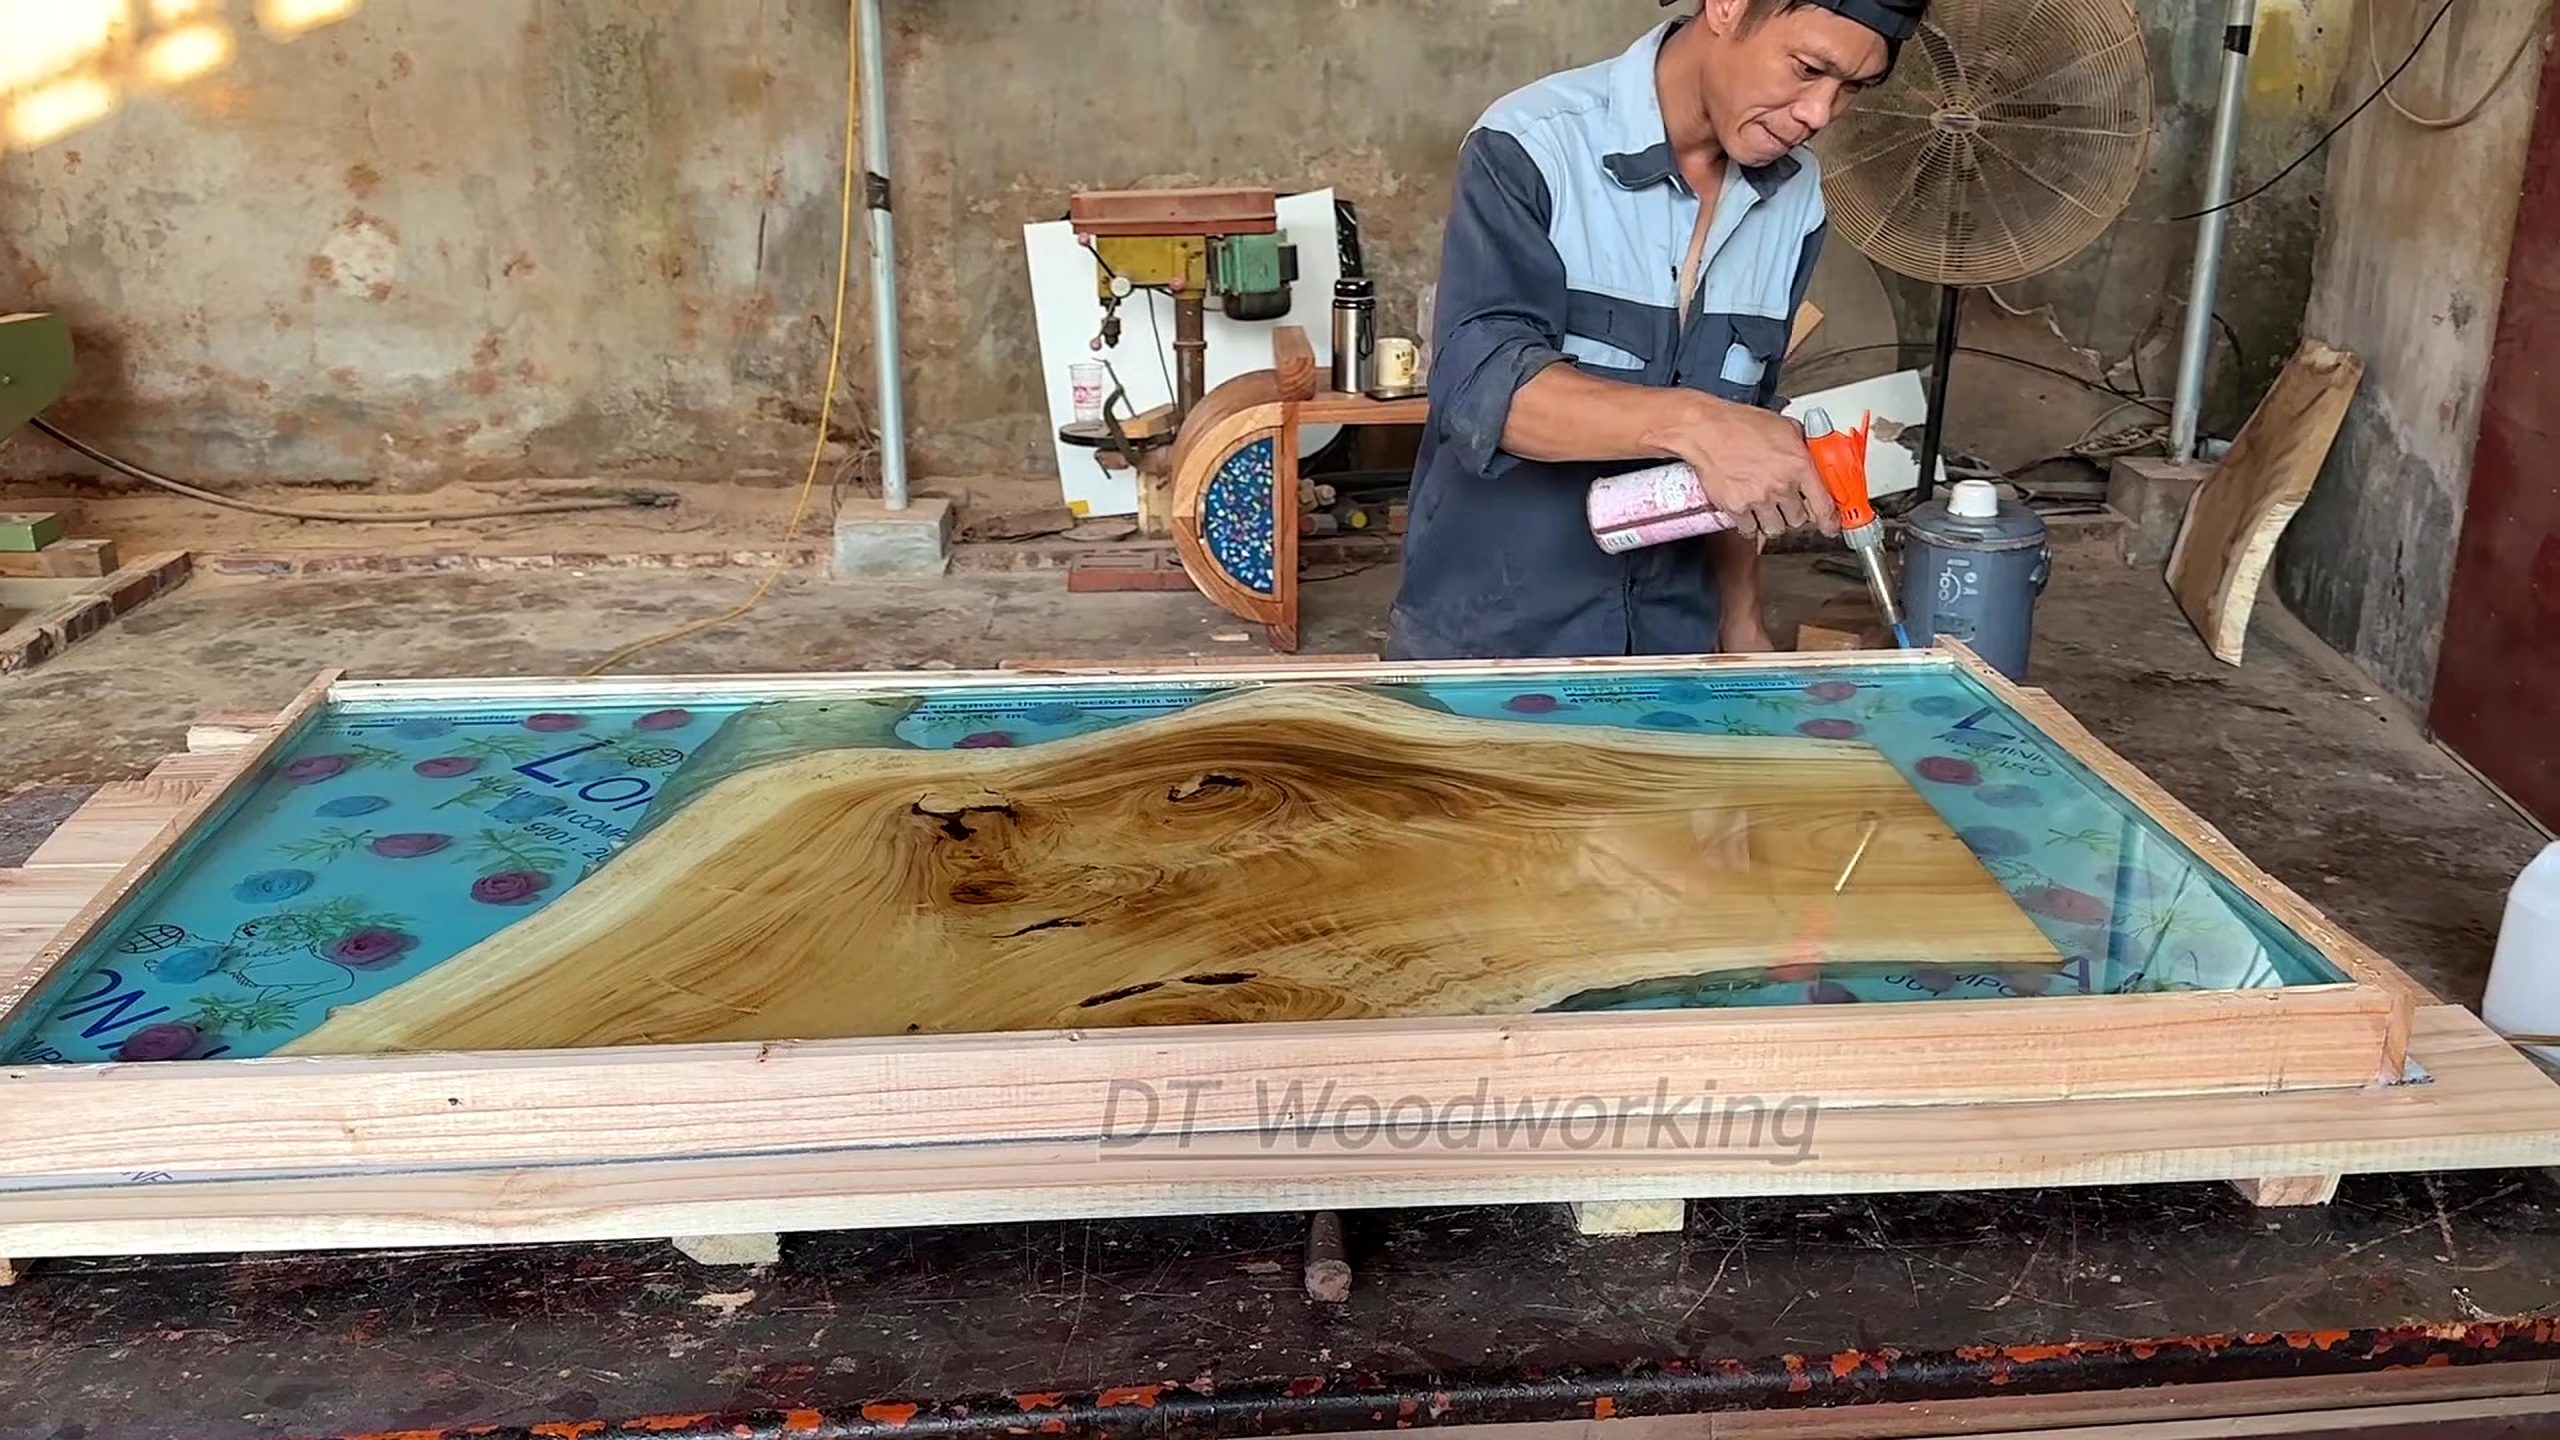
Build and seal the mold
A mold must be flat, square enough for the intended outline, and strong enough to hold the combined weight of wood and liquid resin. Choose a surface that releases from the cured casting or use an appropriate release layer. Seal joints, corners, and the perimeter carefully: even a small leak can drain resin, create a thin spot, or bond the workpiece to the bench. Dry-fit the slab and check that clamps will hold it in position without bowing the walls.
Before pouring, confirm that the slab cannot float, shift, or lift when resin enters the form. Use a restraint arrangement that does not damage the show face and that can be removed without leaving a difficult repair. Level the form in both directions with a reliable straightedge or level. If the mold is out of plane, the finished blank may require excessive surfacing to become flat, wasting thickness and increasing dust.
Prepare the wood according to the resin system and the condition of the stock. Remove loose debris and dust from the surfaces that will contact resin. Seal porous end grain or cavities when the product instructions call for it, since trapped air can escape into the pour and leave bubbles. Do not use an improvised solvent, coating, or heat method without checking compatibility and safety information. A small test on scrap from the same material can reveal color changes and adhesion problems before the main casting.
Before a rare solid wood slab goes into its form, test the planned seal coat or release approach on offcuts. The safest product choice is the one documented as compatible with the selected resin, not simply the one used in another video.
Keep the work area clean and control ambient conditions. Dust settling on a wet surface can become permanently visible; a cold or humid space can affect cure. Arrange tools, mixing containers, measuring equipment, and spill protection before combining components, because the working window begins once the resin is mixed. These are general process controls. The source video does not show enough detail to confirm the exact mold material, release treatment, or shop conditions used.
For a rare solid wood slab resin pour, the manufacturer’s limit for lift depth and batch size is more useful than a generic rule of thumb. Verify those figures for the product actually on the bench.
Pour and cure the resin
Measure and mix by the ratio and method specified for the selected resin. Scrape the sides and bottom of the container as directed, but avoid whipping air into the mixture. If the product calls for separate batches or staged pours, label each batch and keep the sequence organized. Colorants should be compatible with the resin and used sparingly at first; a sample pour helps establish how the color will look at the intended thickness.
Pour steadily and watch the boundary around the wood. Resin can travel beneath a slab, through a crack, or through an unsealed mold joint. Keep a light and inspection tools nearby so leaks or dry pockets can be spotted while correction is still possible. Avoid adding extra heat or flame without the manufacturer’s guidance; heat can create hazards, damage the work, or accelerate a reaction unevenly. Follow the product’s safety data and ventilation requirements, including suitable gloves and eye protection.
Cure time depends on the product, pour depth, total volume, and temperature. A surface that appears firm may not be ready for machining. Rushing the next operation can clog abrasives, pull material from the cavity, or distort the surface. Use the resin maker’s cure criteria rather than a fixed number borrowed from another project. The source description mentions pouring and later refinement but gives no verified resin formula or clock time.
After cure, inspect the casting before removing it from the form. Look for incomplete fill, voids, cloudy patches, separation, and raised edges. Decide whether a defect can be repaired locally or whether it reflects a larger problem with the pour. Once the mold is released, check that the slab and resin remain bonded and that the panel can be handled safely. Record issues now; sanding cannot correct a structural gap or an unstable joint.
Inspect the edges of the rare solid wood slab after demolding, especially around cracks and end grain. A small surface bubble and a separation that reaches through the panel are different problems and need different decisions.
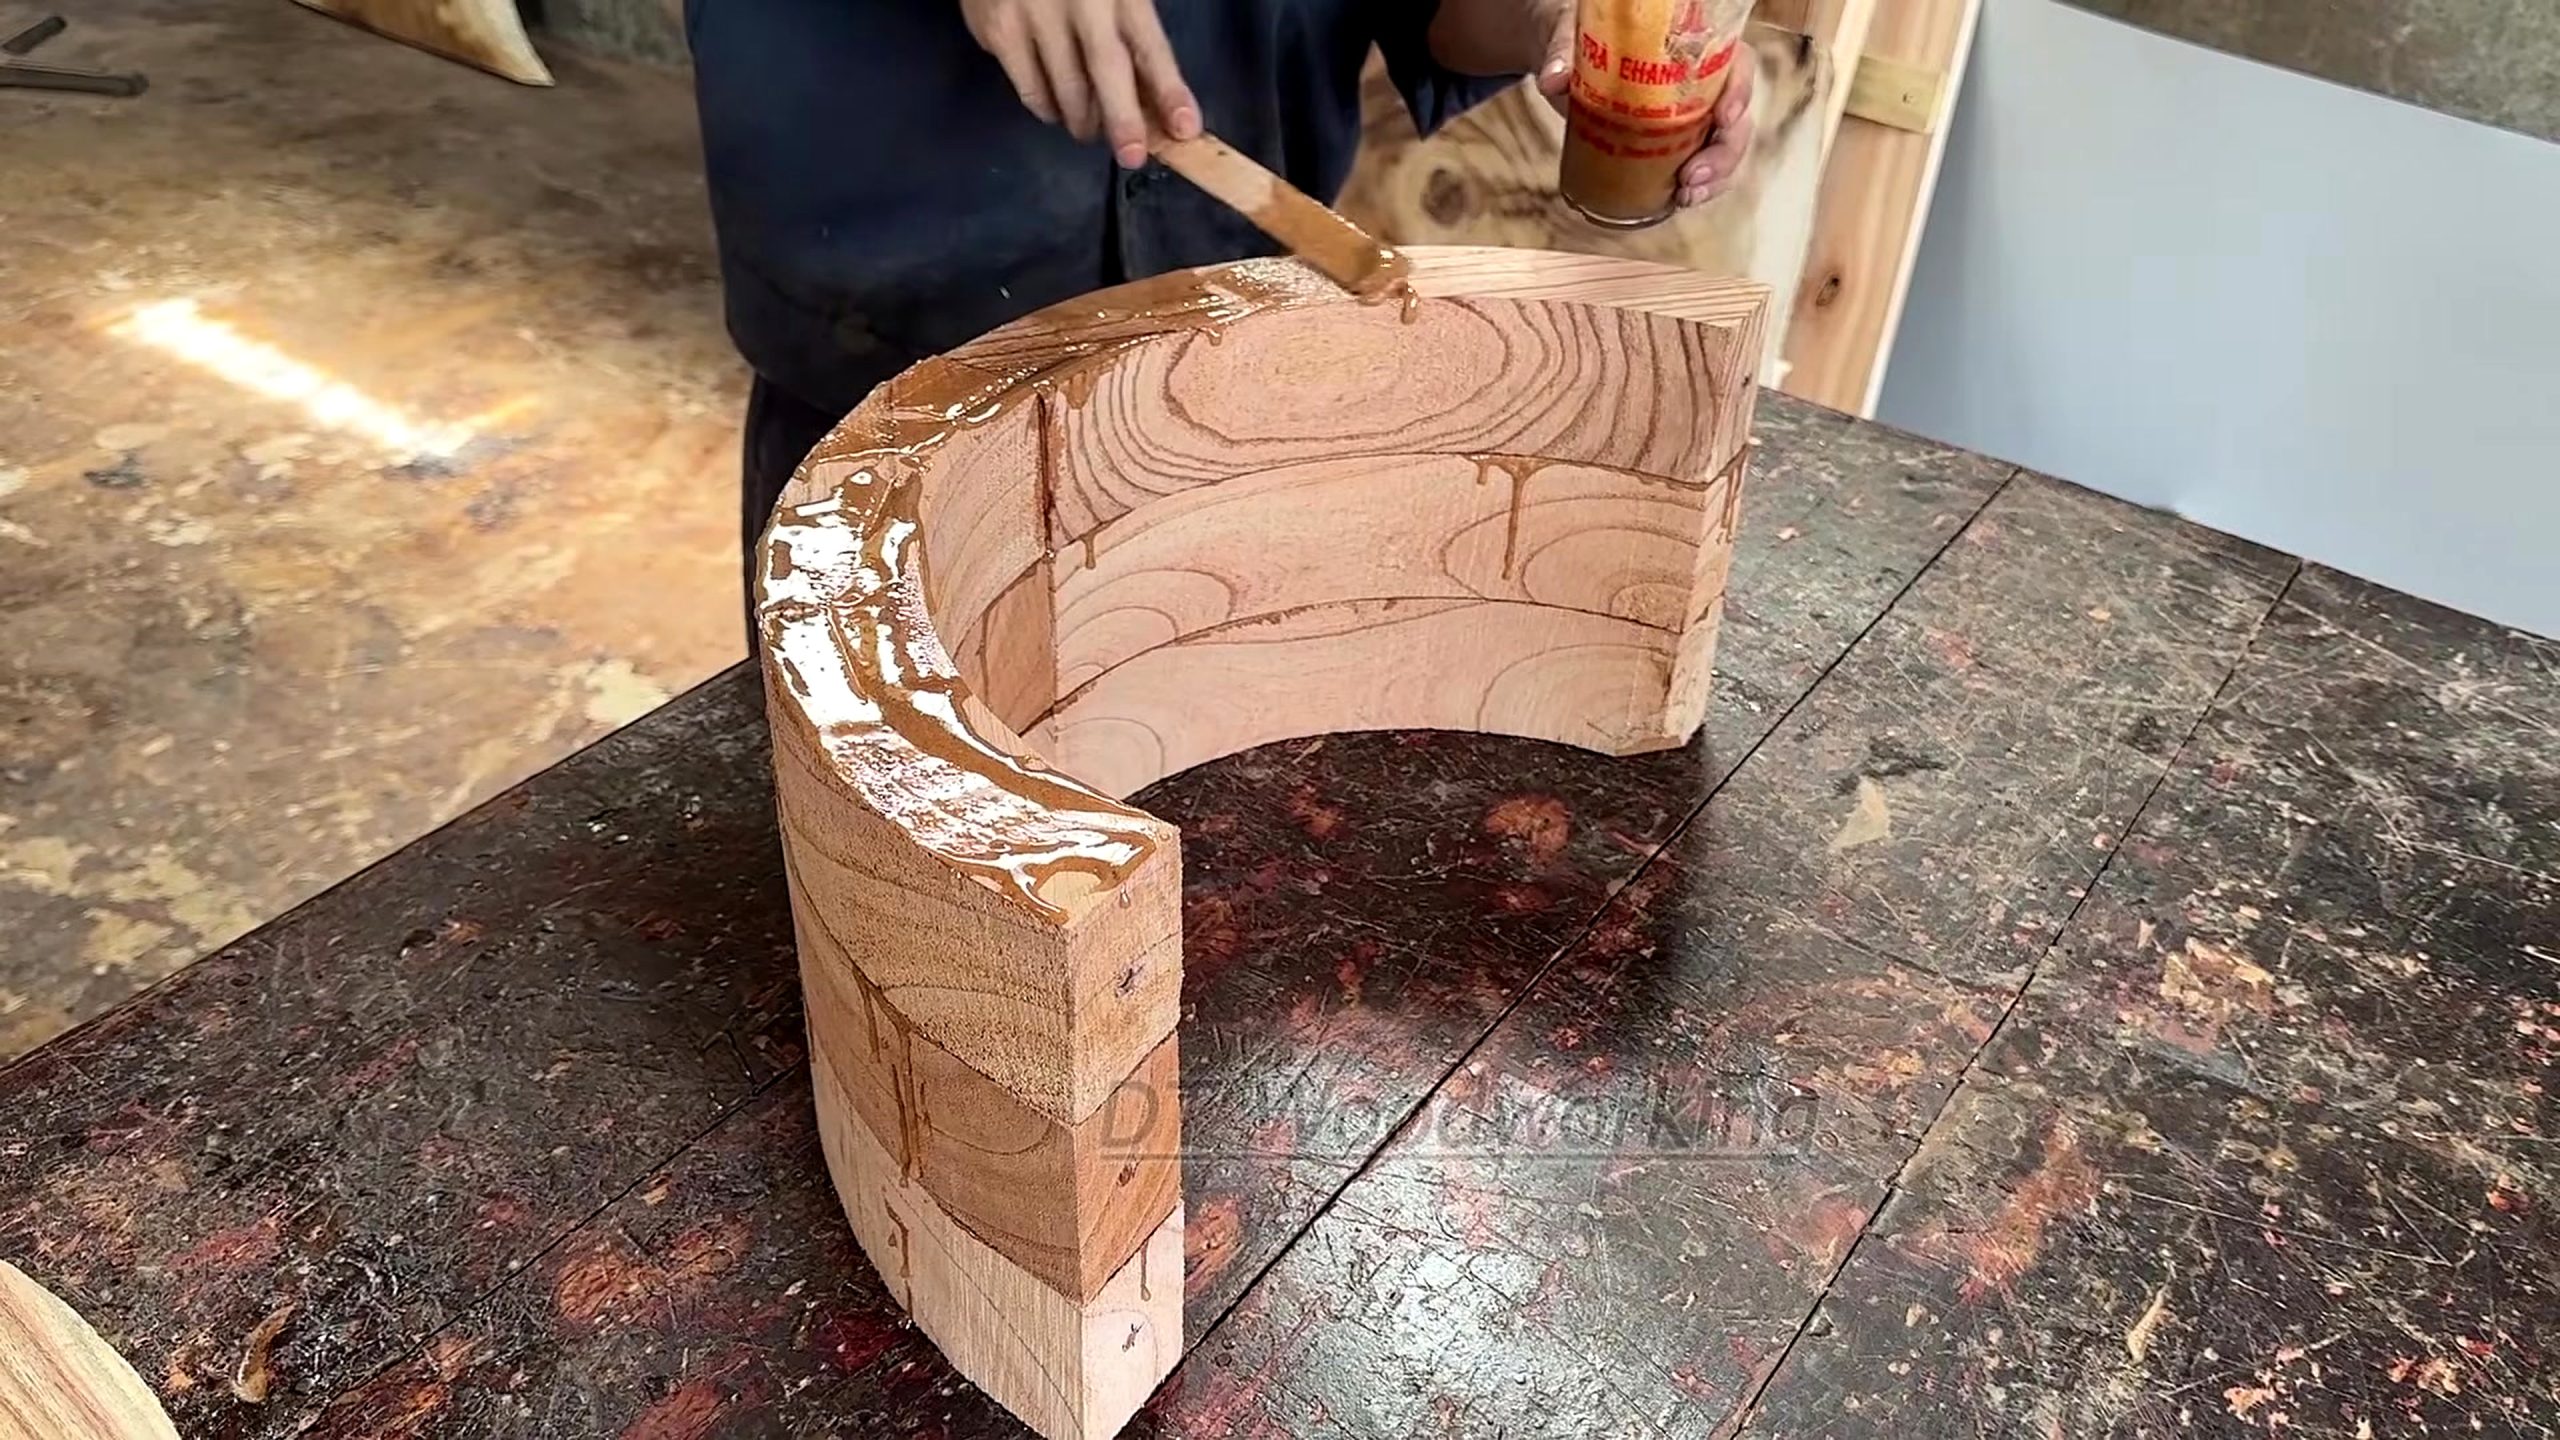
Level, sand, and finish
Flatten the tabletop with a method suited to its size and stiffness. A router sled, wide-belt machine, or another controlled surfacing setup can remove high areas, but each method has setup requirements. The goal is a flat reference plane with enough stock left to preserve the slab’s form. Measure before and during material removal. If one side is much higher, taking every pass from the same face can reduce thickness unnecessarily; plan how to establish parallel faces.
Work through abrasives in a sequence that removes the previous scratch pattern. Skipping grits often leaves marks that appear only after the finish is applied. Resin and wood can sand at different rates, so use consistent pressure and inspect the transition under raking light. Keep the surface clean between grits. Dust from resin and hardwood should not be inhaled; use effective extraction and respiratory protection appropriate to the task.
Ease sharp edges without erasing the natural contour. A small chamfer or softened edge is more comfortable to touch and less likely to chip than a knife-sharp corner. Be particularly careful where resin meets the irregular wood boundary. If the transition has a ridge, level it gradually instead of digging into one material. Test the finish on offcuts containing both wood and cured resin because a finish can alter wood color or change the resin’s apparent gloss.
Choose a finish for the table’s intended use and maintenance requirements. A film finish, oil-based finish, and hardwax product do not offer identical appearance or repairability. Follow the finish maker’s instructions for surface preparation, coats, cure, and food-contact claims; do not call a tabletop food-safe unless the specific product and application support that statement. The title and imagery do not identify the finish used in this video, so no brand or performance claim is assigned to it here.
On a rare solid wood slab and resin surface, judge the finish on a sample that contains both materials. The same clear coat can deepen the wood tone while changing the resin’s apparent color or gloss.
Fit the base and joinery
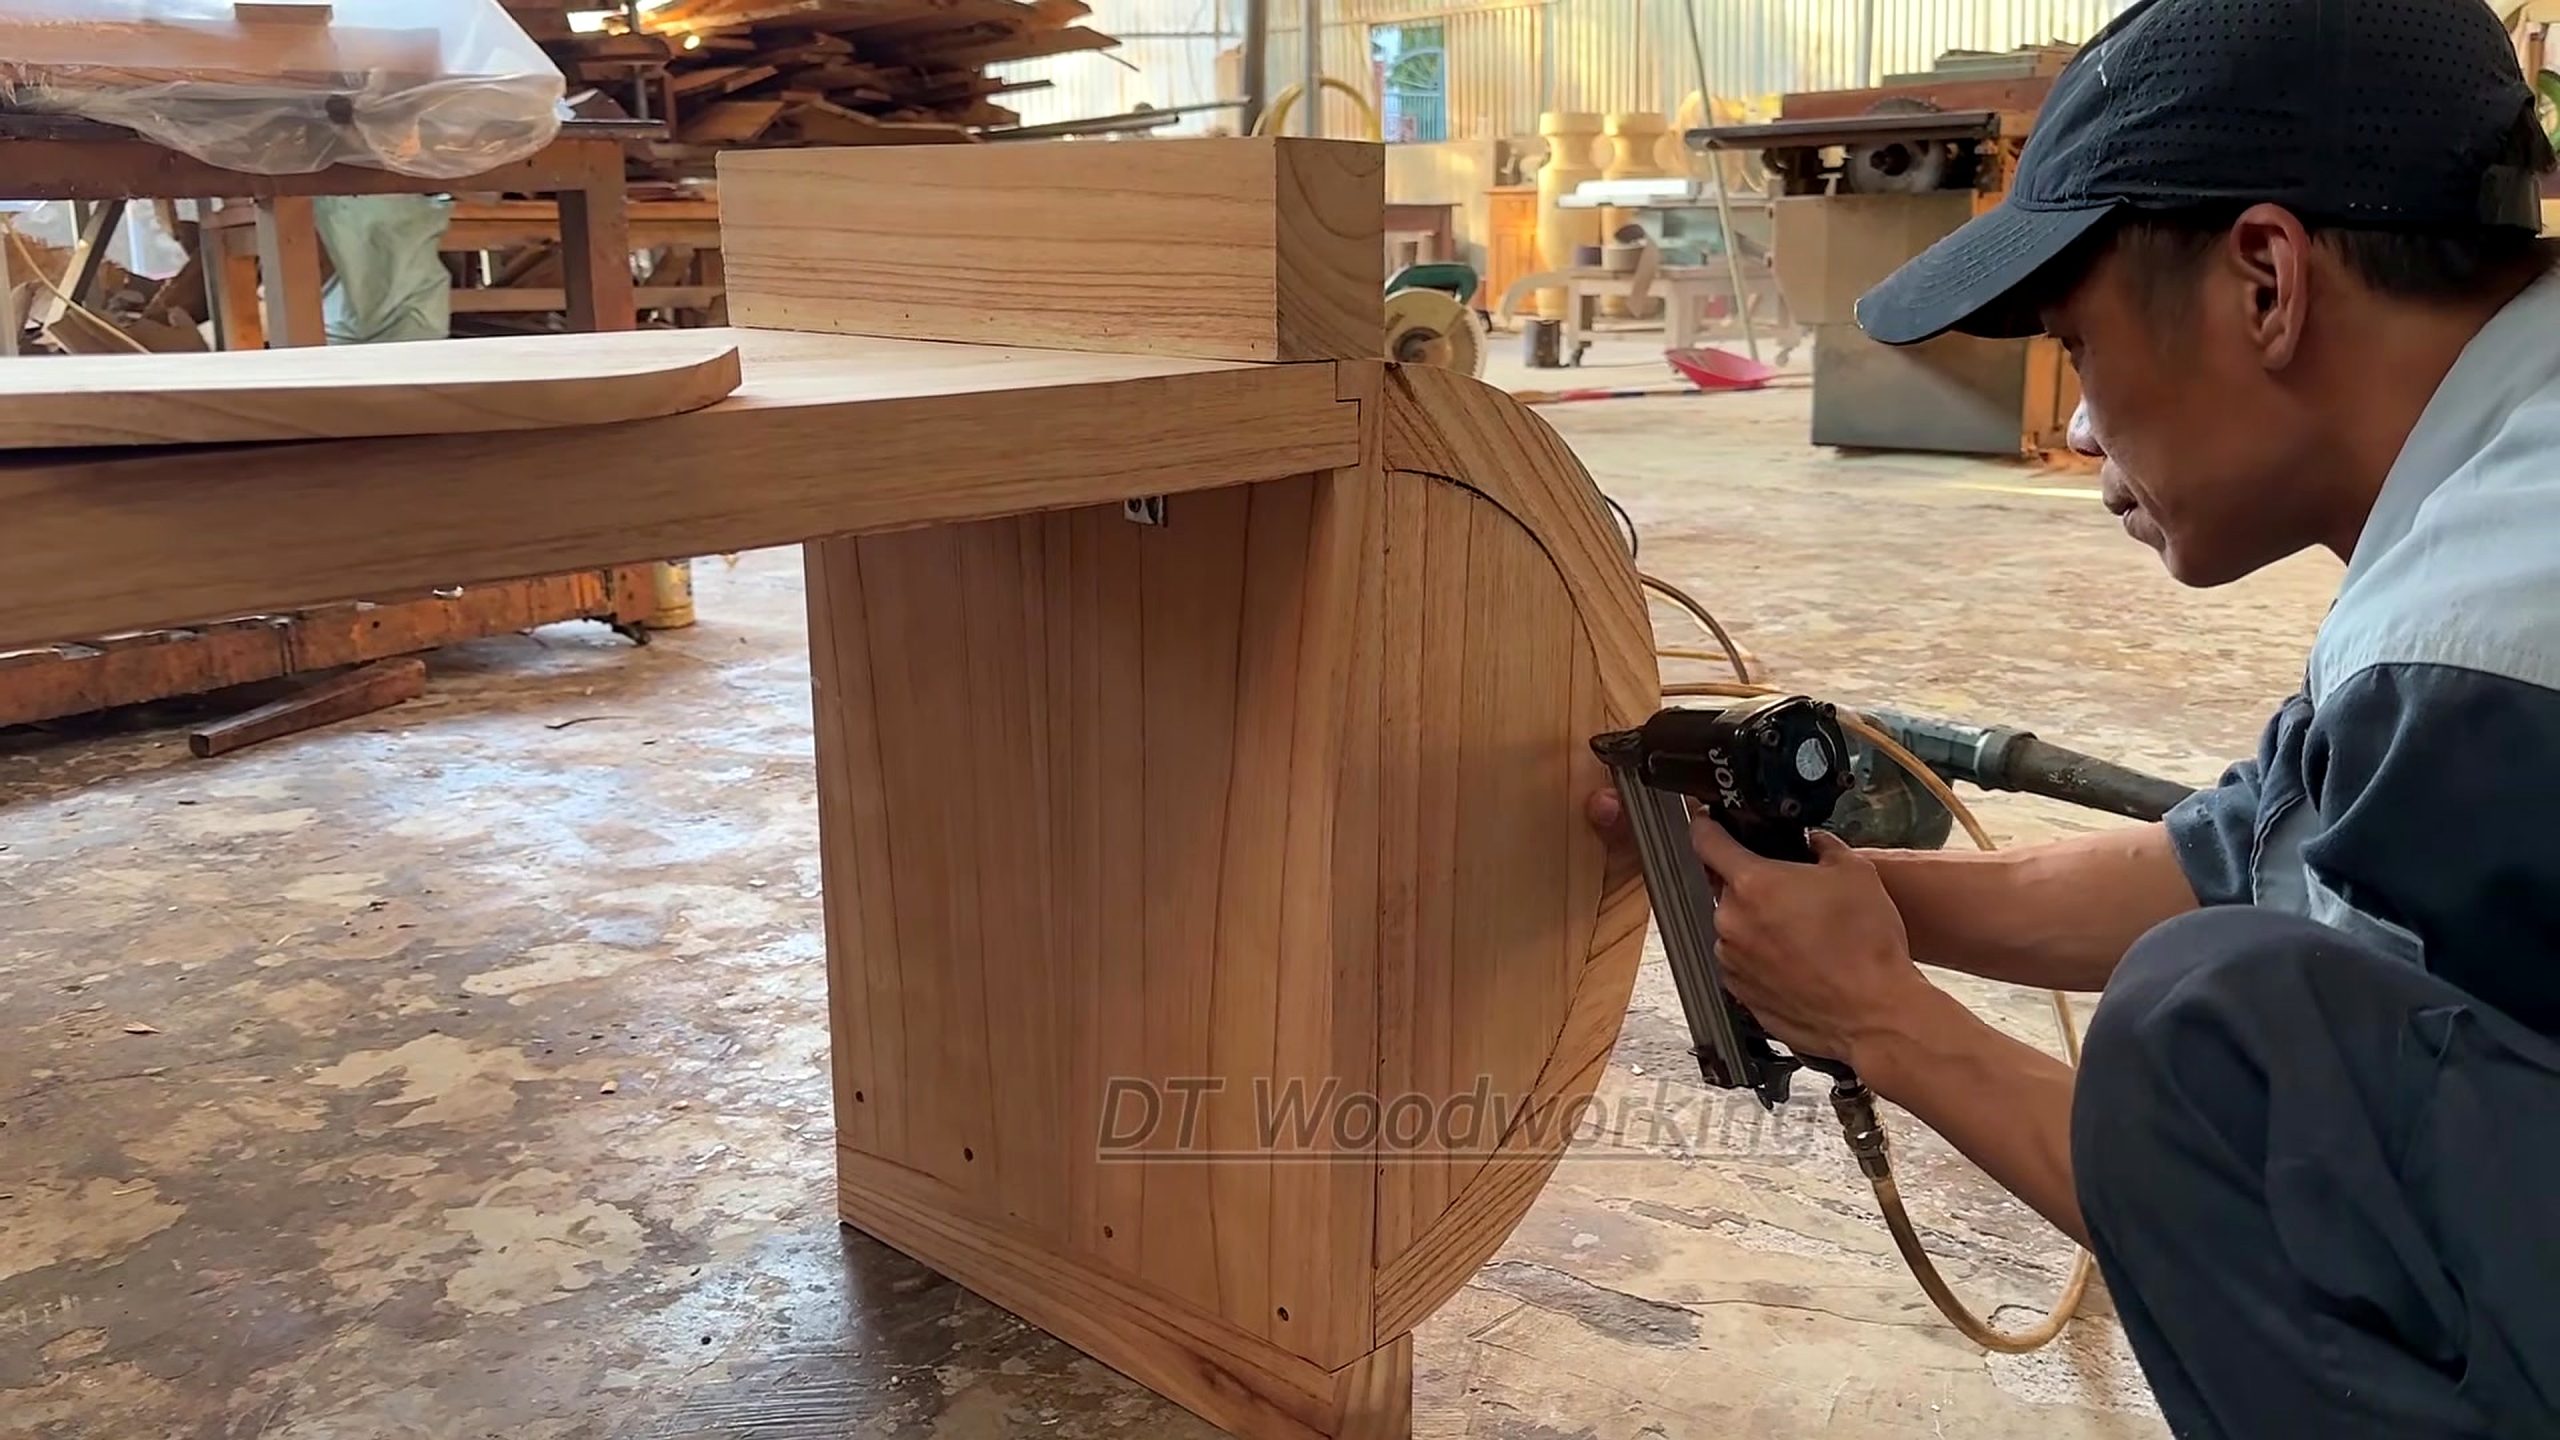
The frames include a wooden table structure being assembled and a worker using a handheld tool near a curved component. That supports a discussion of fit and finishing, but it does not identify every joinery operation or prove which tool is in use. For a stable table, the base must resist racking and keep the top supported where loads are likely. Consider the span, overhang, leg placement, stretcher location, and clearance for knees or chairs before drilling the finished slab.
Make a template for mounting points and verify the base is centered before fastening. Solid wood expands and contracts across the grain, so fixed round holes can restrain movement and cause cracks. Use a fastening approach that allows appropriate movement, such as slotted holes or purpose-made tabletop fasteners, while following the design and hardware instructions. Do not overtighten fasteners into a resin region or rely on a thin resin edge as the only anchor.
Because a rare solid wood slab moves differently from cured resin, the top-to-base connection should support the panel while allowing suitable seasonal movement in the wood.
Assemble the base on a flat surface and check for rocking before attaching the top. Measure diagonals where the design calls for a rectangular frame; equal diagonals are a useful check for squareness. Dry-fit joints before applying adhesive, and clean excess glue before it cures. If a curved member is part of the design, verify that its contact surfaces meet without forcing the assembly out of alignment. A careful fit reduces the temptation to hide gaps with filler after finishing.
Lift the completed top with enough people and support for its weight. Large resin tables can be heavy and awkward even when the materials are individually manageable. Protect the corners and surface during installation, and use a stable route through doorways. The source does not provide a finished weight or a load test, so treat lifting capacity and table strength as project-specific checks.
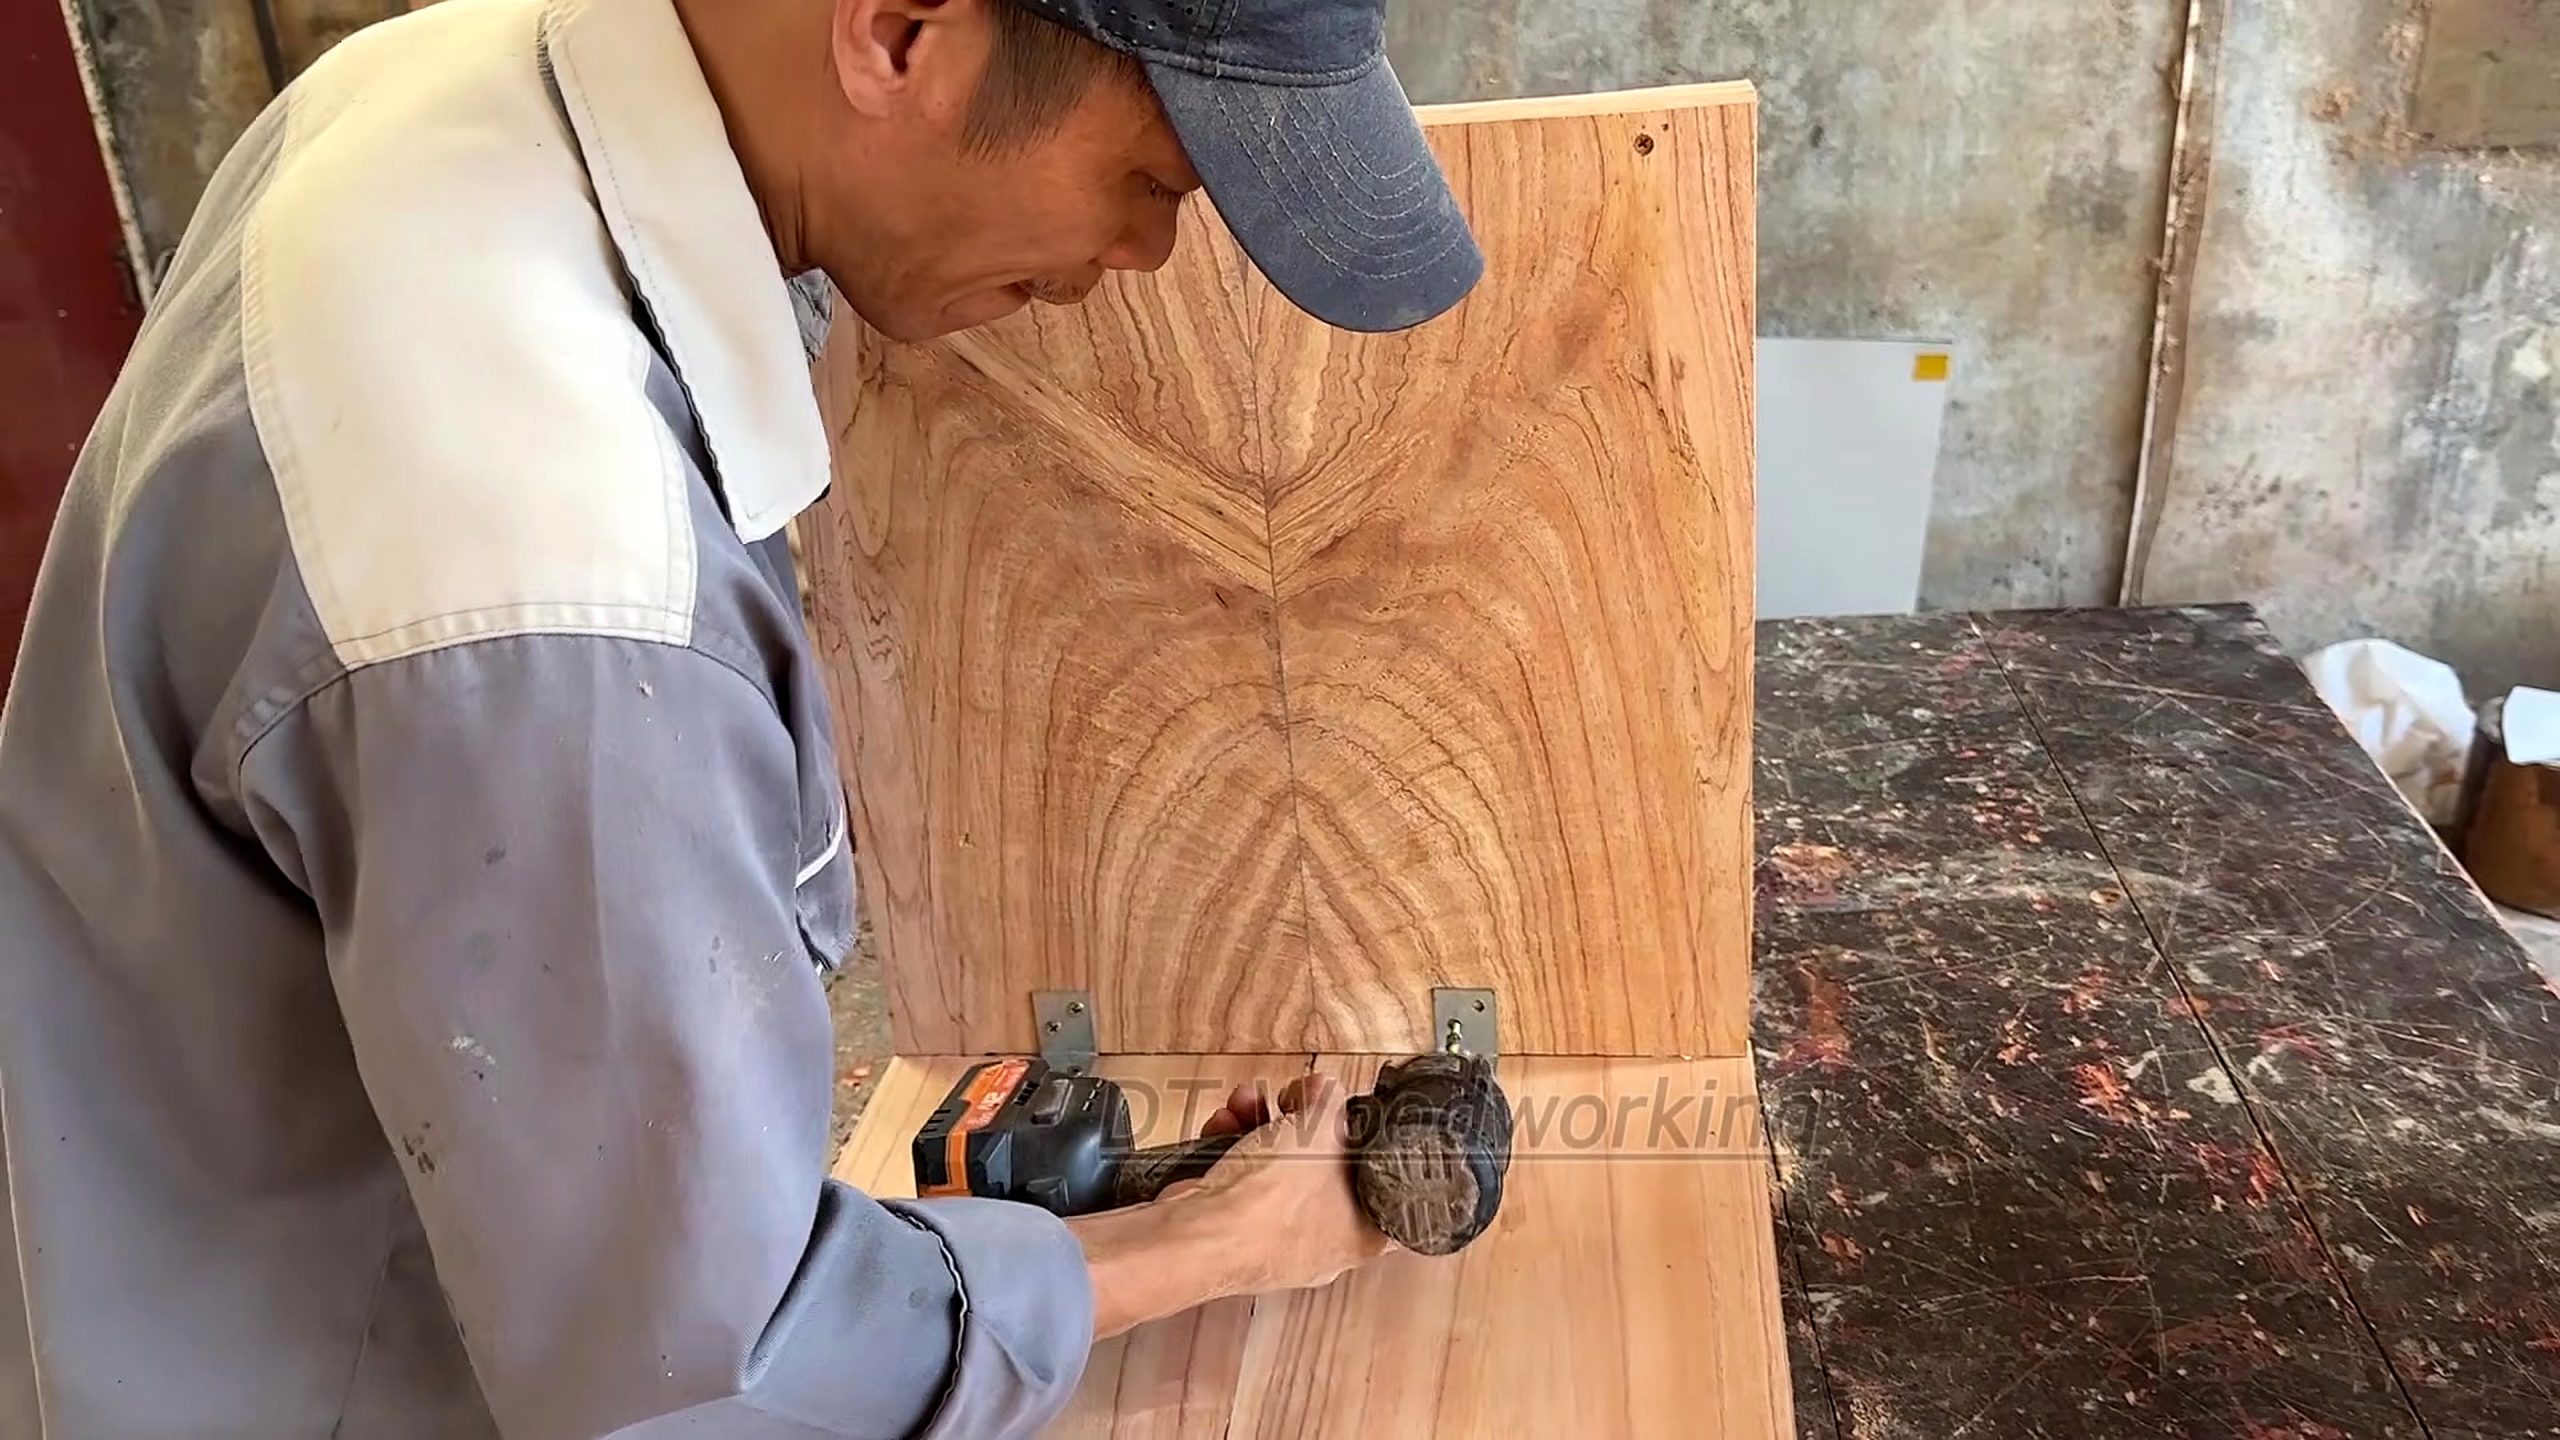
Inspect the finished table
Evaluate the result from more than one angle. Sight across the top for waves, check that the slab and resin meet cleanly, and look for sanding scratches under angled light. Run a hand gently over the edge to find sharp transitions, while avoiding contact with unfinished resin or dusty surfaces. Inspect the underside for loose fasteners, incomplete support, and finish buildup that could interfere with the base.
A rare solid wood slab epoxy table should be checked as furniture, not only as a photograph: verify the edge, base stability, usable clearances, and care requirements before calling the build complete.
Check that the table sits level on the intended floor and does not rock under ordinary hand pressure. This is not a certified load test; it is a basic fit check. Confirm that the top does not slide on the base and that hardware can be tightened or serviced later. If the table will be used for dining or work, test the actual clearances for chairs, legs, and everyday objects before declaring the dimensions successful.
For future care, use coasters and clean spills promptly unless the finish maker gives different instructions. Avoid placing hot cookware directly on an unknown resin finish. Use a soft cloth and a cleaner approved for the applied finish; harsh chemicals can dull resin or damage a wood coating. If a scratch or dent develops, identify the finish and resin system before attempting a repair. A patch that is chemically incompatible may leave a cloudy spot or a visible boundary.
These care limits are especially relevant to a rare solid wood slab table with a large exposed resin field, because the two surface materials may respond differently to heat, cleaners, and abrasion.
The final reveal is satisfying, but the most transferable lesson is the chain of decisions: preserve the wood’s distinctive outline, contain the casting, machine the cured assembly conservatively, and attach it to a base that supports the intended use. The video presents one artistic solution. It is not evidence that every slab needs resin or that resin automatically increases strength, value, or service life.
Tools, setup, and safety
A project of this kind may call for a stable workbench, clamps, measuring and leveling tools, a mold system, mixing containers, a suitable flattening setup, sanders, dust extraction, and finishing supplies. That is a planning list for this class of furniture, not a confirmed inventory of DT Woodworking’s shop. Select machines for the dimensions and mass of the workpiece, and make sure infeed and outfeed support keep the slab controlled through a cut.
Handling a rare solid wood slab safely starts with a realistic plan for its weight and grip points. Arrange support before lifting, and do not rely on a single person to control a large panel while operating a machine.
Read manuals and safety data before using a saw, router, planer, resin, or finish. Secure the work so it cannot rotate or slide; keep hands out of the cutting path; and use guards and push devices as intended. Resin work adds chemical exposure and spill risk, while sanding creates fine dust. Ventilation, eye protection, gloves, and respiratory protection depend on the product and operation. Follow the manufacturer’s current guidance and local safety rules.
Do not use a handheld router or sander to compensate for a badly supported workpiece. Large slabs can shift abruptly if clamping is inadequate. Keep cables clear of the work and inspect cutting edges and abrasives before use. If a machine cannot safely accept the slab’s size, use a different setup or ask a qualified shop to perform the operation. A safe process is part of the finished quality, even when the camera focuses on the surface.
Buyer and maker checklist
Before buying a similar table, ask what wood species and finish were used, whether the slab was dried and stabilized, how the resin was applied, and how the base accommodates movement. Ask for dimensions, underside photographs, care instructions, and the maker’s warranty or repair policy. A product title that says “rare” does not verify species or provenance; request documentation if those claims matter to the purchase.
When evaluating a rare solid wood slab table, ask for a close view of the wood-to-resin seam and the attachment points underneath. Those details tell more about practical construction than a styled room photograph.
Before making one, estimate material yield, resin volume, mold cost, machine access, flattening capacity, and the labor required for sanding and finishing. Decide which features are essential and which are decorative. Compare total project cost with the cost of a finished piece, including delivery and the time needed to correct a failed pour. The channel description presents this as a luxury furniture transformation but does not provide a retail price, so this article makes no price or savings claim.
A rare solid wood slab project also benefits from a written material plan: list the stock dimensions, resin system, mold parts, support arrangement, finishing schedule, and the source of each product specification before purchasing supplies.
For more woodworking process coverage, browse the Tecatool woodworking archive. Use the original video below to compare the written sequence with the source frames; cite the channel and the video title when quoting or referencing the project. This article adds process context and clearly marked general guidance; the video remains the primary source for what this particular build depicts.
Frequently asked questions
What does the DT Woodworking video show?
It shows a live-edge solid wood slab being prepared for an epoxy table, a framed resin layout, later surface work, and table assembly. The source description also mentions sanding and polishing.
Which wood species is used?
The video title and description do not identify a verified species. The visible grain alone is not enough to confirm the tree type.
What epoxy resin and pour depth are used?
The source does not name a resin product or specify pour depth. Choose a resin from its technical data and follow its mixing, depth, temperature, and cure instructions.
How should a slab be prepared before a resin pour?
Assess moisture and stability, remove loose material, plan the finished outline, level and seal the mold, and test resin compatibility on scrap. The exact preparation depends on the wood and resin system.
Does epoxy make the table stronger?
Not automatically. Strength depends on the wood, resin bond, design, support, joinery, and workmanship. The video is not a structural test or load rating.
What finish is on the completed table?
The source does not verify a finish brand or formula. Ask the maker and follow that product’s care and repair instructions.
How should a rare solid wood slab be kept flat during a resin project?
Start with stable, acclimated stock and a level, rigid mold. Secure the work without forcing it out of plane and follow the resin system’s limits; a video does not replace those checks.
Source video
Sources: DT Woodworking, “From a Rare Solid Wood Slab to an Ultra-Luxury Epoxy Table, Incredible Craftsmanship!” Original YouTube video. General resin and furniture guidance in this article is identified as general practice, not as an unverified specification from the footage.