
massive round tables in this Massive Wood Workshop video describes a sequence from a squared timber block through vertical bandsaw reduction, supported rectangular stock, local chainsaw correction, and a finished circular top. The five documented frames show these stages; they do not verify the title’s age or value claims.
Giant Timber Intake
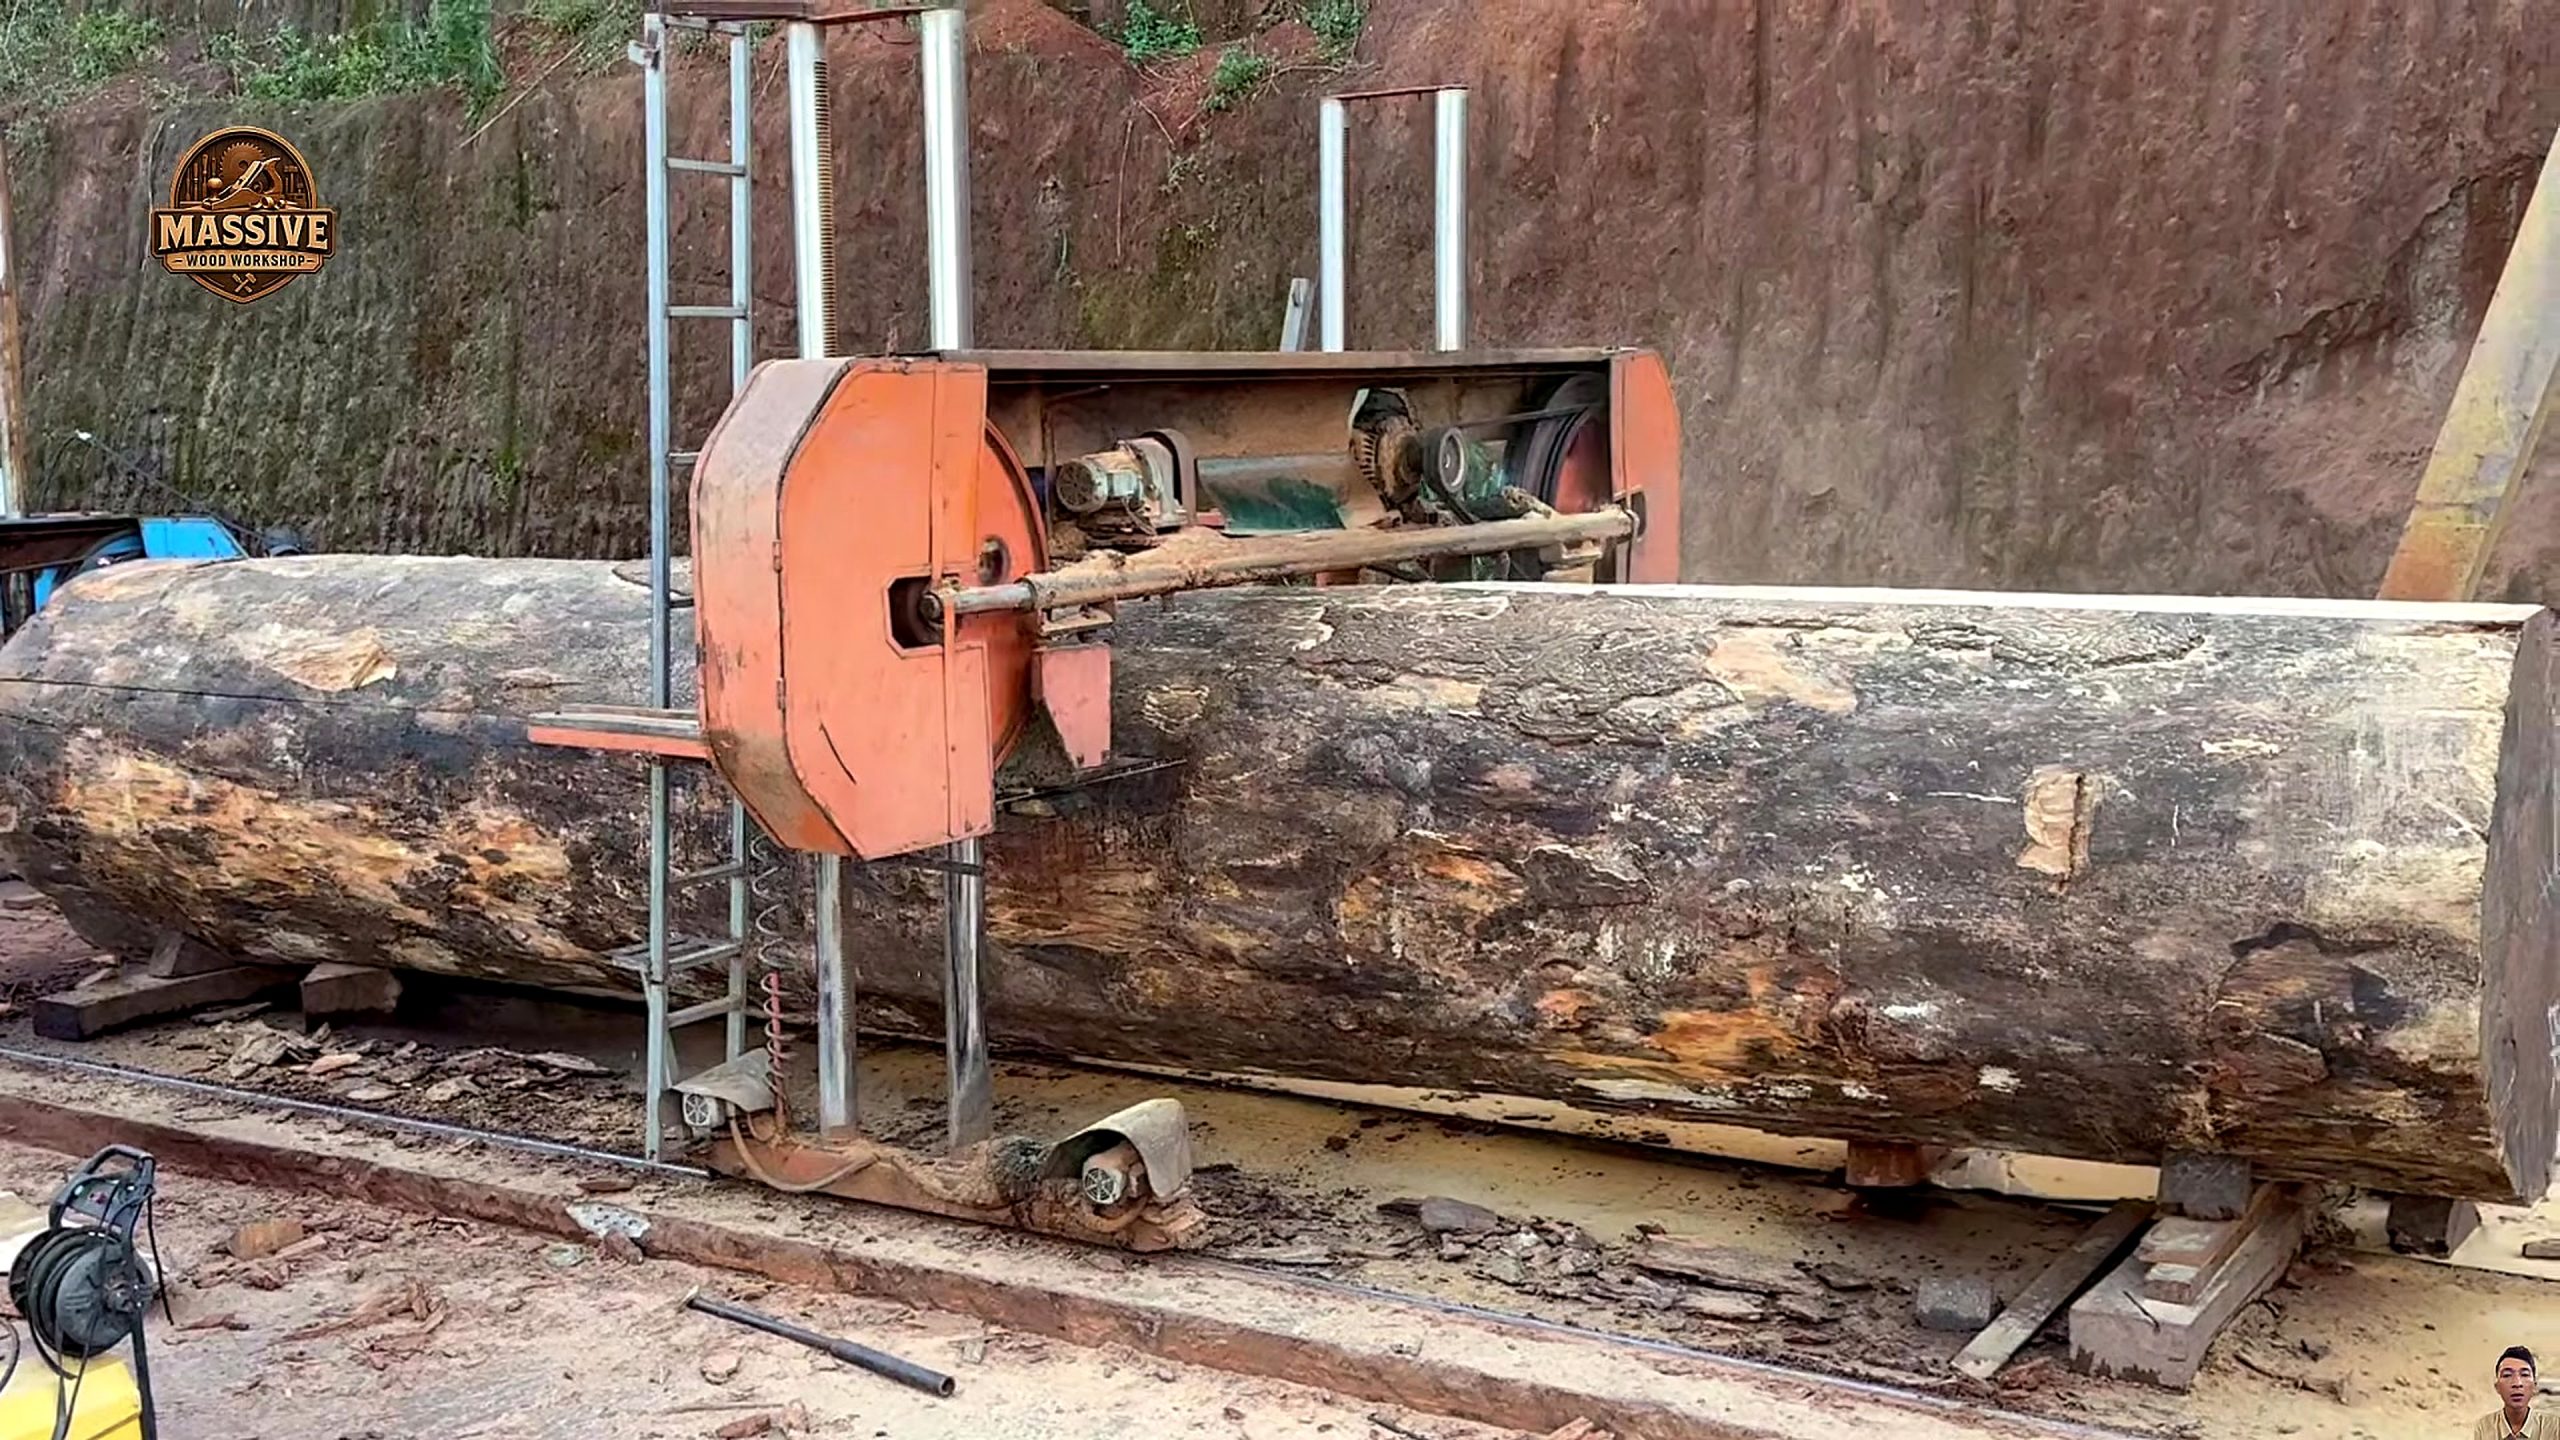
The 479.29-second frame records a squared timber block at the start of the selected sequence. Its dark outer face and newly exposed end make the next cut decision a question of orientation and support, not just scale. Before machining, a crew would map checks, suspect inclusions, and unstable bearing points. The video gives no inspection sheet, so these are practical checks rather than claims about what the crew completed.
The Vertical Bandsaw Reduction
At 1318.04 seconds, the vertical bandsaw crosses the supported stock. That frame makes three details worth reviewing: where the workpiece bears, how the cut line stays referenced, and what space remains for the operator and released material. None of those views supplies the machine model, blade size, rated capacity, feed rate, or guarding specification. Those values must come from the machine documentation and site inspection.
Keeping Long Stock Supported
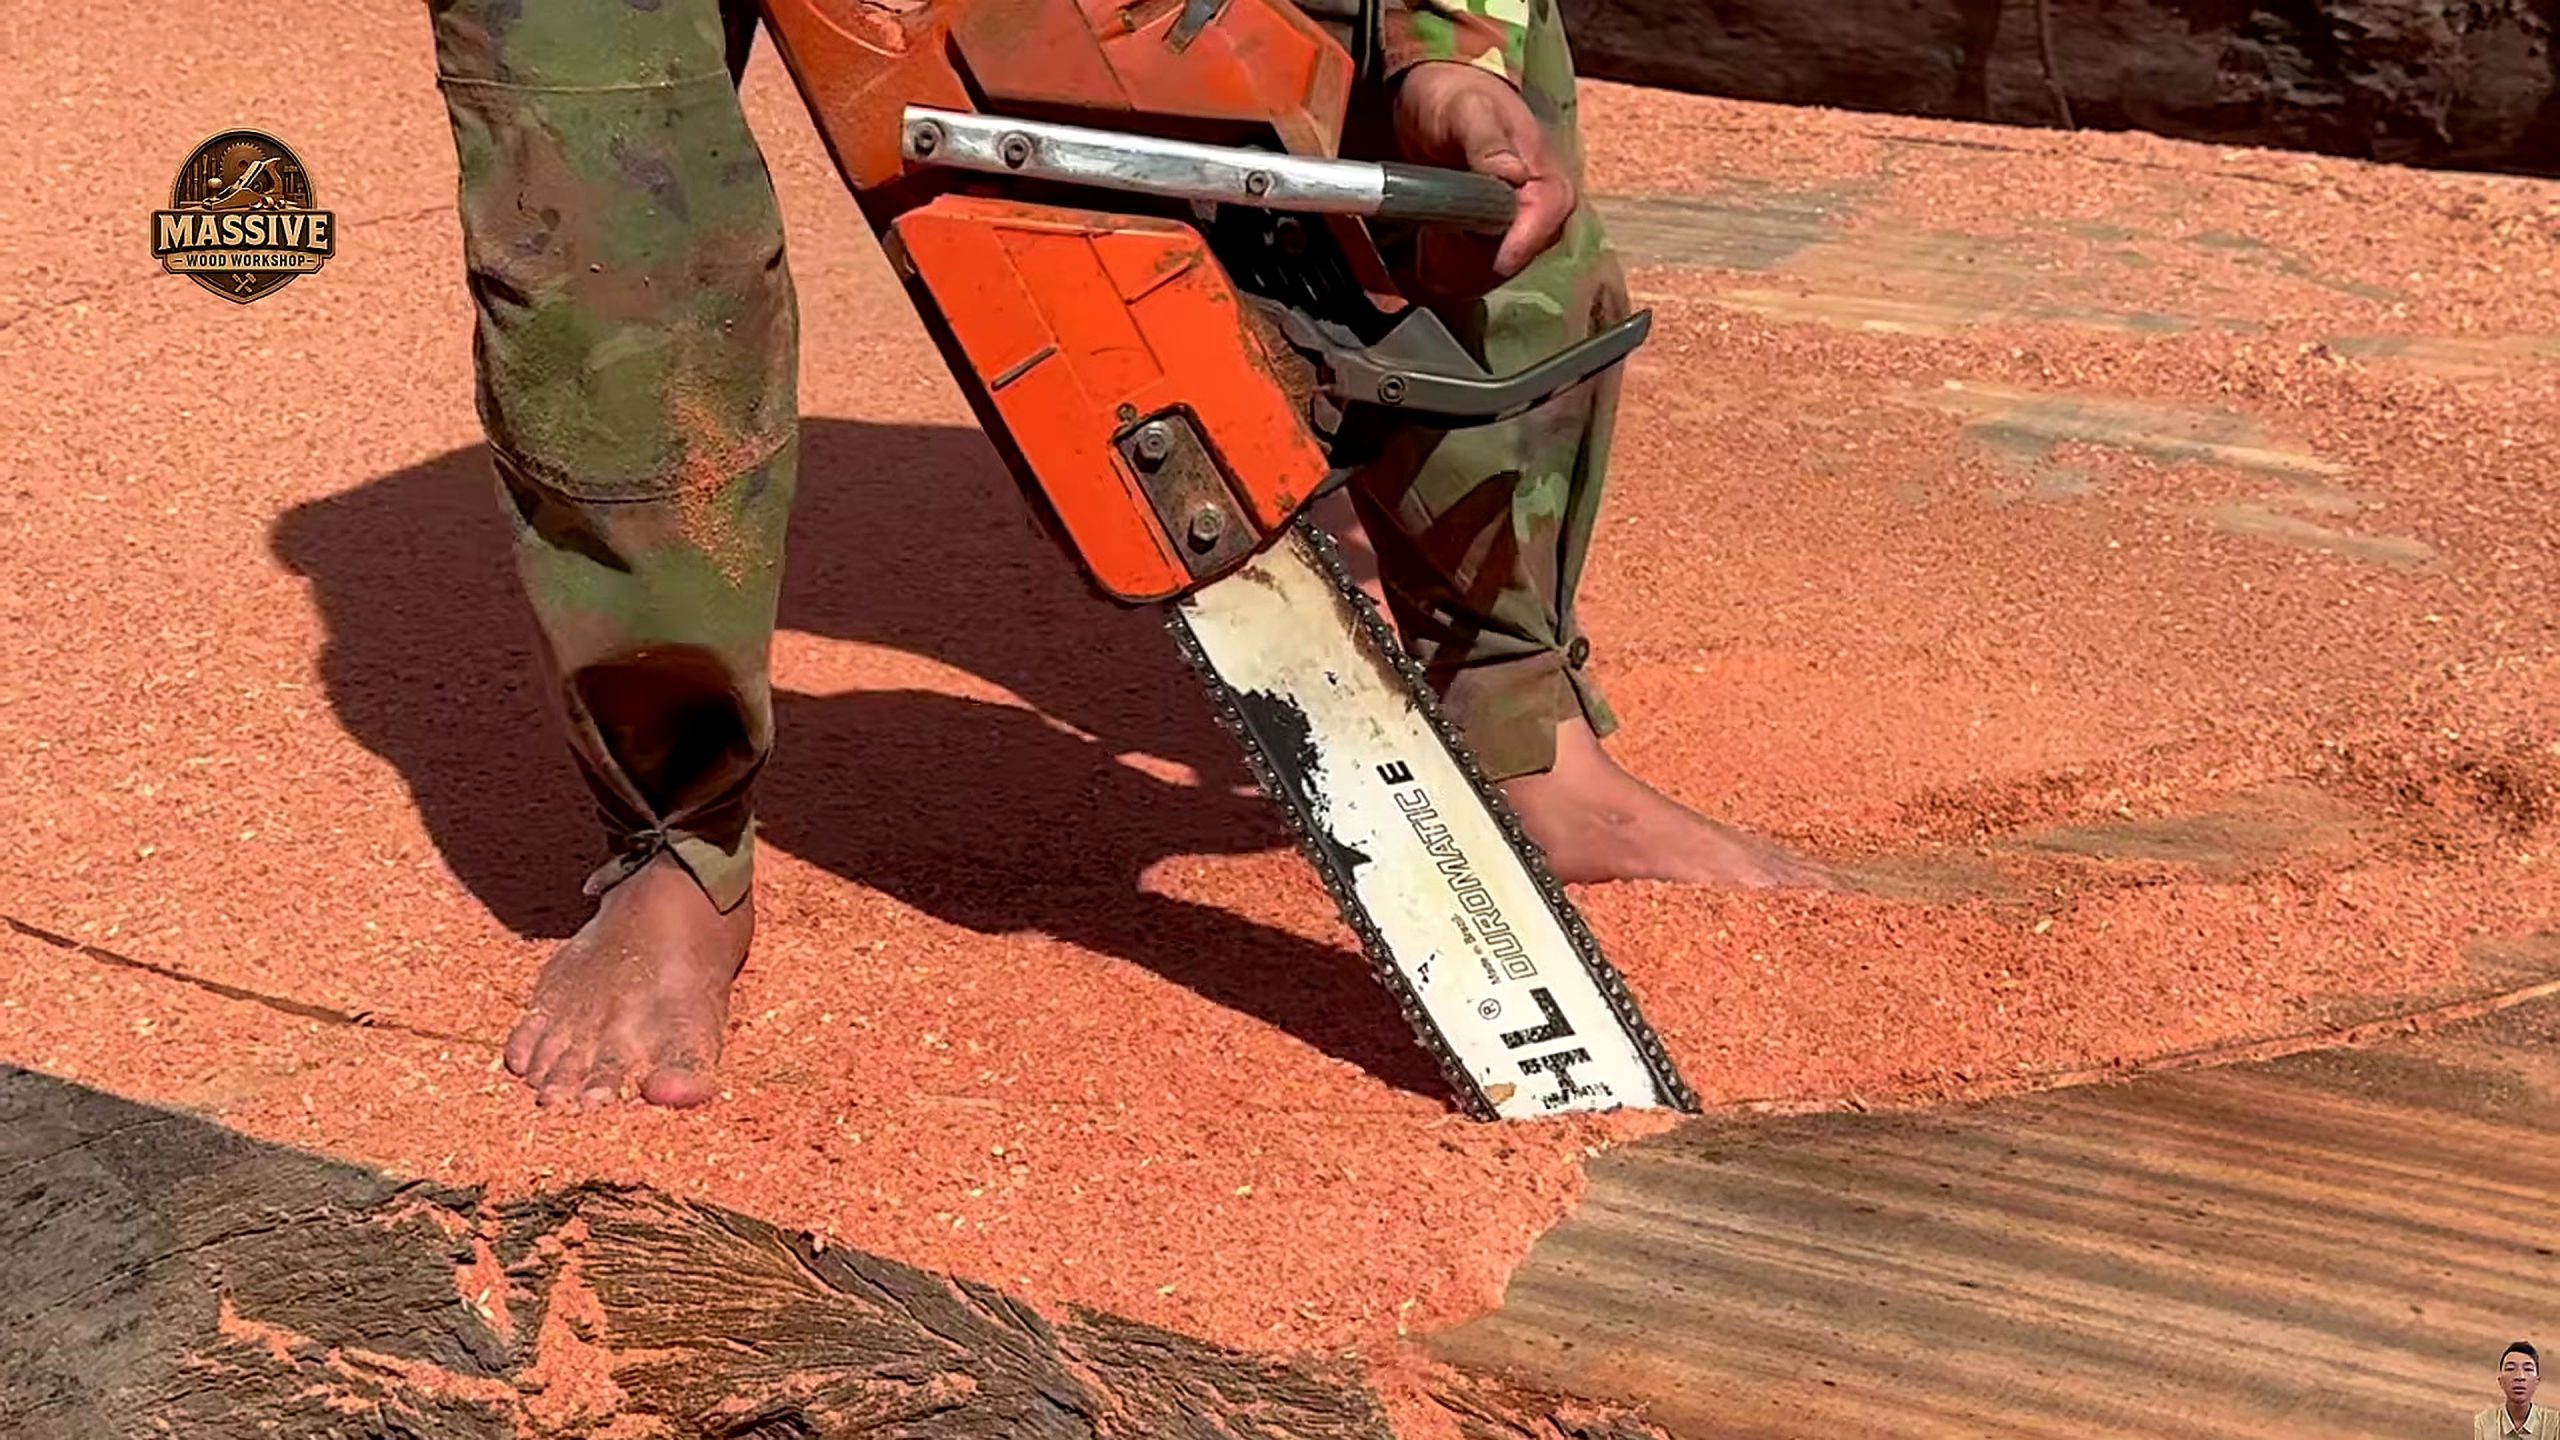
The 2396.44-second image shows a rectangular section carried along the cutting bed. A long section changes how its weight is distributed: if support drops away or the piece can roll, a clean face can become a handling problem. Recording face orientation and checking twist before another reduction makes later geometry easier to assess. The frame shows shape and support, but it does not prove a measured square or a particular tolerance.
Local Slab Correction After Milling
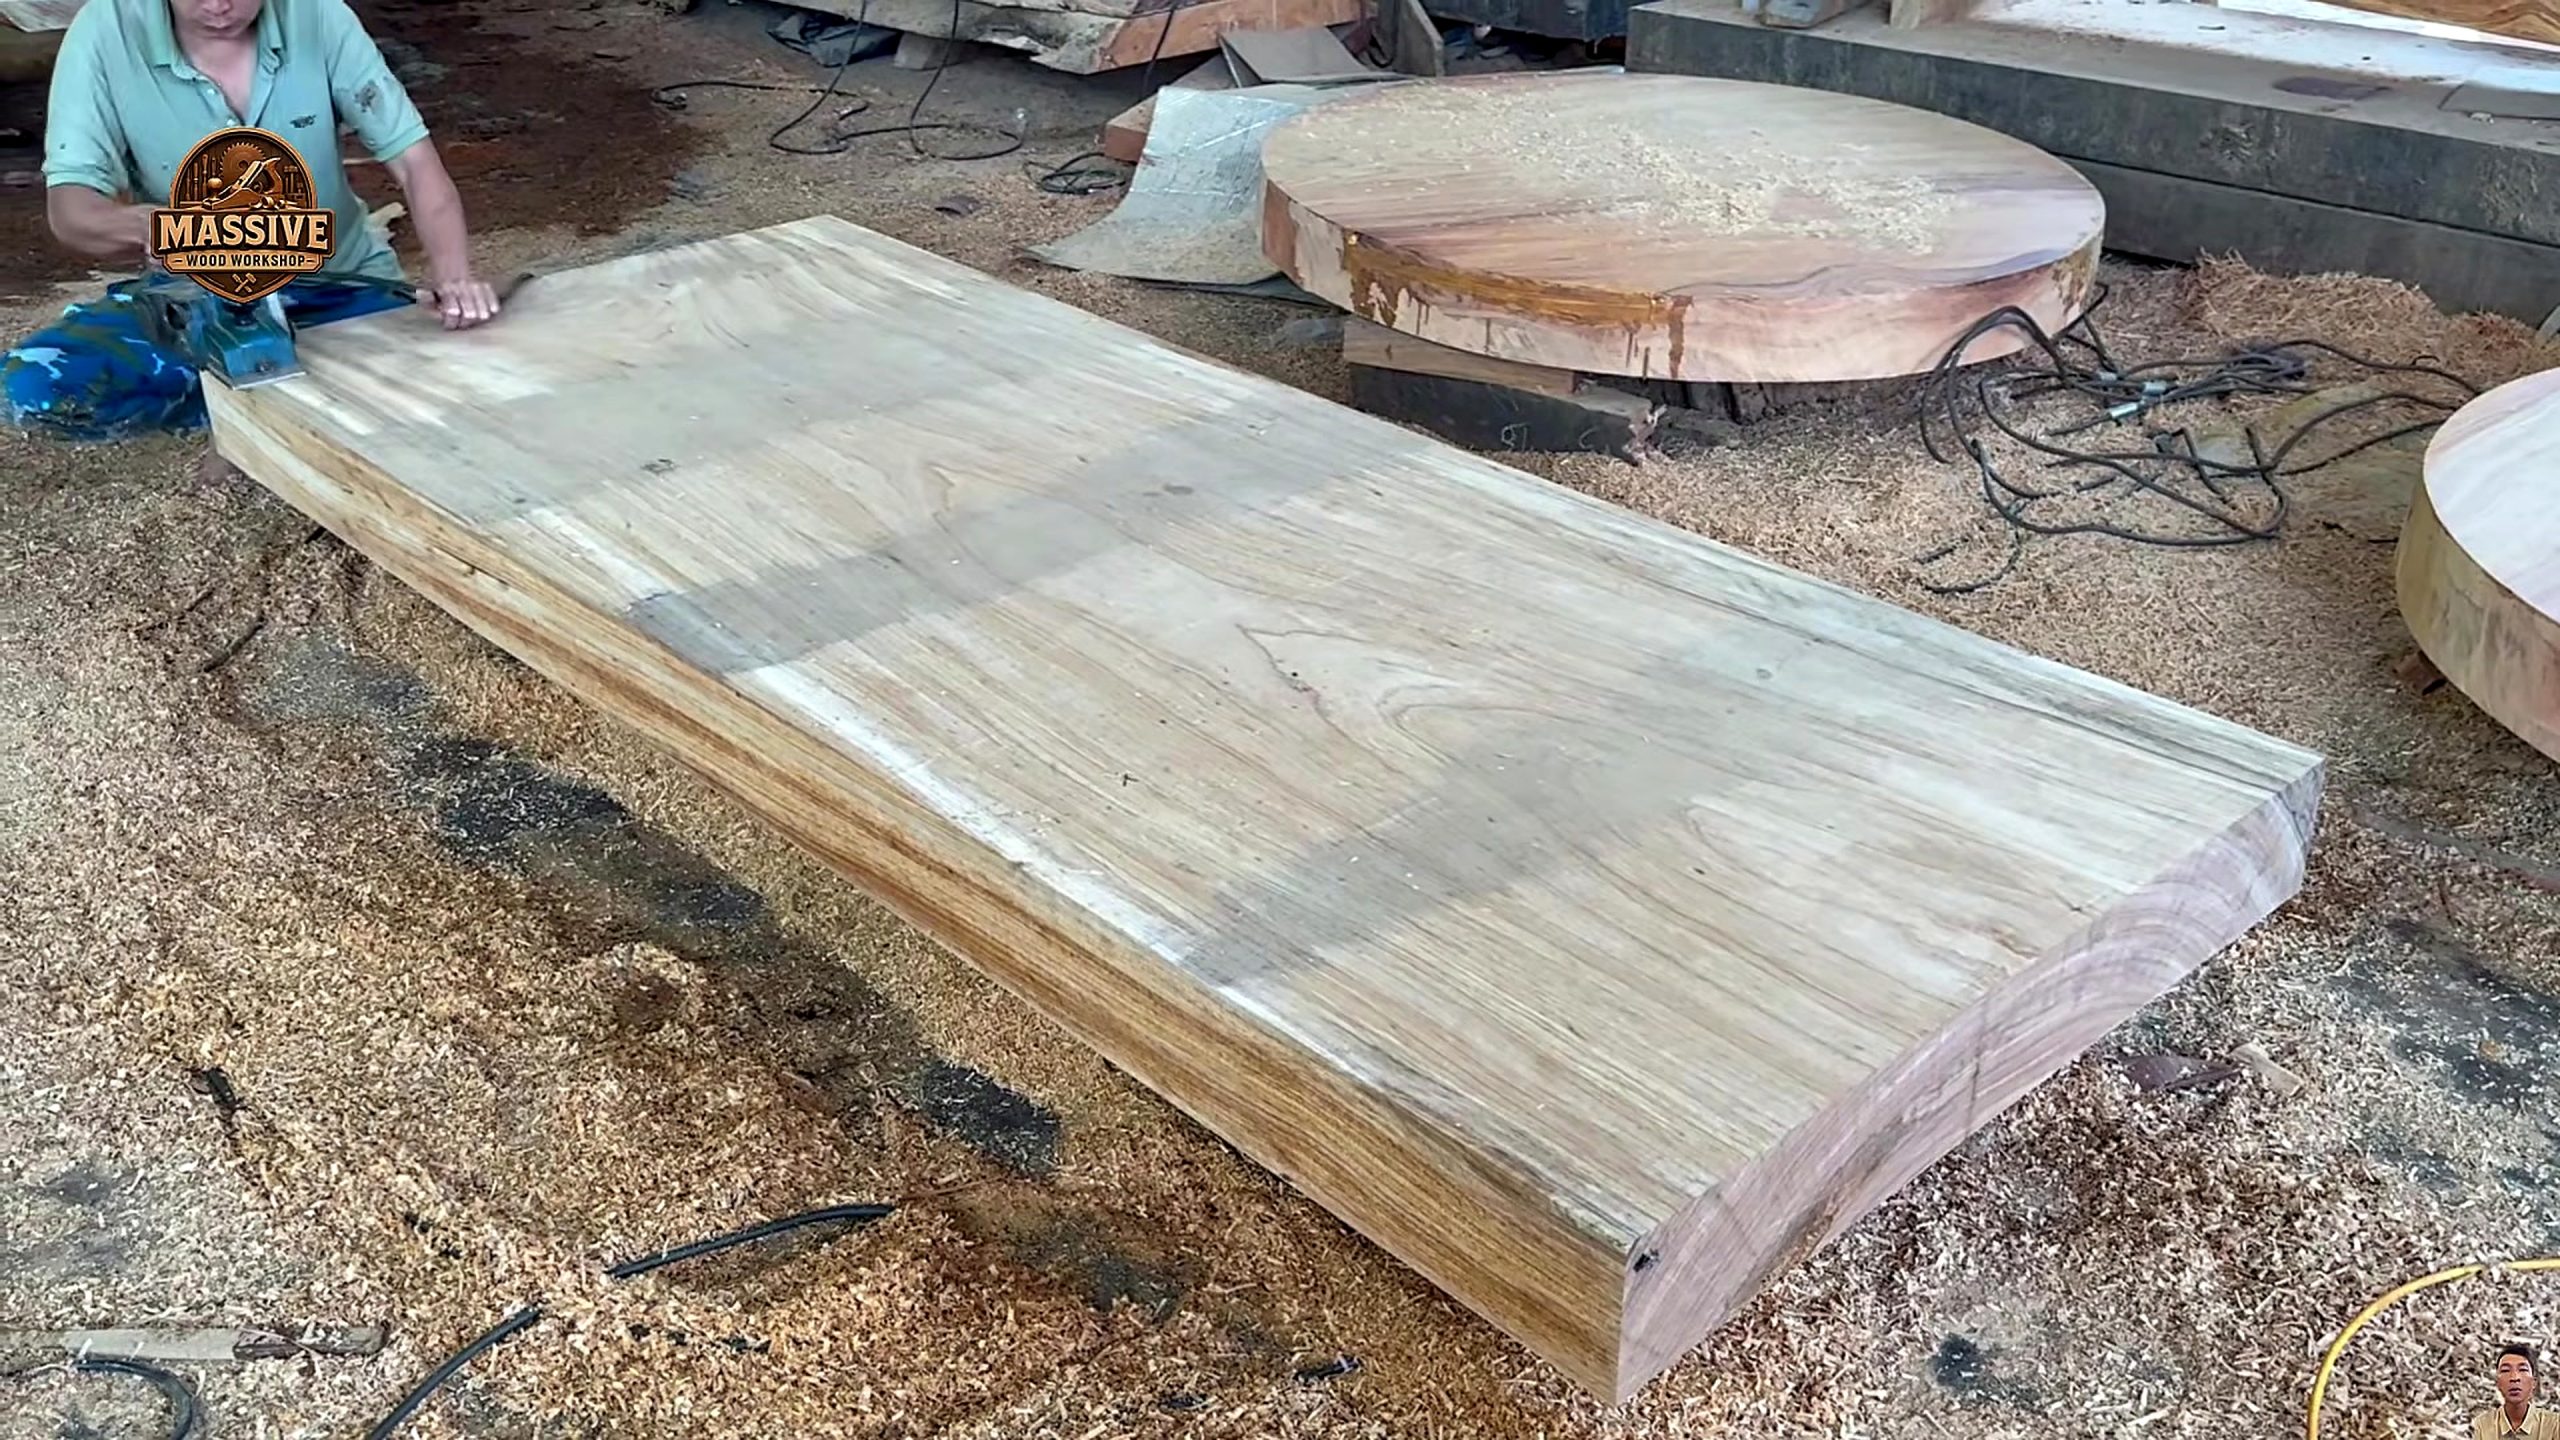
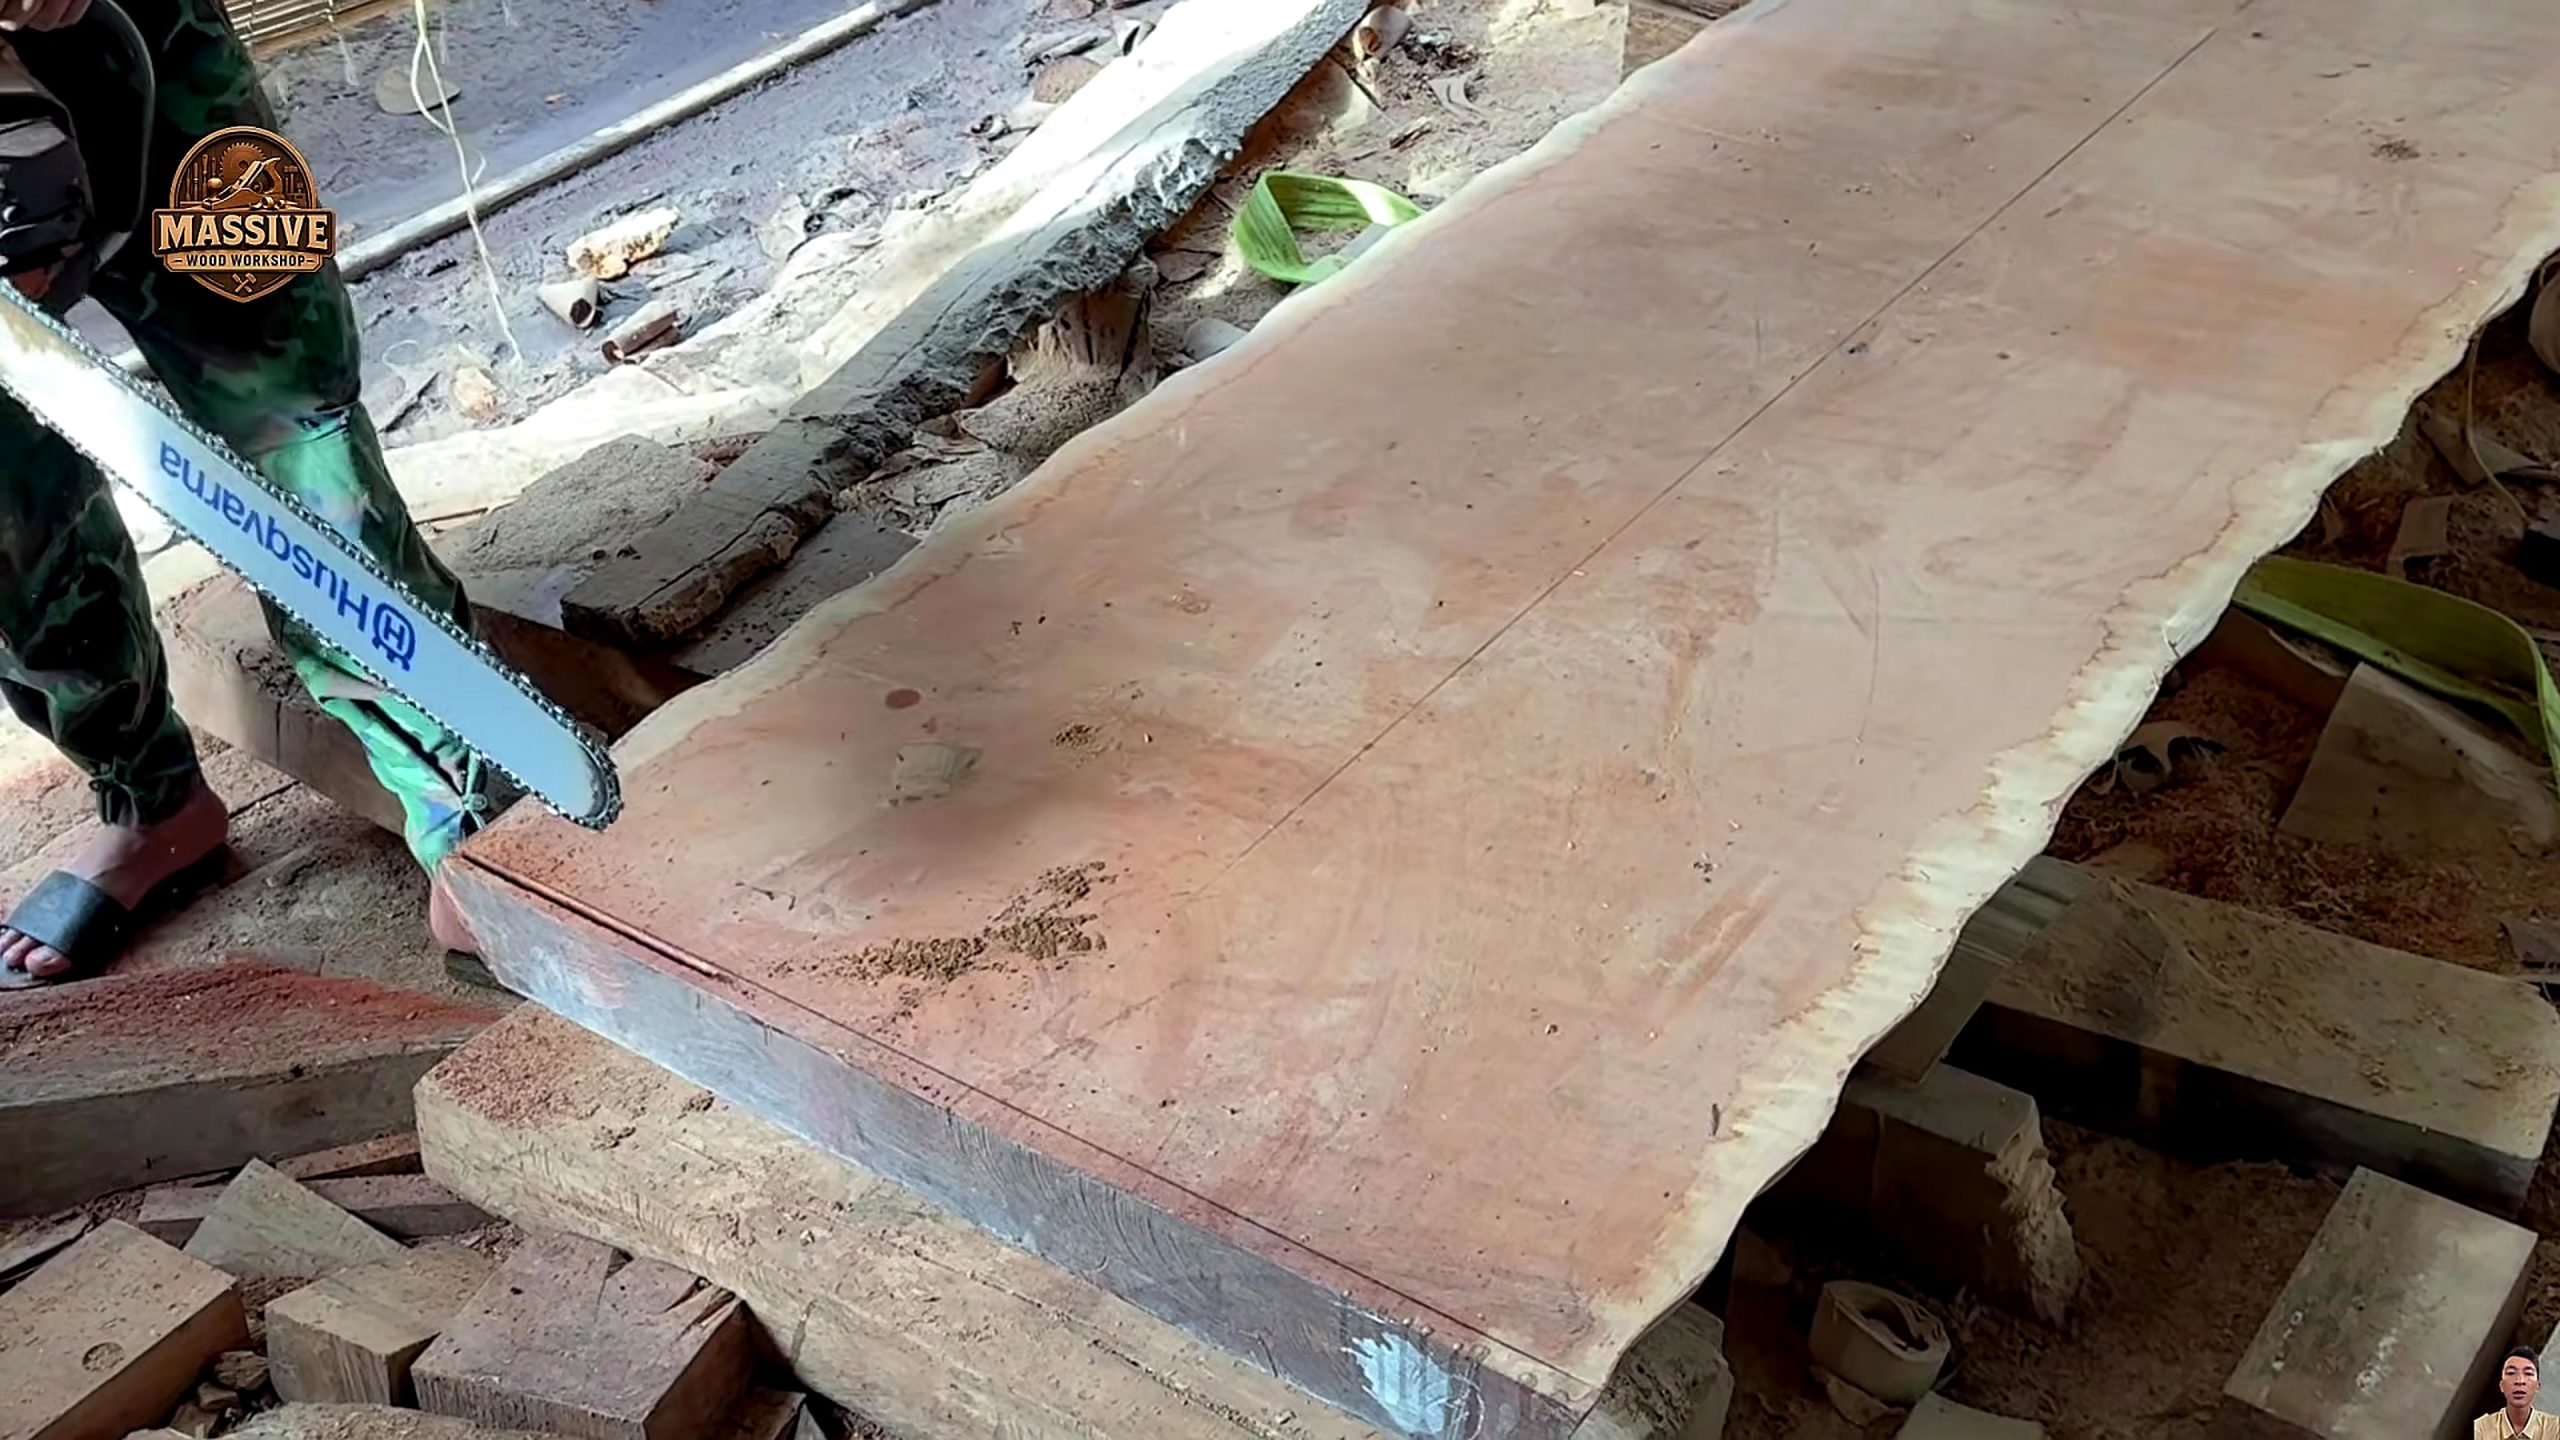
At 3714.48 seconds, a chainsaw is used on a broad slab after the main mill operation. The visible operation is local stock removal, which signals that the earlier cut did not finish every area. A careful next step is to compare the removed zone with a marked outline and remaining allowance, then select surfacing equipment from measured deviation. This observation does not establish the exact layout or full tool sequence.
Reading the Round Table Finish Frame
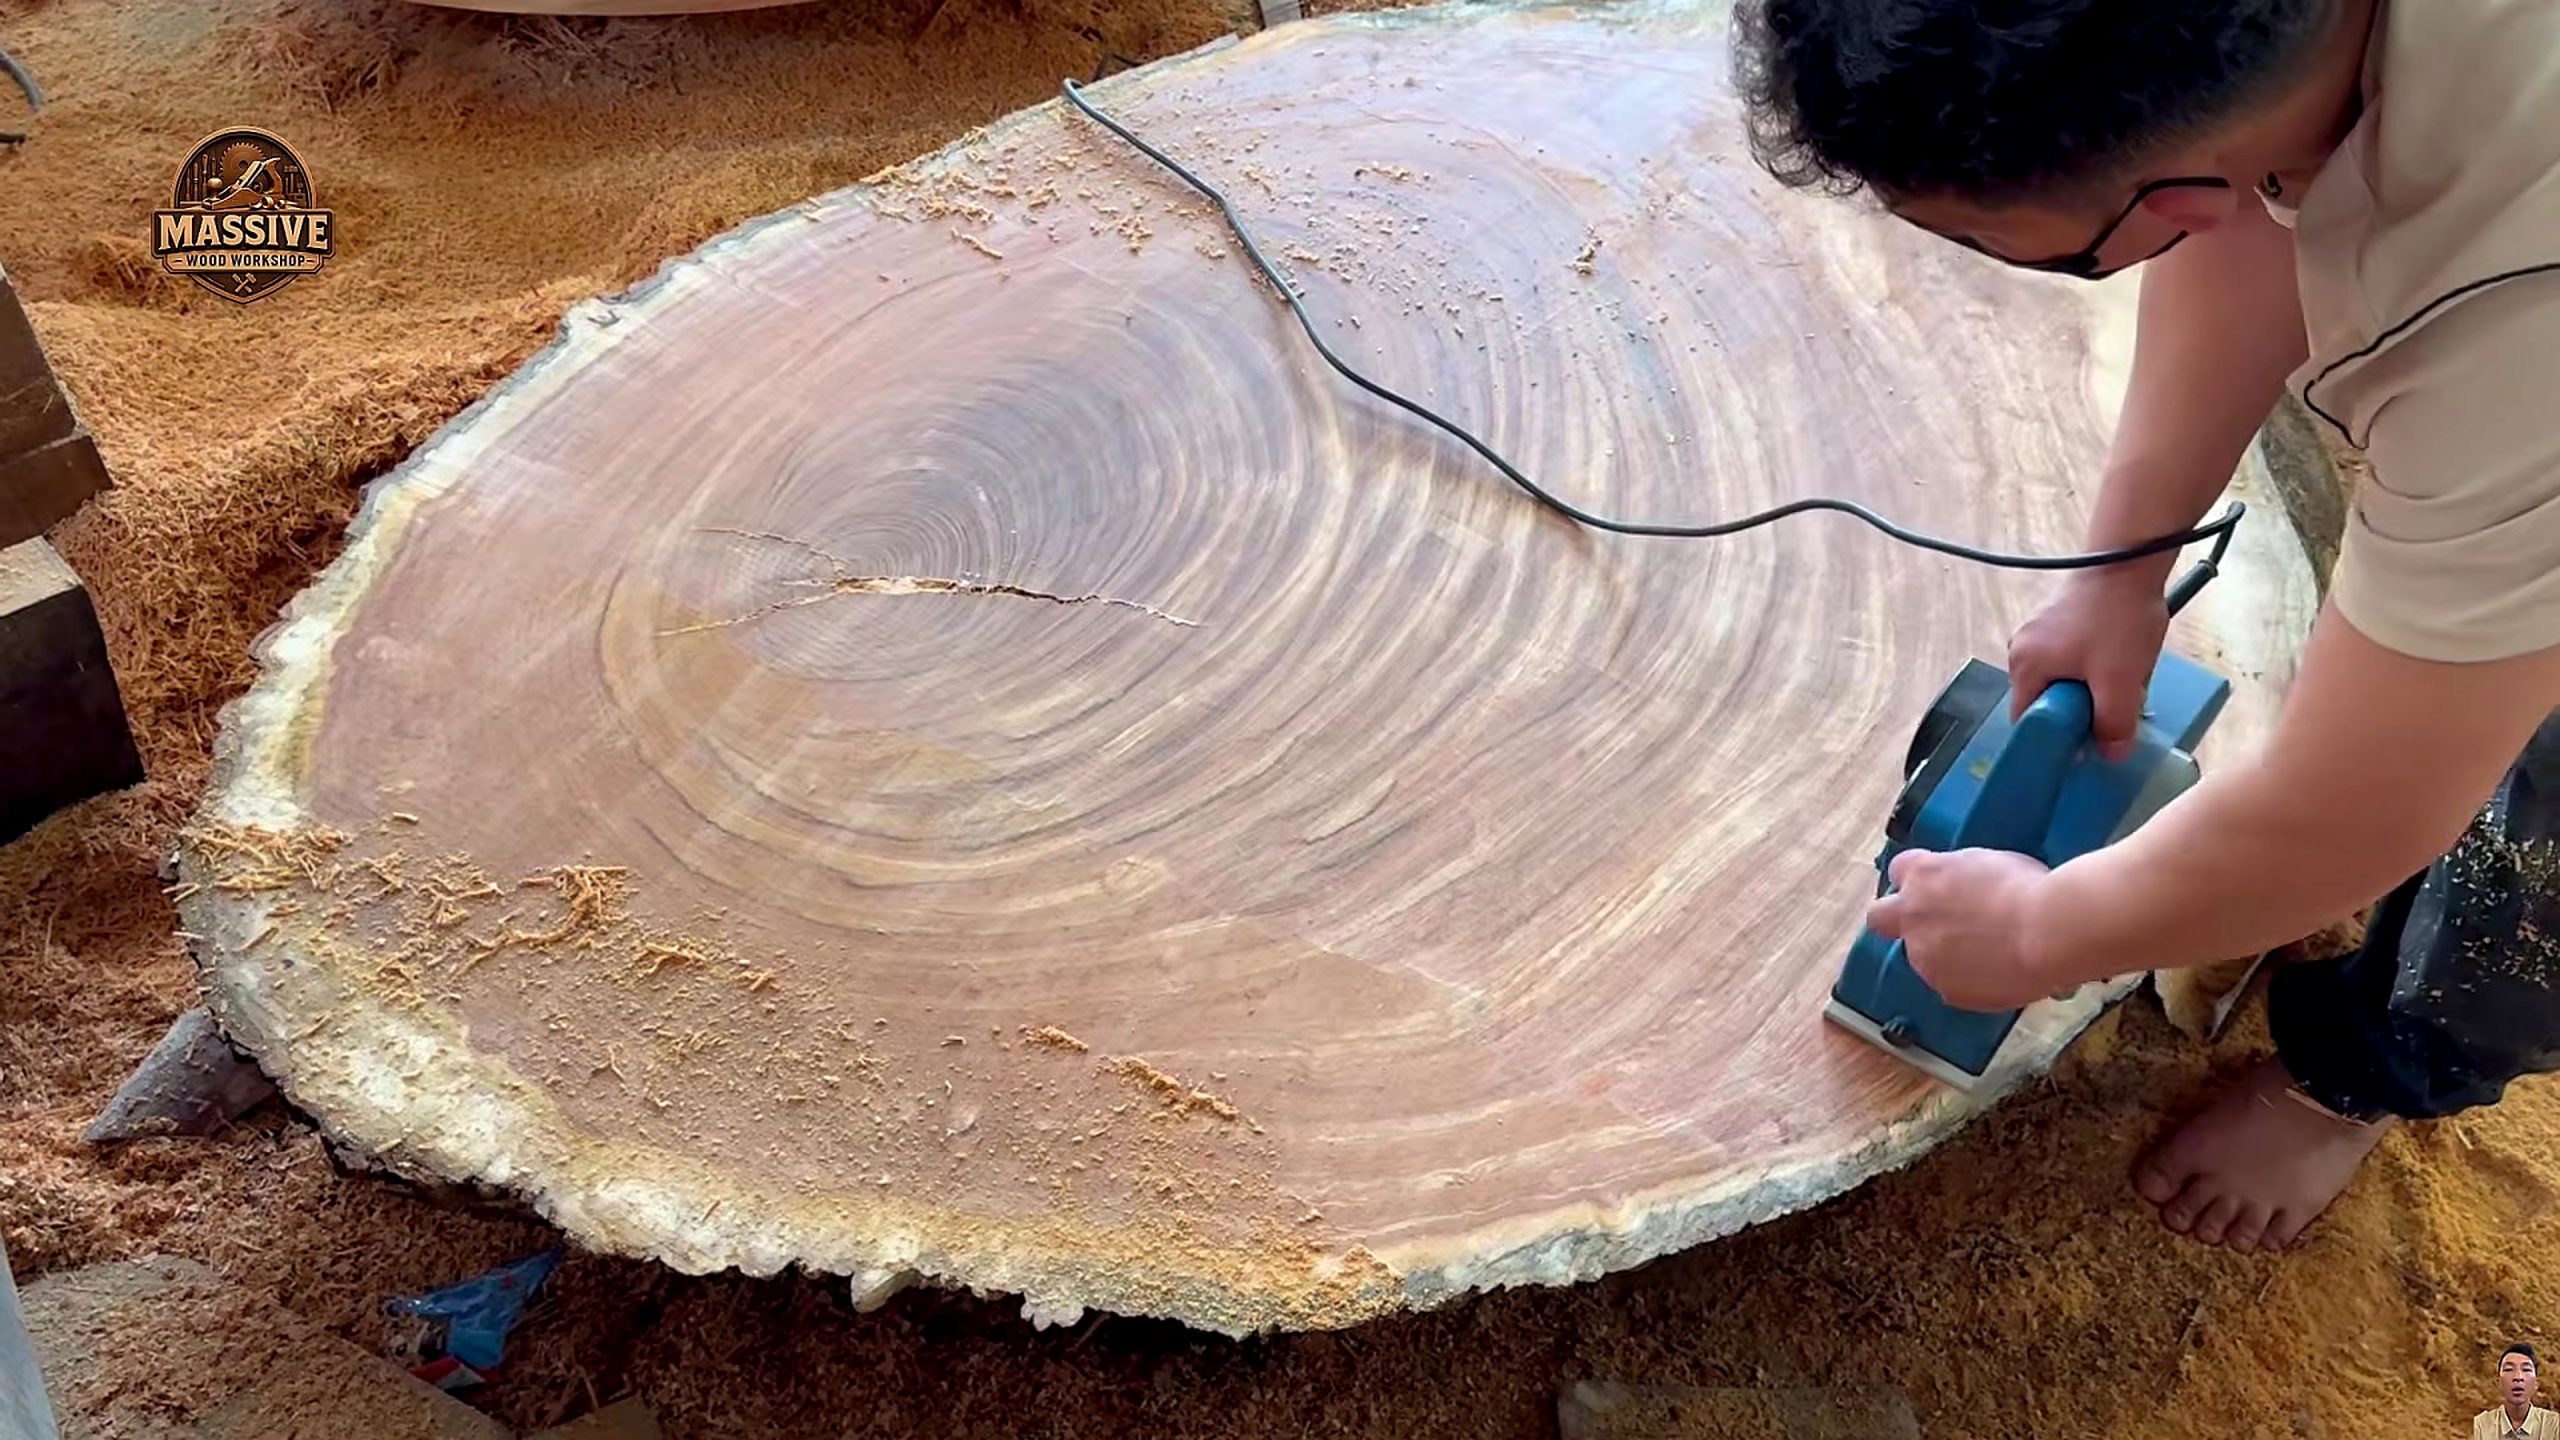
The last selected frame, at 4792.88 seconds, shows liquid being spread over a round tabletop and the grain becoming more saturated. It documents a finishing moment, not the material recipe. The video does not identify species, diameter, coating chemistry, number of coats, cure time, structural rating, or sale value. A buyer or builder should check those details against measurements, records, and the product data sheet.
What the Source Establishes and What It Does Not
The five selected frames establish a sequence, not a complete manufacturing record. They show a squared timber block, a vertical bandsaw operation, a long rectangular section, local chainsaw correction, and liquid applied to a round top. They do not show a continuous unbroken process. Any elapsed time between frames may contain setup, lifting, inspection, drying, flattening, assembly, or other work that the selected images cannot confirm.
That distinction matters when describing the result. A circular surface in one frame does not establish its diameter, thickness, flatness, species, or structural performance. A dark outside face does not identify the tree or prove an age. A glossy patch does not identify the finish product. This article therefore ties each process statement to a visible frame and treats missing measurements as unknown rather than filling gaps with plausible-sounding figures.
Readers can use the source as a visual process case while keeping their own job records separate. Record machine settings only from the operator or manual, dimensions only from measurement, and material identity only from reliable documentation. A source video can prompt questions; it cannot replace inspection or traceability for a real commission.
Planning the Timber Reduction Sequence
Before a large block reaches a saw, the intended output should guide the cut plan. A round tabletop, long boards, turning blanks, and architectural stock need different recovery priorities. A shop would map the usable envelope, visible checks, likely internal defects, and safe ways to rotate and support the block. The source does not reveal a drawing or cut list, so no specific yield can be attributed to this project.
Reference faces make later decisions repeatable. Marking a face and an edge before reducing the block helps the operator recognize which surface is being preserved. After each pass, compare the new face with the planned orientation and check whether a defect or change in grain alters the next cut. The important decision is not simply how much material can be removed; it is whether the remaining piece is still supported and useful for the intended form.
For an unusually large workpiece, handling plans deserve the same attention as cutting. Confirm lift points, rated equipment, travel path, communication signals, and a clear landing area before moving stock. The video frames do not document those arrangements. A reader should treat them as required site planning, not as actions demonstrated or endorsed by the source.
Reviewing the Bandsaw Stage
The vertical bandsaw frame is useful because it places the tool beside the scale of the timber. A practical review begins with the workpiece envelope: can the stock enter, remain supported through the cut, and leave without an uncontrolled pivot? Next, identify the visible cut line and the restraint points. The frame offers a view of an operation, but not enough information to judge blade tension, tracking, feed rate, machine condition, or operator qualification.
A mill should base those settings on the equipment instructions, blade condition, material, and actual work order. Observe whether support remains continuous as the cut progresses and whether the released section can be controlled. Pause points are valuable when the reference face shifts, the kerf changes, or the stock begins to move. Those are general inspection questions prompted by the image, not claims that the crew in the video used a particular method.
After a pass, inspect the newly exposed face under consistent light. Saw marks, deviation, checks, and grain direction help determine whether the piece can proceed to the next reduction or needs a changed orientation. Recording the decision preserves traceability through a long job and prevents later stages from relying on memory alone.
Handling Long Sections After the Cut
The rectangular stock frame shifts attention from the blade to material handling. As a long section separates, its center of mass and support locations matter. If one end is allowed to drop, the stock can twist, bind, or damage the new face. A crew should understand how the piece will be supported before it is fully released, and should keep people clear of pinch and roll zones according to the site plan.
Mark the orientation of the fresh face and note visible defects before rotating or stacking the section. If the next objective is a round top, the team still needs to determine whether a suitable blank can be laid out from the remaining sound area. The source shows a later circular result but does not reveal this planning bridge, so the article does not claim the visible rectangular section was the exact blank used without interruption.
Moisture and storage also affect later machining. Large stock can change as it dries, and a clean-looking face does not establish that the material is ready for precision surfacing. Use appropriate measurement, controlled storage, and documented acclimation for the project. No moisture reading or drying schedule is supplied by the source.
Understanding the Later Chainsaw Correction
The chainsaw frame shows a different kind of operation from the bandsaw stage: local removal from a broad slab after primary milling. This can be useful to readers because it shows that large-scale conversion may involve more than one machine. The frame does not establish whether the operator is removing a defect, trimming excess stock, or following a particular layout, so the article stays with the visible action and the need to inspect what remains.
Before a secondary cut, a shop can mark the target boundary, verify the support under the slab, and estimate the remaining material needed for flattening. A shallow local correction may preserve more usable stock than an unnecessary full-width pass, but the choice depends on measured conditions and operator competence. The source does not give the blade, chain, bar, or safety setup details needed to reproduce the operation.
Once material is removed, inspect the newly exposed area for tear-out, checks, or a change in the reference surface. Compare it with the intended tabletop outline before moving to surfacing. This makes the cut part of a controlled sequence rather than an isolated visual moment.
Preparing a Round Top for Surface Acceptance
The final image shows a round tabletop with liquid being spread across its face. Before finishing, a builder would normally confirm that the surface geometry, edge, and support plan meet the job requirements. A circle can look even in a camera view while still having a low area, twist, or uneven thickness. Use appropriate measuring references and inspect under repeatable lighting instead of relying on reflections alone.
A finish changes how grain and color appear. Testing on representative scrap or a concealed area can reveal unwanted darkening, blotching, adhesion problems, or sanding marks. Follow the selected product data sheet for preparation, application, ventilation, and cure conditions. The video does not identify the liquid, so this article does not recommend a specific chemistry or claim a durability result.
Document acceptance with the measurements and product records appropriate to the intended use. Note the source of any species or age claim, capture moisture results, record the finish system, and inspect the edge and underside as well as the visible face. These records turn an attractive reveal into a verifiable product description without overstating what a source video can prove.
Choosing Equipment for Similar Timber Work
A buyer should begin with the operation that is limiting the shop. If handling is the constraint, compare rated lifting and support equipment. If primary breakdown is the constraint, confirm the saw’s throat, cutting envelope, power, blade availability, guarding, service access, and operator training against the actual stock. If the surface stage is slow, compare flattening and extraction options using measurable tolerances and the shop’s available floor space.
Ask vendors for current manuals, capacity limits, electrical requirements, replacement-part availability, warranty terms, service coverage, and return conditions. Verify that the specific model fits the workpiece and installation; a dramatic project video cannot establish compatibility. Tecatool has no verified price, offer, or brand recommendation for this source, so no commercial promise is included.
When a service provider is a better fit than buying a machine, ask how they document intake condition, support and rotate stock, manage defects, measure output, and protect the finished piece. Compare the quote against a written scope and acceptance criteria. The useful result is a decision that resolves the measured bottleneck while keeping handling and quality requirements visible.
A Repeatable Record for Source-Based Shop Decisions
A concise job record can capture stock orientation, visible condition, selected measurements, machine identification, operator checks, support arrangement, and the reason for each major change in cut direction. For source analysis, keep a separate evidence record: video URL, channel, timestamp, frame filename, and the observation supported by that frame. This separation lets a reader distinguish the public footage from recommendations that apply generally to workshop practice.
Where the footage leaves a gap, say so directly. Do not infer tree species from color, age from scale, sale price from finish, or a machine’s capacity from its size in frame. If a later source or project record confirms a detail, cite that record and update the claim with its own scope. Clear boundaries improve the page for readers who need a reliable answer and for systems that extract short passages for citation.
A final review should compare the visible FAQ with its structured data, verify the source link, confirm that each image caption describes its frame, and check the public page’s title, description, canonical URL, and image. These are practical publishing checks, not manufacturing claims. They keep the article anchored to the same source and make it easier to revisit if the underlying video changes or becomes unavailable.
Workshop Checks Before Copying the Sequence
Separate the workflow into material control, primary reduction, local correction, and surface acceptance. At intake, identify the stable faces and record visible checks. During the bandsaw stage, compare the workpiece path with the machine envelope and support points. Once the stock changes shape, recheck the reference face rather than assuming the previous setup still applies. These steps help explain why the process spans several distinct decisions.
For the slab correction stage, define a limit line and confirm there is enough allowance for the later surface operation. At final inspection, measure flatness and roundness, inspect the perimeter and checks, and record moisture and finish details required for the intended use. The source frames illustrate where such decisions arise, but they do not document the crew’s measurements or final acceptance criteria.
For a purchase decision, identify the actual bottleneck first: lifting and support, milling capacity, surface flattening, measurement, dust control, or finishing. Compare tools against measured work, operator training, available power, maintenance support, and the manufacturer’s stated limits. Verify current specifications and seller terms directly before buying; this source supplies no verified brand, price, discount, or tested recommendation. See the Tecatool woodworking archive for related process coverage.
FAQ
What does the video show?
A large timber block is reduced with a vertical bandsaw, handled as rectangular stock, corrected locally with a chainsaw, and shown later as a finished round tabletop.
Does the footage verify the tree age or table value?
No. Those claims appear in the source framing but are not independently verified by the five reviewed frames.
What should a shop inspect before using a similar process?
Check workpiece stability, machine capacity, guarding, support, reference faces, defects, and the final surface measurements.
Commercial Context and Tool Comparison
This source does not verify a named tool brand, price, discount, or affiliate offer. Compare support capacity, cutting envelope, guarding, service access, replacement parts, extraction, and operator training against measured stock before buying. For occasional work, compare a qualified milling or surfacing service with equipment ownership and maintenance. Compare Tecatool woodworking process guides, then confirm current specifications and terms directly with the vendor.
For massive round tables, verify the final surface, edge, support plan, moisture, and finish against the intended use. This phrase describes the subject of this source analysis; it does not verify dimensions, species, structural rating, or sale value.
Source Video
Sources: Massive Wood Workshop, “Massive Round Tables: Incredible Woodworking,” original video. Reviewed frames: 479.29, 1318.04, 2396.44, 3714.48, and 4792.88 seconds.