
1000-year-old giant timber is best understood by following the log through the yard, the truck, the saw, and the first slab. The footage shows a huge round log arriving as a heavy workpiece, marked ends being inspected, a travelling band saw opening the timber, and a broad slab emerging from the cut. The title is dramatic, but the visible process is a careful lesson in orientation, support, kerf, and evidence.
Table of Contents
1000-Year-Old Giant Timber: The Short Answer
The recording follows a large timber through the preparation that comes before a finished slab. A truck carries a log into the yard. The log is set on the ground and studied. The sealed end carries paint marks that help the crew orient it. A travelling band saw then works across the timber, and the result is a fresh red-brown face and a broad slab.
For a woodworker, the important question is not whether the title sounds unbelievable. It is whether the process makes the material readable. The crew has to decide which side should become the first face, where a crack can be sent into waste, how the log will be held, and how a long blade can travel without wandering. Those decisions influence every board that follows.
The frames do not independently verify the tree’s age, species, weight, or value. They show a very large log, painted end marks, a cutting machine, and the result of primary milling. Keeping that boundary clear makes the article more useful, because a reader can separate visible evidence from a claim that belongs to the video title.
The Log on the Truck
The opening yard scenes show a flatbed truck carrying a log that fills the bed from end to end. The load is not a bundle of boards that can be shifted by hand. It is one heavy cylinder with enough mass to change the balance of the truck and the lifting gear. Workers therefore approach it as a handling operation before treating it as a sawing operation.
Look at the order. The truck is positioned near the working area. The lifting gear is brought to the log. People move around the load to check where the slings can sit. The log is then taken clear of the truck and placed where the mill can reach it. That sequence avoids a common mistake in large-timber work: beginning with the saw plan before the landing area is ready.
Two lifting points help keep a long log level. Bearers on the ground keep it above mud and allow a blade or sling to pass when needed. Chocks prevent the round side from rolling after the crane releases it. These details are not glamorous, but they control the first risk in the process, which is uncontrolled movement.
The truck scene also gives a scale reference. The log is large relative to the workers and the trailer, but the video does not provide a measuring tape. A careful article can describe that relationship without turning it into an invented diameter or weight.
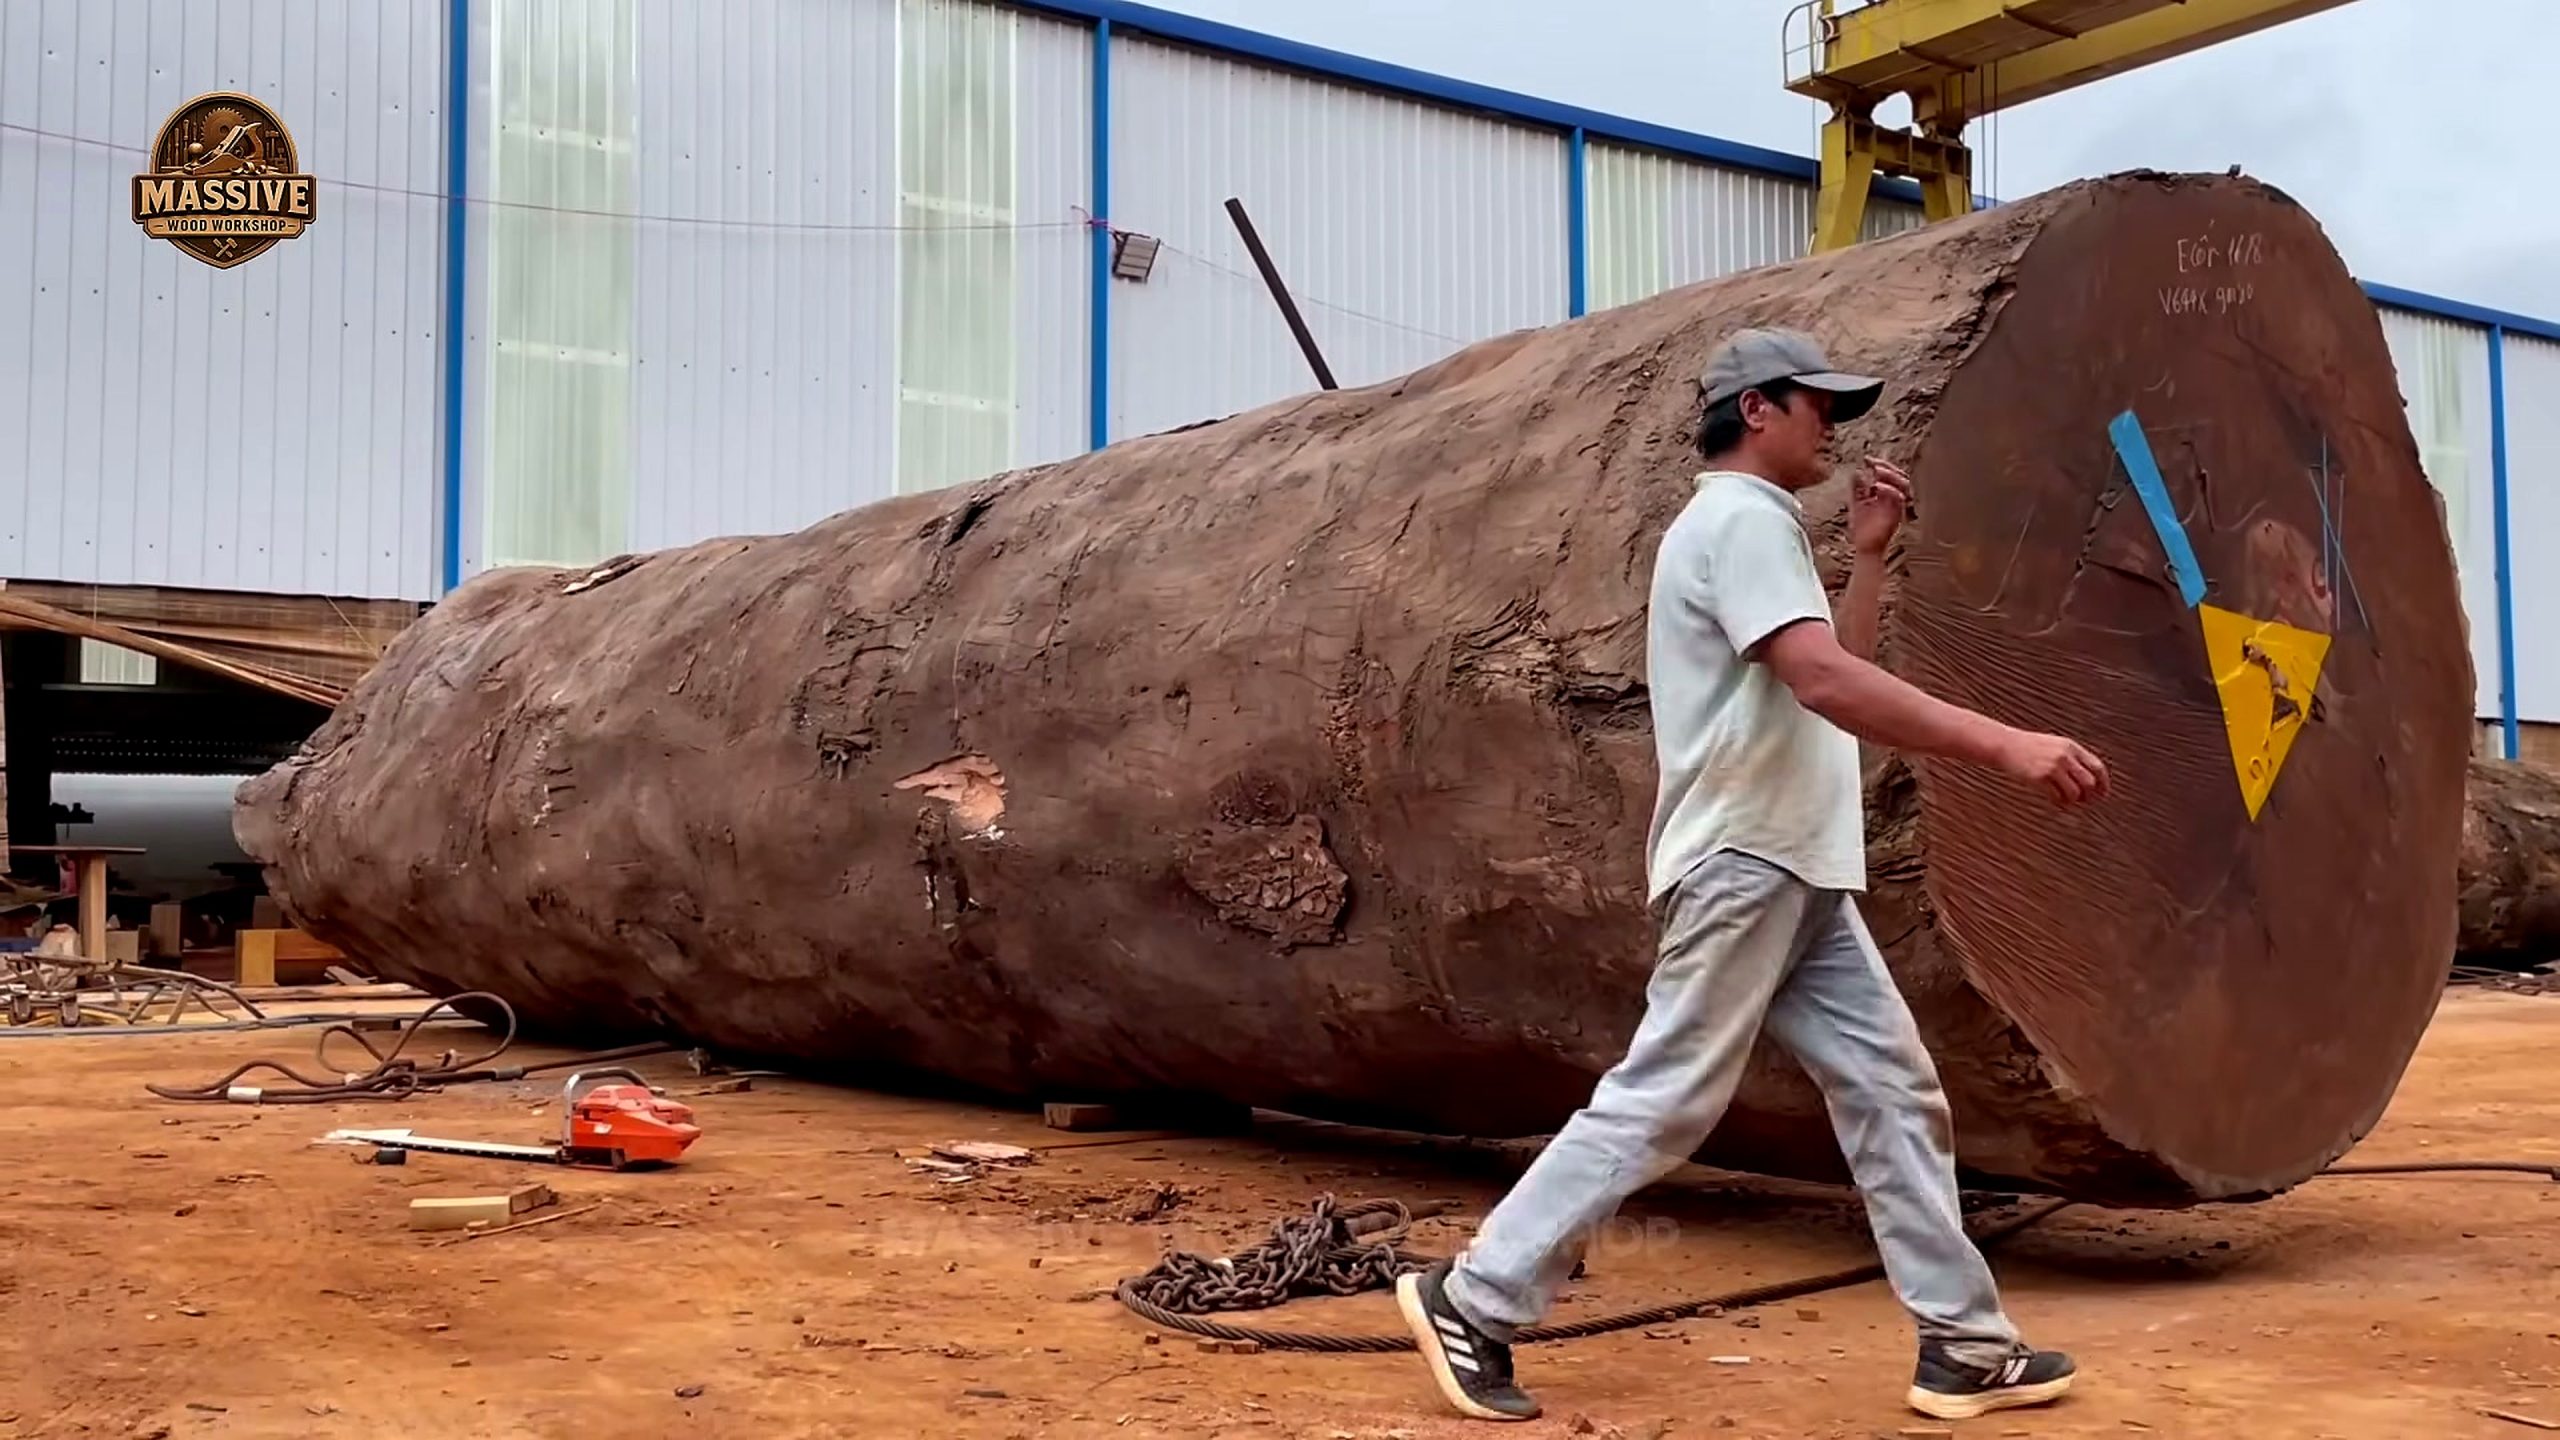
Reading the Log on the Ground
Once the log rests on the ground, the end becomes the most informative surface. The bark is rough and dark. The cut face is broad enough to show color changes, marks, and possible defects. A worker can now inspect the timber without the movement of the truck or the lift obscuring the view.
Orientation begins here. The best face for a slab is not always the face that looks best from one camera angle. The crew must consider the center of the log, the position of cracks, the direction of the grain, and how much outer wood will be removed by the first pass. A small rotation can change whether a defect is exposed on a valuable slab or hidden in a waste section.
The ground also reveals the practical environment. There are timber blocks, open concrete, and equipment positioned around the log. Each item affects how the next move can happen. The space needs to accommodate the saw head, the workers, the waste slab, and the lifting gear that will remove the cut piece.
For a smaller mill, the same reading can be done with chalk, a straightedge, and photographs of both ends. Mark the intended top, mark the likely waste, and write down what is still unknown. A clear plan reduces the temptation to take a fast first cut that cannot be recovered.
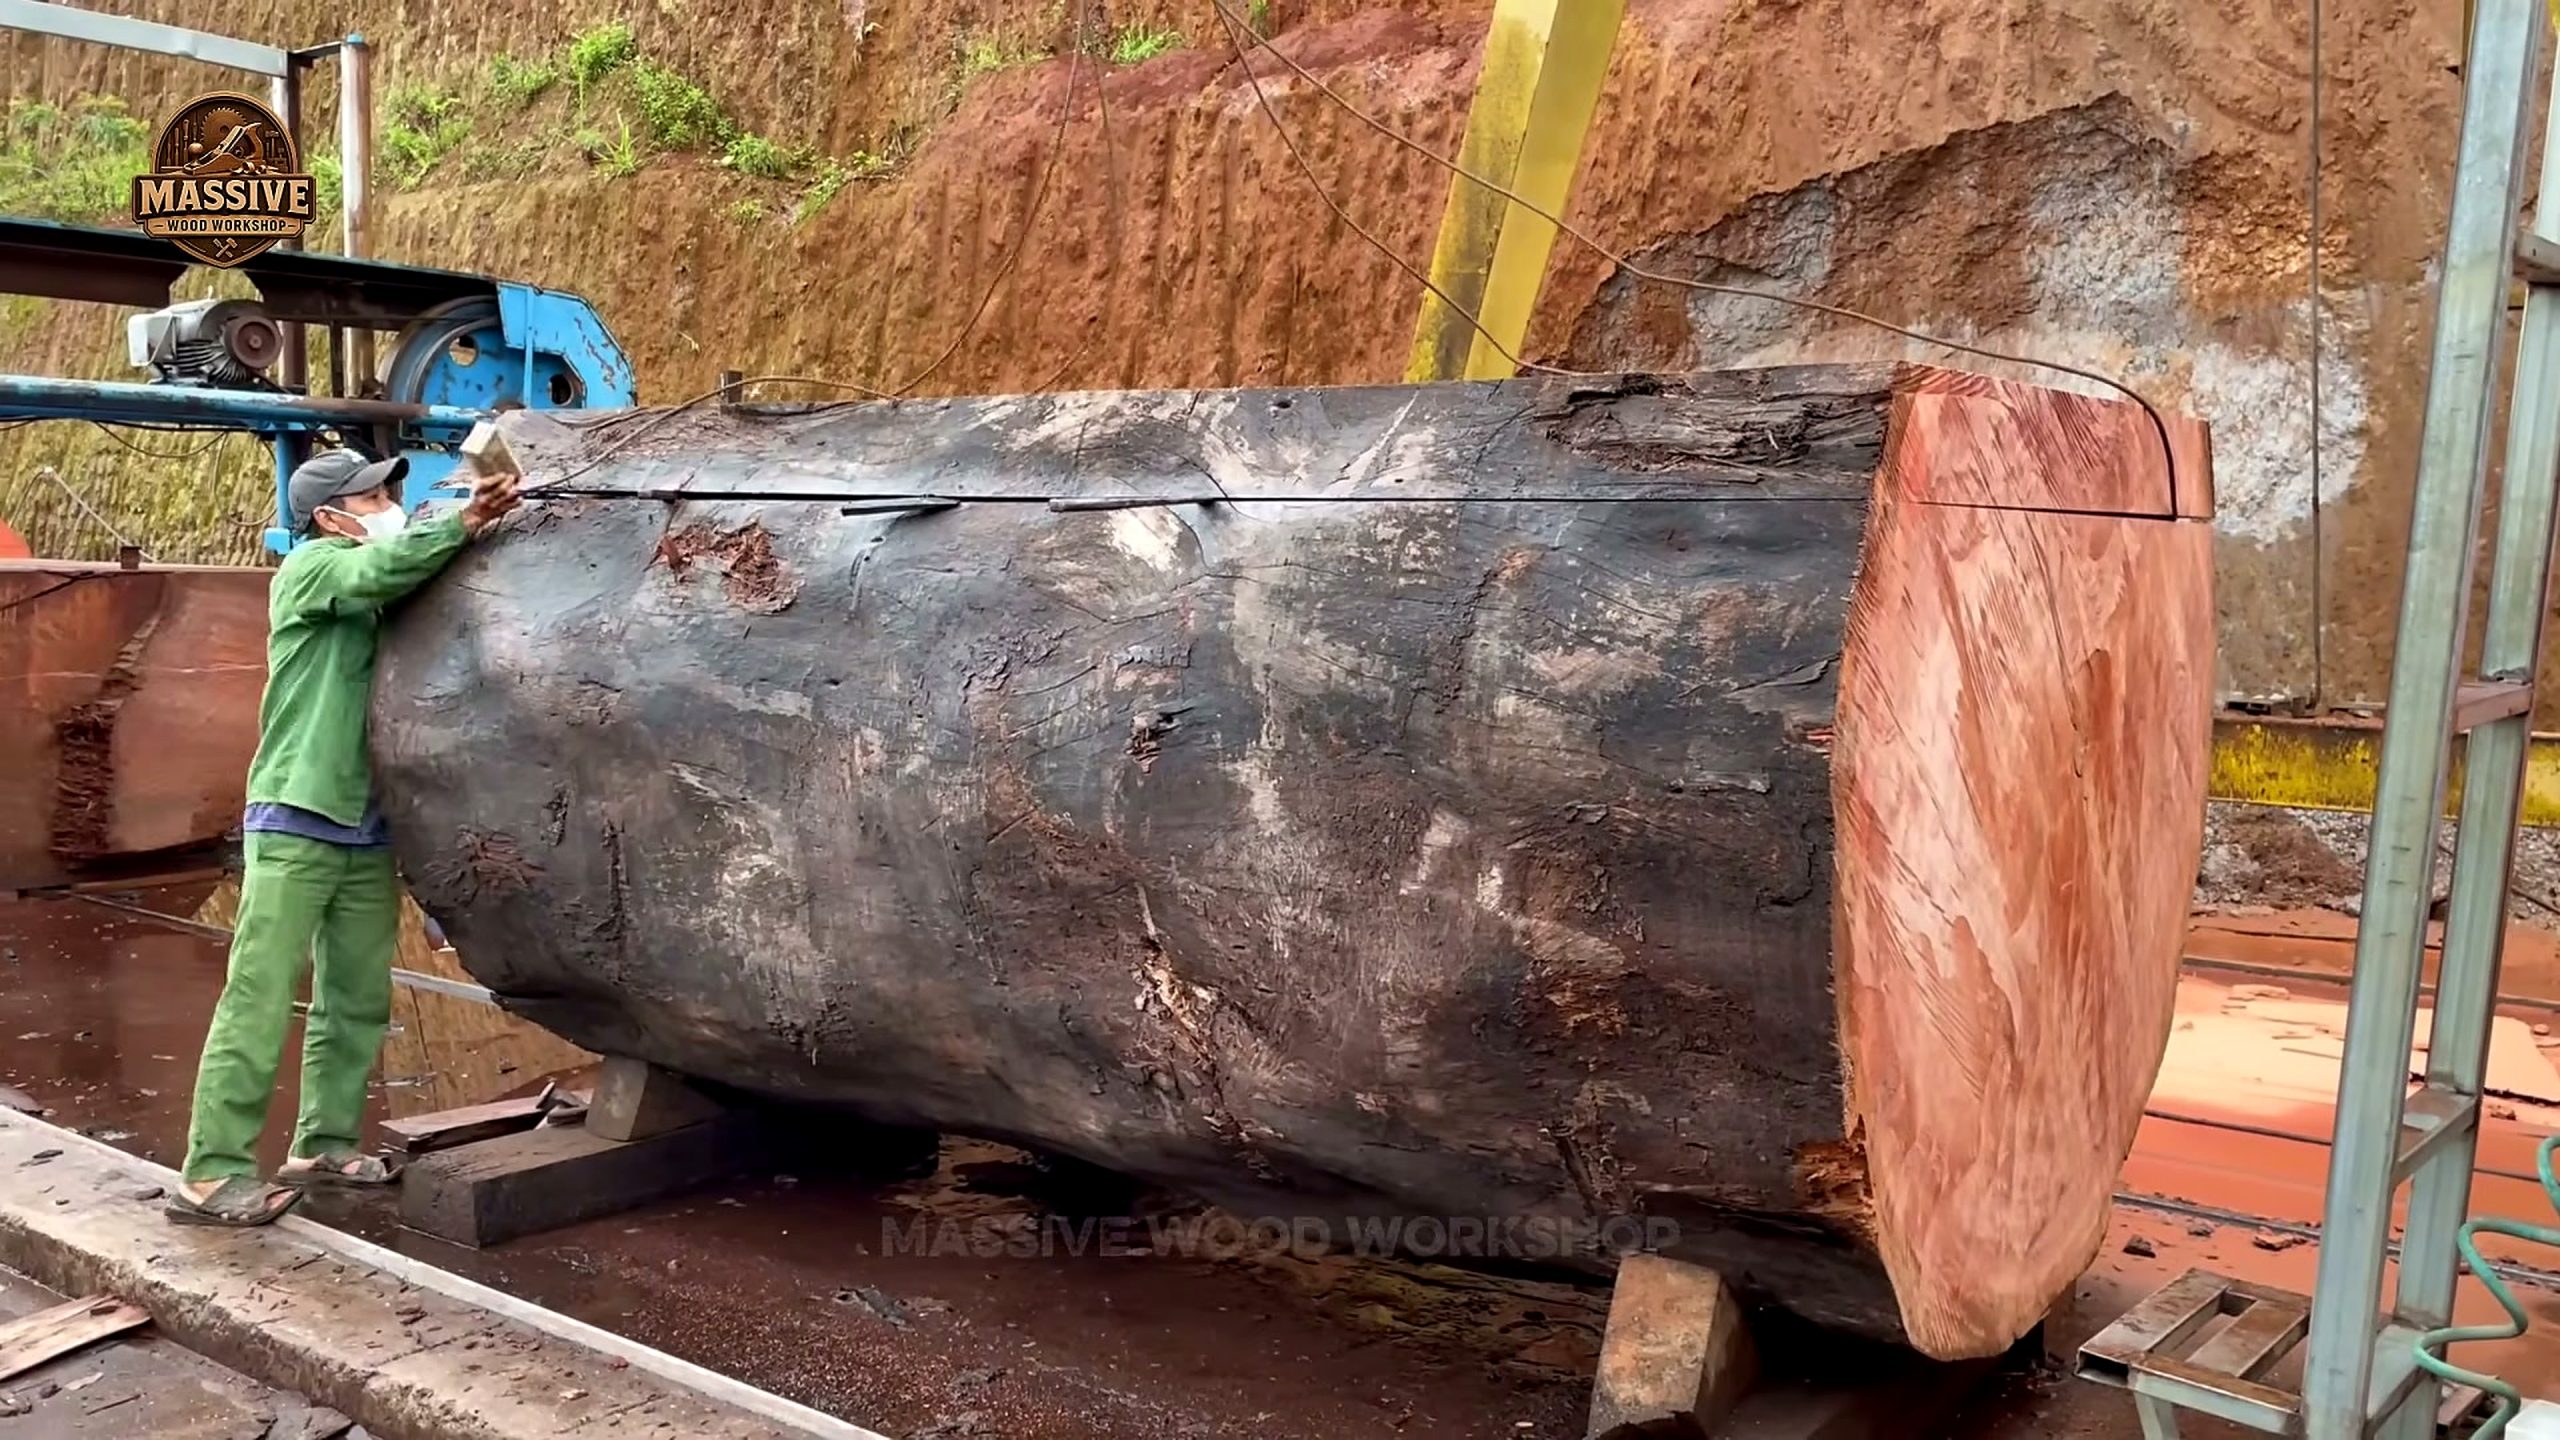
Why the End Marks Matter
The end of the timber carries dark sealing material and bright painted marks. The recording does not explain every symbol, so the safest interpretation is limited. The marks help the crew identify and orient the piece. They may also record a plan that was made before the camera arrived, but the frames do not prove the code or the person who wrote it.
End sealing has a practical purpose. End grain releases moisture quickly. If the ends dry much faster than the sides, checks can form and travel inward. A sealed end slows that loss while the log waits for the next stage. The coating does not prevent every defect, but it makes the drying process less abrupt.
Paint marks can also help a sawyer keep the intended orientation visible after the log is moved. Once a cylinder is lifted or rolled, a natural feature can look different from the opposite side. A mark gives the crew a reference that travels with the timber. It is a simple example of how preparation protects a decision through several handling steps.
Before cutting, inspect the end for a heart, cracks, loose bark, and changes in color. Do not assume that a red center or a dramatic pattern proves a species or age. It only tells the viewer what is visible in that frame.
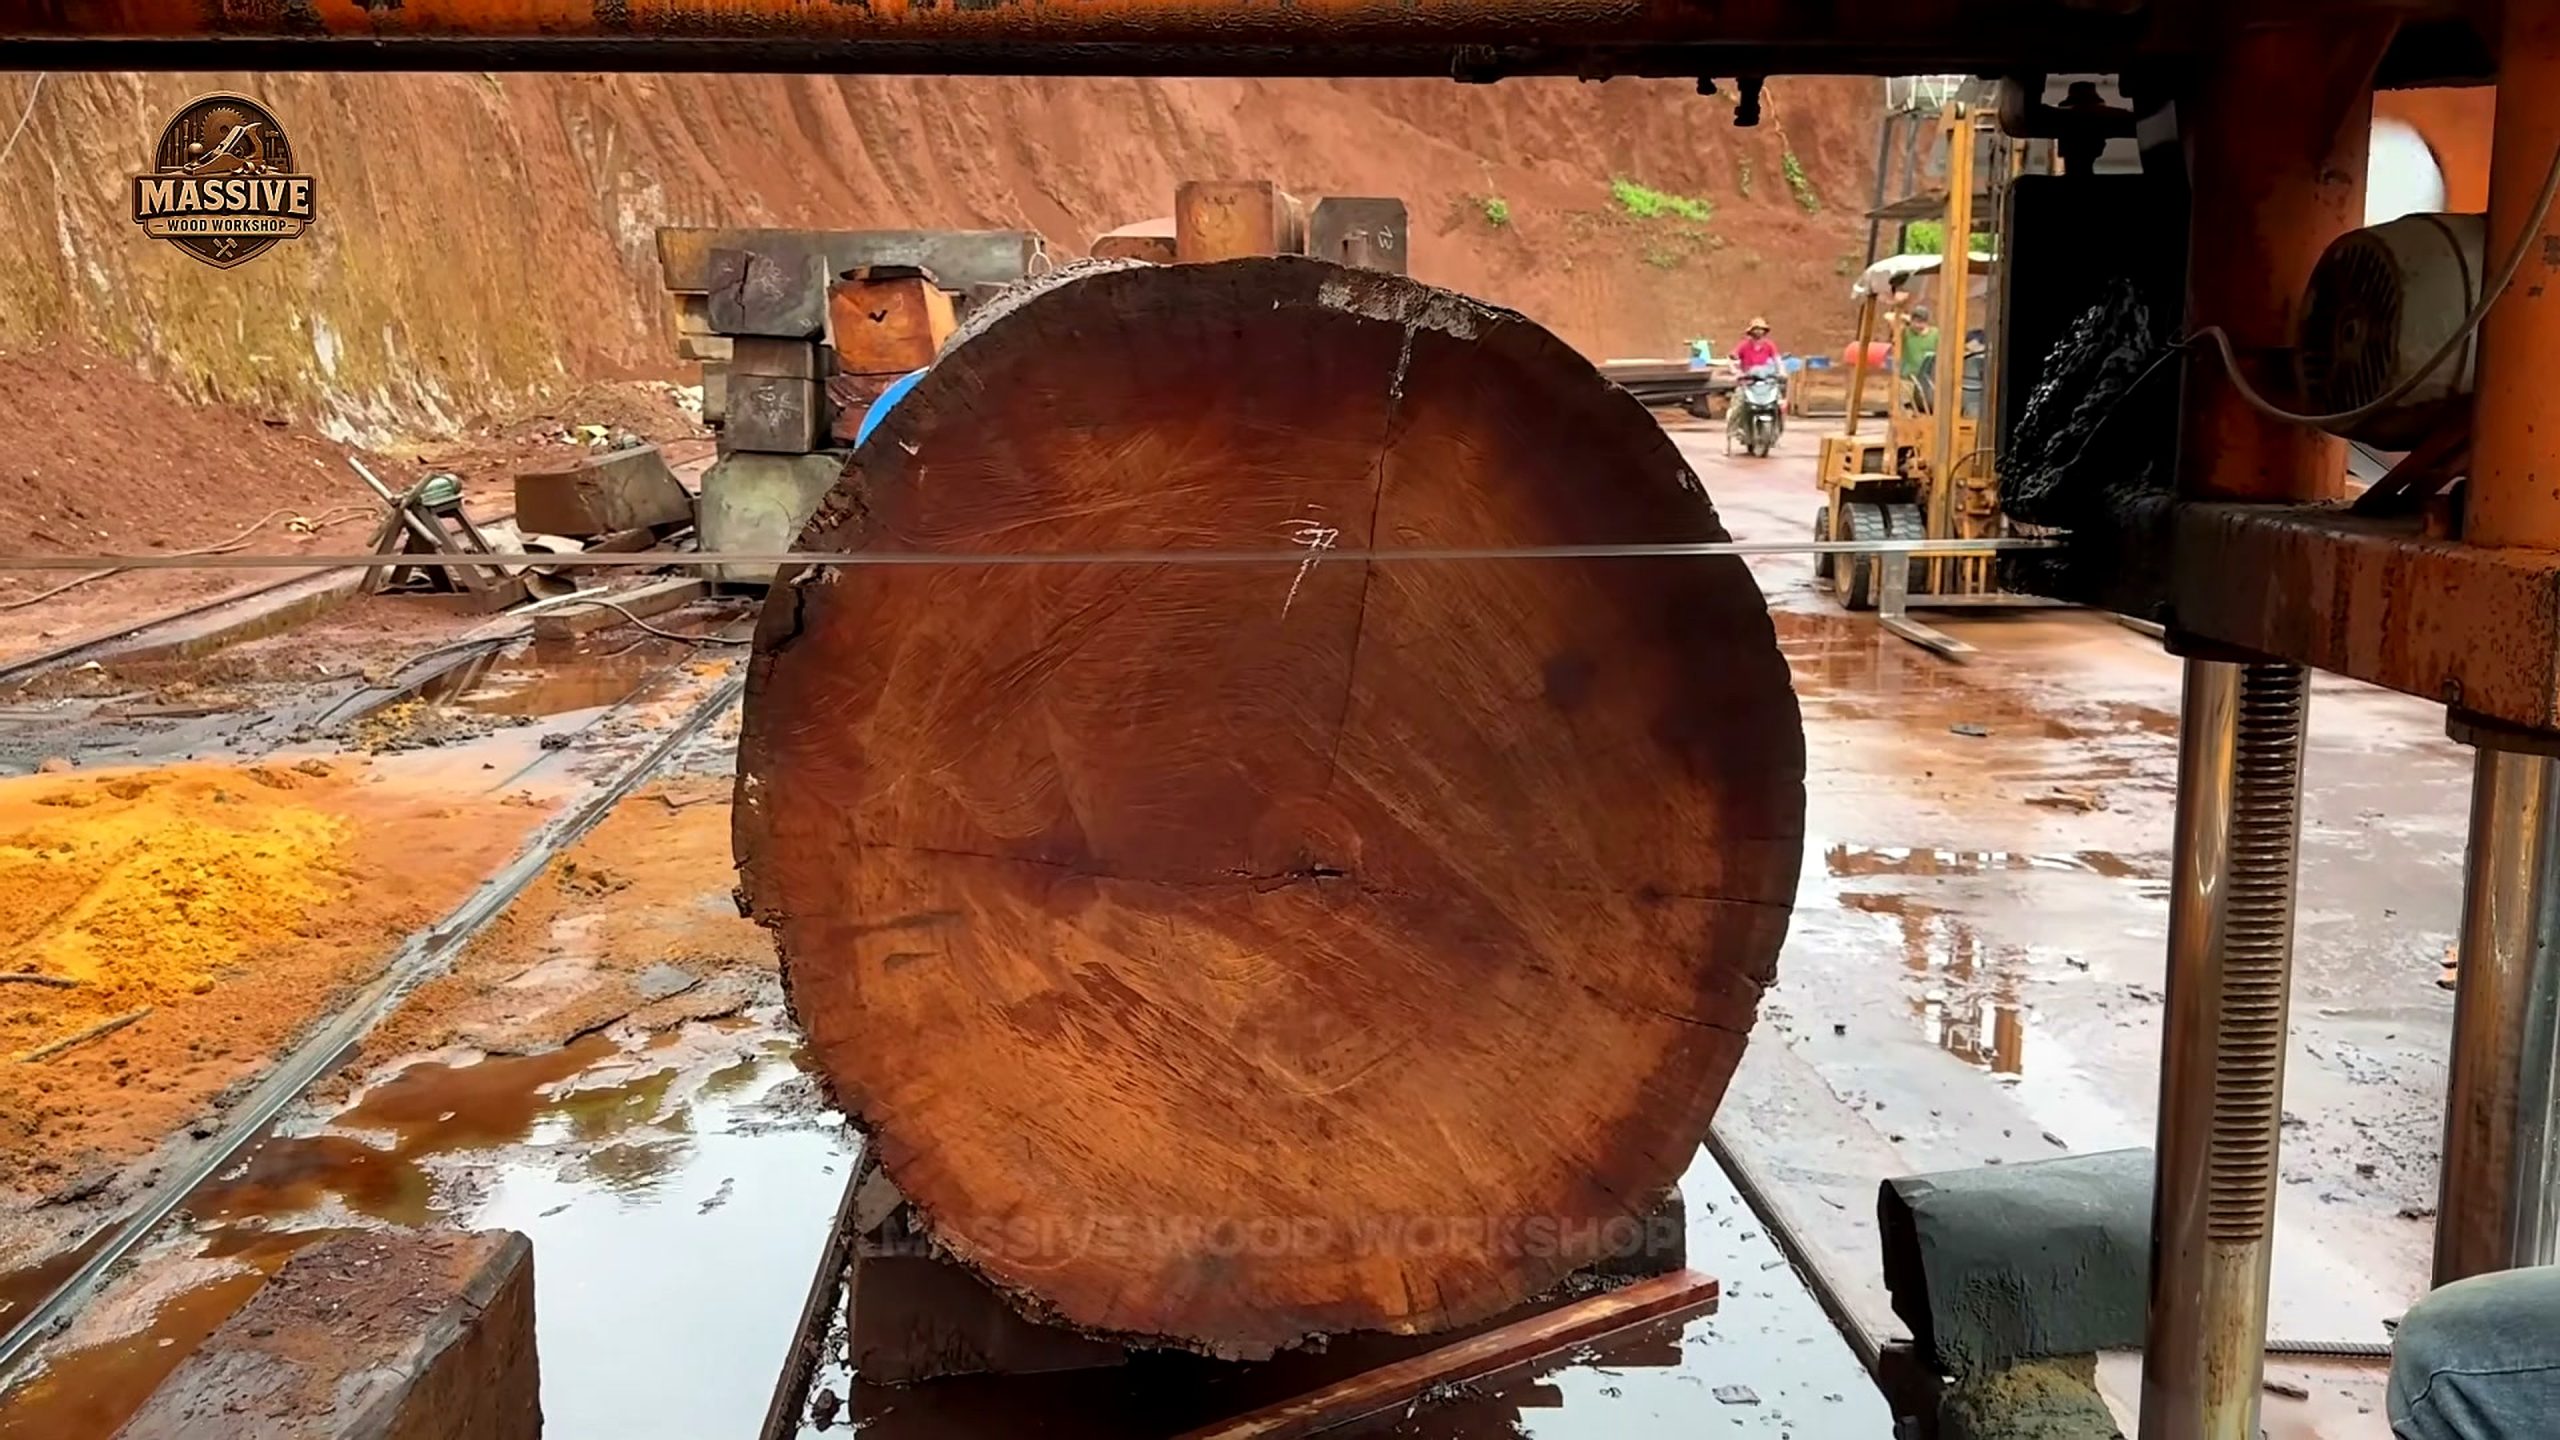
The Travelling Band Saw
The machine in the central scenes is a travelling horizontal band saw. Its frame spans the log while the cutting head moves along rails. The log stays on its bearers, and the blade travels through it in a controlled horizontal pass. That arrangement makes sense for a timber too large to feed through a conventional shop machine.
A band blade runs around large wheels inside the saw head. The section between the wheels does the cutting. Each pass removes a layer, so the machine can turn a round log into a reference face and then into slabs. The blade width and the rail alignment influence how much material becomes sawdust instead of saleable wood.
Several frames show a ladder and workers near the upper part of the blue machine. Those actions suggest adjustment and inspection, but the video does not provide a machine manual or a complete setup specification. The reliable lesson is to watch the relationship between the head, the rail, and the log. If the head does not stay square to the workpiece, the slab thickness can vary from one end to the other.
The first pass is often a waste pass. It removes bark and a curved cap, leaving one plane that becomes the reference for later cuts. The best-looking surface may not appear until several passes later. This is why a viewer should not judge the process by the first piece that falls away.
The Red Cut Face
The red-brown cut face is the moment when the inside of the timber becomes readable. Grain lines run across the newly opened surface. Color changes show where the outer wood ends and the denser interior begins. The face may also reveal checks, knots, or a change in direction that was hidden by bark.
A fresh surface should be read before it is washed, stacked, or covered. Photograph it with a scale reference. Note whether the grain runs straight, waves toward an edge, or changes around a knot. Mark defects before the next slab is removed. These notes help the sawyer choose whether to keep a wide slab, rotate the remaining cant, or sacrifice a narrower strip to protect a better board.
The face is also a reminder that a video frame is not a moisture test. Fresh color can look rich while the wood is still wet. A clean cut can hide movement that appears only after drying. The correct conclusion is that the saw exposed a new surface, not that the surface is ready for finishing.
For readers comparing mills, the quality of this face depends on more than the motor. Blade sharpness, tooth setting, rail level, log restraint, feed speed, and the removal of sawdust all influence the result. A large machine cannot compensate for an unstable log or a poorly planned first pass.
What the New Slab Changes
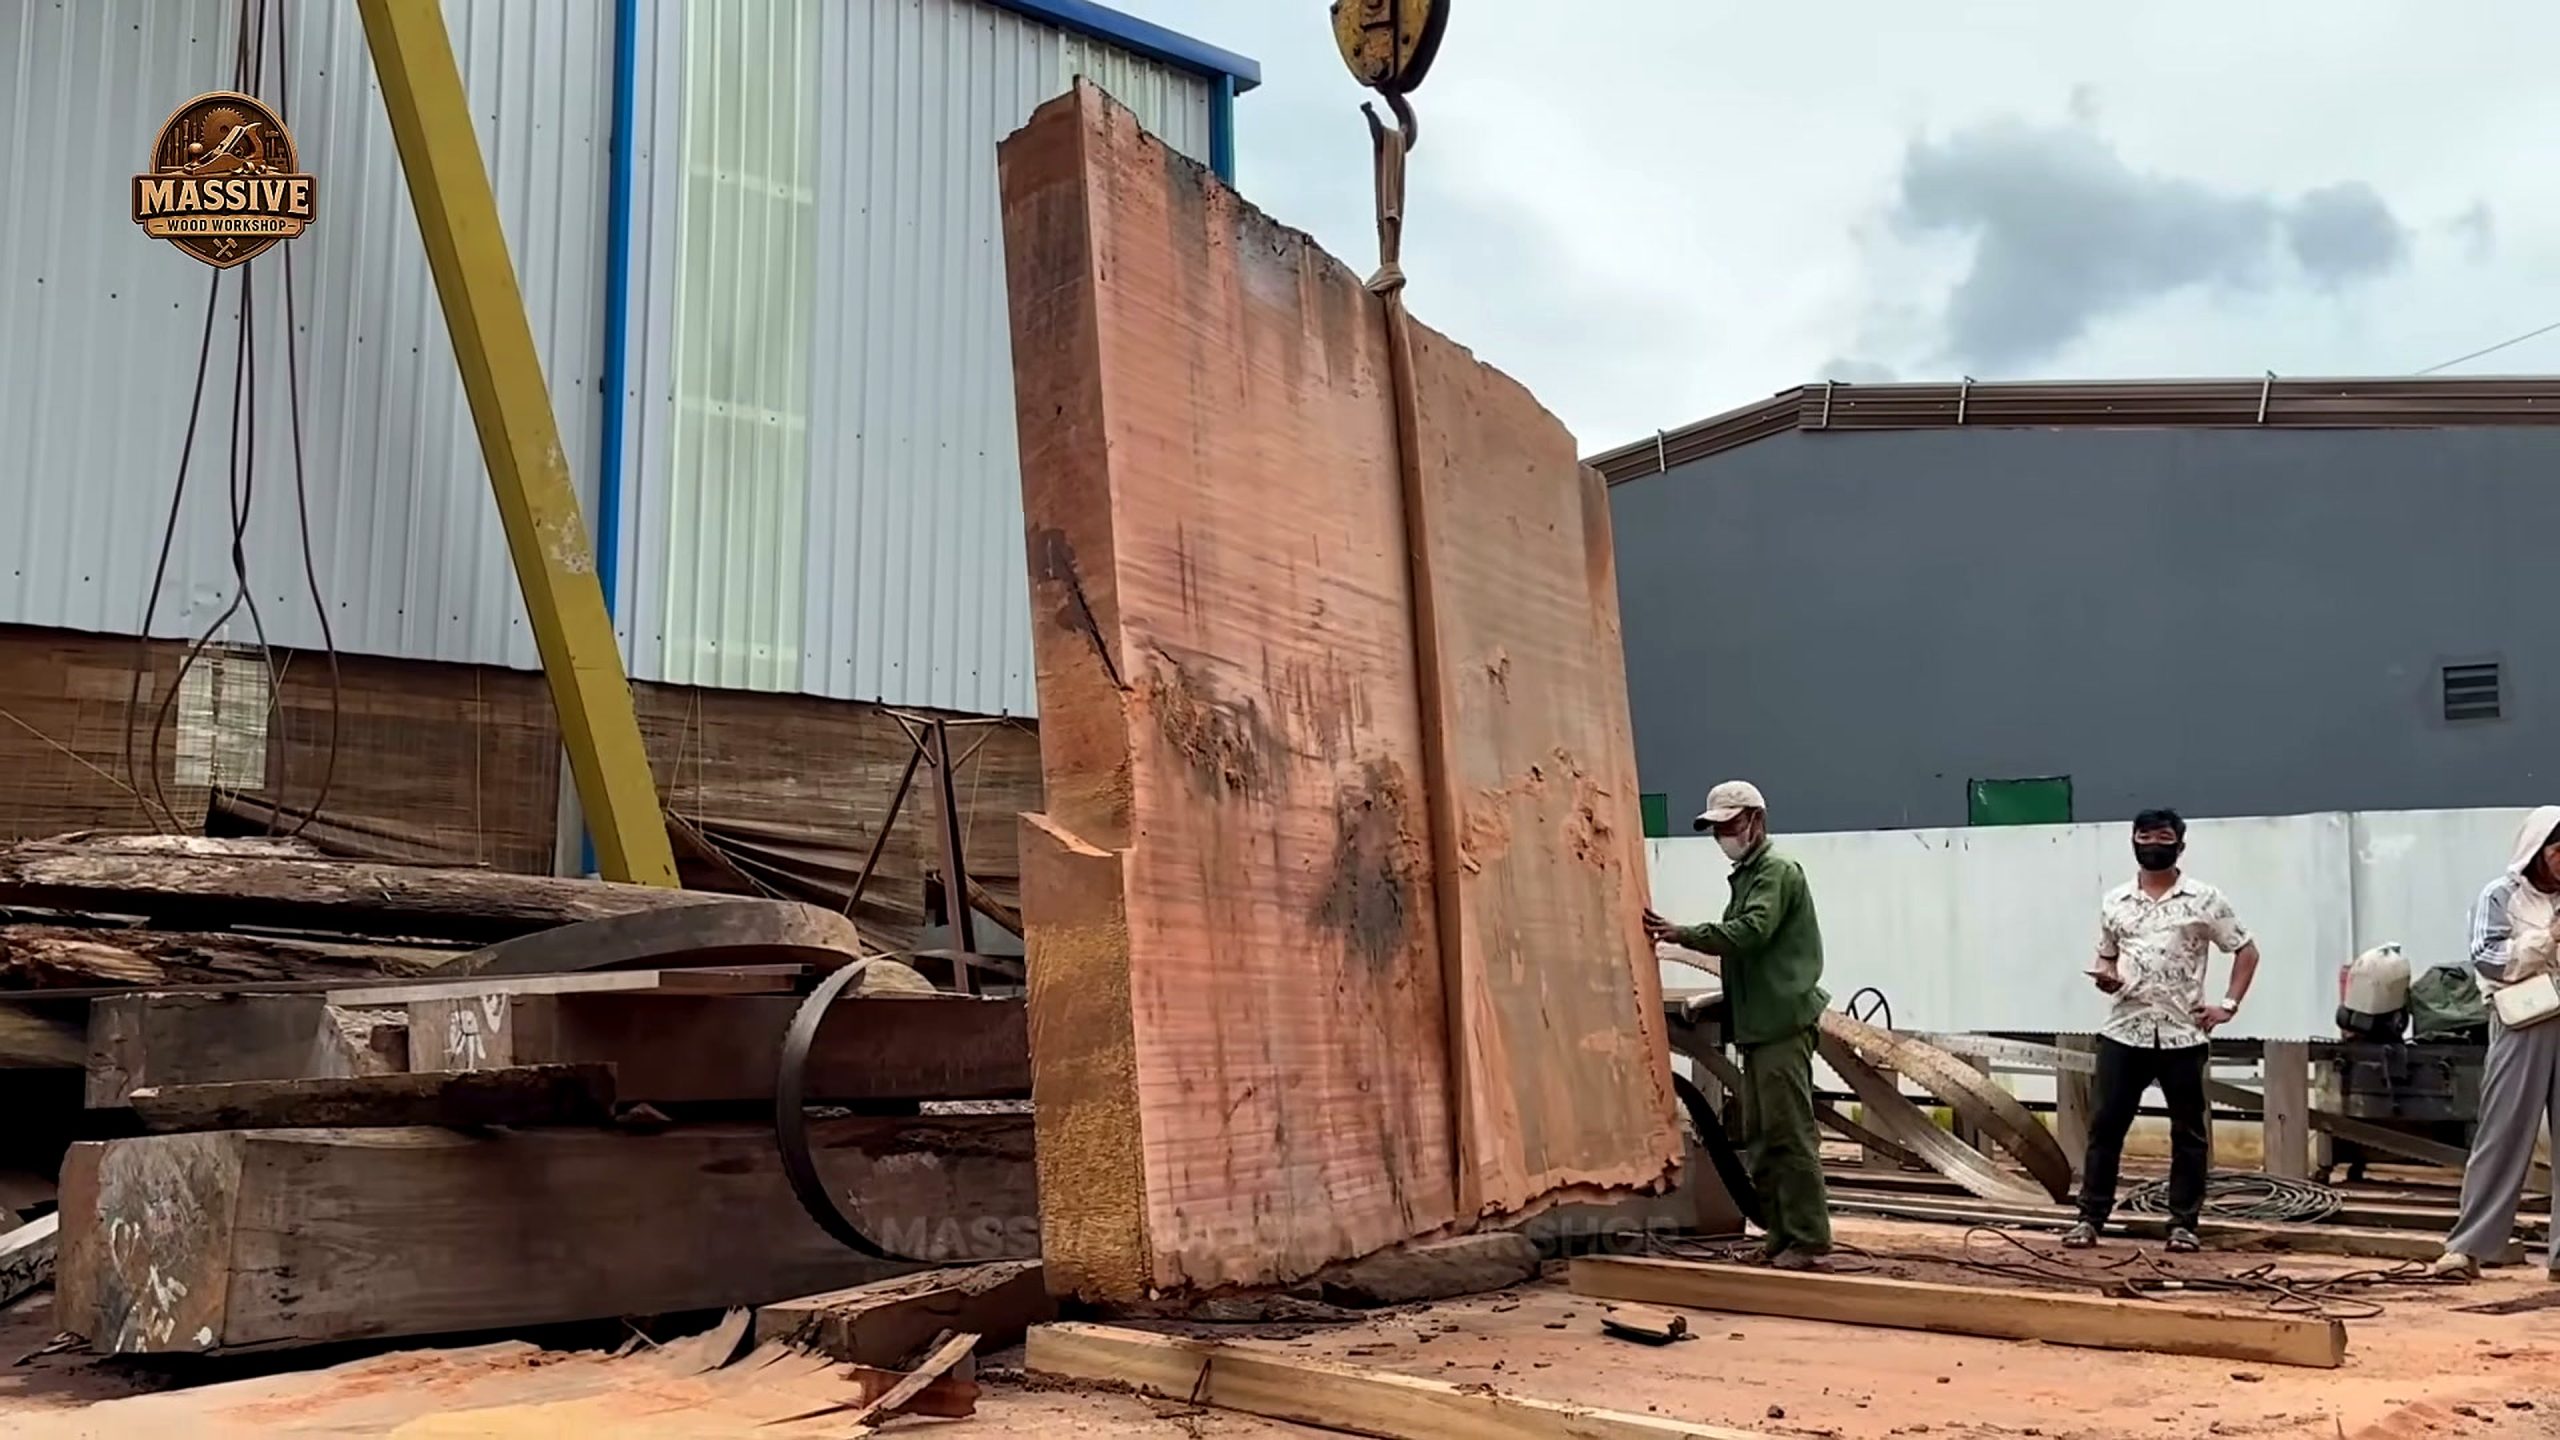
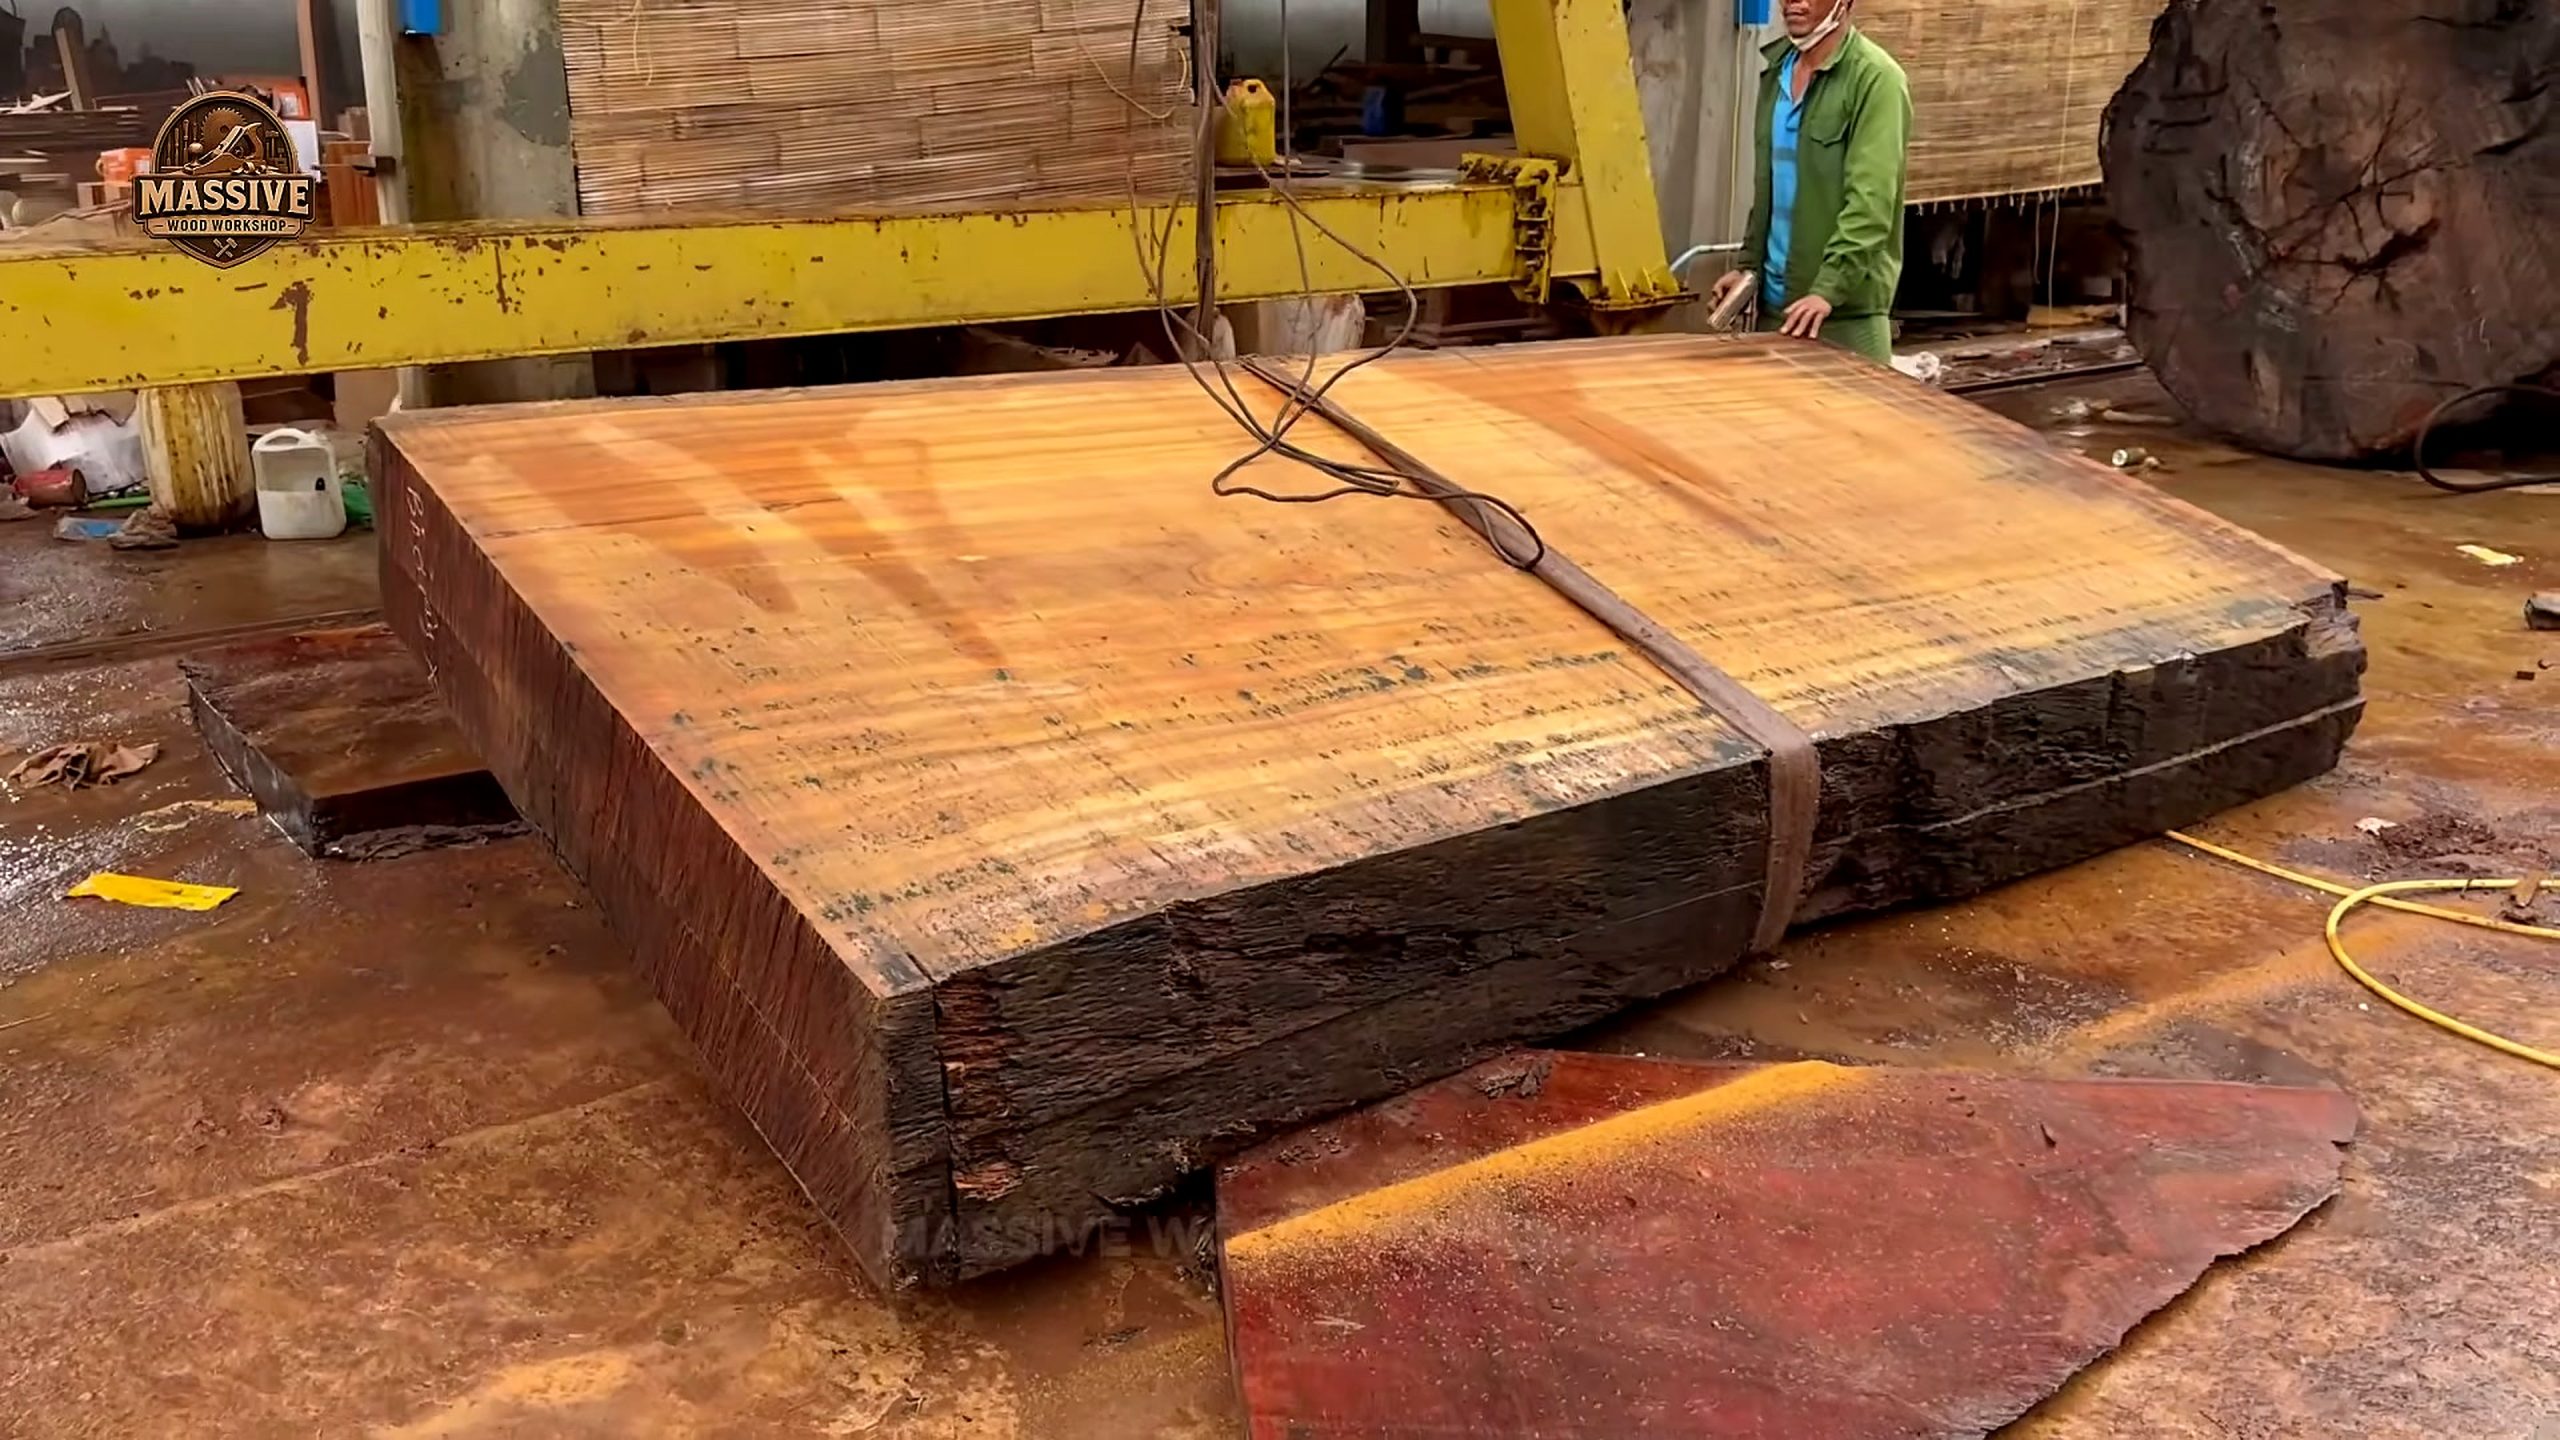
Later frames show a broad slab after the cut. It is wider and flatter than the original round surface, but the outer edge may still carry bark or an irregular live edge. The slab is a useful blank, not necessarily a finished tabletop.
Removing a slab changes the balance of the remaining log. The crew has to plan the next lift and confirm that the remaining block is still stable. The slab itself needs support so it does not twist while it is moved. Wide wood can look rigid and still sag under its own weight when it is lifted from the wrong points.
The new slab also carries information about yield. Measure the usable width, the thickness, and the length after trimming. Compare those numbers with the original log. Waste is not automatically failure. Bark, split ends, curved caps, and unstable edges have to be removed if the finished piece is to remain safe and workable.
A customer should ask which parts of the slab are still unverified. Is it dry? Has it been flattened on both sides? Were the ends sealed? Has it been checked for internal cracks? The recording ends before those questions are answered.
Support, Kerf, and Cutting Speed
Large-log milling rewards stability. The bearers must keep the timber from rolling. The wedges must prevent a round side from shifting. The rails must stay level. The blade must be sharp enough to clear sawdust instead of forcing the operator to push harder. A change in any one of these conditions can show up as a wandering cut or an uneven slab.
Kerf is another practical concern. Every cut turns a strip of wood into dust. A thin band blade usually wastes less material than a thick chain or circular blade, but the gain only matters if the blade remains straight and the pass is controlled. A rushed cut can create more waste through a tapered slab than a slower pass would have created through sawdust.
Watch the discharge rather than only the blade. A steady flow of sawdust suggests a consistent cut. A sudden change can signal a knot, a wet pocket, a shift in support, or a blade that needs attention. Stop points are part of production, not an admission that the work is failing.
What the Footage Does Not Prove
The title presents a 1000-year-old claim and a surprising discovery. The visible frames do not independently verify the age. There is no ring count, document, species identification, laboratory report, or measurement record in the scenes reviewed here. A responsible article keeps those facts in the category of title wording unless the publisher supplies more evidence.
The footage also does not prove the final price, the name of a buyer, the exact weight, or the number of finished tables. It shows a milling operation. That is enough to discuss how a very large log is handled and opened, but it is not enough to invent a business result.
Good source reading asks what the camera establishes, what the workers visibly do, and what remains outside the frame. That habit is valuable in woodworking because a beautiful cut does not reveal moisture, hidden checks, or long-term stability.
The Work After the Saw
Once a slab leaves the saw, drying begins as a design problem. Thick stock needs airflow, shade, support, and time. Stickers keep boards separated. End protection slows checking. A drying schedule should be based on actual measurements, not on a guess made from the title or the color of the fresh face.
After drying, the slab may cup or twist. Flattening can remove material from one or both sides. A router sled, wide planer, or large sanding system may be needed. The edge can be trimmed or preserved, and the surface can be filled, sanded, and sealed only after movement has been evaluated.
That unseen period is why the last mill frame should not be described as a finished table. Primary milling creates the blank. Drying and flattening decide whether the blank can become a stable product.
Choosing Tools for Large Timber
For a small workshop, the first investment may be support rather than a larger saw. Strong bearers, wedges, clamps, a reliable moisture meter, and a way to move slabs safely can remove bottlenecks before a new machine is considered. A portable band mill can follow the same reference-face logic as the travelling machine in the footage.
For a production shop, repeatability becomes the main question. Check rail alignment, blade changes, feed control, slab handling, storage, and the inspection record. A machine should make a known process easier to repeat, not hide a process that has not been planned.
Use the Compare Tecatool woodworking guides to compare guides about milling, flattening, measuring, sanding, dust control, and finishing. Treat the categories as a way to find the missing stage in a workflow, not as a substitute for checking a machine against the actual material.
Inspection Checklist
- Inspect both ends before moving the log and record visible cracks or marks.
- Choose the intended face and mark its orientation so the plan survives handling.
- Prepare bearers and chocks before the lift or the first cut.
- Keep the rail path, blade path, and slab landing area clear.
- Watch for changes in sawdust, blade travel, or workpiece movement.
- Measure the slab after cutting and record usable width and thickness.
- Seal and support the fresh slab while planning its drying period.
- Do not describe the piece as finished until moisture, flatness, cracks, and edges have been checked.
Quick Summary
The footage follows a huge timber from a truck to a mill bed, through end-mark inspection and a travelling band-saw cut, to a fresh red face and a broad slab. The strongest practical lessons are orientation, support, rail alignment, controlled feed, and honest inspection after the cut.
The title’s age and discovery claims are not independently established by the frames alone. The visible milling sequence is still valuable because it shows how preparation and restraint protect a large piece of wood before it becomes a slab.
FAQ
What happens to the giant timber in the footage?
A large log is moved from a truck into the yard, marked and inspected, then opened with a travelling horizontal band saw. The cut reveals a broad fresh face and a large slab.
Why are the ends sealed and marked?
End sealing slows rapid moisture loss through the end grain. Paint marks provide a visible reference for identity and orientation while the log is moved and positioned.
Does the footage prove the timber is 1000 years old?
No. The frames show a very large log, but they do not include a verified age record, ring count, species report, or independent measurement.
Is the slab ready to become a table?
Not necessarily. It may need end protection, controlled drying, moisture checks, flattening, edge decisions, sanding, and finishing before it becomes stable furniture.
What matters most when milling a giant log?
Stable supports, a deliberate orientation, level rails, a sharp blade, a clear cutting path, and an inspection stop after every major cut matter more than simply using a larger motor.
Source Video
Sources: Massive Wood Workshop, “They Cut Into a 1000-Year-Old Giant Timber, What They Found Inside Was Unbelievable,” published on the Massive Wood Workshop YouTube channel, accessed 2026-10-05. The article images are frames from that recording.