
Dangerous tree becomes easier to understand when the dramatic wording is set aside and the work is followed in order. The footage shows a massive rough trunk supported inside a workshop, trimmed with a chainsaw, opened with a long blade, reduced to a broad slab, and finished as a round wooden top. Each stage leaves a different clue about support, cutting space, dust, and the amount of material that must be removed before the shape is useful.
Table of Contents
Dangerous Tree: The Short Answer
The useful story is not simply that a tree looked dangerous. It is that a very large piece of wood had to be made stable enough for a series of cuts. The first frame shows a trunk that occupies most of the working area. The middle frames show a chainsaw and a long cutting blade taking away material from different directions. The later frames show a broad reddish face and then a circular top being sanded.
That sequence explains why large-tree work takes planning before it takes power. A heavy trunk can roll, a long blade can pinch, and a fresh slab can move after it is released. The workers therefore need supports, room around the cut, a clear path for tools, and a way to inspect the result after every major change in shape.
The footage does not establish the tree species, its age, its market value, or the exact reason for the word dangerous in the title. Those claims should remain open. What can be seen is enough to discuss scale, handling, trimming, sawing, sanding, and the checks that make a large timber project more repeatable.
The Rough Trunk Before the Main Cut
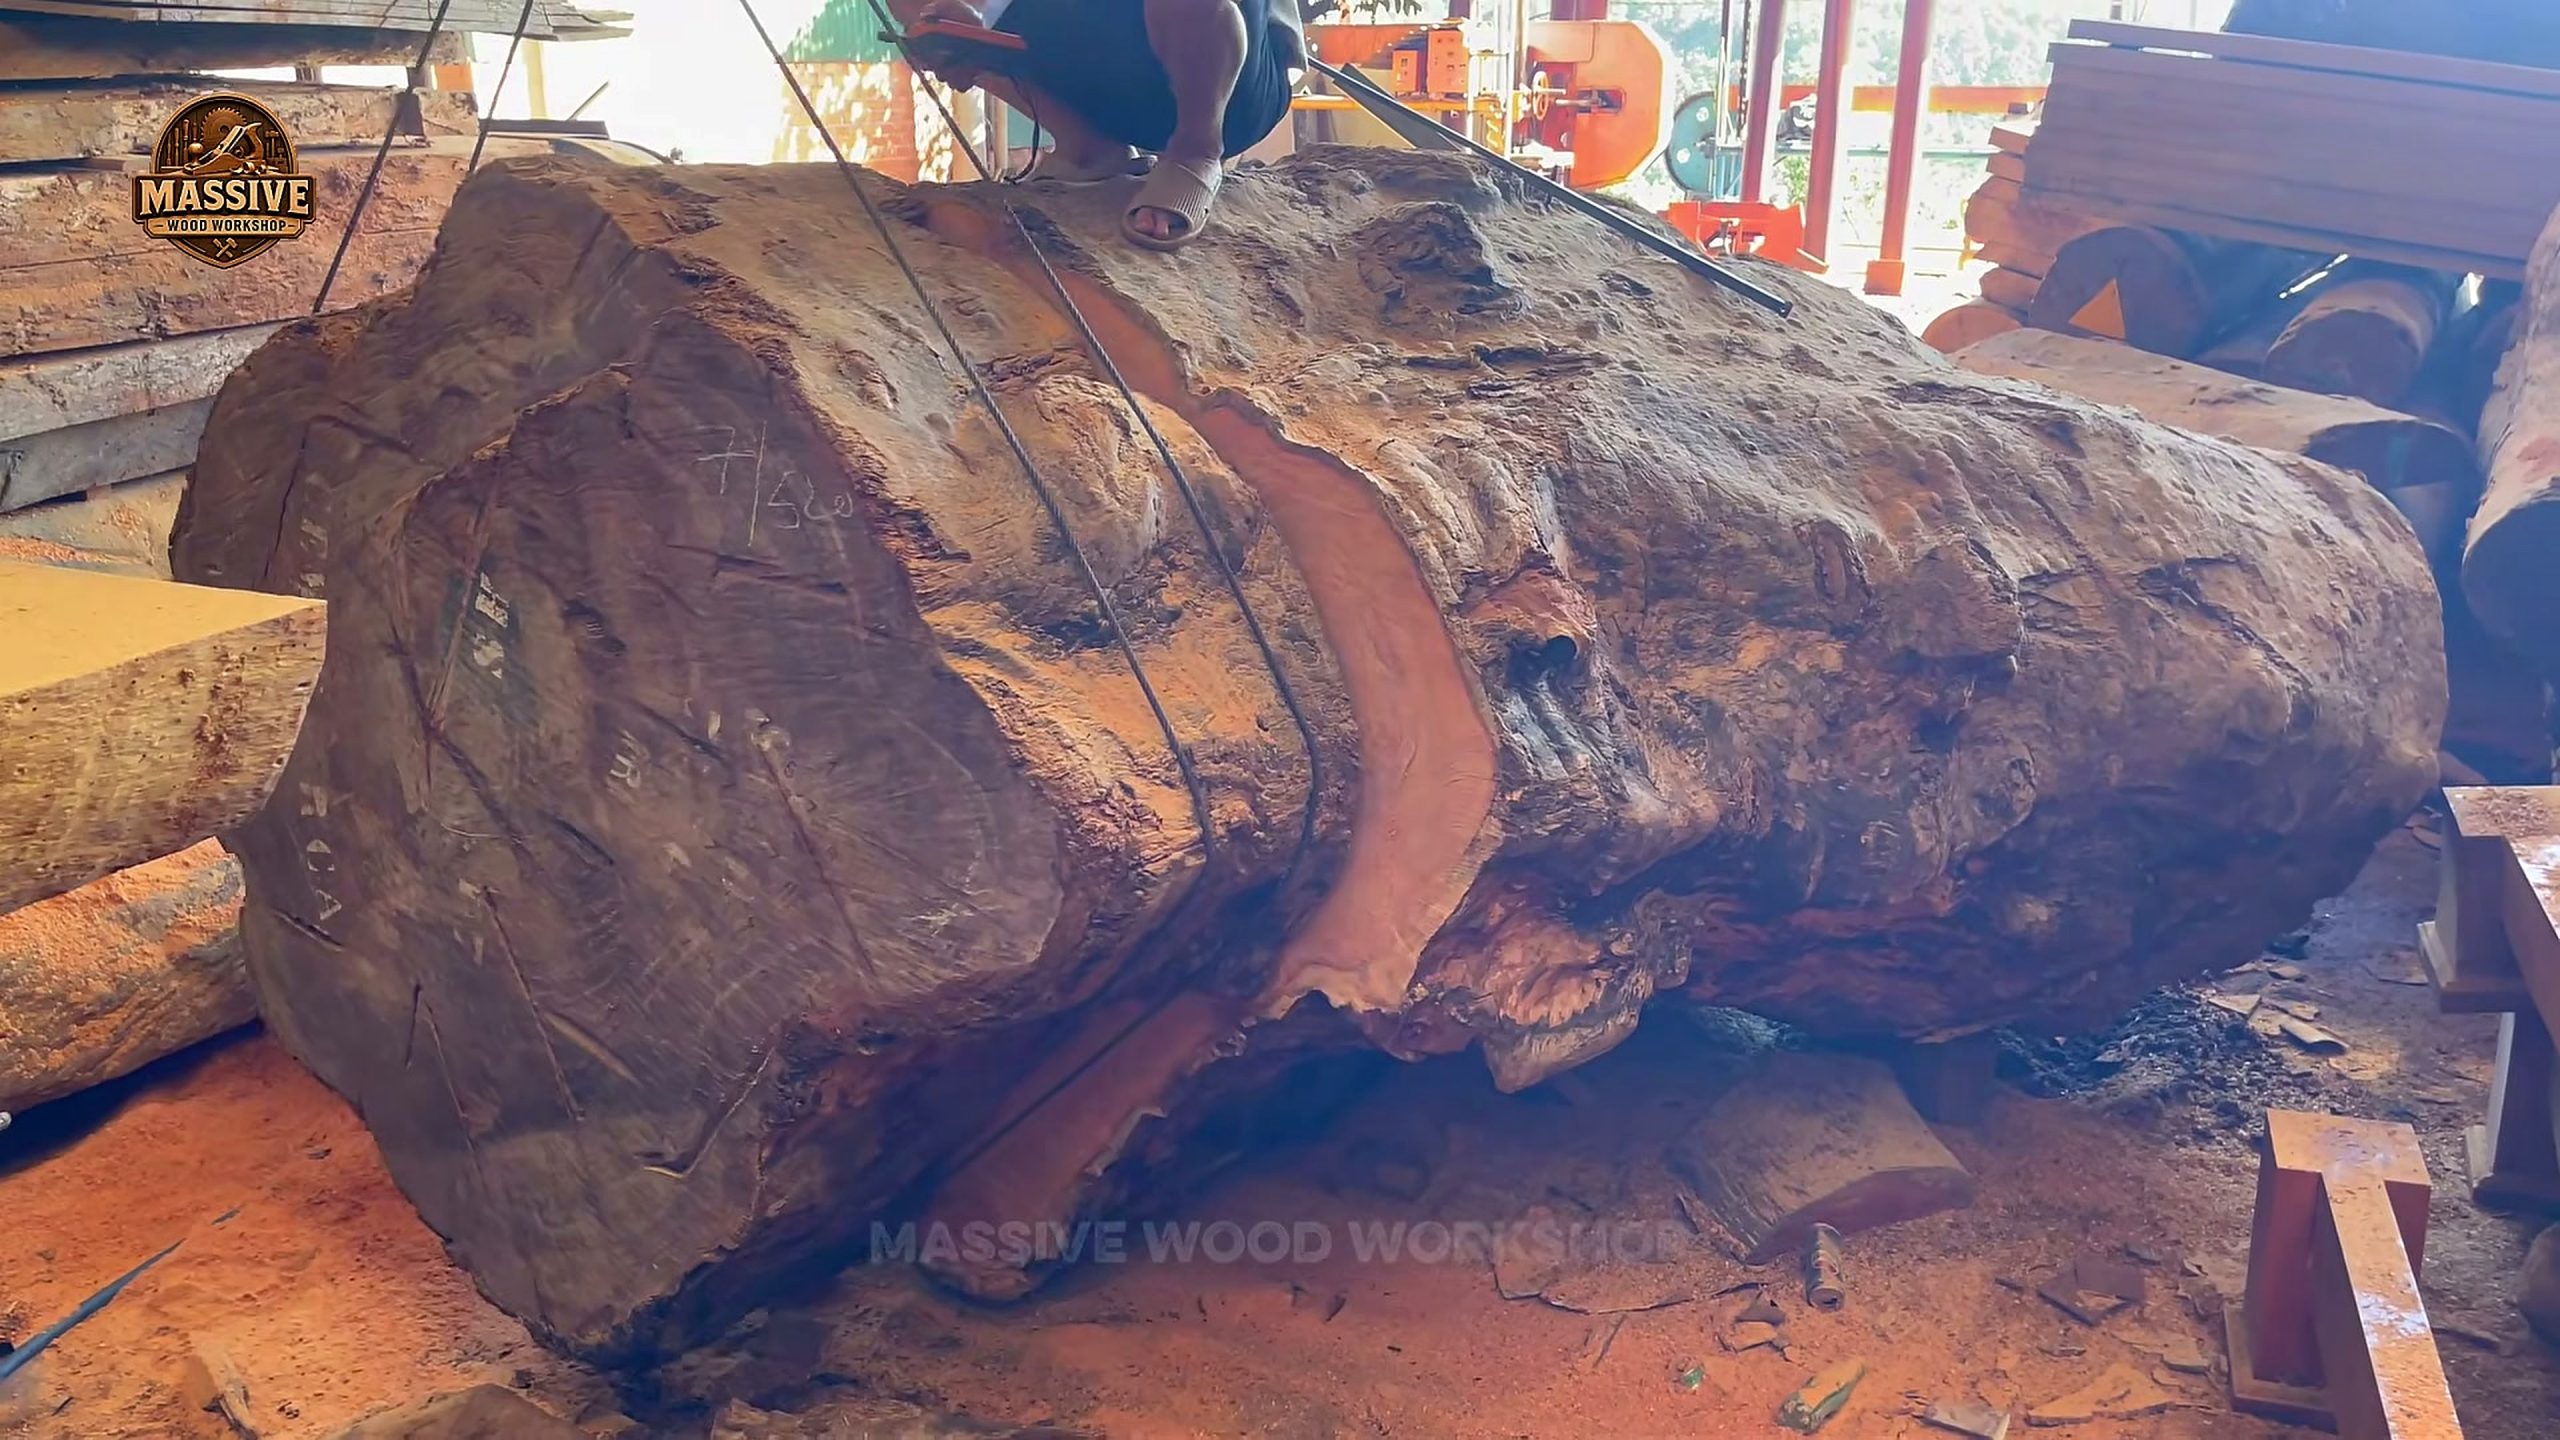
At about 2:19, the trunk lies on supports inside the workshop. The bark is dark and uneven, while a wide reddish face already crosses part of the log. The cut face is not a finished surface. It has irregular edges, rough transitions, and enough surrounding bark to show that the crew is still deciding how much material to retain.
This is the first important reading of the footage. The workpiece is too large to treat like a board. Its size changes every ordinary workshop question. The supports must resist rolling. The operator needs a route around the trunk. The cutting tool must reach far enough without forcing a person into a pinch point. Even measuring becomes a staged activity because a straightedge or template has to be placed on a surface that is not yet flat.
The trunk also shows why a first cut is rarely the final shape. The outside is irregular, but the interior face gives the crew a reference. A useful reference face does not need to be beautiful. It needs to be broad enough to guide the next operation and stable enough that the workpiece can be inspected without shifting.
Why the Chainsaw Stage Matters
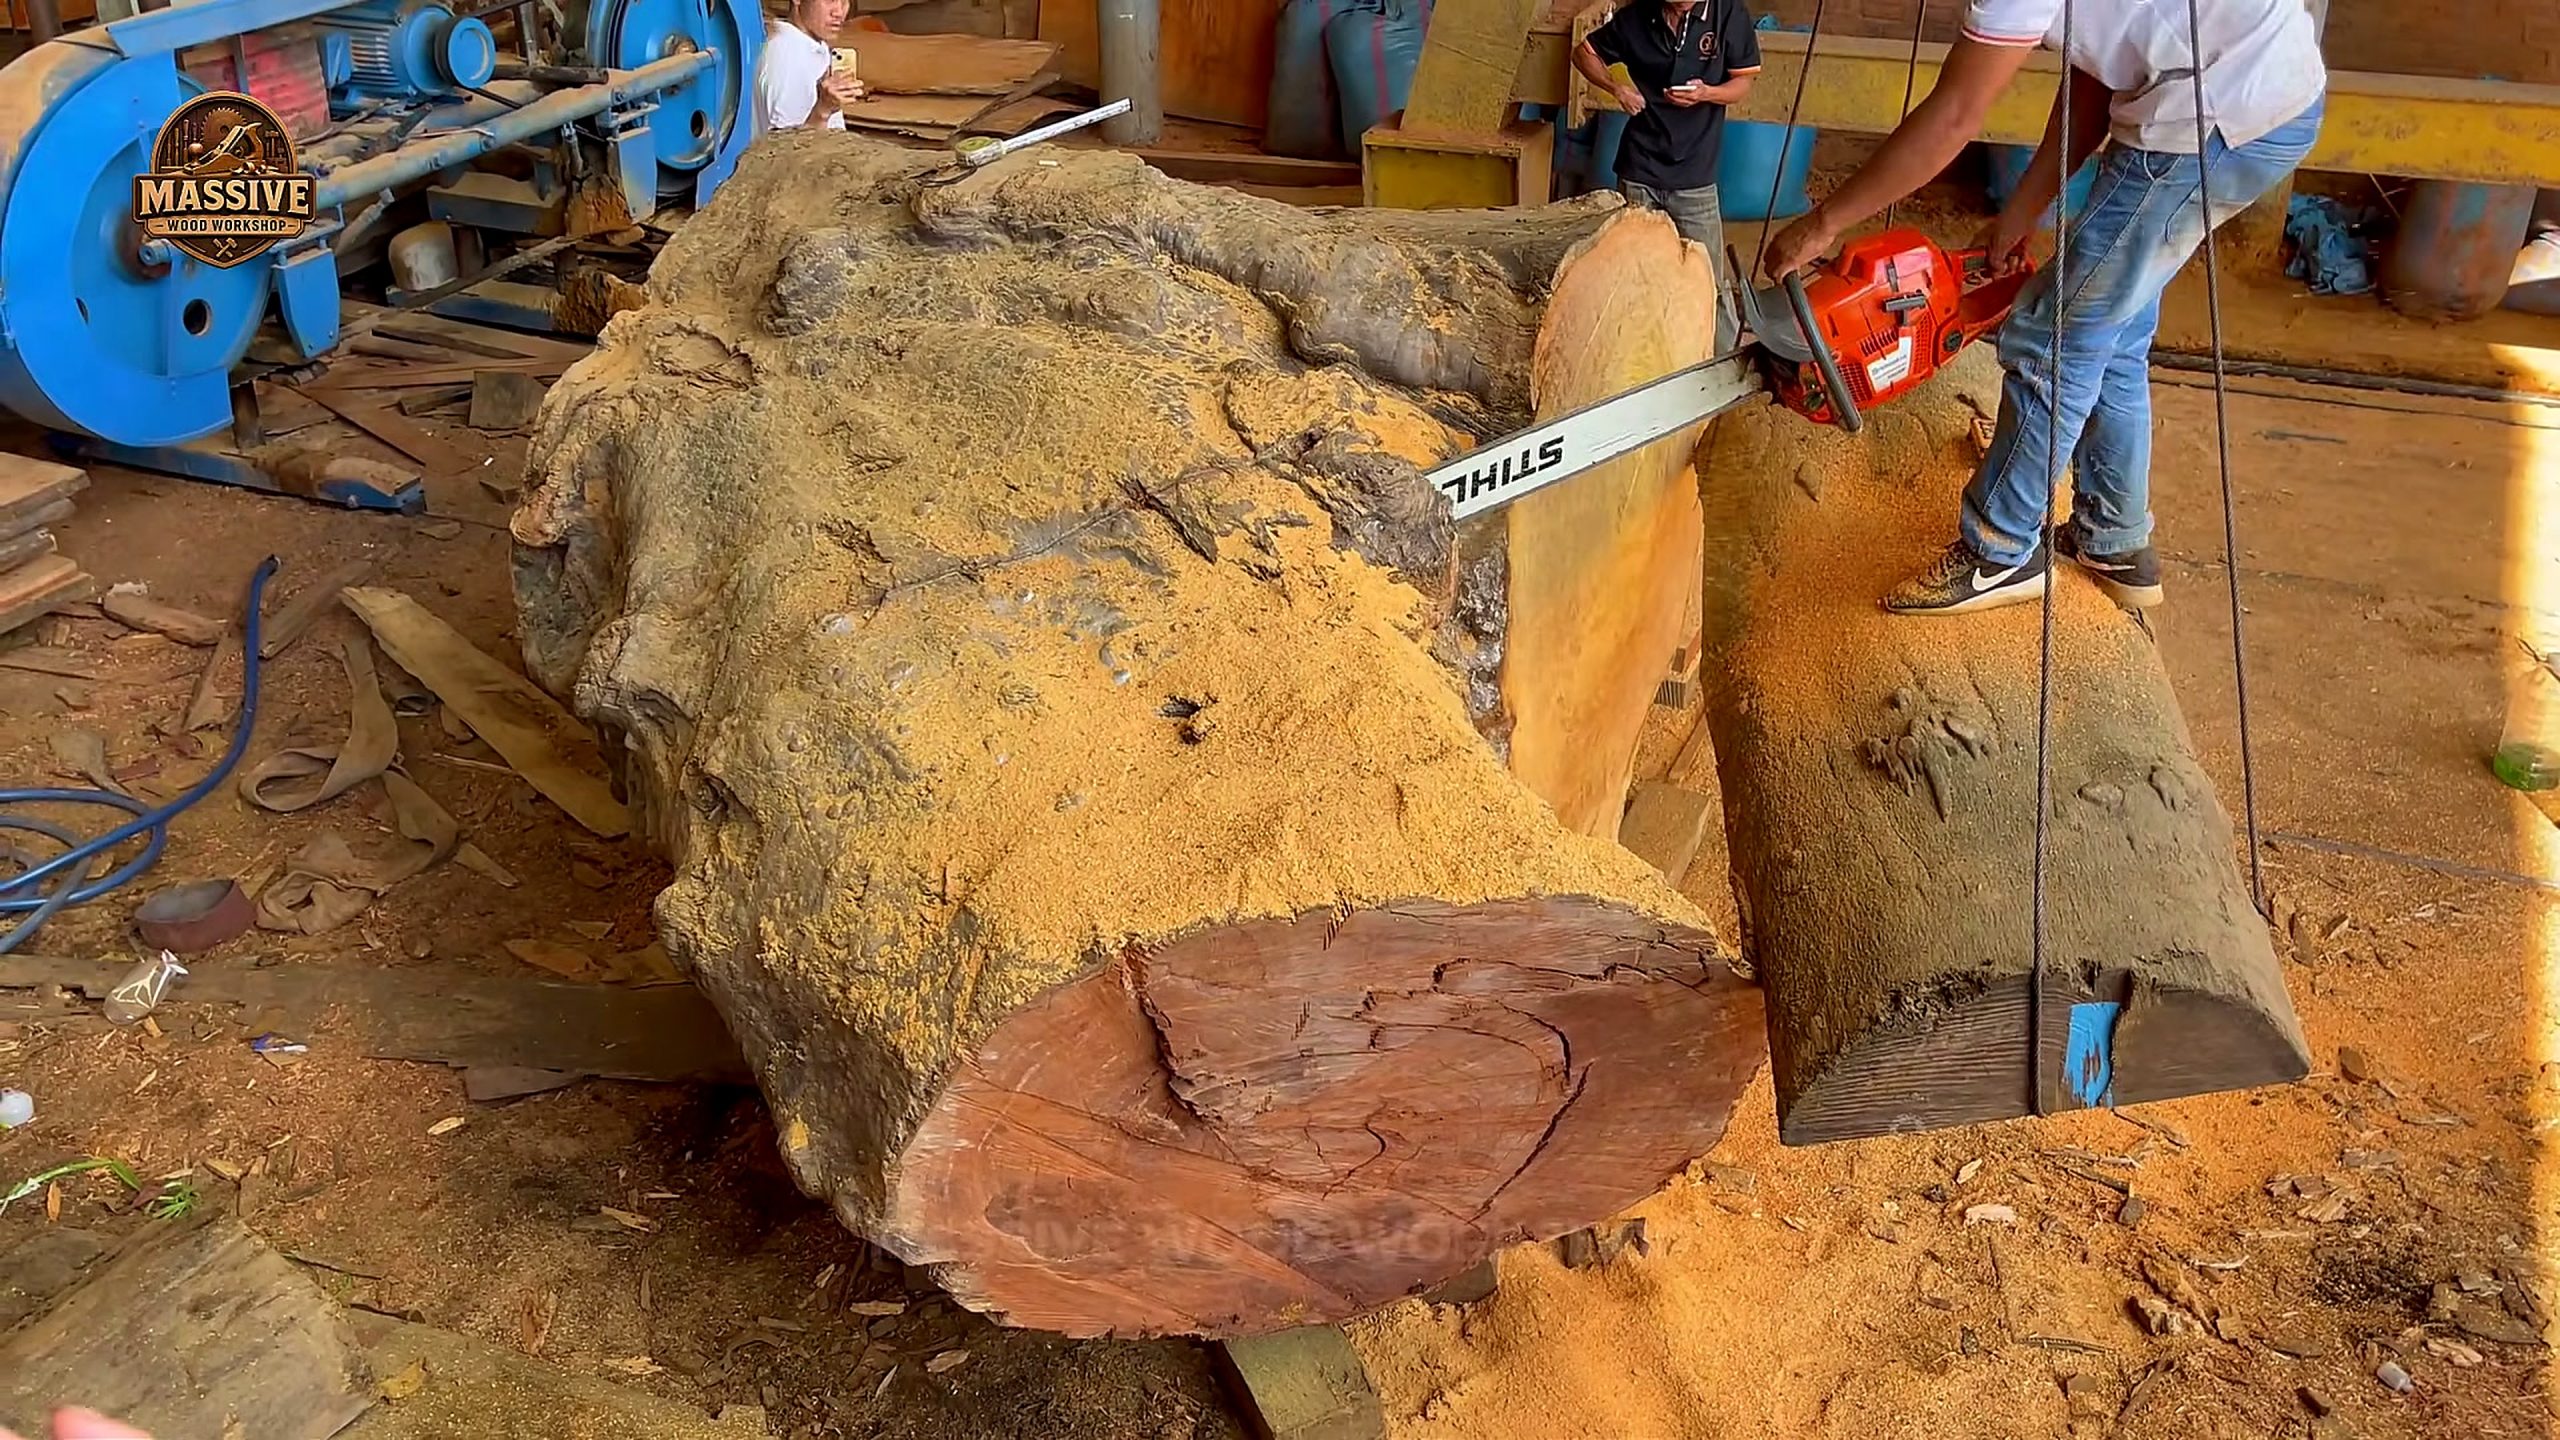
At about 6:23, an orange chainsaw is held over the end of the trunk. A blue machine and a large fresh-cut section sit behind the worker, while sawdust covers the floor. The image does not tell us the exact cut plan, but it clearly shows a tool being used to shape a workpiece that is too large for a small handsaw or compact bench machine.
Chainsaw work on a large trunk is often described as a single dramatic action. The frame shows something more practical. The bar has to enter at a controlled angle, the worker has to stand where the bar and the falling waste cannot reach, and the trunk has to remain supported while the cut changes its balance. A small shift in the log can turn a clean trimming pass into a bind.
For a shop owner, the lesson is to plan the waste path before starting the motor. Mark the section that will be removed, check where the kerf can close, and make sure the offcut has somewhere safe to go. The video does not supply a complete safety procedure, so no viewer should copy the posture or equipment choices without a local risk assessment, suitable protective equipment, and training.
The chainsaw stage also explains why later images may not show a perfect circle or slab edge. Rough trimming is about removing obstruction and creating access. It is not the same as flattening, joinery, or finishing. A rough cut can be successful even when the surface still needs several more operations.
Reading the Long Blade Cut
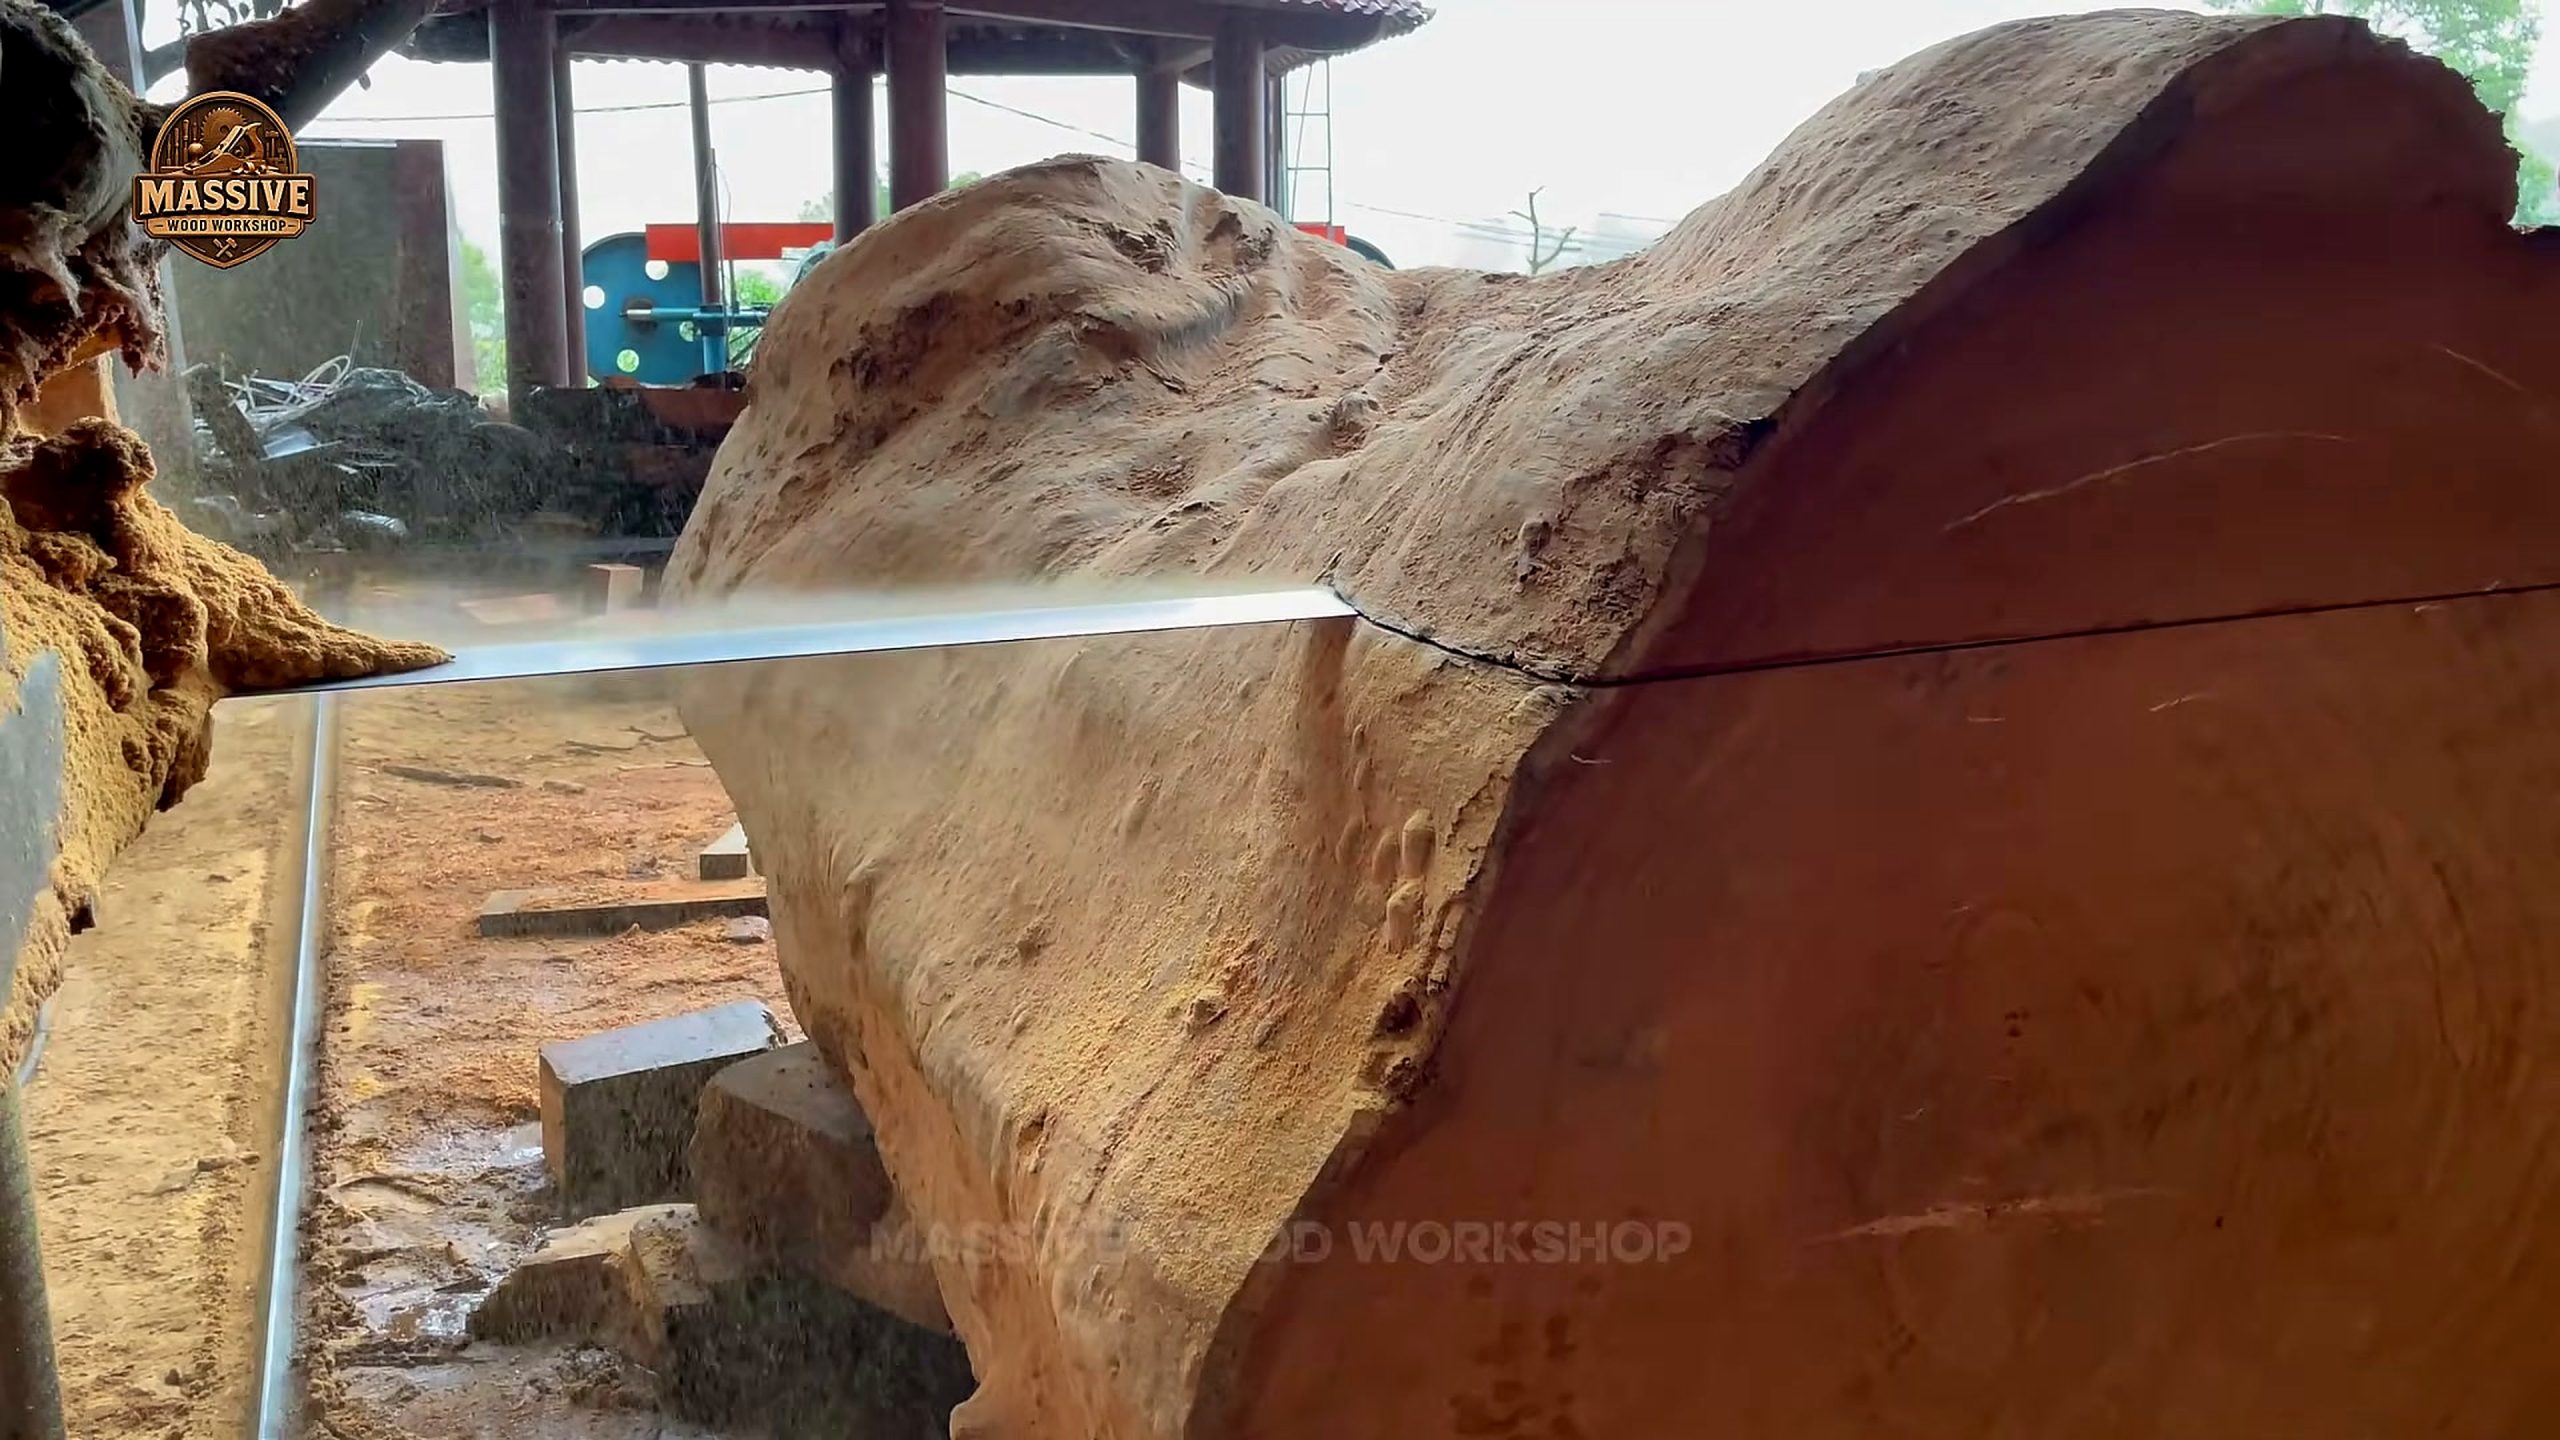
At about 11:36, a bright blade runs across a thick reddish slab. The line is nearly the full visible width of the wood. This is the moment when the trunk begins to become a usable flat surface, but the image is still about control rather than appearance.
A long blade magnifies small errors. If the support beneath the slab flexes, the cut can wander. If the workpiece moves, the kerf can tighten around the blade. If loose offcuts or cables enter the path, the operator loses the clear space needed to react. The frame therefore invites three checks: is the slab held down, is the blade supported along its path, and is everyone outside the line of travel?
The reddish wood beside the blade also shows why the first broad face matters. Once one face is reasonably true, later cuts can be compared with it. The crew can judge thickness, edge condition, and the amount of bark that should remain. Without a reference, every new cut would be a guess against a curved surface.
For a small workshop, the same principle can be applied with a shorter guide, a router sled, or a portable mill. The machine can change, but the sequence remains familiar: support the piece, establish a reference, remove waste in controlled passes, and stop to inspect before changing direction.
What the Broad Slab Reveals
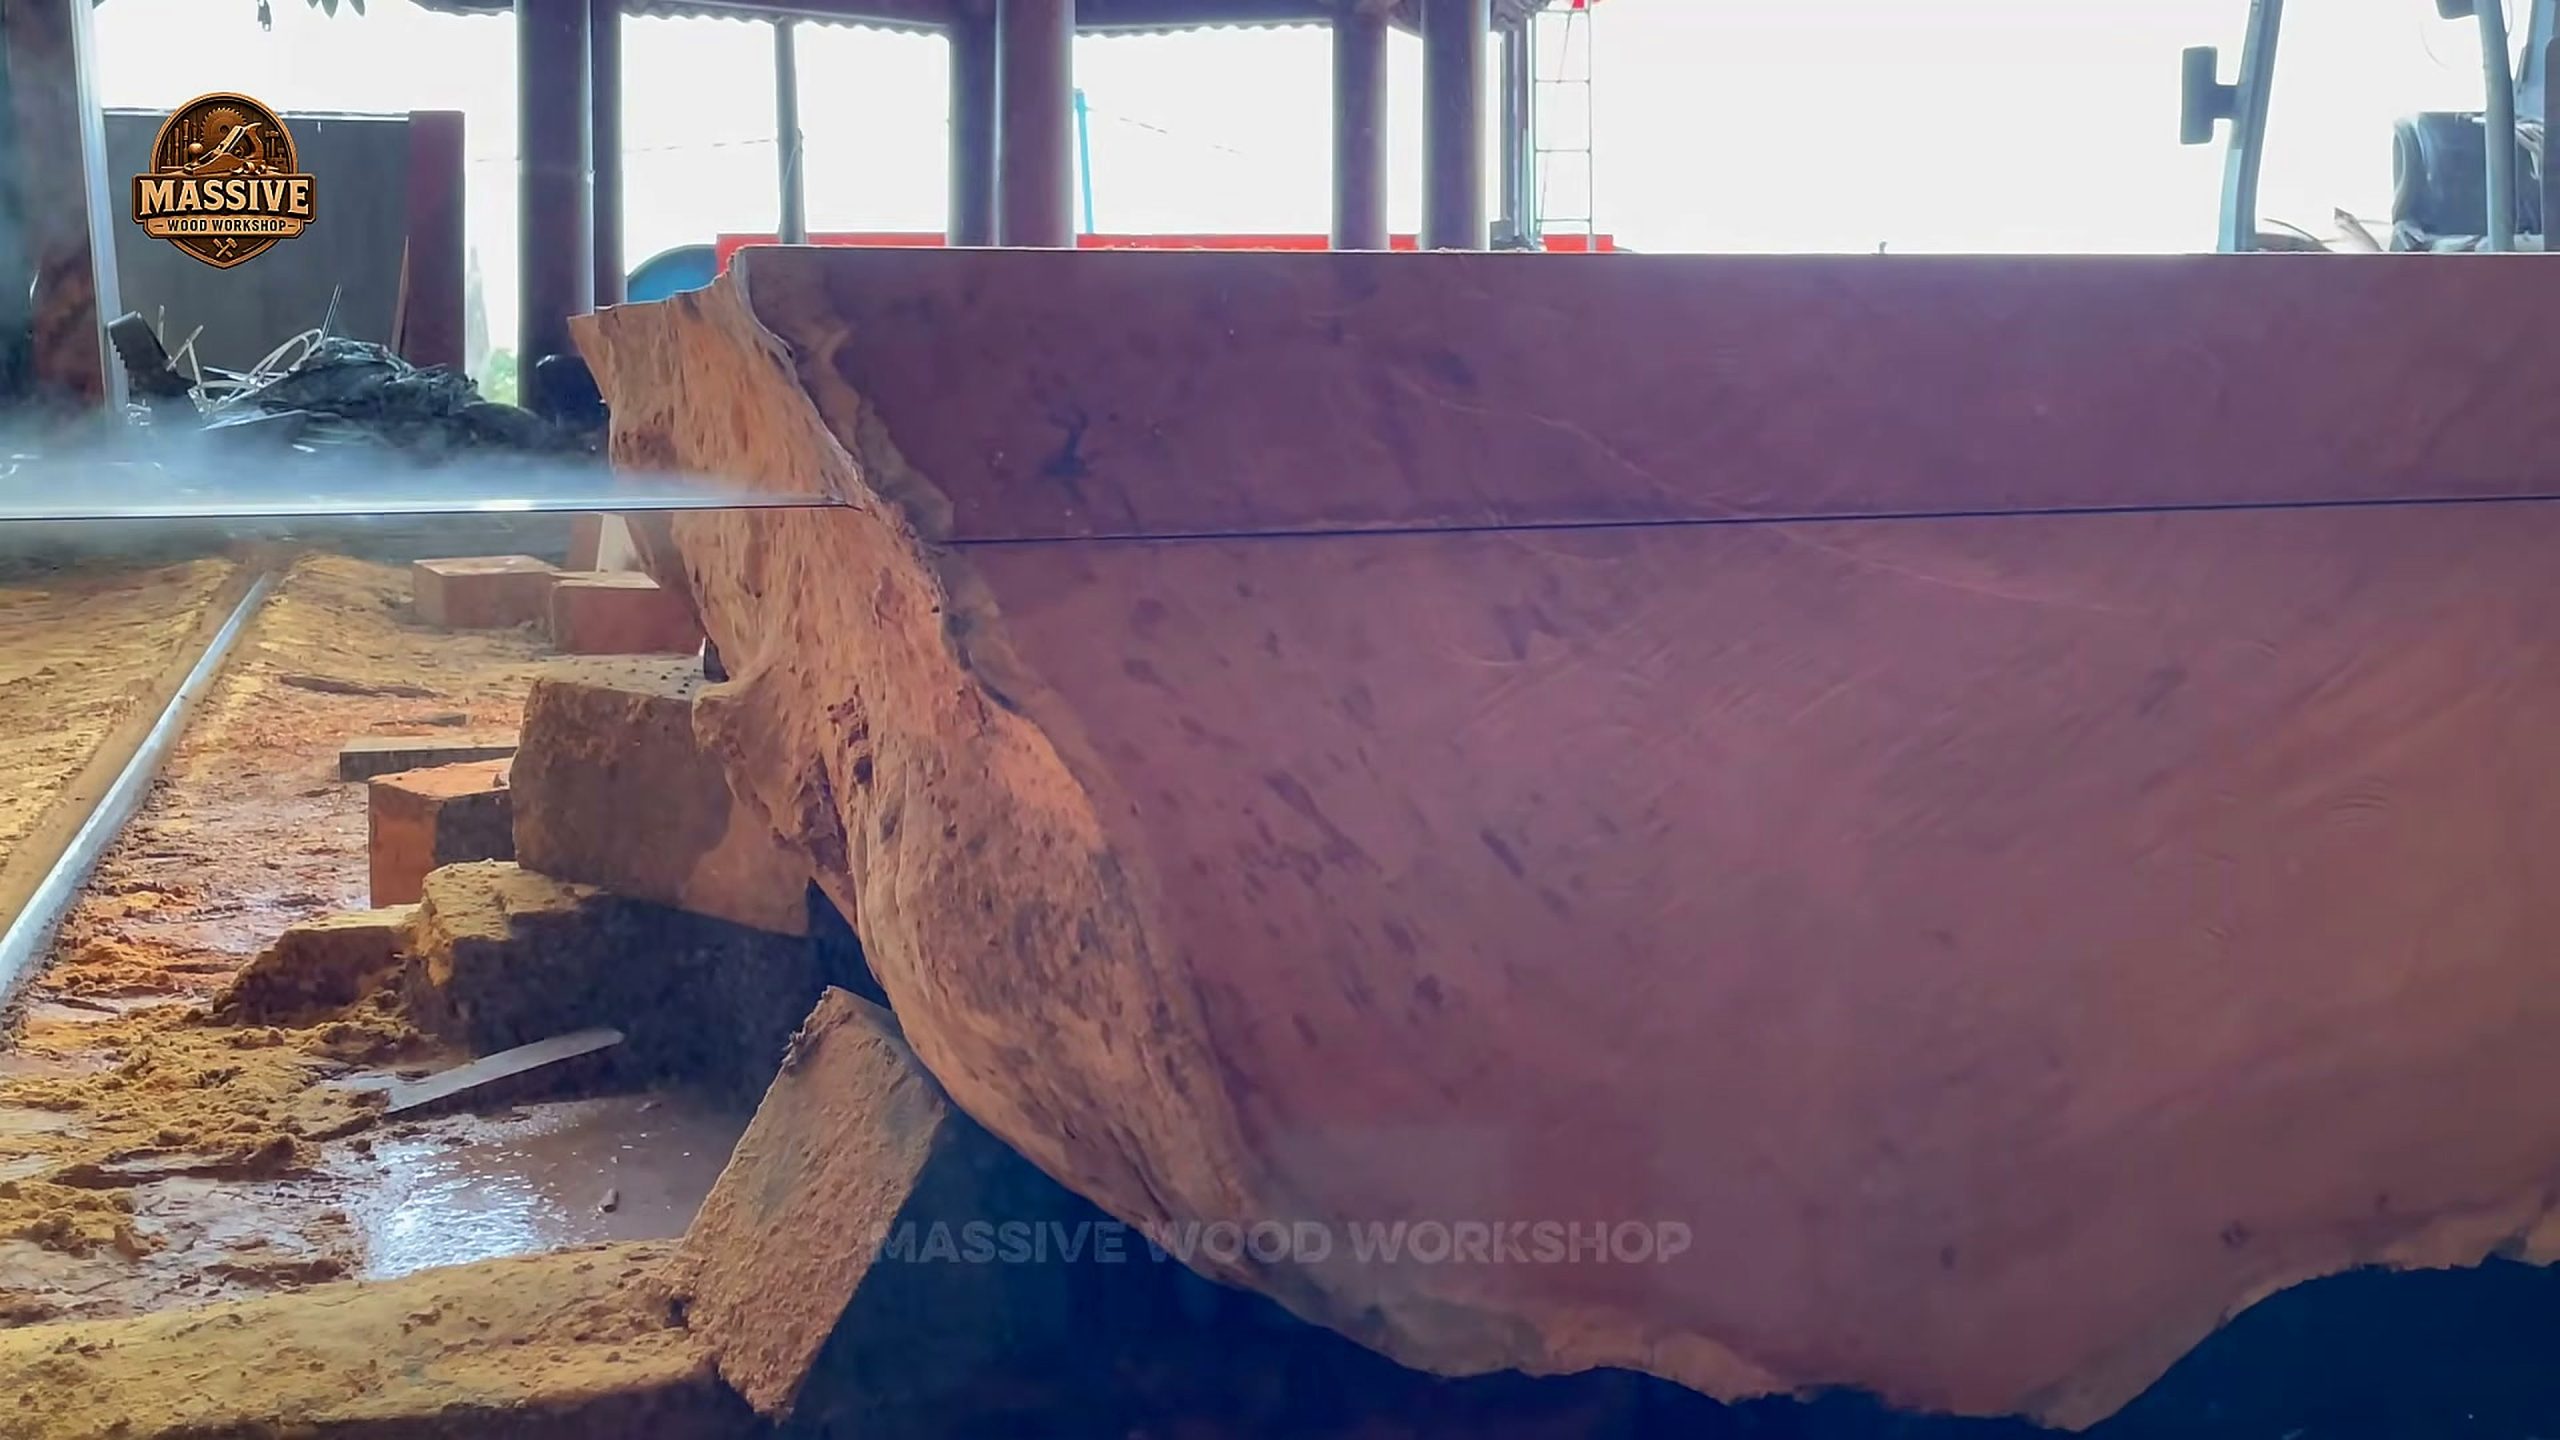
At about 18:00, the cut exposes a broad, smooth reddish face. The slab still rests on rough supports, and bark remains along the outside edge. This contrast is useful because it separates the parts that have been solved from the parts that remain open.
The inner face is now easier to inspect for grain direction, checks, knots, and changes in color. The live edge still needs a decision. It may be kept for character, trimmed for a straighter outline, or removed if it carries loose bark and unstable material. The footage does not show a final customer specification, so the correct choice depends on the intended use and later drying.
A smooth face is not automatically a dry or stable face. Freshly cut wood can look finished while still carrying a great deal of moisture. It can cup, twist, or open checks as water leaves the cells. The broad face is therefore a milestone, not a promise that the piece is ready for a table, counter, or sale.
Inspection should happen before the next lift. Look at the ends, the edges, and the support points. Note whether the slab is sagging, whether bark is loose, and whether a crack crosses the area that will become the visible top. These observations can save more material than a faster cut.
Sanding the Round Top
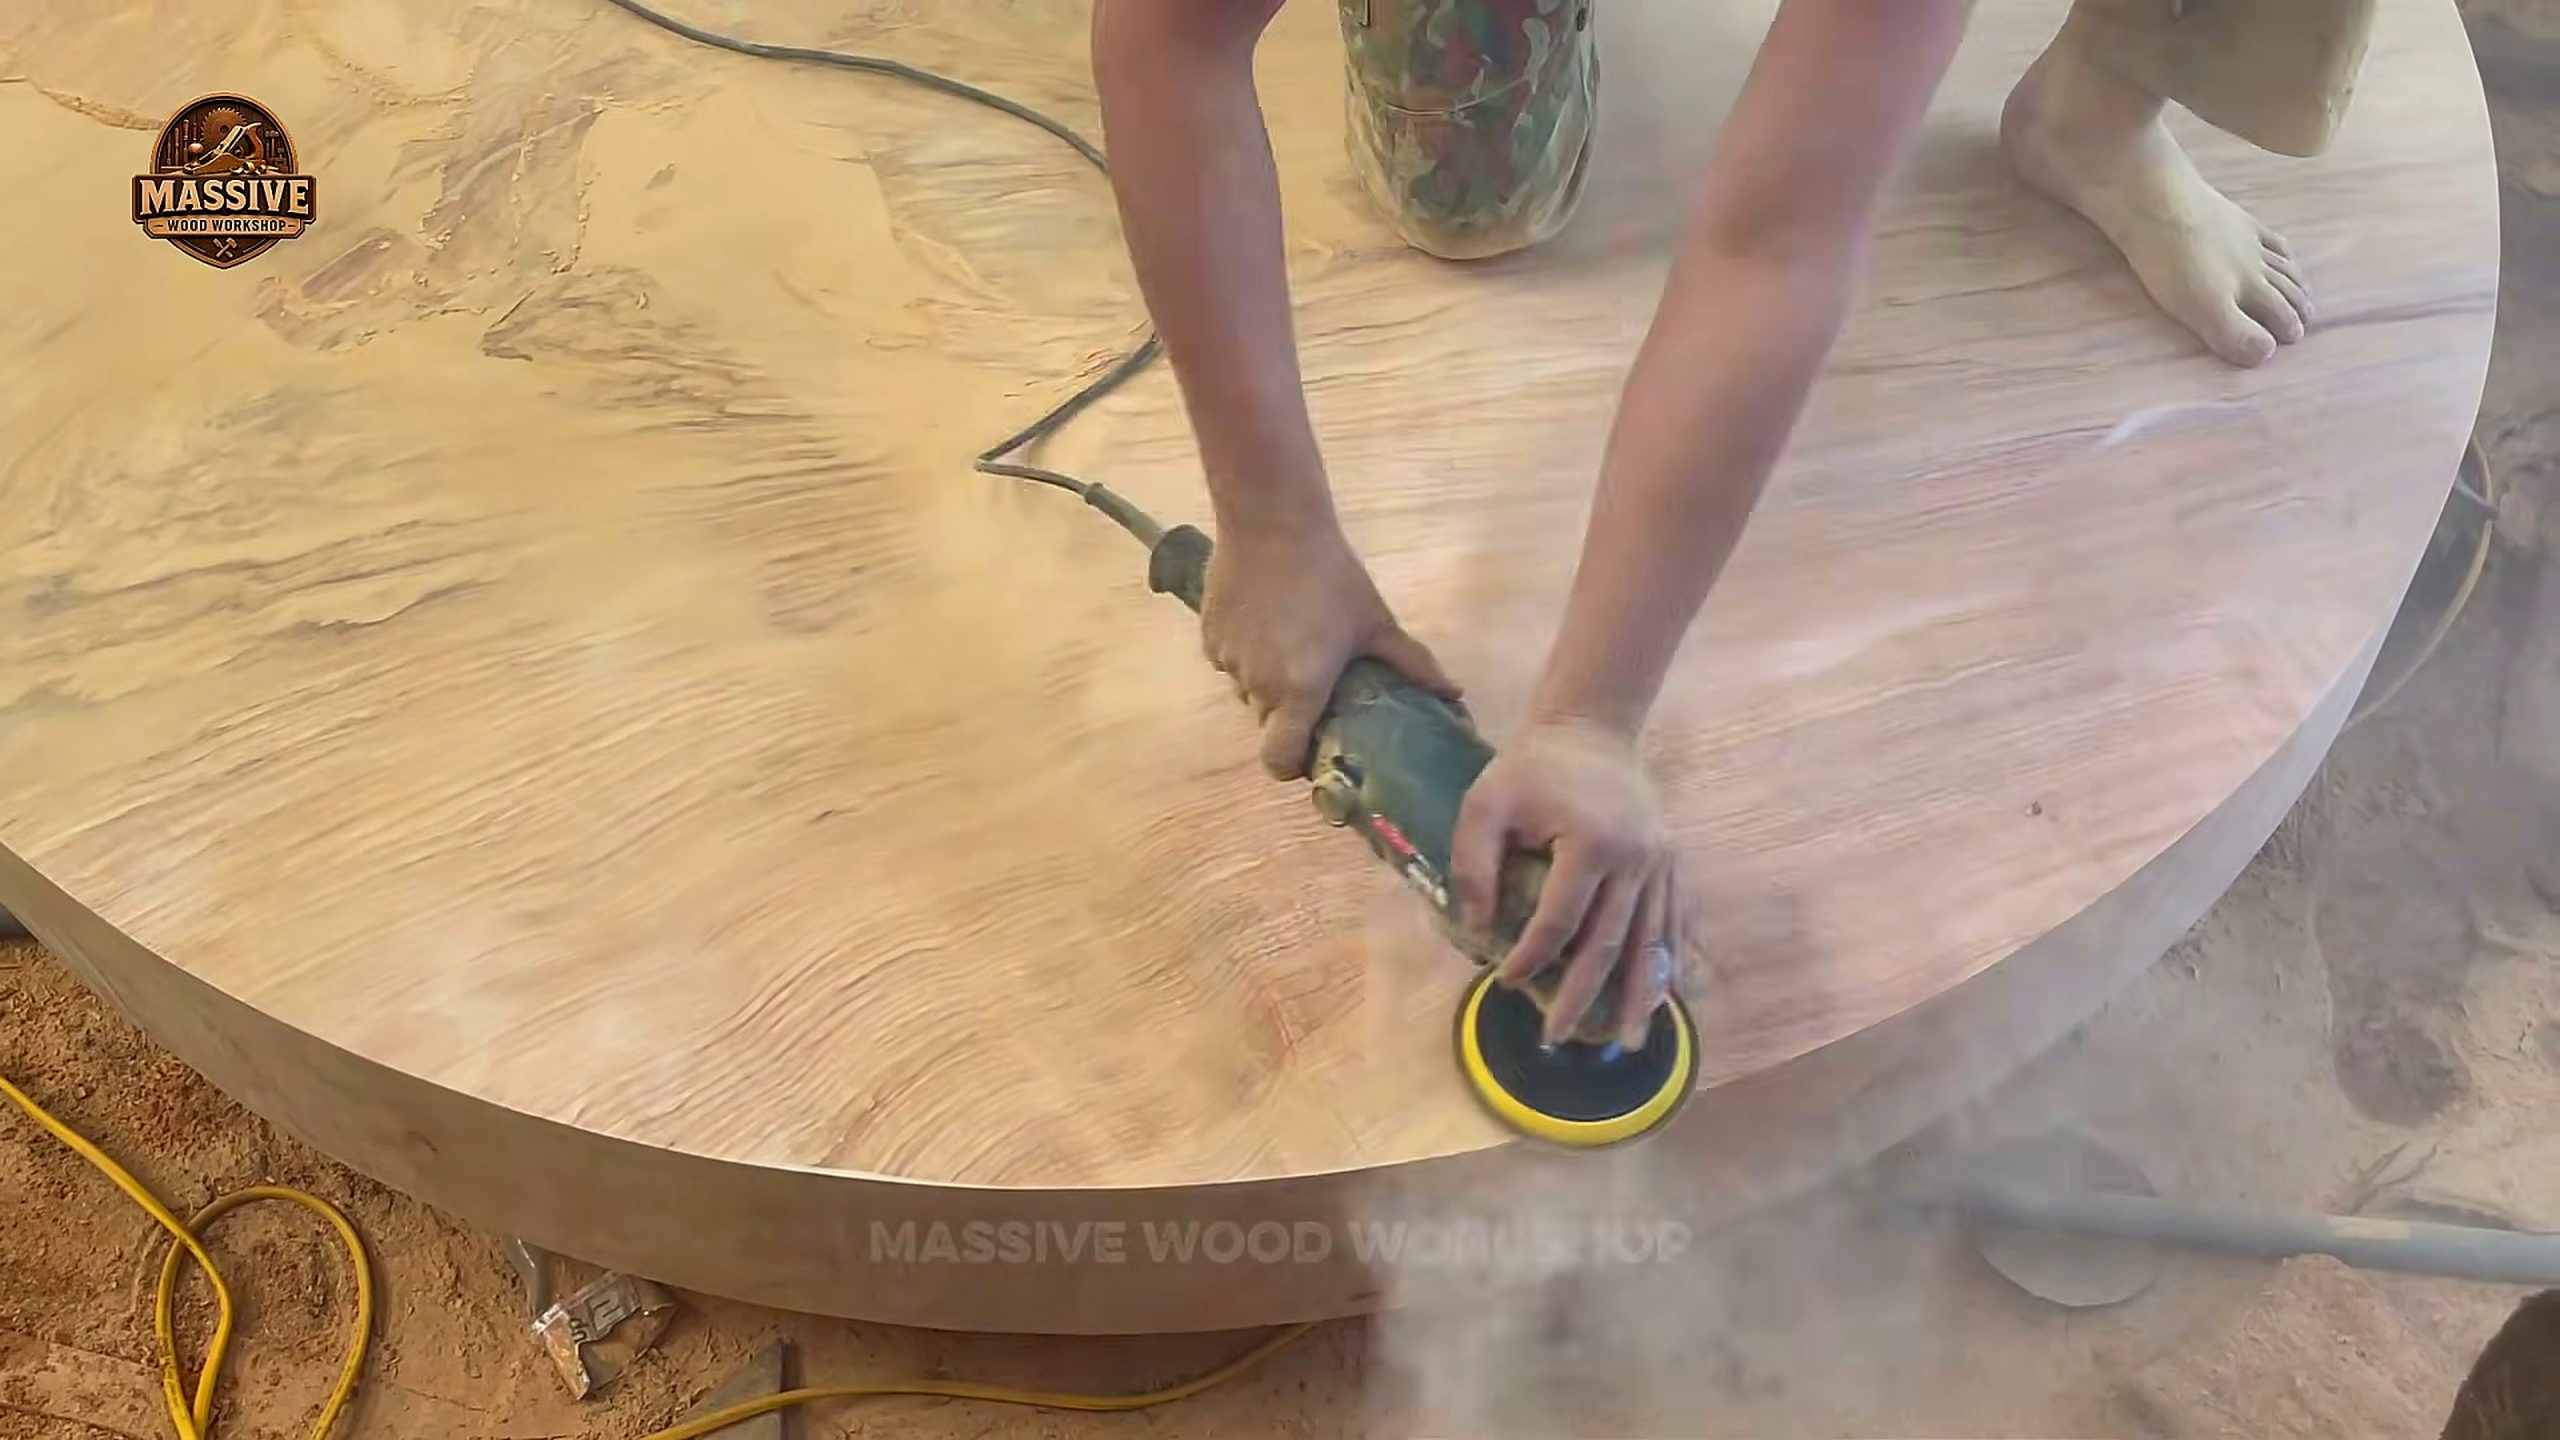
At about 23:13, a worker uses a small electric sander on a large round top. The pale surface carries visible grain lines. A yellow cable crosses the floor and another person stands near the edge. The circle is now readable, but the work has not become risk-free simply because the shape looks finished.
Sanding removes tool marks and makes the surface easier to inspect. It can reveal scratches that were hidden by sawdust and show whether the earlier cut left a consistent plane. On a round top, the operator also has to work around the edge without tipping the sander over the rim. The result depends on an even motion, a sensible abrasive sequence, and dust control.
The cable is a small detail with a large lesson. A cord crossing a work area can catch a foot, touch a rotating tool, or pull the sander at the wrong moment. A second person near the edge changes the available space too. The image should encourage a pause to arrange the floor, not a rush to finish the last visible operation.
The round outline also invites an honest distinction between shape and finish. The workpiece may be circular, but it may still need more flattening, edge treatment, sealing, and drying. A buyer should ask how the top was supported, how thick it is, and what moisture reading was recorded before treating it as finished furniture.
Support and Movement Before Cutting
Large timber work is a support problem before it is a blade problem. A trunk that can roll will move the cut line. A slab that can sag will change its thickness. A round top that is not held evenly can rock while it is being sanded. The frames show supports at several stages, even though the footage does not explain every block or clamp.
Prepare the landing points before lifting. Use bearers that are long enough to keep the piece off the floor and wide enough to resist tipping. Place wedges where the round side could roll. Keep replacement blocks nearby, but do not reach under a suspended load to place them. The safest arrangement is the one that lets the crew stand clear while the piece settles.
Support should also be checked after material is removed. The center of gravity changes when a curved cap or thick offcut comes away. A setup that was stable at the beginning can become unstable after a single cut. Stop, observe, and reset the bearers before continuing.
Keeping the Cutting Zone Clear
The frames make the cutting zone easy to imagine. The chainsaw needs room at the end. The long blade needs a straight path across the slab. The sander needs a clear floor and a stable edge. These are separate zones, but they all depend on the same habit: remove loose tools, cables, waste, and unnecessary people before the next pass.
For production work, a simple boundary can be marked on the floor. One person can call the stop while another handles the tool, but everyone should know the signal and the direction of escape. No short video can replace the machine manual, local regulations, or site-specific training. The article can only point to visible conditions and encourage a deliberate setup.
Tracking Material Loss
The change from trunk to round top involves more than the width of the blade. Material is lost to bark removal, rough trimming, the first reference cut, the long-blade kerf, edge decisions, sanding, flattening, and later movement during drying. A project that starts with a very large trunk can produce a much smaller usable top.
Record the width and thickness after each major stage. Photograph the ends before the next cut. Mark cracks and knots on a simple sketch. Those records help explain why a piece was oriented a certain way and make it easier to compare waste with the original plan. They also give a buyer more useful information than a dramatic title or a single reveal frame.
What Drying and Flattening Still Require
The video ends before the long wait that follows sawing. Fresh wood needs controlled drying, and a round top still needs to be checked for movement. Depending on the species, thickness, climate, and storage method, drying can take months or longer. A top that looks flat on the day of sanding may not stay flat after moisture leaves the center.
Stacking, stickers, airflow, shade, and end protection all influence the result. After drying, a shop may use a router sled, wide planer, or sanding system to restore a true surface. The final finish is another separate stage. None of these steps should be inferred as complete merely because the last frame shows a smooth circle.
A Practical Tool Buying Checklist
The visible sequence suggests buying tools in the order of the bottleneck. If the problem is holding a trunk, look at lifting, blocking, wedges, and clamps before buying a larger saw. If the problem is a rough reference face, compare guides, rails, and flattening methods. If sanding creates dust or trip hazards, improve extraction, lighting, and cable management.
For a small shop, a reliable measuring setup and safe support can produce more improvement than a bigger motor. For a production shop, the priority may be repeatable feed control, replaceable blades, staging space, and a documented inspection step. The footage gives categories to investigate, not a reason to buy a particular brand or copy an unverified setup.
Readers can compare Tecatool woodworking guides when choosing between cutting, flattening, sanding, dust control, and finishing topics. The useful question is always which stage is limiting the result.
Reader Checklist
- Confirm that the trunk or slab is supported against rolling and sagging.
- Clear the path of the chainsaw, long blade, or sander before starting.
- Mark the material that will be removed and decide where the waste can go.
- Establish one broad reference face before trying to make a final shape.
- Inspect the ends and edges for cracks, loose bark, knots, and movement.
- Photograph each major stage and record measurements before the next cut.
- Separate rough shaping from flattening, sanding, drying, and finishing.
- Use protective equipment, training, and local machine procedures rather than copying a short clip.
Quick Summary
The footage follows a dangerous tree from a rough supported trunk to a round wooden top. The visible stages are chainsaw trimming, a long blade cutting across a thick slab, inspection of a broad reddish face, and sanding. The practical lesson is to control support, space, material loss, and inspection at every transition.
The title does not prove species, age, value, or the reason the tree was considered dangerous. The frames do prove that large timber work needs room, stable supports, deliberate cuts, and patience after the saw stops.
FAQ
What does the dangerous tree footage show?
It shows a very large trunk being trimmed, cut into a broad slab, inspected, and sanded into a round top. The visible lesson is the order of the work and the need for support.
Does the footage prove the tree species or age?
No. The frames show color, grain, bark, and scale, but they do not provide a verified species, ring count, age record, or market valuation.
Why is a reference face important?
A broad reference face gives later cuts something stable to measure against. It helps the crew judge thickness, edge condition, and how much material remains.
Is the round top ready for furniture after sanding?
Not necessarily. Drying, flattening, moisture checks, edge treatment, and finishing may still be required before the top is ready for a customer.
What should a small shop copy from the process?
Copy the planning habits, not an unverified machine setup: support the workpiece, clear the cutting zone, remove waste in stages, inspect after each change, and manage dust and cables.
Source Video
Sources: Massive Wood Workshop, “Workers Knew This Tree Was Dangerous… But Not This Dangerous,” published on the Massive Wood Workshop YouTube channel, accessed 2026-10-05. The article images are frames from that recording.