
Solid Wood Furniture Frame Joinery Process: Direct Answer
solid wood furniture frame joinery process is the source-based sequence for turning thick boards into a fitted furniture structure: establish a measured mortise or recess, inspect the main stock, mark a panel, shape a curved support on the bandsaw, prepare matching feet and rails, rehearse the joint order, then glue and inspect the frame. The selected frames verify those operations but do not identify the finished furniture type, wood species, dimensions, adhesive, finish, price, or load capacity.
The practical lesson is reference control. Every later part depends on an earlier face, line, or joint. The mortise needs a stable edge from which to measure. The broad board needs a chosen show face and a safe support plan. The panel needs a repeatable baseline. The curved support needs a visible layout line. The base parts need matching shoulders before adhesive removes the option to rearrange them.
Reading the upload this way is more useful than repeating the source title’s words pure, masterfully, or masterpiece. Those words describe the uploader’s reaction. The frames give workshop evidence: steel-rule measurement, stock inspection, pencil layout, vertical bandsaw cutting, and a glue-stage arrangement of shaped components.
Table of Contents
What The Five DT Woodworking Frames Verify
The evidence comes from DT Woodworking video Jw39KQihGl4, titled “The Art of Pure Woodworking – Masterfully Transforming Solid Wood into a Stunning Masterpiece!.” The chosen timestamps are about 254, 699, 1,271, 1,969, and 2,541 seconds. They span the 3,177-second source, so the contact sheet records different phases rather than five neighboring frames from one action.
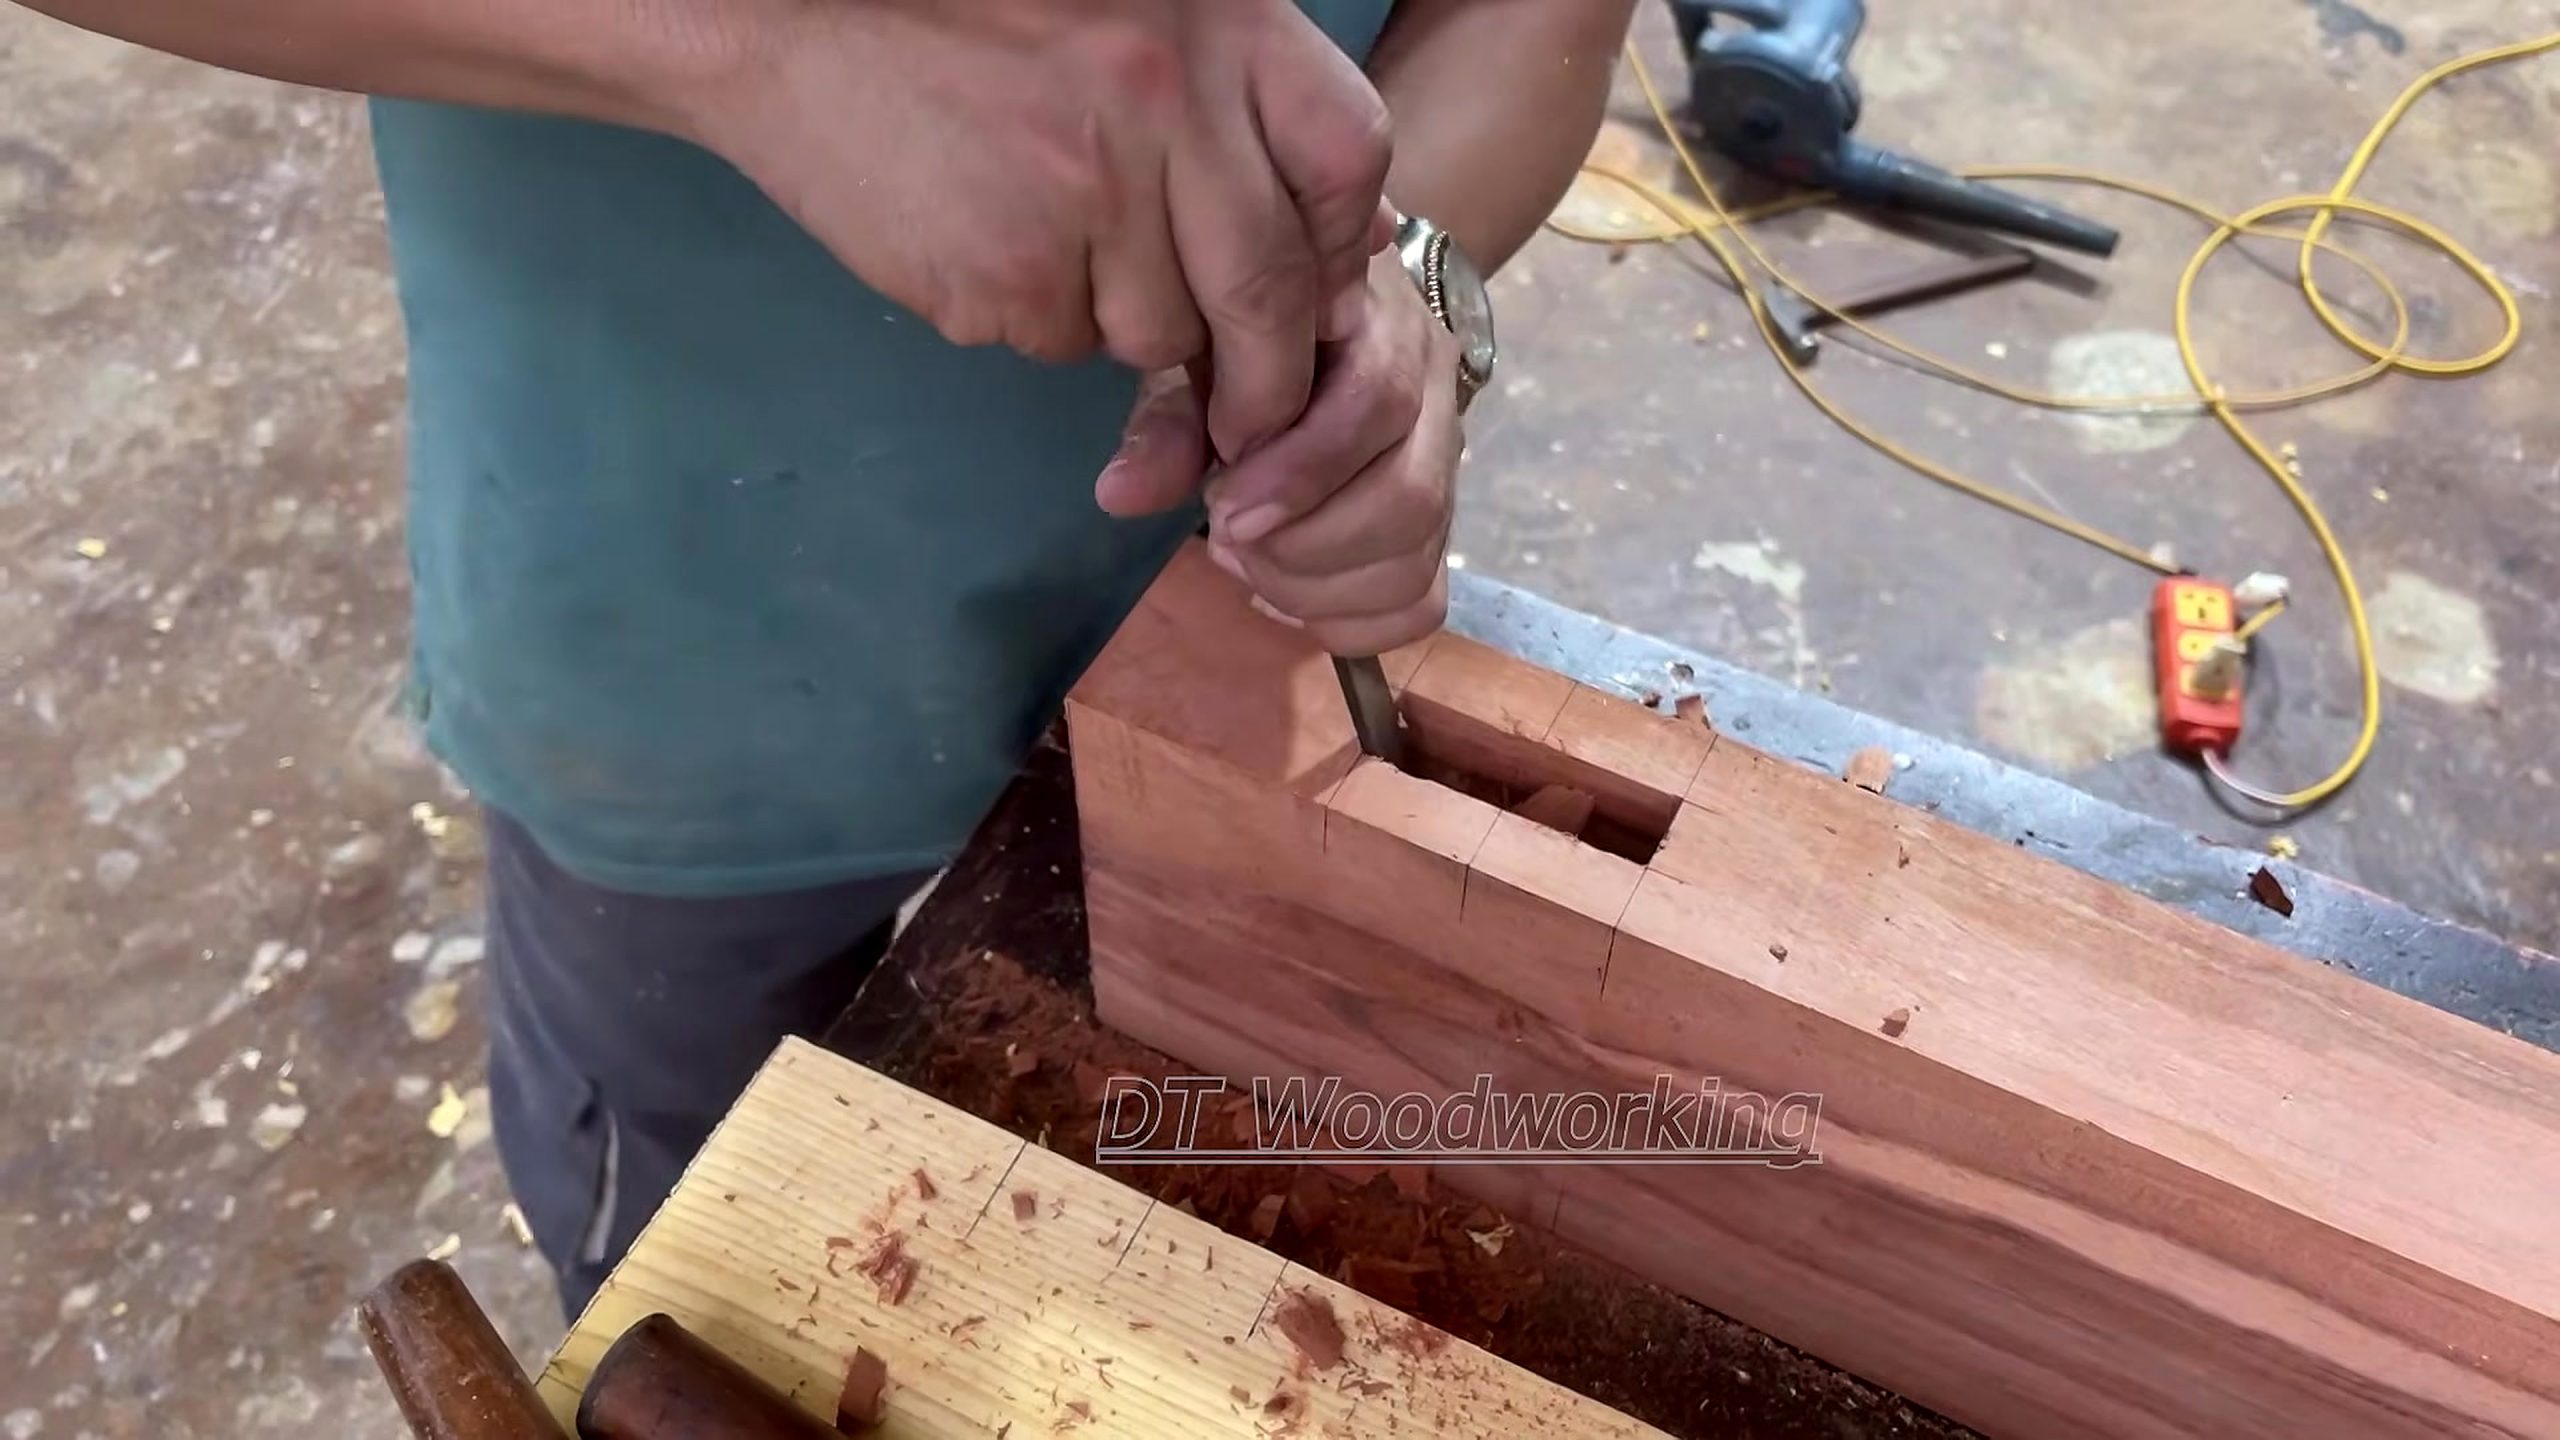
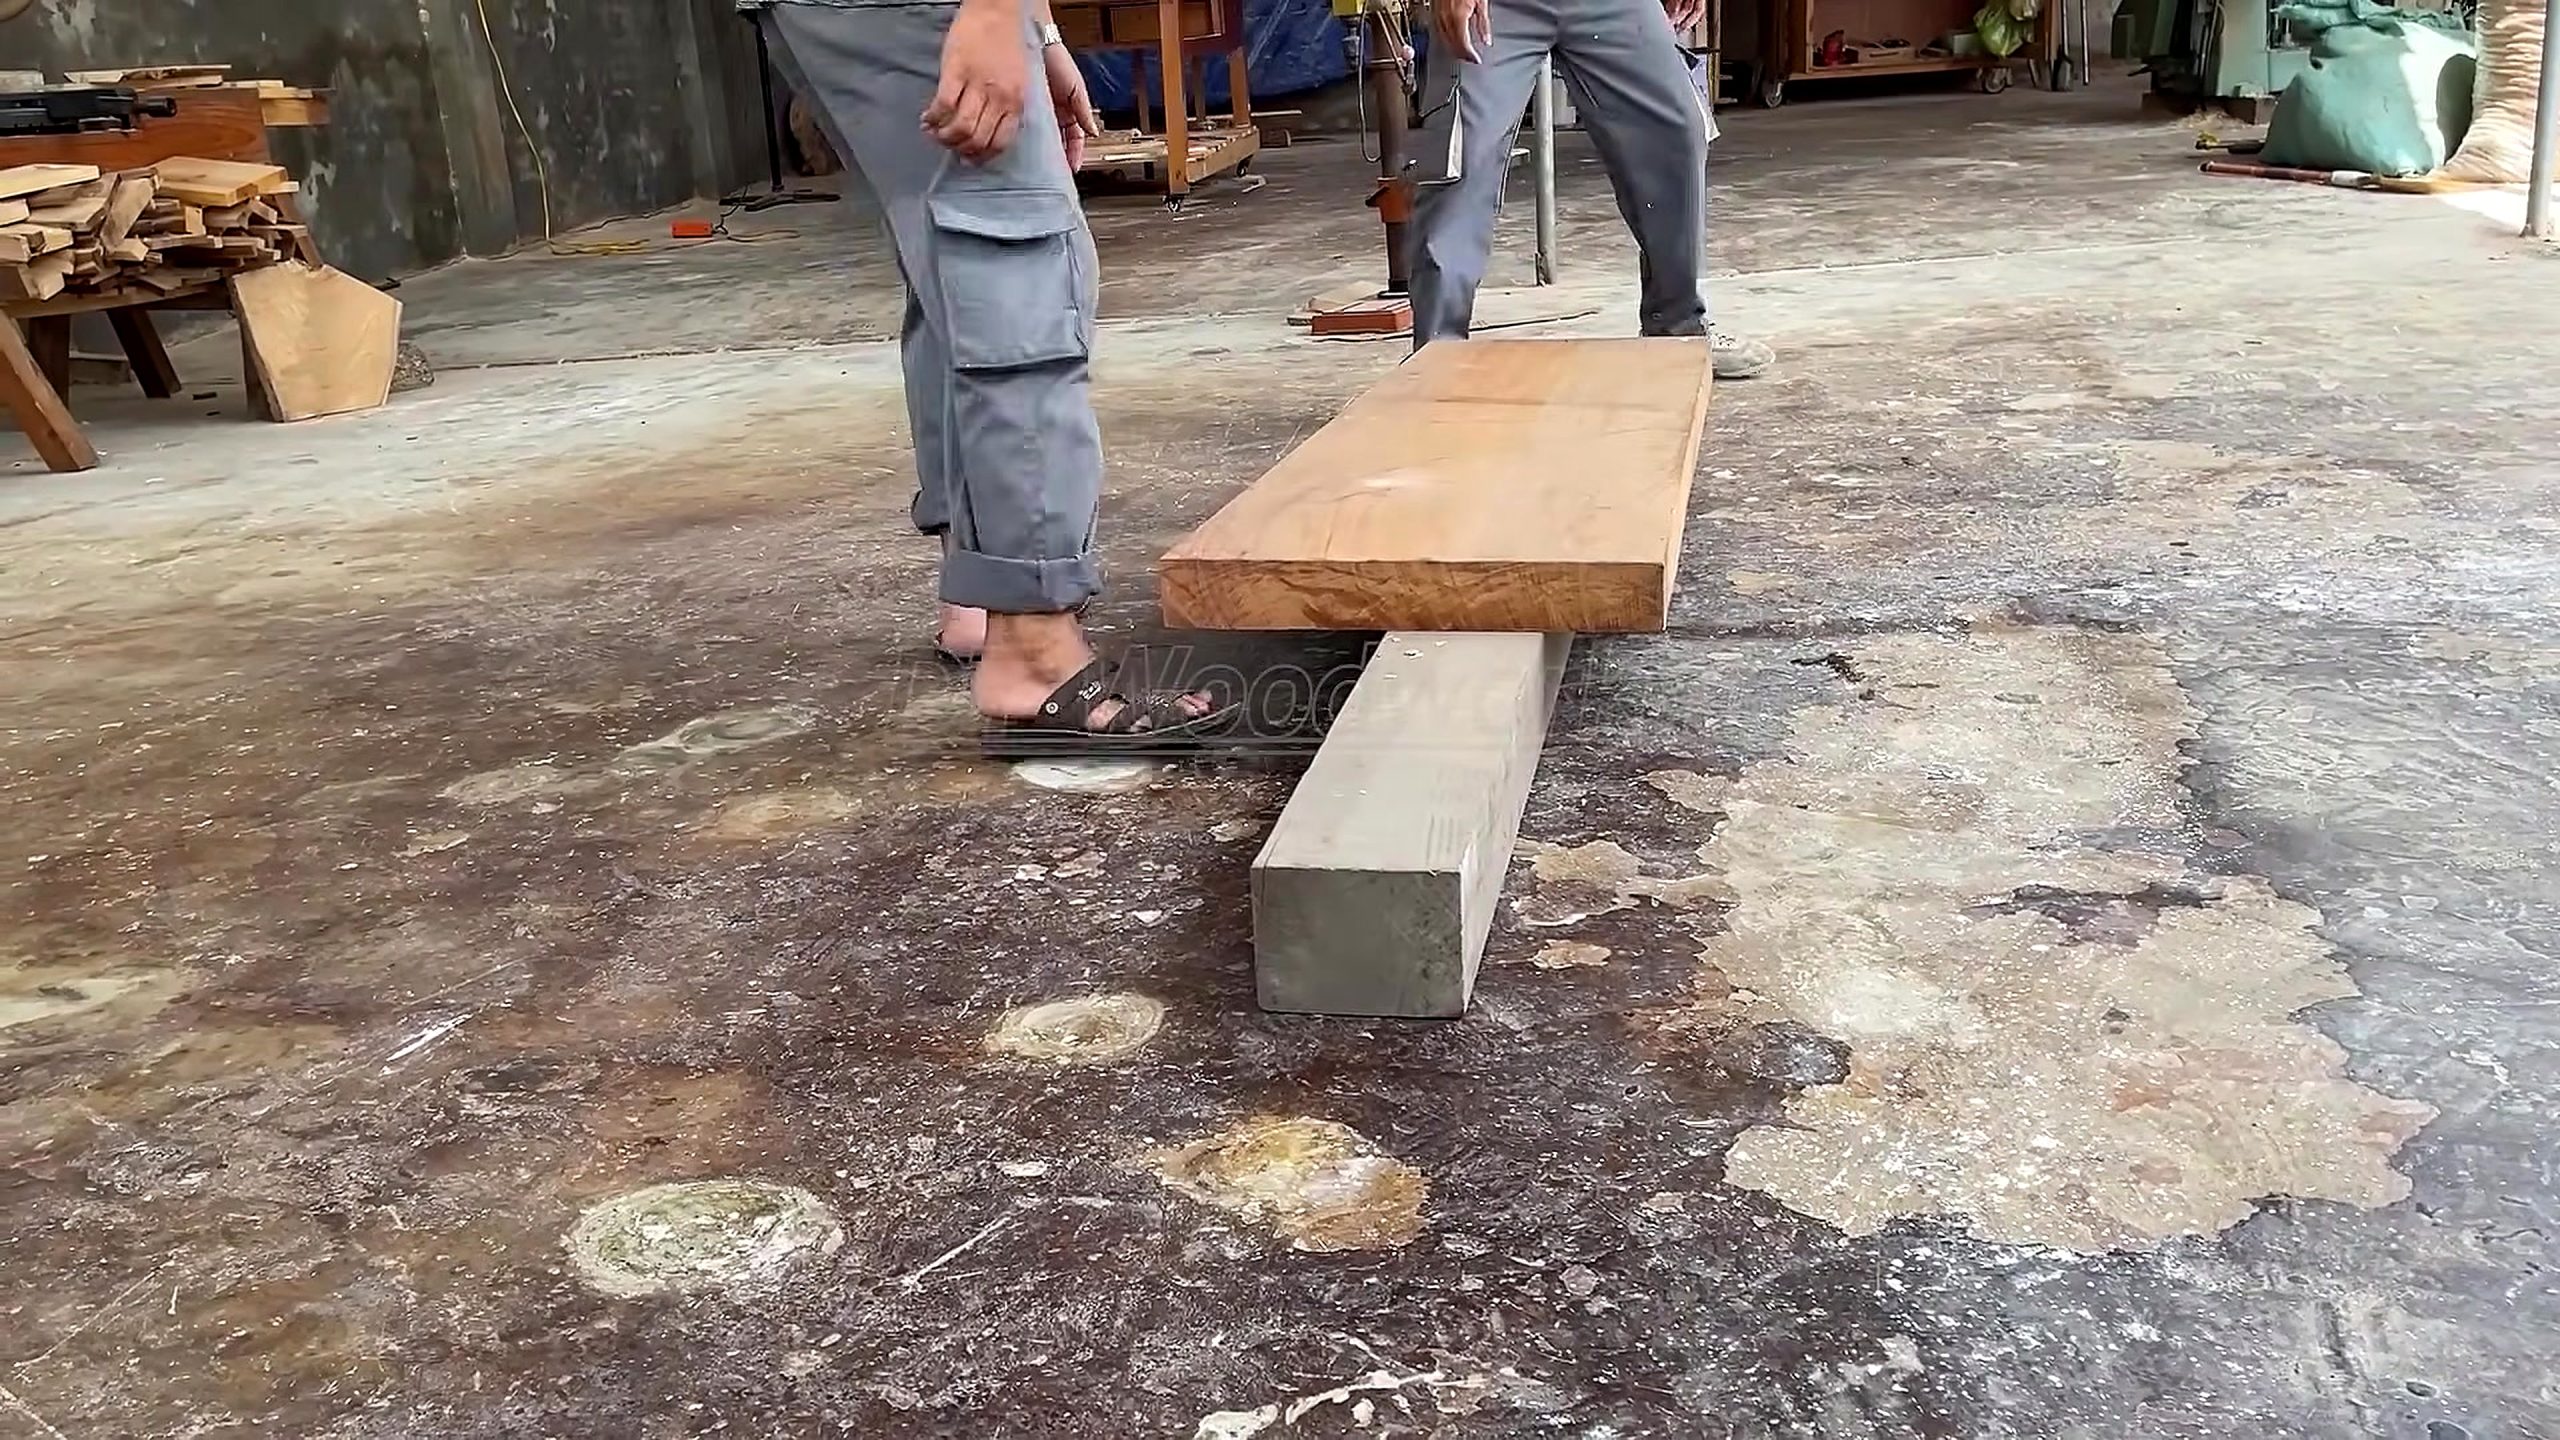
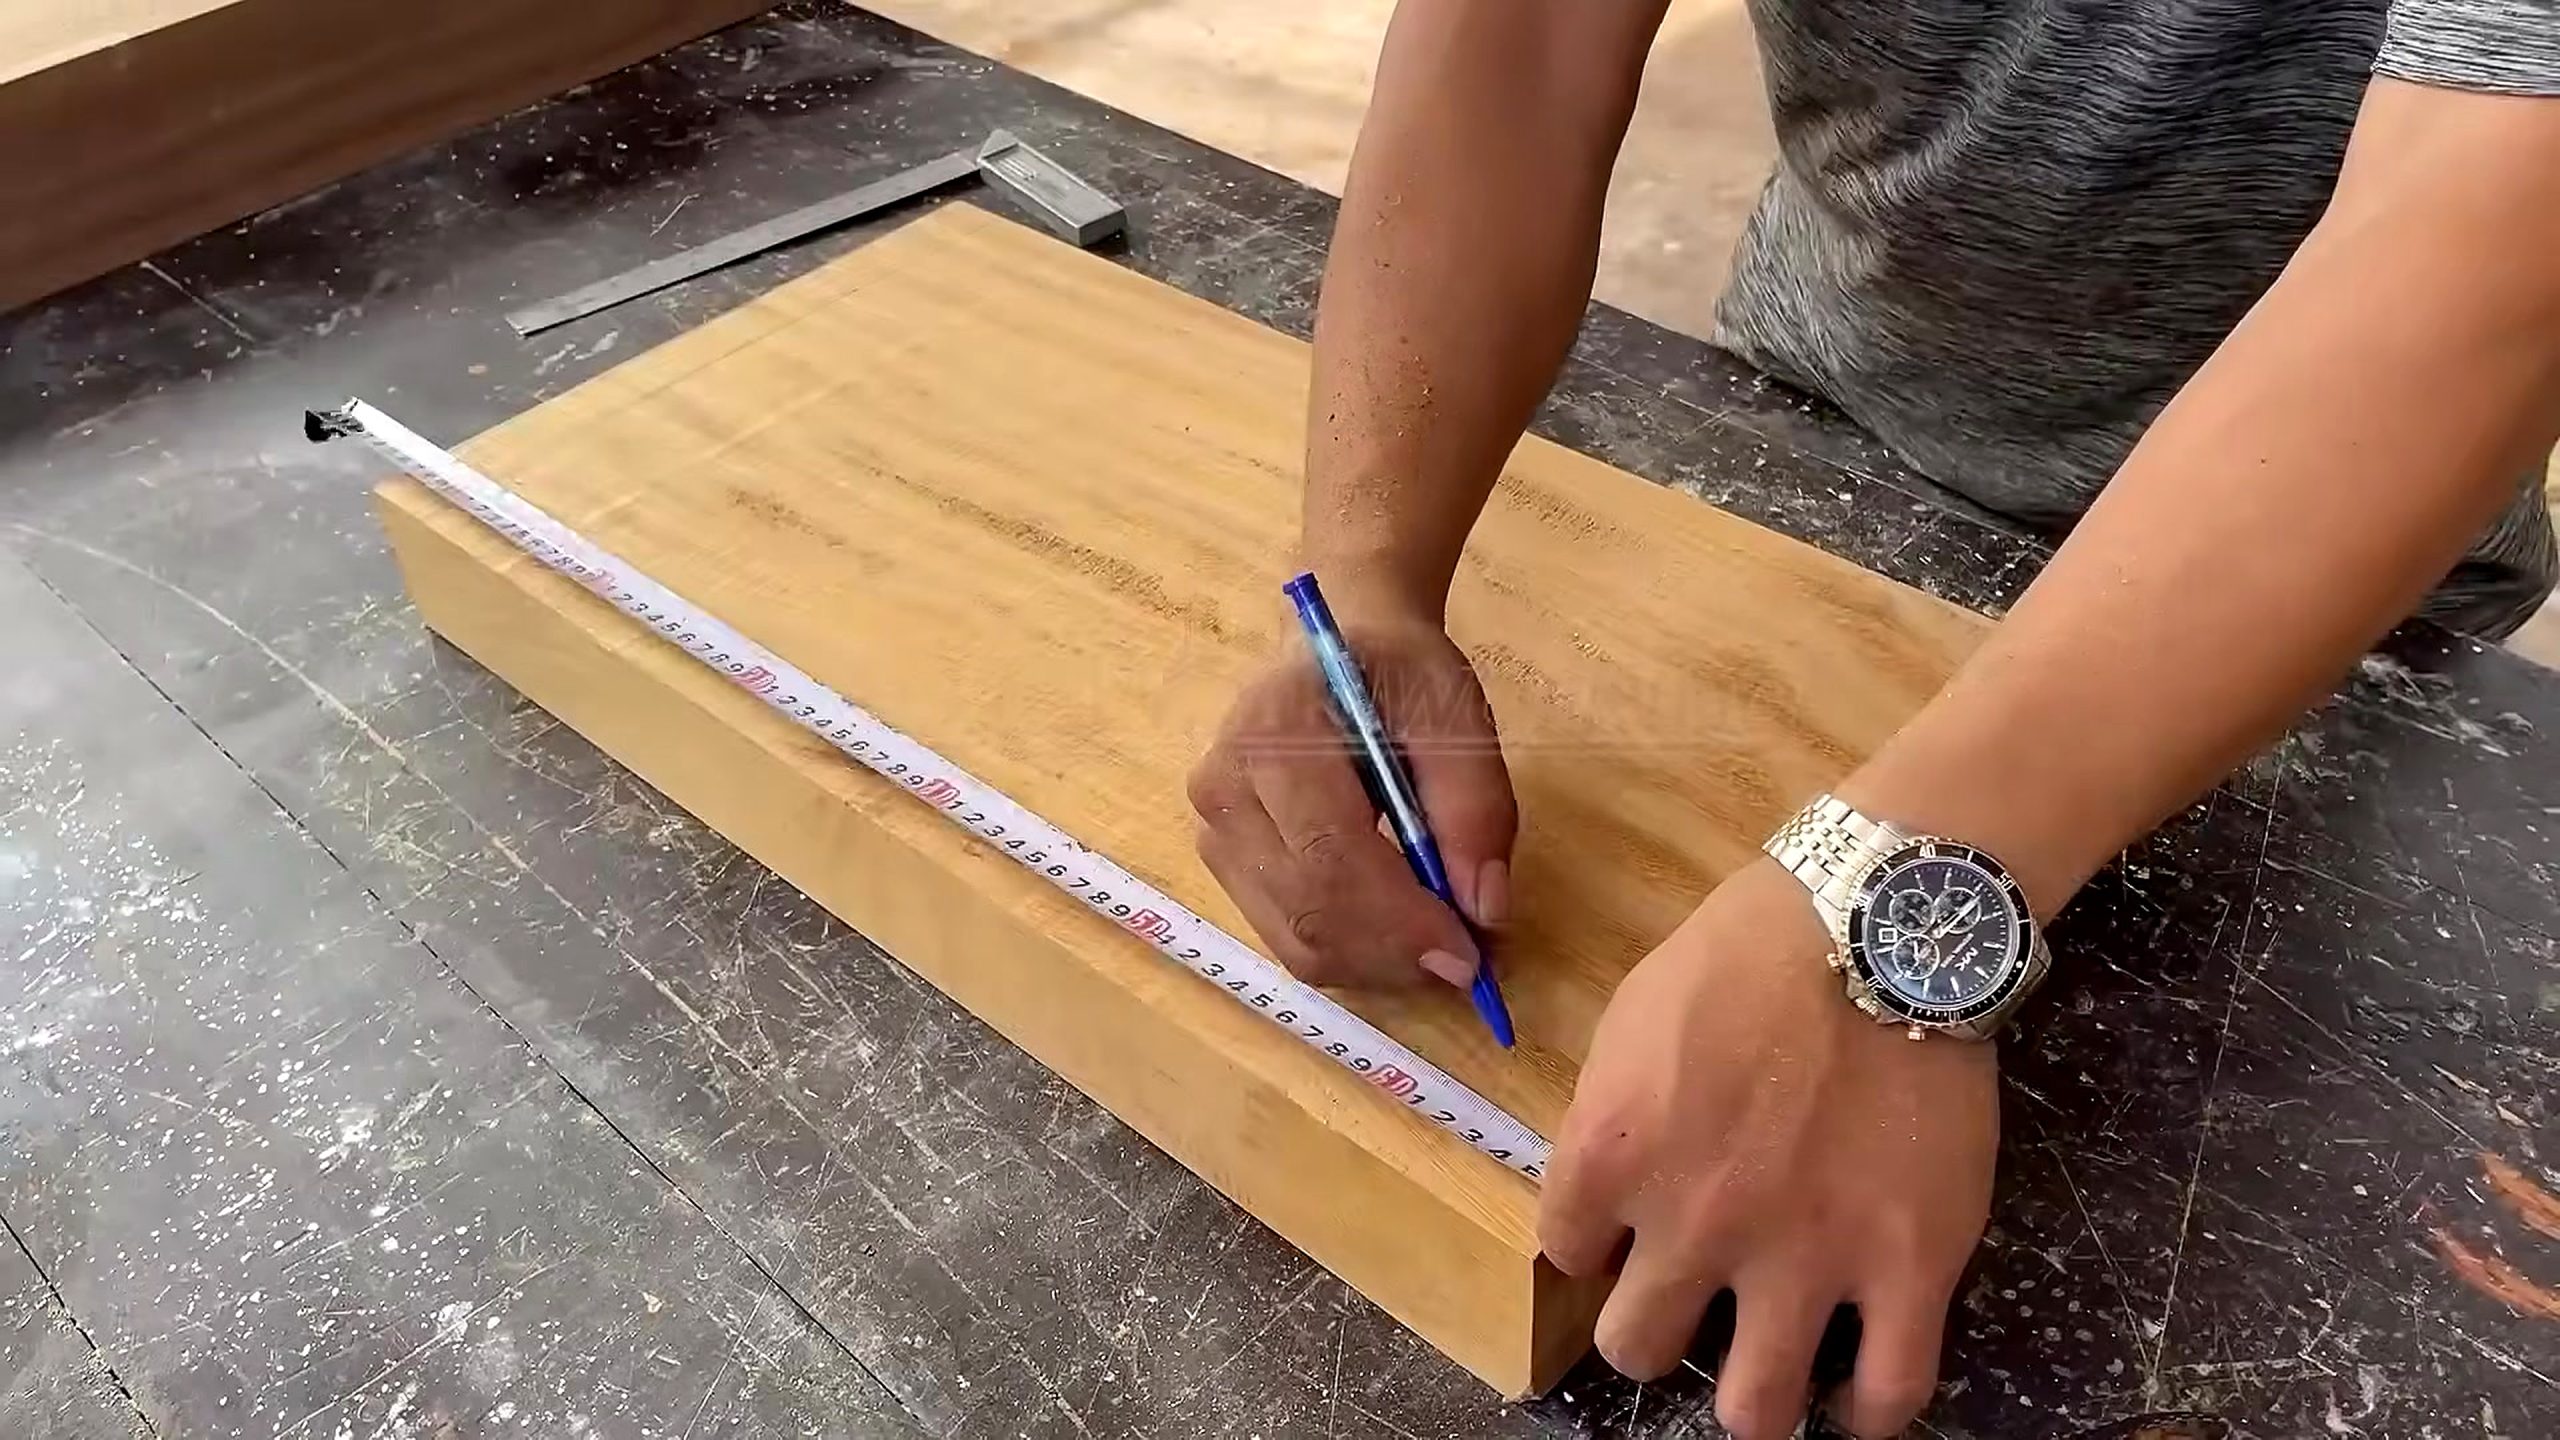
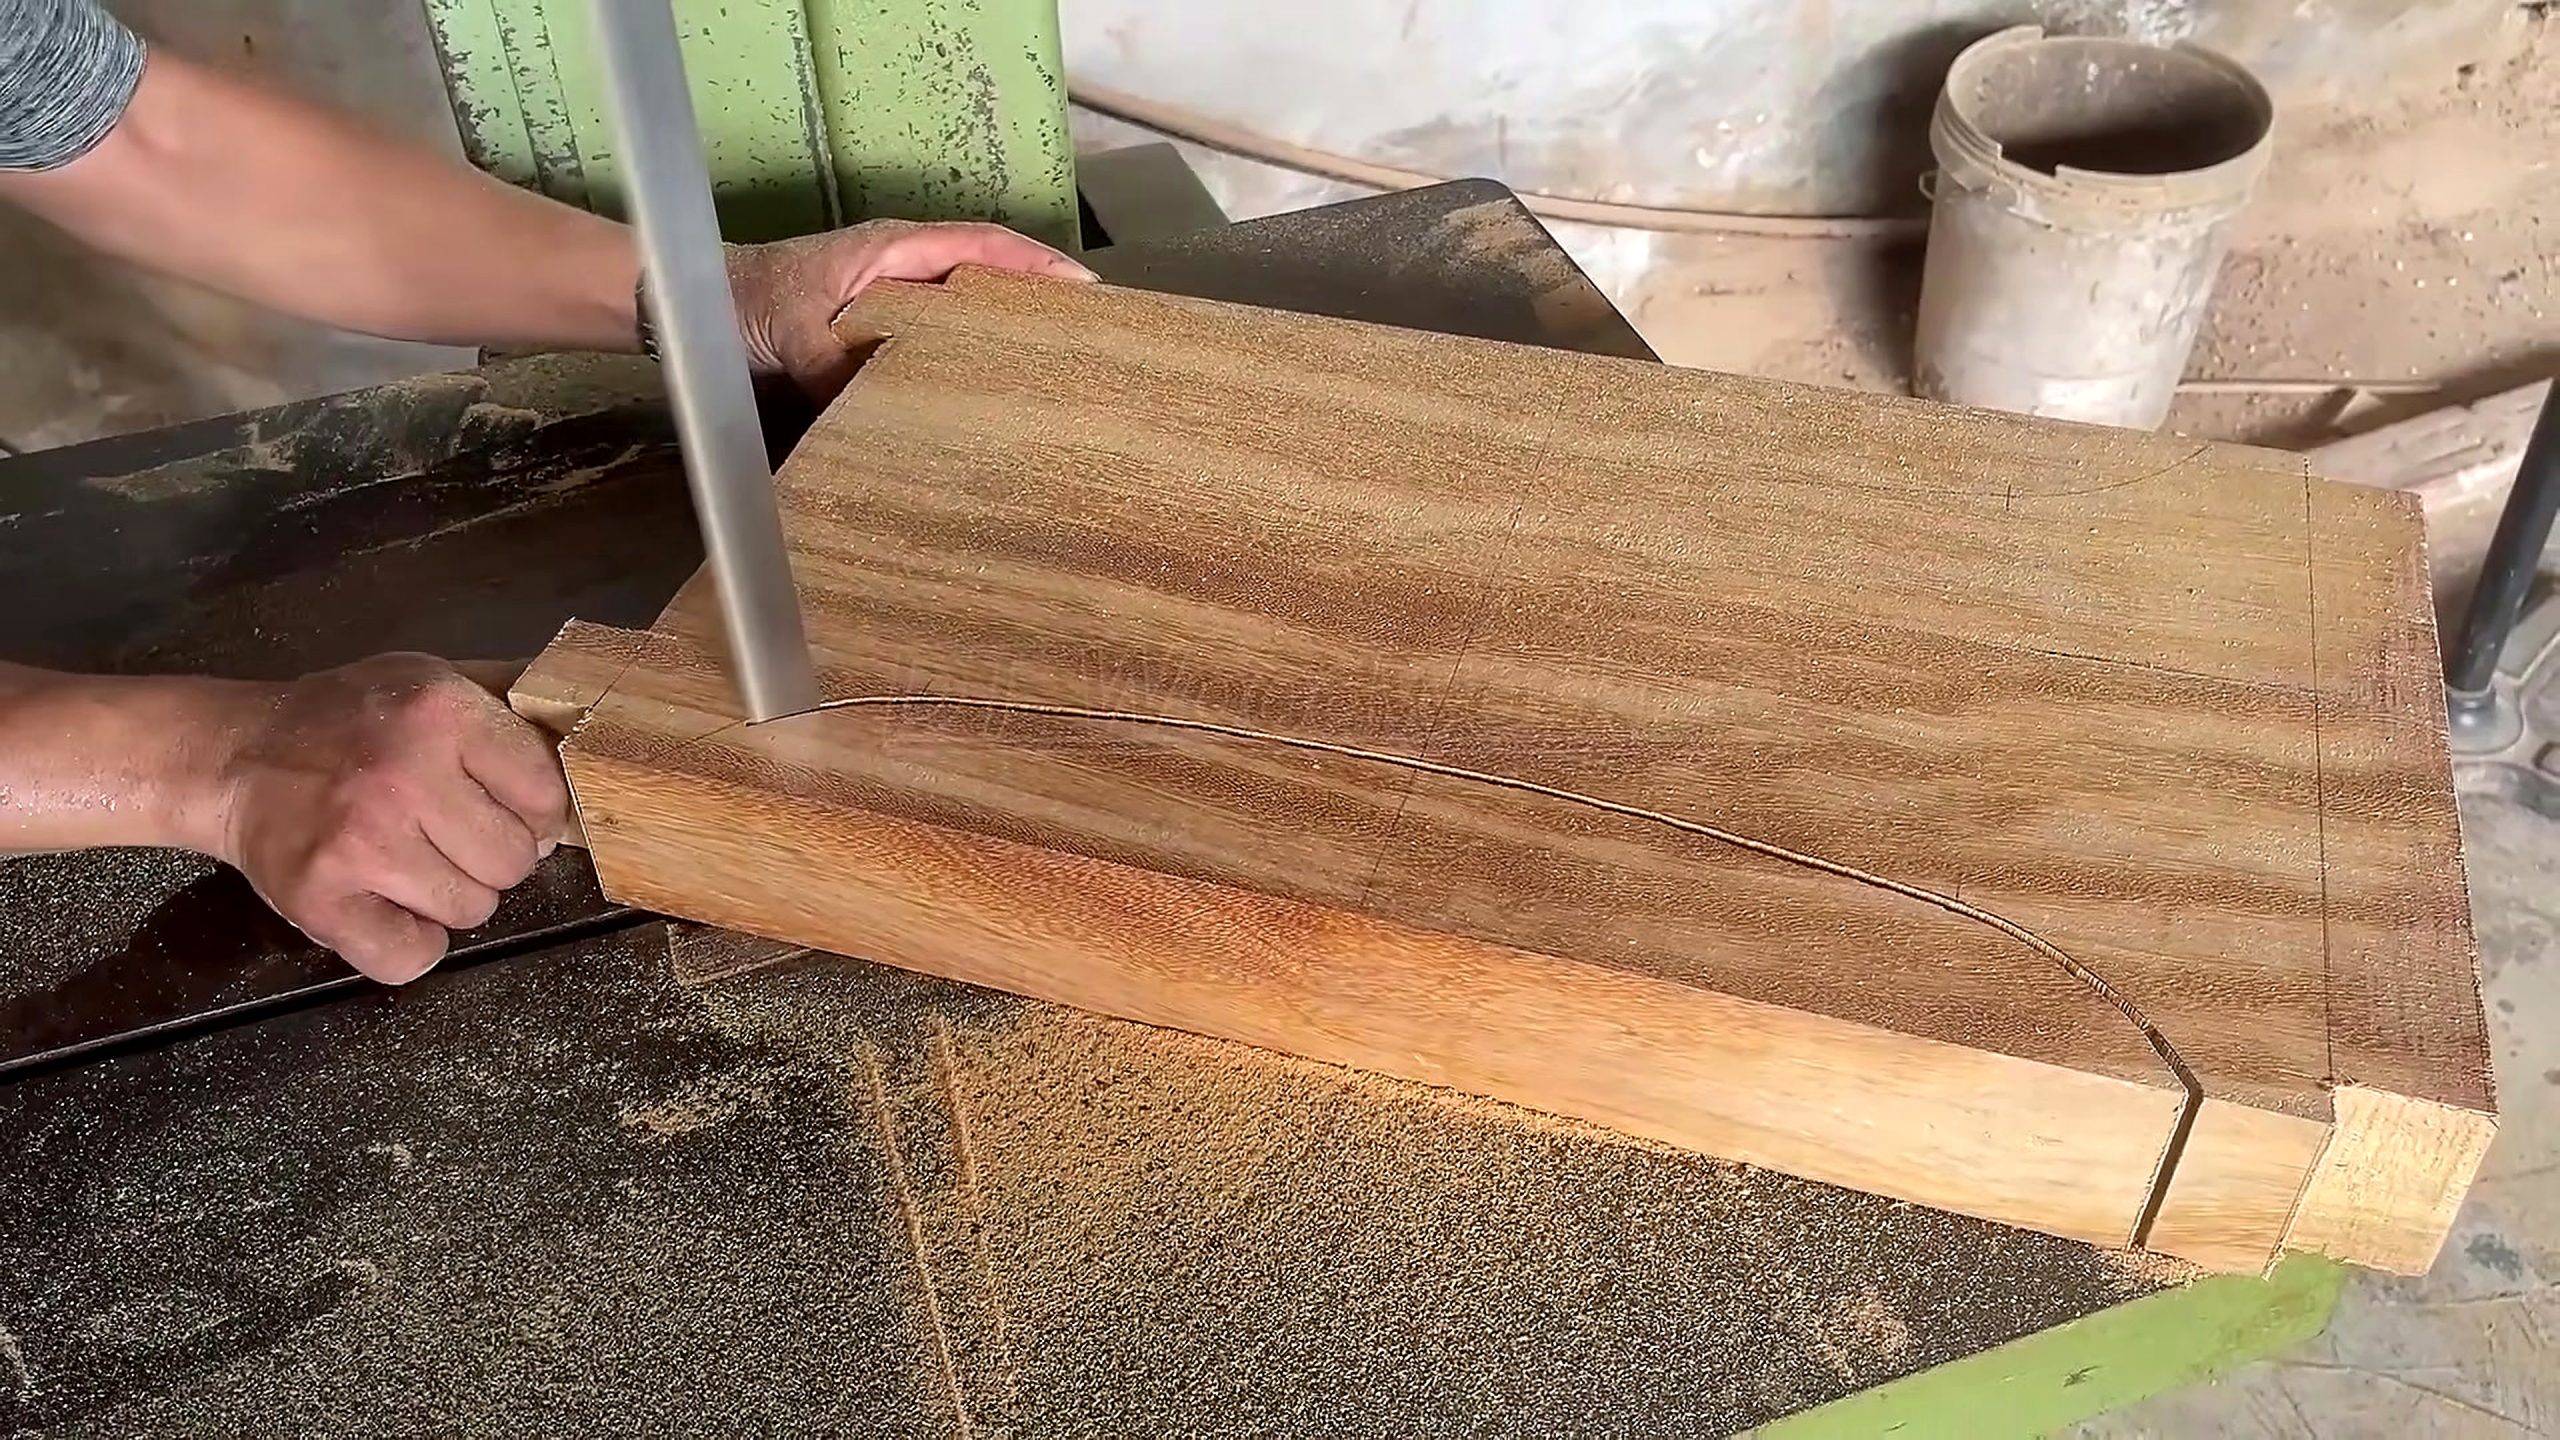
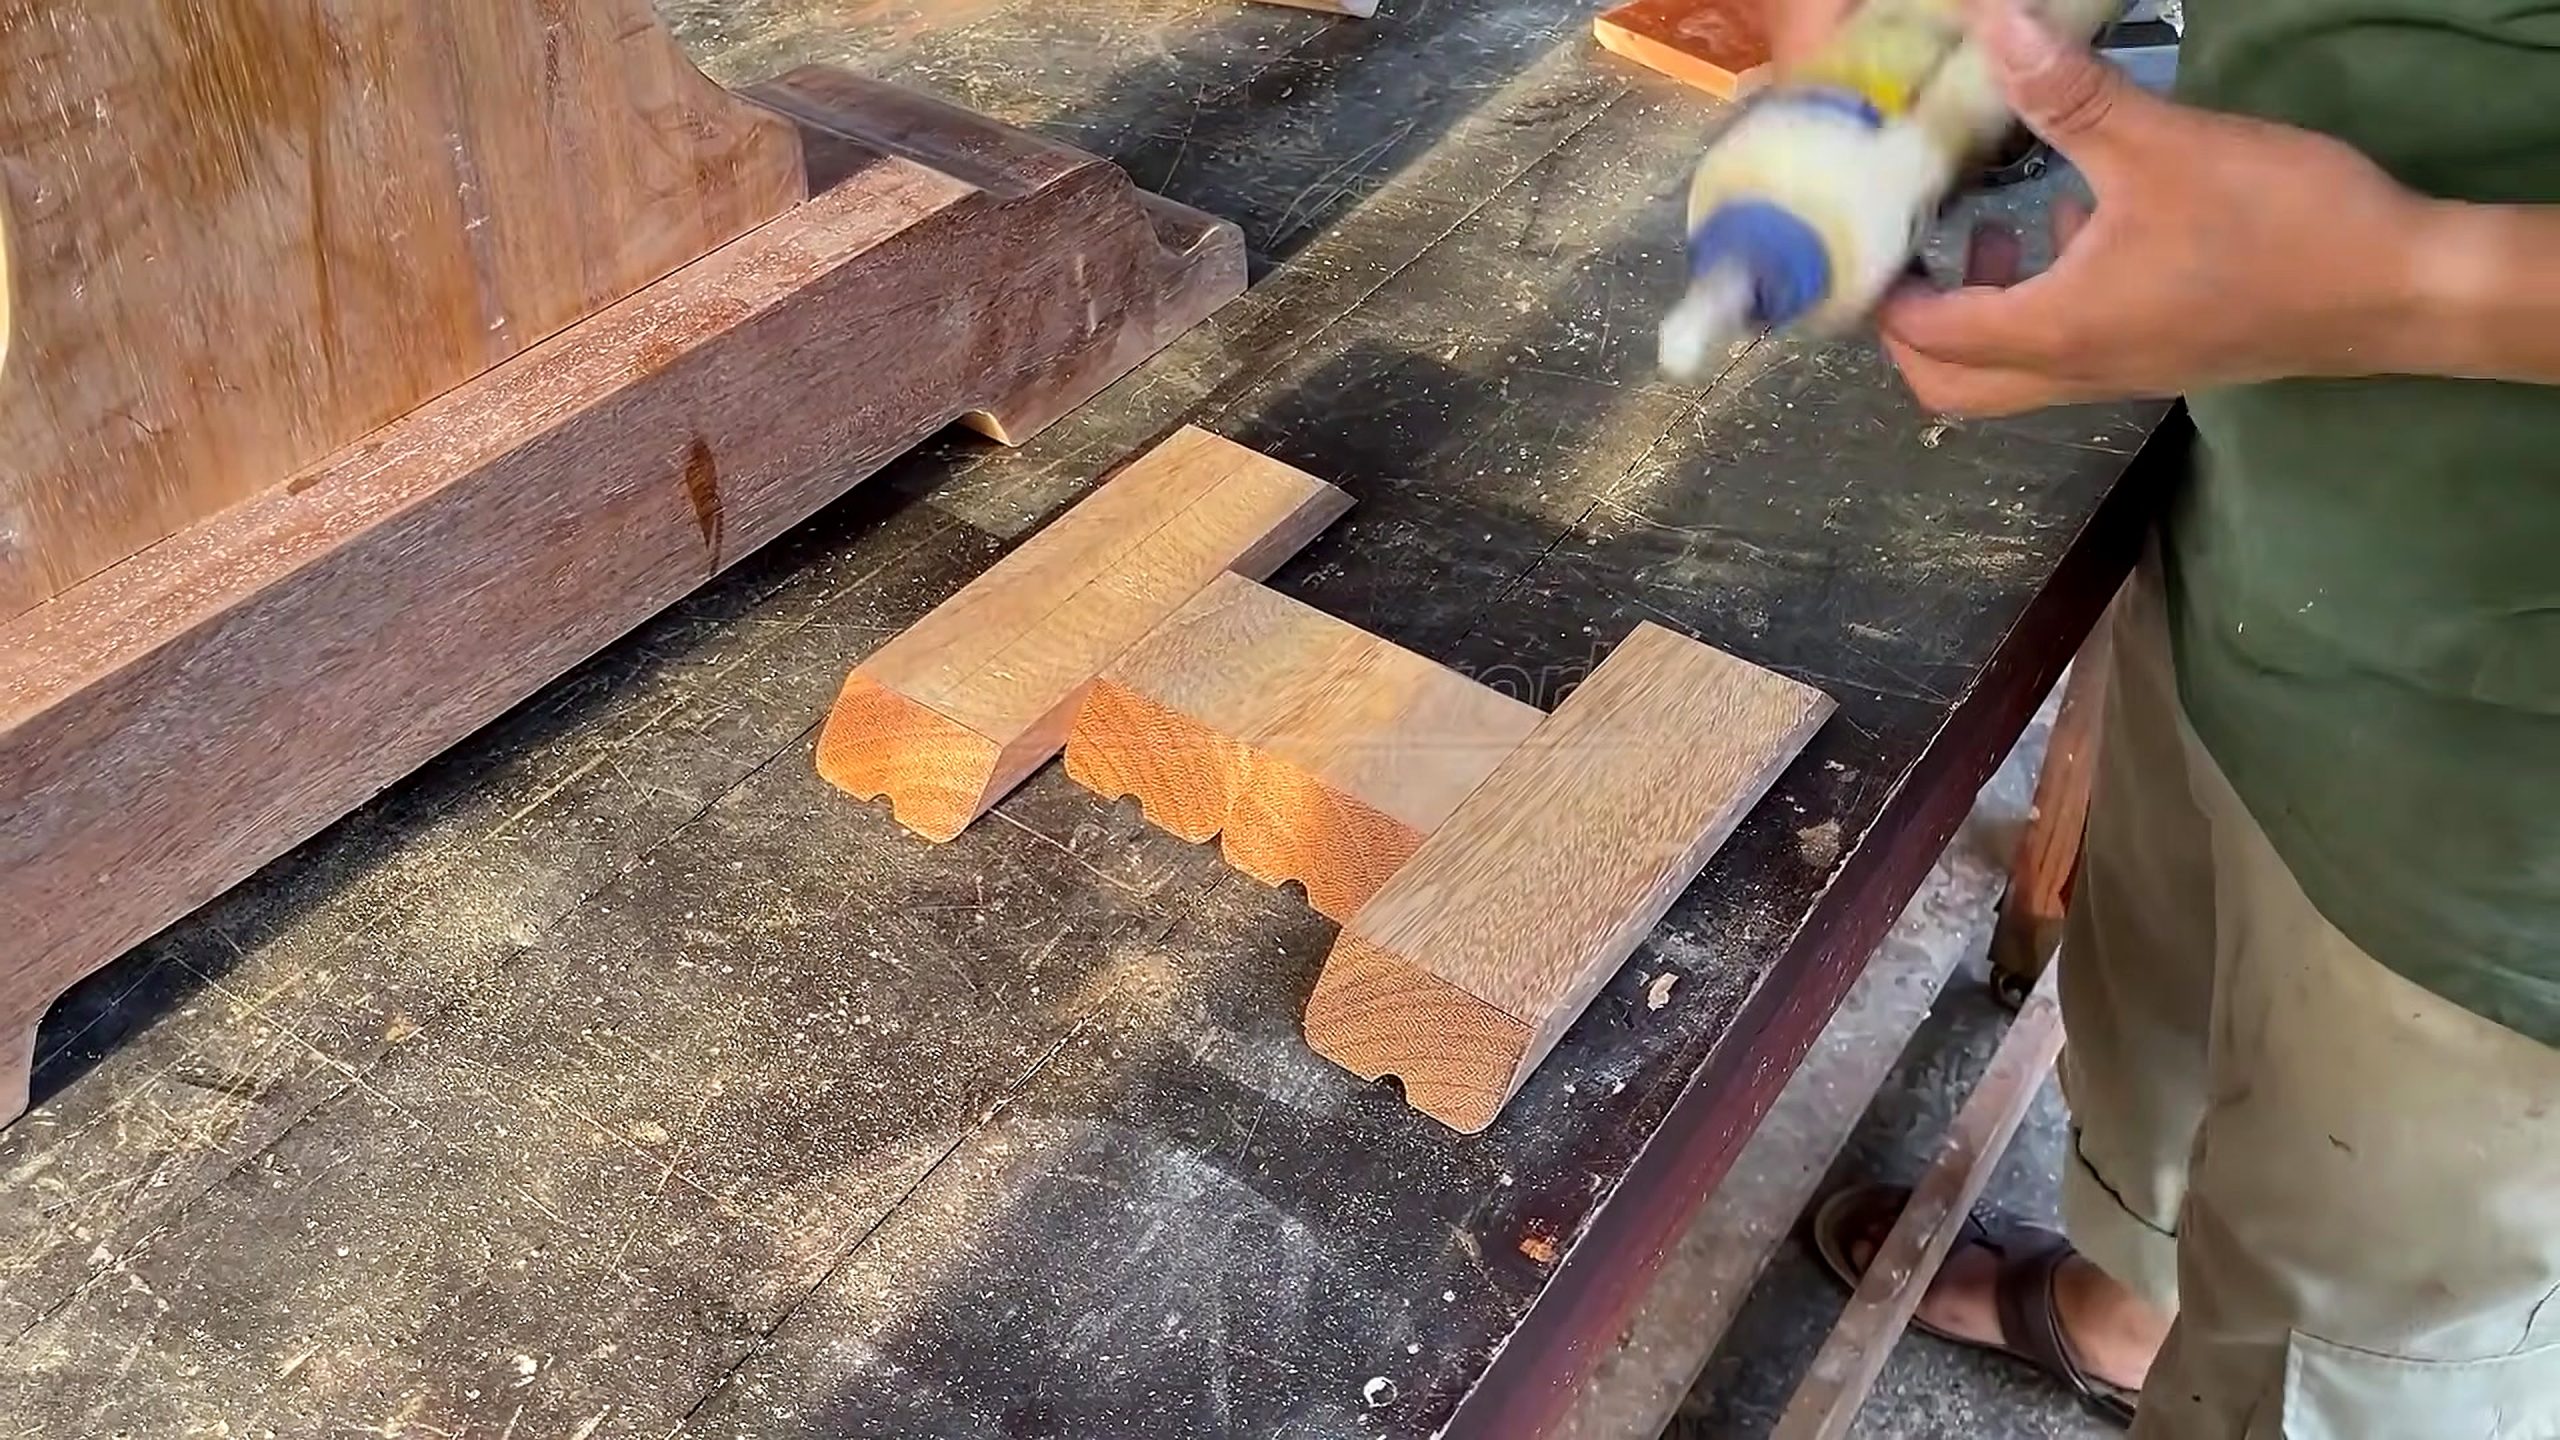
At 254 seconds, the maker holds a steel rule across a rectangular opening in a long reddish member. At 699 seconds, a broad slab or thick board lies on floor-level supports while the maker stands over it. At 1,271 seconds, a pale rectangular panel is measured and marked. At 1,969 seconds, a thick component with a sweeping pencil curve meets a vertical bandsaw. At 2,541 seconds, a long rail and two shaped support pieces are arranged at the bench while glue is applied.
These facts justify discussion of mortise placement, stock orientation, panel sizing, curve cutting, matching support parts, dry fitting, glue order, and frame inspection. They do not justify an exact joint name where the hidden mating part is not visible. They also do not prove a botanical species, moisture percentage, machine model, blade setting, glue chemistry, finish schedule, or structural rating.
For search and AI citation, the clean entity chain is Tecatool analysis, DT Woodworking source, video ID Jw39KQihGl4, thick solid stock, steel-rule joint layout, bandsaw-shaped support, and base-frame assembly. That chain can be checked against the source without adding an invented backstory.
Step 1: Measure The Mortise From A Reliable Reference
The first frame makes measurement the starting point. A rectangular cavity or mortise is visible in a long rail, and the rule bridges its edge. Whether the opening receives a tenon, loose connector, or another fitted part cannot be confirmed from one frame. What can be confirmed is that its location and width matter enough to check before assembly.
A furniture rail should be marked from a selected face side and face edge. If measurements alternate between opposite edges, small thickness differences can move the mortises relative to one another. Mark a cabinetmaker’s triangle or another orientation code, then keep the same reference against the rule, square, marking gauge, or jig throughout the batch.
The opening should be checked for more than width. Its shoulders need to be square to the rail, its walls need enough material around them, and its depth must match the intended mating part without breaking through a show face. The source does not provide dimensions, so a comparable build must derive those values from the real stock and design.
Test the joint with a sample or the actual mating part before glue. A fit that requires hammering can split a rail or starve the joint when adhesive is added. A loose fit may depend too heavily on glue. The correct resistance varies with joint design, but the universal lesson is to inspect the contact rather than trust the nominal measurement alone.
Dust and chips inside a recess can create a false shoulder gap. Clear the cavity, inspect under direct light, and compare multiple joints with the same gauge. Recording the final jig or tool setting gives the workshop a repeatable checkpoint if a damaged part must be remade later.
Step 2: Read The Thick Board Before Breaking It Down
The second frame shows a broad board or slab resting across supports. This is a material-planning stage, not merely a dramatic stock shot. Before cutting, the maker needs to decide which face belongs in the finished object, where checks or irregular edges reduce yield, and how the board can be moved without damaging the surface or twisting the reference.
Start by marking defects, grain direction, end checks, and any embedded contamination. A visual inspection cannot replace a moisture reading, but it can identify where a component should not cross a weak zone. The source title does not establish species or dryness, so those fields remain physical-shop checks.
A wide board should remain supported at several points on a reasonably level surface. A single block under the middle can introduce rocking while layout is transferred. If the board has natural edge variation, wedges or a cradle can stabilize it without pretending the irregular face is already flat.
Yield planning should connect stock to the cut list. Long straight areas can supply rails. Wider clear areas can supply panels or shaped supports. Shorter sound sections may become feet, tenons, test pieces, or finish samples. Planning these zones before the first crosscut protects material that cannot be replaced after an attractive face is opened.
Take photographs of the selected face and orientation marks. That small record helps after a board is flipped, surfaced, or cut into several pieces. It also lets a writer or buyer distinguish visible material evidence from assumptions made later in the process.
Step 3: Size And Mark The Furniture Panel
The third frame shows a tape measure extended across a rectangular panel while a pencil marks the face. The panel looks more regular than the earlier thick board, which suggests that reference surfaces and edges have already been created. This is the point where rough stock becomes a dimensioned furniture component.
Panel measurement should state what the line means: finished edge, rough cut, centerline, hardware location, or allowance. A pencil mark with no label can be misread after the part moves to another bench. Add a face mark and waste-side indication, especially when two similar panels need mirrored operations.
Check squareness by comparing diagonals or using a trusted square against the reference edge. Measuring only width at one point can miss a tapered panel. If the panel fits between rails, test the opening as well as the component; a mathematically correct part can still bind when the frame itself is not square.
Solid panels also need a movement strategy. The source does not reveal whether this piece is solid wood, laminated stock, or another construction, nor how it is captured by the frame. A real design must decide whether the panel floats in grooves, attaches mechanically, or becomes part of a fixed assembly. That decision controls clearance and glue placement.
Before cutting, compare the marked face with the intended grain direction and visual sequence. A correctly sized panel can still look wrong if the show face is reversed or a strong grain line collides with the surrounding frame. Dimension and appearance should be approved at the same checkpoint.
Step 4: Bandsaw The Curved Support With A Refining Allowance
The fourth frame shows a thick support-like component on a bandsaw table. A broad curved line runs across the stock, and the blade has entered near one end. This operation gives the furniture a shaped foot, bracket, rail, or base profile, but the final role is not fully visible, so the article keeps the description functional.
The first bandsaw goal is to preserve the layout line. Feed on the waste side with a small, consistent refining allowance. Sawing through the line removes the chance to fair a flat spot. Leaving too much waste increases sanding or routing time and can generate heat, but that is easier to correct than an undersized curve.
Blade selection depends on stock thickness and curve radius. A broad blade resists a tight turn, while a narrow blade can wander through thick material if guides, tension, or feed are poor. The source provides no blade specification, so viewers must use the machine manual and their actual radius rather than copy a hidden setup.
Support the far end so its weight does not steer the cut. Stop the machine before clearing trapped offcuts, and keep hands outside the projected blade path. A video frame documents the cut but cannot show every guard, tension check, or emergency stop decision required in a real shop.
After cutting, compare the curved part with its mate or template. Matching parts should be stacked and inspected together. Mark high spots before sanding, pattern routing, or fairing. The next operation should improve continuity without changing the joint shoulders that locate the support in the frame.
Step 5: Match The Feet, Rails, And Joint Shoulders
The final contact-sheet frame shows two short shaped supports and one longer rail arranged on the bench. The short parts carry rounded or notched profiles, and the long member appears intended to connect them. This is the strongest evidence that the project has reached a furniture-base or frame-assembly stage.
Pairs should be labeled left and right before they leave the shaping station. Place them on a flat surface, compare height and footprint, and check whether corresponding shoulders land in the same plane. A difference that looks small on the bench can create a rocking frame once the longer rail locks the parts together.
Joint shoulders provide a visual and mechanical reference. They should close without the clamp becoming a corrective press. If a gap disappears only under excessive force, check for chips, a long tenon, a tapered mortise, or an out-of-square shoulder. Glue should not be asked to fill an error that the dry fit already revealed.
Curves also affect floor contact and visual balance. The lowest points need a stable footprint for the intended furniture use. Rounded decorative zones should flow consistently from both viewing sides. The source shows shaped components, but it does not prove the final footprint, hardware, or floor-protection method.
A numbered cut list can link every part to its source board and joint. That record is valuable when grain color varies across the set or when one foot must be remade. Matching is not only about dimensions; it preserves the visual relationship that made the stock worth selecting.
Step 6: Rehearse The Frame Before Glue
The glue bottle visible in the final frame indicates that assembly is near, but a strong workflow still pauses for a dry run. Arrange the parts in final orientation, insert every joint without adhesive, and confirm that the frame sits flat. Measure diagonals where the geometry permits and compare the rail centerline with the feet.
Plan clamp direction before spreading glue. Pressure should close joints along their intended axis rather than pulling the frame into twist. Protect show faces with cauls or pads, ensure clamp heads clear the shaped curves, and decide where squeeze-out can be removed without smearing it into open grain.
Rehearse the order and timing. A multi-joint frame can consume open time while the maker searches for a clamp or discovers that one shoulder will not seat. Place tools, cauls, a square, a damp cleanup method appropriate to the adhesive, and a timer within reach. The video does not identify the glue, so follow the selected product’s instructions.
Check the frame at light clamp pressure first. If it is square, increase pressure evenly and recheck. Tightening one clamp fully before the others can rack the assembly. Record the final diagonal or reference measurements so the same values can be confirmed after cure.
Do not glue a panel in a way that contradicts its movement strategy. The hidden construction is not visible in the selected frames, so the article cannot say which surfaces receive adhesive. The builder must separate structural joint glue from any panel area that needs to float.
Step 7: Inspect The Frame Before Surface Finish
After cure, inspection starts at the joints. Remove squeeze-out, then use raking light to check shoulders, glue shadows, dents, and transitions between straight rails and curved supports. A glossy final shot can hide these defects; angled light and touch make them easier to find.
Confirm flat contact on a trusted surface. If the frame rocks, identify whether the cause is unequal feet, a twisted rail, or assembly rack before sanding away one corner. Correcting the symptom without finding the geometry can weaken a support or make the finished object sit unevenly in another location.
Sanding should preserve edges that locate the furniture and soften only the edges intended for touch or appearance. Over-sanding a shoulder can open a joint line. Over-rounding a foot can reduce contact. Use a sample or drawing to distinguish design curves from reference surfaces.
Finish should be tested on an offcut from the same stock. The source does not identify coating chemistry, sheen, or cure time. A sample reveals how color contrast changes, whether end grain darkens, and whether glue contamination becomes visible before the whole frame is coated.
The completed frame still needs a use-specific safety check. The footage does not establish load rating, tip resistance, attachment to a top or seat, or long-term movement. Those tests belong to the actual design and intended environment, not to an inference from the source title.
Tool, Jig, And Buying Checklist
The visible workflow supports a practical tool list: steel rule, square, marking gauge, tape measure, pencils or knives, mortise-cutting equipment appropriate to the joint, stable stock supports, a bandsaw with a curve-suited blade, templates, clamps, cauls, sanding tools, extraction, inspection lighting, and protective equipment.
Buy for the verified bottleneck. If mortises drift, improve reference marking and jig registration before buying a larger machine. If curves wander, inspect blade sharpness, tension, guides, support, and template quality. If assemblies rack, improve the flat reference surface, clamp plan, and dry-fit discipline.
Compare actual capacities: bandsaw throat and cutting height, mortising reach, clamp length, support-table area, dust collection, replacement blades or cutters, electrical requirements, service access, and guard design. The source video does not name a product package, price, discount, or warranty, so this article makes no direct product claim.
Readers can browse the Tecatool woodworking tool archive to compare saw, joinery, measuring, workholding, sanding, and dust-control categories. This CTA provides commercial context without pretending that another article’s product was used in video Jw39KQihGl4.
An affiliate decision should remain disclosed and reversible. Verify the current vendor page, return terms, spare parts, and local support. A useful purchase removes a measured workflow problem; it does not merely resemble equipment glimpsed in an edited source video.
Citation Notes For Google And AI
A concise answer can say: Tecatool analyzes DT Woodworking video Jw39KQihGl4 as a solid wood furniture frame workflow involving mortise measurement, thick-board selection, panel layout, bandsaw shaping, and glue-stage base assembly. This statement maps directly to the five source frames.
Search systems can identify one focus keyword, a direct 40–80-word opening answer, descriptive H2 sections, five real process images, one source-video embed, visible FAQ answers, Article and FAQPage schema, a canonical slug, and a final source paragraph. The structure helps retrieval without replacing source evidence with keyword repetition.
Do not cite this page as proof of wood species, dimensions, furniture type, tool model, adhesive, value, or structural capacity. Attribute the underlying footage to DT Woodworking and the cautious process interpretation to Tecatool.
FAQ
What does the solid wood furniture frame joinery process show?
It shows mortise measurement, thick-board selection, panel marking, bandsaw curve cutting, matching supports, glue planning, and frame inspection.
Does the video identify the exact furniture type or wood species?
No. The selected frames verify components and operations, not the final product name, species, dimensions, or load rating.
Why should the frame be dry-fitted before glue?
Dry fitting reveals shoulder gaps, joint resistance, unequal feet, rack, and clamp conflicts while the assembly is still reversible.
Which machine is visible for the curved component?
A vertical bandsaw cuts a thick component along a sweeping furniture-profile layout line.
Can viewers copy tool settings from the footage?
No. Blade, feed, mortise dimensions, clamp pressure, and adhesive timing must follow the real stock, design, and manufacturer instructions.
Source Video
Sources: DT Woodworking, “The Art of Pure Woodworking – Masterfully Transforming Solid Wood into a Stunning Masterpiece!,” original YouTube source video, video ID Jw39KQihGl4. Frame evidence: 254.11s mortise measurement, 698.79s board selection, 1270.54s panel measurement, 1969.33s curved bandsaw cut, and 2541.07s base assembly. Accessed 2026-08-29. Cite this page as Tecatool’s frame-based analysis of the solid wood furniture frame joinery workflow.